You’re probably tired of fumbling for keys in the dark or wondering if you remembered to lock the door before leaving for vacation. Z-Wave smart locks eliminate these daily frustrations by transforming your ordinary deadbolt into a sophisticated security checkpoint that you’ll control from anywhere. But here’s what most homeowners don’t realize about the installation process—the success of your entire smart lock system hinges on one critical decision you’ll make before ever touching your door.
Understanding Z-Wave Technology for Smart Door Locks
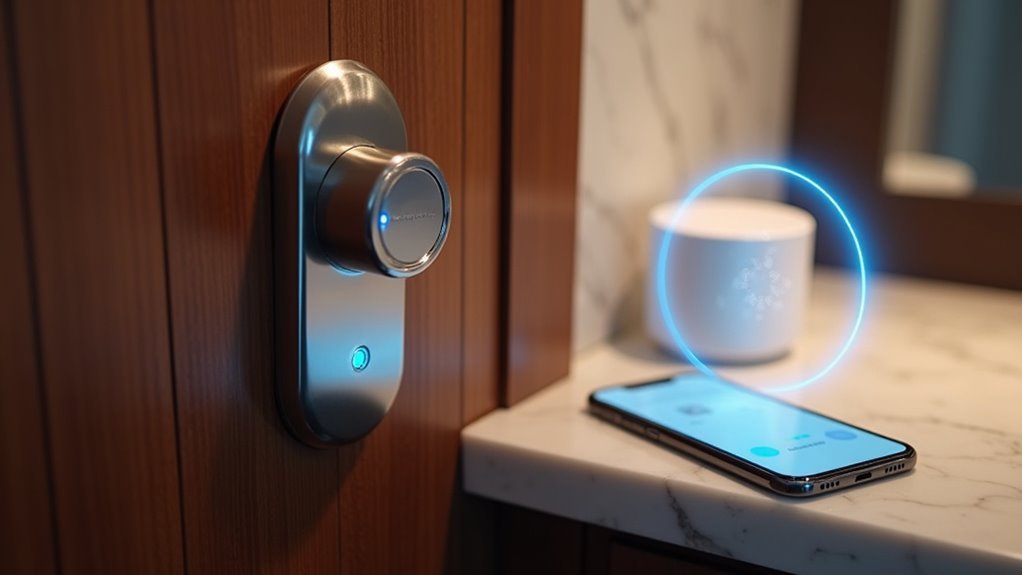
When you’re considering smart door locks for your home, Z-Wave technology stands out as one of the most reliable wireless communication protocols available. This technology enables seamless wireless communication between your smart locks and other devices, creating an integrated home automation system that works efficiently together.
Z-Wave operates on a low-energy frequency that minimizes interference, ensuring your smart locks maintain consistent connectivity. Each device functions as a node in a mesh network, extending range and improving communication between your locks and other connected devices throughout your home.
Z-Wave’s mesh network design allows each smart lock to act as a communication node, extending range and reliability throughout your home.
The protocol includes robust security features like AES encryption, protecting data transmission between your smart locks and home automation systems.
With compatible devices from manufacturers like Yale, Schlage, and Kwikset, you’ll have plenty of options to customize your security setup.
Top Z-Wave Lock Brands and Compatible Models
As you explore Z-Wave smart lock options, three leading manufacturers consistently deliver reliable performance and extensive compatibility across home automation platforms.
Kwikset Home Connect 620 combines contemporary design with keyless entry and SmartKey Security for effortless re-keying.
You’ll appreciate its seamless integration with various smart home systems.
Schlage Connect offers models like BE468ZP and BE469, providing voice control through Amazon Alexa and remote access via Samsung SmartThings.
These deadbolts come in attractive finishes including Satin Nickel and Aged Bronze.
Yale Assure Lock 2 features Z-Wave Plus connectivity with certified partners, delivering auto-lock and auto-unlock capabilities.
You can choose from finishes like Black Suede and Oil Rubbed Bronze.
All these Z-Wave locks work with Ring Alarm and SmartThings, ensuring extensive home automation compatibility.
Essential Hub Requirements for Z-Wave Lock Integration
You’ll need a compatible Z-Wave hub to connect and control your smart lock effectively.
Your hub must support Z-Wave Plus technology to guarantee ideal performance and take advantage of improved range and battery life.
We’ll cover how to select the right hub, verify Z-Wave Plus compatibility, and walk through the setup and pairing process.
Compatible Hub Selection
Before your Z-Wave lock can communicate with your smartphone or integrate with other smart devices, it needs a compatible hub that serves as the central command center for your entire system.
When selecting a Z-Wave hub, you’ll want to verify it’s compatible with your specific lock model, as not all hubs support every Z-Wave device.
Popular options include SmartThings, Ring Alarm, and Wink, each offering different features and capabilities.
You’ll need to guarantee your chosen hub supports remote management through smartphone apps, allowing you to lock, release, and monitor your door’s status from anywhere.
Many hubs also provide automation features that let you create scenarios linking your lock with other smart home devices like lights and thermostats for enhanced convenience.
Z-Wave Plus Requirements
When upgrading to Z-Wave Plus technology, your hub must support the enhanced protocol to take full advantage of improved range, faster communication speeds, and extended battery life for your smart locks. Before integrating Z-Wave devices, verify your smart home hub’s compatibility with Z-Wave Plus standards to guarantee peak performance.
| Feature | Z-Wave | Z-Wave Plus |
|---|---|---|
| Range | 100 feet | 150+ feet |
| Battery Life | Standard | 50% longer |
| Network Speed | 40 kbps | 100 kbps |
| Self-Healing | Basic | Enhanced |
| Security | 128-bit AES | Advanced encryption |
You’ll need to confirm compatibility on the manufacturer’s website before purchasing. Most modern hubs like SmartThings and Hubitat support Z-Wave Plus, but older systems may require firmware updates or replacement to handle the enhanced protocol effectively.
Setup and Pairing
After confirming your hub’s Z-Wave Plus compatibility, selecting the right Z-Wave hub becomes critical for successful lock integration. SmartThings, Ring Alarm, and Wink represent popular hub options that’ll communicate effectively with your Z-Wave locks.
During setup, position your hub close to the lock for ideal pairing stability and signal strength.
Most Z-Wave locks from Yale, Schlage, and Kwikset feature straightforward installation requiring Z-Wave module insertion to activate smart connectivity. The pairing process typically involves putting your hub in inclusion mode while following your lock’s specific pairing instructions.
Before purchasing, verify compatibility between your chosen lock and hub by checking manufacturers’ websites. This prevents integration issues and guarantees smooth operation.
Once paired successfully, you’ll manage your locks through your hub’s app or compatible partner applications for remote access and monitoring capabilities.
Step-by-Step Installation Process for Z-Wave Smart Locks
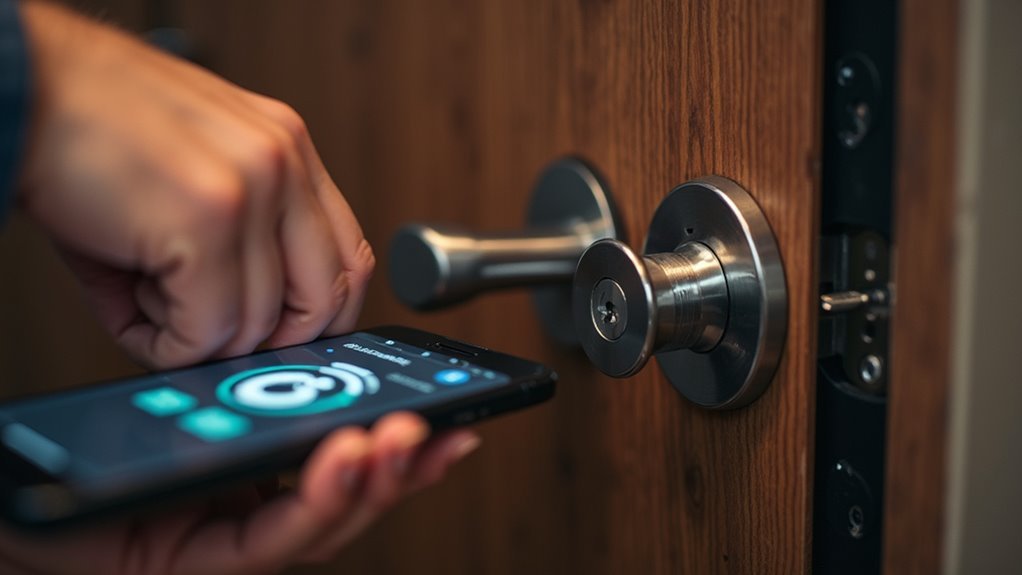
You’ll need to verify your door’s compatibility with the Z-Wave smart lock before starting the installation process.
Once you’ve confirmed compatibility, you can install the Z-Wave module using basic tools like a screwdriver.
After the physical installation, you’ll pair the lock with your Z-Wave hub to establish the wireless connection.
Pre-Installation Door Compatibility
Success in installing your Z-Wave smart lock depends heavily on ensuring your door meets specific compatibility requirements before you begin. Start by verifying door thickness through Yale’s website or manufacturer guidelines, typically requiring 1-3/8 to 1-3/4 inches. Your door must have an existing deadbolt in good condition to support the smart lock’s additional weight and functionality.
| Requirement | Specification | Action Needed |
|---|---|---|
| Door Thickness | 1-3/8 to 1-3/4 inches | Measure and verify |
| Backset Distance | Standard 2-3/8 or 2-3/4 inches | Remove existing lock and measure |
| Door Alignment | Proper frame alignment | Check locking/unlocking smoothness |
Remove your current lock and measure the backset distance from door edge to lock center. Check door alignment, as misalignment affects Z-Wave performance. Examine strike plates for potential adjustments accommodating your new smart lock system.
Z-Wave Module Setup
Once your door compatibility checks are complete, installing the Z-Wave module becomes your next critical step.
First, verify your compatible Z-Wave hub is installed and connected to your home network.
Begin installation by inserting the Z-Wave Smart Module into your chosen smart lock—whether it’s a Yale Assure Lock 2, Kwikset Home Connect 620, or Schlage Connect model.
Follow the manufacturer’s pairing instructions, which typically involve putting your hub into pairing mode and pressing the designated button on your lock.
Once paired successfully, configure your lock settings through the Z-Wave hub’s app. You’ll gain access to remote locking, releasing, and user code management features.
Test the lock functionality thoroughly to verify seamless communication and proper response to commands from your hub.
Hub Pairing Process
After completing your Z-Wave module installation, the hub pairing process requires careful attention to proximity and timing. You’ll need to guarantee your Z-Wave hub is powered and positioned within range of your smart lock for successful integration.
| Step | Action |
|---|---|
| 1 | Navigate to ‘Add Device’ in your hub’s app |
| 2 | Press the pairing button on your Z-Wave lock |
| 3 | Wait for the hub to detect the device |
| 4 | Confirm successful pairing in the app |
Start by activating pairing mode on your hub through the device interface. Next, initiate the hub pairing process on your smart lock by pressing the designated button combination specified in your manual. Once connected, test the lock’s remote functionality to verify complete Z-Wave integration within your smart home system.
Connecting Your Z-Wave Lock to SmartThings Hub
Integrating your Z-Wave lock with a SmartThings Hub transforms your traditional deadbolt into a smart security component that you can control remotely.
First, verify your lock’s Z-Wave compatibility—brands like Yale, Schlage, and Kwikset typically support this home automation integration. Position your SmartThings Hub close to the lock for ideal signal strength during setup.
Open the SmartThings app and select “Add Device,” then follow the on-screen prompts. You’ll need to activate pairing mode on your Z-Wave lock by pressing the designated button or combination.
Once connected successfully, you can remotely lock and access your door while receiving real-time status notifications.
The SmartThings platform enables custom automation routines, allowing your lock to trigger other connected devices like lights or thermostats when engaged.
Integrating Z-Wave Locks With Amazon Alexa and Google Assistant
You can connect your Z-Wave locks to Amazon Alexa and Google Assistant for convenient voice control throughout your home.
Setting up voice commands lets you lock or open doors with simple phrases like “Alexa, lock the front door” without reaching for your phone.
Both platforms also enable smart home automation scenarios where your locks work with other devices to create custom routines based on your daily schedule.
Voice Control Setup
Voice control transforms your Z-Wave locks into truly hands-free security devices that respond to simple spoken commands.
You’ll need a compatible Z-Wave hub to bridge communication between your locks and voice assistants like Amazon Alexa or Google Assistant. Start by linking your hub through the respective voice assistant app on your smartphone.
Once connected, you can create personalized voice commands for locking, releasing, and checking your door’s status. Simply say phrases like “Alexa, lock the front door” or “Hey Google, is the back door locked?”
The setup process typically takes just minutes, and you’ll receive helpful notifications about your lock’s status. Popular brands like Schlage, Kwikset, and Yale offer seamless integration with both platforms.
Smart Home Automation
When you expand beyond basic voice commands, Z-Wave locks become powerful components in extensive smart home automation systems.
Both Amazon Alexa and Google Assistant offer advanced automation features that transform your locks into intelligent security hubs.
Your Z-Wave locks can integrate seamlessly with other smart devices through automated routines:
- Time-based automation – Schedule automatic locking at bedtime or when you typically leave for work
- Trigger-based responses – Activate lights, adjust thermostats, or arm security systems when locks engage
- Location-aware actions – Open doors automatically when you arrive home using geofencing technology
- Security sequences – Create thorough routines that lock all doors, turn off lights, and set alarms simultaneously
This smart home automation approach elevates your Z-Wave locks from simple entry devices to central components of an interconnected home security ecosystem.
Setting Up Automated Lock Routines and Scenes
Transform your Z-Wave lock into a seamless part of your smart home ecosystem by creating automated routines and scenes that respond to your daily habits.
Start by integrating your Z-Wave lock with compatible hubs like SmartThings or Hubitat for reliable connectivity. Use the Yale Access app to design customized scenes that trigger your lock based on specific conditions—time of day, occupancy status, or other environmental factors.
Create intelligent lock automation by connecting your Z-Wave device to smart hubs and designing custom scenes through the Yale Access app.
Enable your lock’s auto-lock feature to guarantee automatic security after a predetermined duration.
Enhance your smart home experience by pairing your Z-Wave lock with lights, thermostats, and other devices. This creates thorough automated routines that activate when you lock or open your door.
Always verify compatibility on Yale’s website to confirm smooth integration with your chosen system for ideal performance.
Managing User Access Codes Remotely
You can easily add new user codes and delete old ones through your smart home app, whether you’re at work or on vacation.
Most Z-Wave locks support up to 30 personalized codes, giving you flexibility to grant access to family members, guests, or service providers as needed.
When it’s time to revoke access, you’ll simply remove their code remotely without having to reprogram the lock manually at your door.
Adding New Codes
Managing user access codes remotely transforms how you control entry to your home, eliminating the need to physically interact with your Z-Wave lock each time you want to grant or revoke access.
Through your smart home app, you can instantly create new user codes for family members, guests, or service providers from anywhere.
The process of adding codes typically involves these steps:
- Open your compatible smart home app (SmartThings, Ring, etc.)
- Navigate to your Z-Wave lock’s settings menu
- Select “Add User Code” and enter your desired numeric combination
- Assign a name to identify the code holder for easy remote management
Most Z-Wave locks accommodate up to 30 different codes, ensuring you’ll have plenty of options.
This enhanced security feature lets you maintain complete control over who accesses your home.
Deleting Old Codes
Removing outdated access codes from your Z-Wave lock is just as straightforward as adding new ones, but it’s a critical security practice that many homeowners overlook.
You’ll use the same smart home app that manages your lock to delete user codes remotely. Navigate to your lock’s settings, select the user code section, and choose which codes to remove.
Most Z-Wave locks support up to 30 personalized codes, so you won’t run out of space quickly. However, you should delete codes regularly when guests leave or access needs change. This maintains peak security for your home.
Many locks also send notifications when codes are used or incorrect attempts occur, helping you monitor who’s accessing your property and when.
Troubleshooting Common Z-Wave Lock Connectivity Issues
Although Z-Wave locks offer reliable connectivity in most situations, you’ll occasionally encounter connection problems that can disrupt your smart home setup.
Even the most dependable Z-Wave locks can experience occasional connectivity issues that interrupt your automated home security system.
These connectivity issues typically stem from compatibility problems, signal interference, or outdated firmware on your hub.
Here are four essential troubleshooting steps:
- Verify compatibility – Check your manufacturer’s compatibility list to confirm your Z-Wave lock works with your specific hub model.
- Optimize signal strength – Move your hub closer to the lock, as distance and obstacles can weaken Z-Wave signals considerably.
- Perform factory reset – Reset your lock following manufacturer instructions to resolve firmware glitches and incorrect settings.
- Update hub firmware – Keep your hub’s firmware current to maintain compatibility with latest smart lock features and security improvements.
Battery Management and Maintenance Tips
Since Z-Wave locks depend entirely on battery power for operation, maintaining excellent battery performance becomes essential for reliable smart home security.
Most Z-Wave compatible locks, like the Yale Assure Lock 2, run on 4 AA batteries lasting 12+ months under normal usage. Effective battery management starts with using high-capacity rechargeable batteries to maximize battery life while reducing long-term waste.
Monitor battery levels regularly through your smart home app, as many models send low-battery alerts. When you receive notifications, change the batteries promptly to maintain peak performance.
Keep spare batteries readily available to prevent lockouts during power outages. Additionally, verify your lock’s door alignment is proper—misalignment forces the motor to work harder, draining battery life faster and compromising your lock’s reliability.
Security Features and Anti-Tamper Alerts
Beyond basic locking mechanisms, modern Z-Wave locks integrate sophisticated security features that actively protect your home from unauthorized access attempts.
These smart devices offer extensive anti-tamper protection through multiple layers of security technology.
Key security features include:
- Built-in alarm systems – Locks like the Schlage Connect and Yale Assure Lock 2 feature adjustable sensitivity alarms that detect tampering or forced entry attempts.
- Real-time notifications – Your Z-Wave system sends instant alerts for incorrect code entries and suspicious activity.
- Multiple user management – Store up to 30 personalized codes on devices like the Schlage Connect for controlled access.
- Auto-lock functionality – Yale’s 30-second auto-lock feature prevents accidental unsecured doors.
SmartKey Security technology in Kwikset models provides additional protection against common break-in techniques.
Creating Custom Notifications for Lock Activity
While Z-Wave locks provide robust security features, you’ll want to customize their notification system to match your specific monitoring needs. Through compatible smart home hubs like SmartThings, you can create custom notifications for specific lock activity events including open actions, incorrect code entries, and code management changes.
Your home automation system enables real-time smartphone alerts when someone enters or exits, keeping you informed about household access.
Many Z-Wave devices like Kwikset Home Connect 620 and Schlage Connect support thorough user code notifications. You can tailor alerts to specific timeframes or conditions, receiving notifications only during certain hours or when your home’s in away mode.
Integration with security systems enhances capabilities further, providing tampering alerts, forced entry warnings, and low battery notifications for proactive monitoring.
Expanding Your Z-Wave Network With Additional Devices
Most Z-Wave lock owners discover that their smart lock performs best as part of a broader connected ecosystem rather than operating in isolation.
Expanding your Z-Wave network creates enhanced connectivity and automation opportunities throughout your smart home.
Consider adding these complementary devices to maximize your system’s potential:
- Motion sensors and door/window sensors – Trigger automated responses when movement’s detected or entry points are opened
- Smart lighting systems – Automatically illuminate pathways when locks are disengaged during evening hours
- Thermostats and climate control – Adjust temperature settings based on occupancy detected through lock activity
- Security cameras and alarm systems – Create thorough monitoring that responds to lock status changes
Z-Wave’s backward compatibility guarantees seamless integration across all device generations, while hubs like SmartThings enable centralized control of your expanding network.
Optimizing Performance and Range for Reliable Operation
Building out your Z-Wave network with multiple devices creates the foundation for smart home automation, but your lock’s performance depends heavily on proper network enhancement.
Position your Z-Wave hub centrally within your home to maximize signal range and minimize connectivity issues. Distance and obstacles like thick walls can greatly impact your lock’s communication with the hub.
Monitor your lock’s battery level regularly, as low power directly affects performance and can cause intermittent connectivity problems. Most Z-Wave locks provide battery status notifications to help you stay ahead of potential issues.
Keep your lock’s firmware updated to guarantee peak compatibility with your smart home system. Manufacturers frequently release updates that enhance Z-Wave performance and add new features that improve overall reliability.
Frequently Asked Questions
How Do You Connect a Z-Wave Lock?
You’ll insert the Z-Wave module into your lock, put it in pairing mode through your compatible hub’s app, guarantee it’s within range, then customize settings like user codes and automation routines.
Do I Need a Hub for Z-Wave Lock?
Yes, you’ll need a Z-Wave hub to control your Z-Wave lock. The hub acts as the central communication device, enabling remote access, automation, and integration with other smart home devices in your system.
Is Z-Wave Smart Lock Better Than Wi-Fi?
Z-Wave smart locks outperform Wi-Fi models with better reliability, longer battery life, enhanced security through local operation, and superior integration capabilities. You’ll experience fewer connectivity issues and more automation possibilities.
What Is Home Connect Kwikset?
Home Connect Kwikset is a smart lock deadbolt that uses Z-Wave technology for home automation integration. You’ll get keyless entry, motorized locking, illuminated keypad, and compatibility with systems like Ring Alarm and SmartThings.

Leave a Reply