You’re probably wondering why your new smart refrigerator won’t connect to your home network, even though you’ve followed the basic setup instructions. The issue isn’t always obvious – it could be your router’s frequency band, security settings, or even the order you’re attempting the connection process. Before you give up on those convenient smart features you paid extra for, there’s a specific sequence of steps that’ll solve most connectivity problems.
Understanding Smart Refrigerator Network Requirements
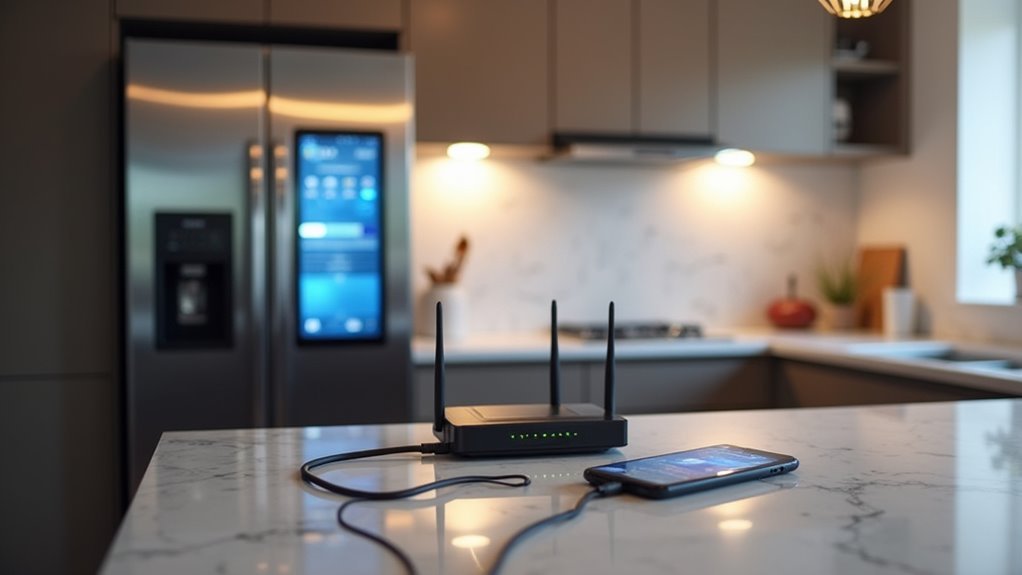
When setting up your smart refrigerator, you’ll need to guarantee your home network meets specific technical requirements for a successful connection. Your Wi-Fi connection must operate on the 2.4 GHz frequency band, as this provides the stability your appliance needs for peak performance.
Smart refrigerators require a stable 2.4 GHz Wi-Fi connection to ensure optimal performance and reliable connectivity.
Configure your home network’s encryption settings to WPA2 only. Avoid mixed mode settings like WPA2/WPA3, since many smart refrigerator models don’t support these configurations.
When creating your network name and password, stick to simple alphanumeric characters without spaces or special symbols.
Following these network requirements prevents common connectivity issues. If problems persist, check your refrigerator’s companion app for error codes that’ll help diagnose specific connection problems and guide you toward appropriate solutions.
Downloading and Setting Up the Home Connect App
You’ll need to download the Home Connect app from either the Apple App Store or Google Play Store to begin connecting your refrigerator.
Once downloaded, create your personal Home Connect account directly within the app and watch for a confirmation email to complete your registration.
After account setup, you can use the app’s Quick Start Guide to scan your refrigerator’s QR code or manually input its e-number from the rating plate.
App Download Process
Before connecting your refrigerator to your home network, you’ll need to download and set up the Home Connect app on your mobile device. The process is straightforward and begins with finding the correct app for your device.
| Device Type | Download Location |
|---|---|
| iOS Devices | Apple App Store |
| Android Devices | Google Play Store |
Once you’ve downloaded the app, create your personal Home Connect account directly within the application. You’ll receive a confirmation email that you must verify to complete registration. The app includes a helpful Quick Start Guide featuring a QR code specifically for your refrigerator connection. You’ll also need to input your home Wi-Fi network credentials during setup, as the refrigerator may temporarily create its own HomeConnect network during initial configuration.
Account Registration Steps
After installing the Home Connect app, the registration process requires just a few simple steps to get your account ready.
Creating your Home Connect account is straightforward and sets the foundation for controlling your refrigerator remotely:
- Enter your credentials – Input your email address and create a secure password within the app’s registration interface.
- Confirm via email – Check your inbox for the verification link and click it to activate your account.
- Connect your refrigerator – Scan the QR code from your Quick Start Guide or manually enter your refrigerator’s e-number found on the rating plate.
Before completing registration, verify your Wi-Fi network is functioning properly.
You’ll need to input the access data in the app to establish the connection between your refrigerator and home network.
Initial Setup Requirements
Once you’re ready to connect your smart refrigerator to your home network, downloading the Home Connect app marks your first essential step. Visit the Apple App Store or Google Play Store to install the application and establish your personal Home Connect account.
After registration, check your email for a confirmation link to complete the setup.
Before starting the connection process, gather essential information. Locate your appliance’s e-number on the rating plate, which helps access the necessary QR code found in your Quick Start Guide or Connection Guide.
Confirm your Wi-Fi network is compatible with your refrigerator and have your network credentials readily available. These preparation steps streamline the entire connection process and prevent potential setup delays.
Locating Your Refrigerator’s E-Number and QR Code
Before you can connect your refrigerator to the Home Connect app, you’ll need to locate two critical pieces of information on your appliance.
First, find the rating plate that contains your refrigerator’s E-number, which is highlighted in yellow and typically located inside the fridge section or on an exterior side wall.
You’ll also need to scan the QR code, whose location is detailed in your Quick Start Guide or the Connection Guide within the app itself.
Finding Rating Plate Location
The quest to connect your refrigerator starts with locating its rating plate, which houses the essential e-number you’ll need for network setup. This vital component is typically found inside your appliance, positioned on the side wall or near the compressor area.
To streamline your search for the rating plate:
- Look for the yellow marking – The e-number is specifically marked in yellow on the rating plate, making identification straightforward.
- Check video guides – Access connection guide videos that show exact locations based on your refrigerator model.
- Use the Quick Start Guide alternative – If you can’t locate the rating plate, find the QR code in your Quick Start Guide instead.
Once you’ve found the e-number, you can generate the QR code needed for the Home Connect app connection.
Scanning QR Code Process
After you’ve located your refrigerator’s rating plate, scanning the QR code becomes your next essential step in establishing the network connection.
Look for the yellow-marked QR code directly on the rating plate, or access it through the Quick Start Guide included with your appliance.
You’ll need the e-number from the rating plate to connect your refrigerator model to the Home Connect app successfully.
Input this e-number into the app, which will generate the correct QR code for your specific unit.
If you can’t locate the QR code on the rating plate, use the connection guide feature within the app.
Video tutorials are available if you need additional assistance identifying the e-number on different refrigerator models.
Establishing Initial Bluetooth Connection
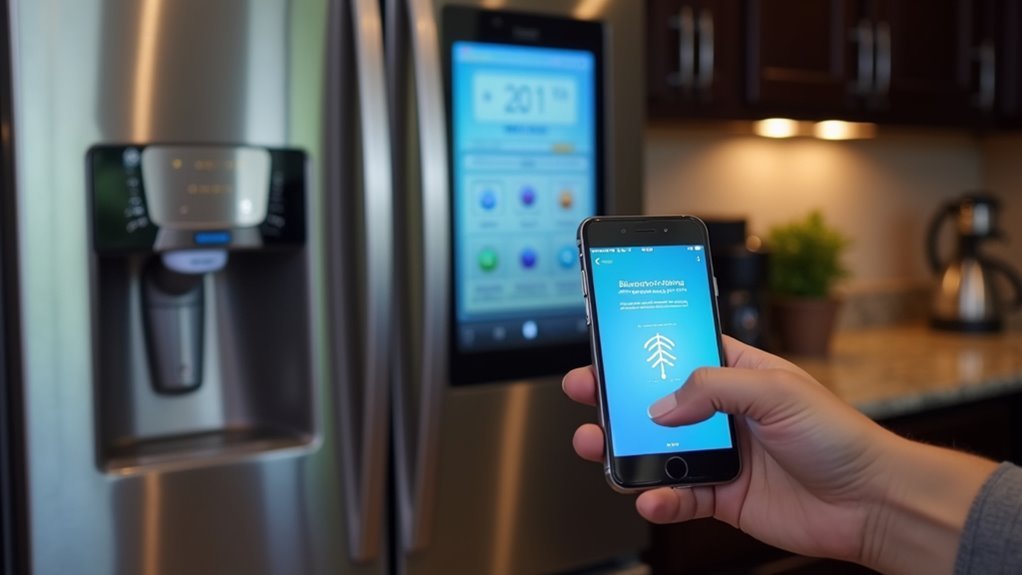
Once you’ve enabled Bluetooth on your smartphone, open the SmartHQ app to begin pairing with your refrigerator. The app will guide you through the connection process step by step.
Position yourself close to your refrigerator to guarantee peak Bluetooth signal strength during pairing.
Follow these essential steps:
- Locate your device – Wait for your refrigerator to appear in the app’s list of available devices
- Select and connect – Tap on your refrigerator from the detected devices list
- Confirm pairing – Enter the required PIN or accept the pairing request on both your smartphone and refrigerator display
Once successfully paired, your refrigerator maintains its Bluetooth connection automatically.
This enables seamless monitoring and management through the SmartHQ app whenever you’re in proximity to your appliance.
Configuring WiFi Network Settings
Once you’ve established the Bluetooth connection, you’ll need to configure your WiFi network settings to guarantee your refrigerator can connect successfully.
Your network’s security protocol and name formatting play vital roles in establishing a stable connection. Set your WiFi to WPA2 only mode and choose a network name without spaces or special characters to maximize compatibility.
WPA2 Security Requirements
When connecting your refrigerator to your home network, you’ll need to configure your WiFi settings to use WPA2 security exclusively, as most smart refrigerator models don’t support WPA2/WPA3 mixed mode configurations.
This specific security protocol guarantees successful connections between your refrigerator and router settings.
To enhance your WiFi network for connecting devices, follow these essential requirements:
- Set WPA2-only mode in your router’s security settings to prevent compatibility conflicts
- Disable MAC address filtering temporarily to allow your refrigerator to authenticate properly
- Monitor for error codes in your connected app like SmartThings if authentication issues persist
Proper WPA2 security configuration eliminates most connectivity problems and provides the stable connection your smart refrigerator needs for peak performance.
Network Name Guidelines
Before setting up your refrigerator’s connection, you’ll need to configure your WiFi network name (SSID) using specific guidelines that verify compatibility. Your network name shouldn’t contain spaces or special characters, as these elements frequently cause connection issues with smart appliances.
Keep the SSID simple by using only letters and numbers.
Configure your router to broadcast on the 2.4GHz band since most refrigerators can’t connect to 5GHz frequencies. Set your security protocol to WPA2 only rather than mixed modes, which often create authentication problems.
You’ll also want to disable MAC address blocking on your router to prevent connectivity restrictions.
Create a WiFi network password using exclusively alphanumeric characters. These straightforward configuration changes verify your refrigerator connects smoothly to your home network.
Choosing Between Connection Methods A and B
Since modern refrigerators offer two primary connection methods, you’ll need to decide which approach works best for your specific setup.
Method A creates a temporary Wi-Fi network called “HomeConnect” that you’ll connect to directly from your mobile device.
Method B uses Bluetooth for streamlined initial pairing without needing immediate home Wi-Fi network access.
Consider these factors when choosing your connection method:
- Network access – Choose Bluetooth if your home Wi-Fi password isn’t readily available.
- Device compatibility – Confirm your refrigerator supports either 2.4GHz/5GHz Wi-Fi or Bluetooth connectivity.
- Setup preference – Select the method that feels more intuitive for your technical comfort level.
Regardless of your choice, you’ll enter your home network credentials in the Home Connect app afterward to enable ongoing smart features.
Entering Home Network Credentials
After selecting your preferred connection method, you’ll need to provide your home network details to complete the setup.
Open the Home Connect app and locate the connection setup section where you’ll enter your Wi-Fi SSID and password. Confirm your home network credentials contain only letters and numbers, avoiding spaces and special characters for compatibility.
Your refrigerator requires WPA2 security configuration, so verify your router settings beforehand.
During the process, your appliance will create a temporary Wi-Fi network called “HomeConnect” that facilitates the initial pairing. Connect your smartphone to this network, then return to the app to input your access data.
The refrigerator will automatically switch to your home network once the credentials are successfully validated.
Using WPS for Automatic Router Connection
You can simplify your refrigerator’s network connection by using WPS (Wi-Fi Protected Setup), which eliminates the need to manually enter your Wi-Fi password.
Before starting, you’ll need to verify that both your refrigerator and router support WPS functionality—most modern routers have a dedicated WPS button that indicates compatibility.
The setup process requires precise timing, as you’ll need to press your router’s WPS button and then activate WPS mode on your refrigerator within a two-minute window.
WPS Setup Process
While manual Wi-Fi setup requires entering network credentials, WPS (Wi-Fi Protected Setup) offers a streamlined alternative that’ll connect your refrigerator to your home network automatically.
This method eliminates the need to manually input Wi-Fi credentials, making the setup process much simpler.
To complete the WPS automatic connection:
- Verify compatibility – Confirm your refrigerator supports WPS and is powered on, with your router set to 2.4 GHz or 5 GHz frequency.
- Initiate connection – Press the WPS button on your router, then press your refrigerator’s WPS button within two minutes.
- Complete setup – Allow the refrigerator to automatically search for and connect to the router.
If the connection fails, restart both devices before attempting the WPS setup again.
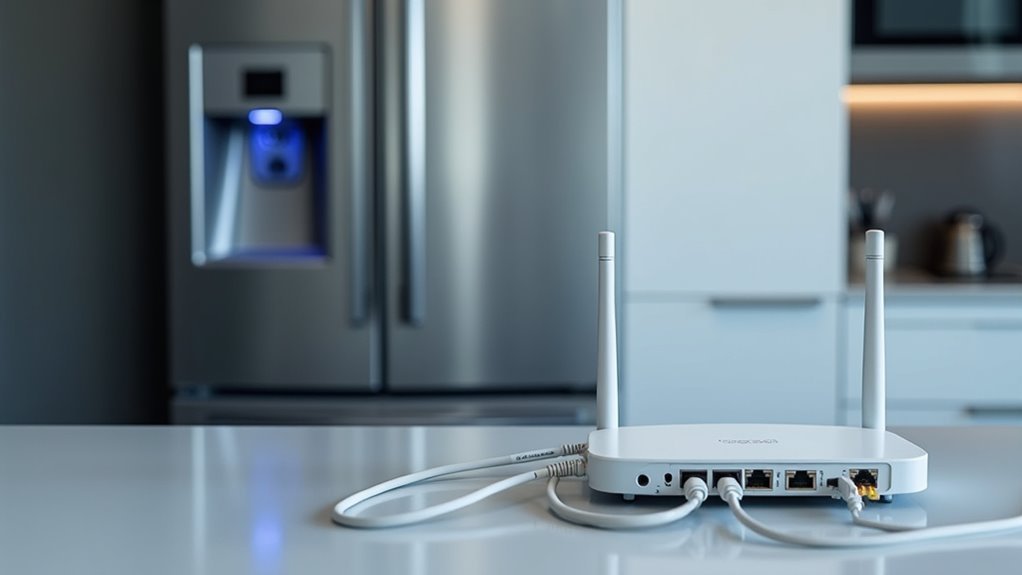
Router Compatibility Requirements
Before attempting WPS setup, your router must meet specific compatibility requirements to confirm a successful connection with your refrigerator. Your router must support the WPS function for automatic pairing without manually entering Wi-Fi credentials.
Verify your refrigerator’s compatibility with either 2.4 GHz or 5 GHz frequency bands, as some models only connect to one specific band. Your network requires WPA2 security encryption, since WPS won’t function properly with open networks or outdated security protocols.
Additionally, ascertain your Wi-Fi SSID doesn’t contain special characters or spaces, which can prevent successful connections. Router compatibility extends beyond basic WPS support—you’ll need proper frequency band support and appropriate security settings to establish a reliable connection between your smart refrigerator and home network.
Troubleshooting Common Connection Errors
Since smart refrigerators rely on stable network connections to function properly, connection errors can quickly become frustrating when your appliance won’t stay online.
When you encounter connectivity failures, specific troubleshooting steps can resolve most Wi-Fi network problems.
Watch for error codes like C7101 or E7101, which signal connection issues requiring immediate attention.
Here’s how to address common problems:
- Check your network credentials – Confirm your Wi-Fi SSID contains no spaces or special characters, and verify your password uses only letters and numbers.
- Restart both devices – Power cycle your refrigerator and router to eliminate temporary network glitches.
- Review router settings – Examine your router’s logs for disconnection patterns and check for restrictions affecting device connectivity.
These systematic approaches typically resolve most refrigerator connection problems.
Managing Router Security and Encryption Settings
Although smart refrigerators offer convenient connectivity features, they’re particularly sensitive to specific router security configurations that can prevent successful network access.
Configure your router security with WPA2 encryption, avoiding mixed WPA2/WPA3 modes that smart appliances often can’t handle. Choose an SSID without spaces or special characters to prevent connectivity issues.
Disable MAC address filtering in your router settings, as this feature blocks unrecognized devices from connecting. Create a Wi-Fi password using only letters and numbers—special characters frequently cause connection failures with smart refrigerators.
Monitor your router’s logs regularly to track disconnection events and identify recurring problems. These proactive security adjustments guarantee your refrigerator maintains stable network connectivity while preserving essential protection for your home network.
Sharing Appliance Access With Family Members
Once you’ve established a secure network connection for your smart refrigerator, you’ll want to share access with family members to maximize the appliance’s collaborative features.
The Home Connect app makes this process straightforward by allowing you to invite others via email addresses.
Here’s how to share access effectively:
- Send invitations – Enter family members’ email addresses in the Home Connect app to grant them control appliance privileges.
- Ensure account setup – Each invited user needs their own Home Connect account to accept invitations.
- Manage access rights – Revoke or modify permissions anytime through your profile settings.
You’ll receive notifications when invitations are accepted.
Shared access enhances coordination for grocery lists and food inventory management, making your smart refrigerator truly collaborative.
Monitoring Connection Status and Notifications
After your smart refrigerator joins your home network, keeping track of its connection status becomes essential for maintaining reliable performance.
Your refrigerator’s companion app, like SmartHQ or Home Connect, provides real-time monitoring of your Wi-Fi connection. You’ll receive app notifications whenever disconnections or failed connection attempts occur, letting you address issues immediately.
The smart refrigerator sends maintenance alerts directly to your phone, reminding you about filter replacements and other upkeep needs. This proactive approach guarantees your appliance operates at peak efficiency.
You’ll also get push notifications about available software updates that enhance your refrigerator’s functionality and user experience. Through continuous monitoring, you can verify your appliance remains actively connected to your home network, preventing unexpected disruptions.
Updating Refrigerator Software Through SmartHQ
Two essential prerequisites enable seamless software updates through the SmartHQ app: your refrigerator must maintain an active Wi-Fi connection, and you’ll need the SmartHQ app installed on your smartphone or tablet.
The SmartHQ app automatically notifies you when software updates become available for your refrigerator.
Here’s how to manage the update process effectively:
- Monitor notifications – Check your SmartHQ app regularly for update alerts
- Initiate updates promptly – Tap the notification to begin the software installation
- Wait for completion – Allow several minutes for the process to finish
Your refrigerator remains operational during updates, ensuring continuous functionality.
These software updates improve performance and introduce new features that enhance your appliance’s capabilities.
If you encounter difficulties, contact the Connected Home Support Line for expert assistance with the update process.
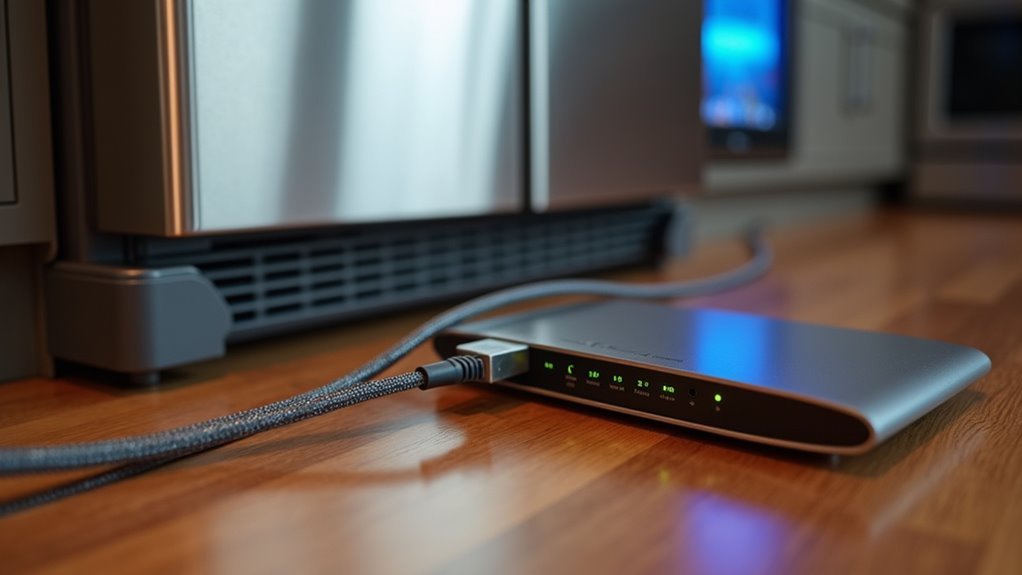
Resolving Intermittent Disconnection Issues
While your refrigerator may connect to Wi-Fi successfully during initial setup, intermittent disconnection issues can disrupt its smart functionality and prevent software updates.
First, verify your refrigerator connects to a 2.4GHz network, as most models don’t support 5GHz connections that cause frequent disconnections.
Check your Wi-Fi settings to confirm the SSID doesn’t contain spaces or special characters, which affect connection stability.
Configure your router to WPA2 security only, since mixed WPA2/WPA3 mode isn’t compatible with many refrigerator models.
Monitor your router logs for disconnect patterns that may indicate signal strength problems or interference.
If disconnections persist despite these adjustments, contact the manufacturer’s support team or join community forums for additional troubleshooting insights.
Frequently Asked Questions
How Do I Connect My Fridge to My Home Connect?
Download the Home Connect app and create an account. Use your fridge’s QR code or e-number to start setup. Enter your Wi-Fi network details in the app to complete the connection process.
How to Connect Refrigerator to Wi-Fi?
Access your refrigerator’s settings and select Wi-Fi setup. Choose your 2.4 GHz network from available options, enter your password using only letters and numbers, then use the manufacturer’s app to complete connection.
Can a Fridge Connect to the Internet?
Yes, you can connect many modern fridges to the internet through Wi-Fi. You’ll need a compatible smart refrigerator and your home network credentials to access features like remote monitoring and notifications.
Should I Connect My Fridge to Wi-Fi?
You should connect your fridge to Wi-Fi if you want smart features like remote temperature control, maintenance alerts, and inventory tracking. Make certain your network’s secure with WPA2 encryption for peak performance.


Leave a Reply