You’ve probably stood in your kitchen, frustrated by the chaos of managing multiple appliances while trying to prepare a meal. HomeKit can transform your cooking space into an orchestrated symphony of smart devices that respond to your voice and anticipate your needs. However, there’s a specific sequence to setting up these gadgets that most people get wrong, leading to connectivity nightmares and devices that simply won’t cooperate when you need them most.
Essential HomeKit Requirements for Kitchen Setup
Before you can start controlling your kitchen gadgets with voice commands or your phone, you’ll need to confirm your iPhone or iPad runs the latest iOS version with Bluetooth enabled.
This creates the foundation for seamless HomeKit integration throughout your kitchen space.
You’ll also need a HomeKit hub for remote access and automation features. Choose from HomePod, Apple TV, or an iPad to serve as your central control point.
The hub enables you to control smart kitchen gadgets even when you’re away from home.
Finally, connect all devices to the same Wi-Fi network.
This prevents connectivity issues and confirms your coffee makers, smart plugs, and other accessories communicate effectively with your HomeKit ecosystem for reliable performance.
Compatible Kitchen Appliances and Device Categories
You’ll find HomeKit-compatible kitchen appliances span several major categories, from smart coffee makers and ovens to refrigerators and dishwashers that integrate seamlessly with Apple’s ecosystem.
Your device selection isn’t limited to large appliances—smart plugs, scales, air quality monitors, and lighting solutions can transform ordinary kitchen tools into connected gadgets.
Before purchasing any smart kitchen device, you’ll need to verify it displays the “Works with Apple HomeKit” certification to guarantee proper compatibility with your Apple Home app.
Smart Appliance Types
The world of HomeKit-compatible kitchen appliances spans essential cooking devices that’ll transform how you prepare meals. Smart kitchen appliances like refrigerators, ovens, coffee makers, and slow cookers integrate seamlessly with your Apple ecosystem through the Home app or Siri voice commands.
You can expand functionality using smart plugs like the Wemo Smart Plug to make existing appliances HomeKit-compatible. Brands including Instant Pot, Hamilton Beach, and GE Appliances offer dedicated HomeKit-compatible devices that provide automation and remote access capabilities.
These appliances typically feature NFC or QR code setups for effortless integration. You’ll also benefit from smart lighting solutions like Philips Hue bulbs that complement your cooking environment.
This connected kitchen ecosystem enables personalized scenes, such as automatically adjusting lighting and temperature when you start cooking.
Device Compatibility Requirements
When shopping for smart kitchen appliances, compatibility hinges on Apple’s official HomeKit certification, which guarantees your devices will integrate securely with your existing ecosystem.
Meeting device compatibility requirements guarantees seamless operation through the Home app and Siri voice commands.
Before purchasing any appliance, you’ll need to verify it explicitly supports HomeKit by checking:
- Product packaging displaying the HomeKit logo or certification badge
- Manufacturer’s website specifications confirming HomeKit integration
- Connectivity protocols like Wi-Fi or Thread for peak performance
Smart ovens, refrigerators, coffee makers, and slow cookers commonly feature HomeKit compatibility.
If you’ve got traditional appliances, devices like Wemo Smart Plugs can transform them into HomeKit-enabled gadgets.
Always confirm a HomeKit device meets these requirements before buying to avoid frustrating connectivity issues later.
Preparing Your Kitchen Network Infrastructure
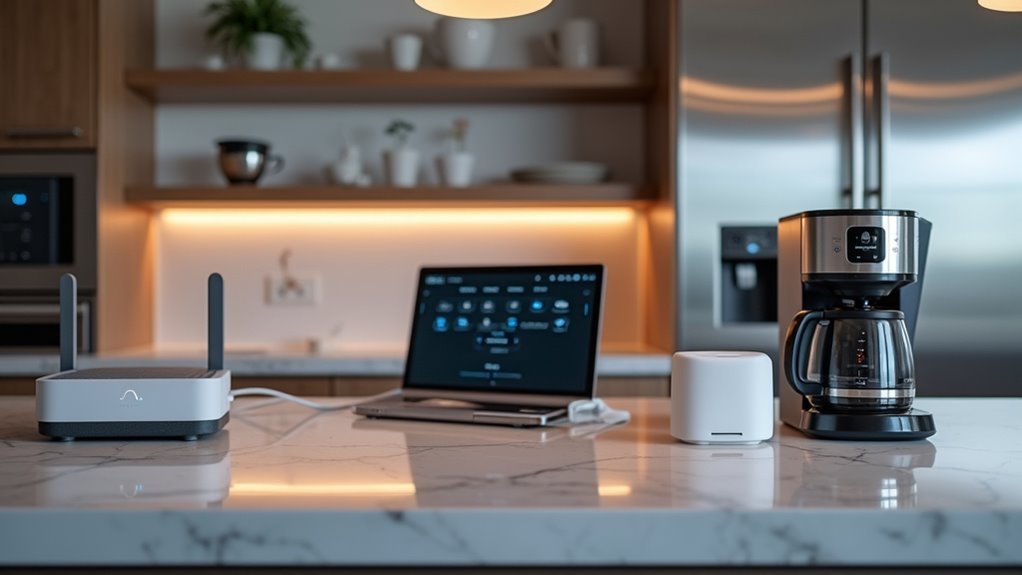
Before installing your HomeKit kitchen gadgets, you’ll need to optimize your Wi-Fi network to handle multiple smart devices efficiently.
Strategic hub placement guarantees seamless connectivity throughout your kitchen space, while evaluating your bandwidth requirements prevents network congestion during peak usage.
These foundational steps ensure your smart appliances will respond quickly and maintain reliable connections for both local and remote control.
Wi-Fi Network Optimization
Smart kitchen success hinges on robust Wi-Fi infrastructure that can handle multiple connected devices without compromising performance.
You’ll need to strategically position your router in the kitchen’s center to eliminate dead zones and guarantee consistent connectivity for all your HomeKit gadgets.
Your Wi-Fi network optimization should focus on these critical elements:
- Deploy a dual-band router supporting both 2.4 GHz and 5 GHz frequencies, as most smart devices rely on the 2.4 GHz band for extended range.
- Implement regular firmware updates to maintain security protocols and enhance compatibility with new smart devices.
- Configure QoS settings to prioritize bandwidth allocation for kitchen gadgets, minimizing latency during peak usage.
Consider adding Wi-Fi extenders or mesh systems if you’re experiencing weak signal areas that could disrupt your smart device connectivity.
Hub Placement Strategy
Your HomeKit hub acts as the command center for all smart kitchen operations, so its physical placement directly impacts how reliably your gadgets respond to voice commands and automation triggers.
Position your hub device centrally within your kitchen to maximize connectivity with all smart kitchen devices. Whether you’re using an Apple TV or Apple HomePod, keep it away from walls and large appliances that could obstruct signals.
Maintain clear sight lines between your hub and connected gadgets whenever possible. Avoid placing your Apple HomePod near microwaves or other devices that generate electromagnetic interference.
The central location guarantees equal signal distribution throughout your kitchen space, reducing response delays and connection drops. Remember to keep your hub powered continuously and connected to your internet for seamless remote access and automation functionality.
Bandwidth Requirements Assessment
While your HomeKit hub provides the foundation for smart kitchen connectivity, evaluating your network’s bandwidth capacity guarantees every connected gadget operates without lag or interruption.
Your kitchen’s smart devices demand consistent data flow to maintain responsiveness and reliability.
Essential bandwidth considerations include:
- Minimum speed requirements – Confirm 25 Mbps bandwidth supports multiple smart devices simultaneously, from refrigerators to lighting systems.
- Wi-Fi frequency optimization – Configure your network to accommodate 2.4 GHz connections, which offer superior range for kitchen appliances.
- Router upgrades – Consider dual-band or tri-band routers to manage traffic effectively and reduce latency.
Monitor your network’s performance regularly, especially during peak usage times when bandwidth bottlenecks commonly occur.
If your kitchen’s located far from your router, implement a mesh network solution to maintain strong Wi-Fi signals throughout the space.
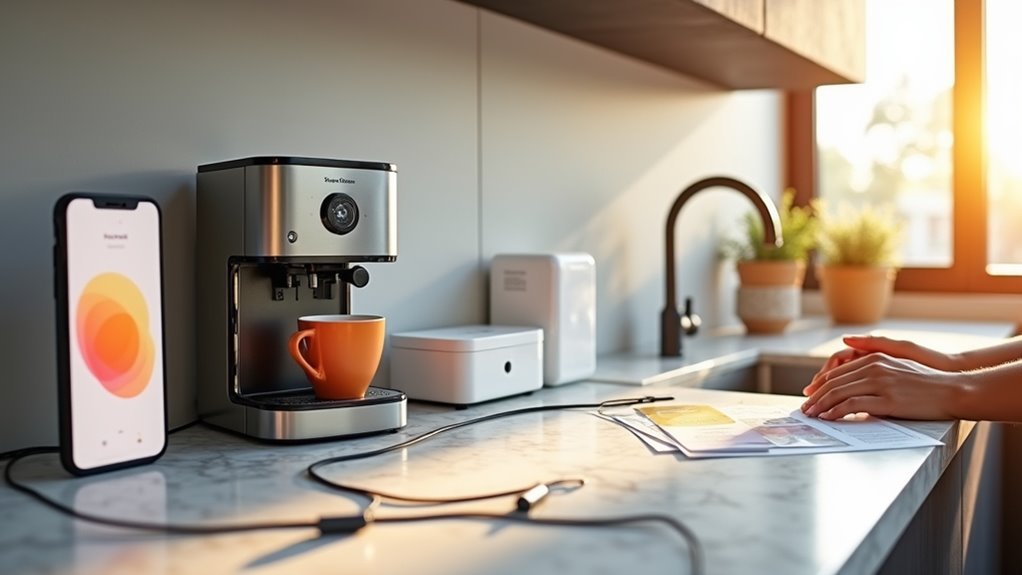
Adding Smart Coffee Makers and Beverage Stations
Once you’ve decided to upgrade your morning routine, integrating a HomeKit-compatible smart coffee maker like the Hamilton Beach FlexBrew becomes surprisingly straightforward.
You’ll simply scan the HomeKit setup code or use the Home app to add your device seamlessly. Verify your smart coffee makers connect to the same Wi-Fi network as your other HomeKit devices for peak performance and remote access.
You can establish programmable brewing schedules through the Home app or Siri voice commands, making your mornings effortless.
Create automations that start brewing when you wake up or automatically shut off after brewing completes. Smart beverage stations offer even more versatility with customizable drink recipes controlled via Siri, letting you prepare favorite beverages hands-free while enhancing your kitchen’s overall efficiency.
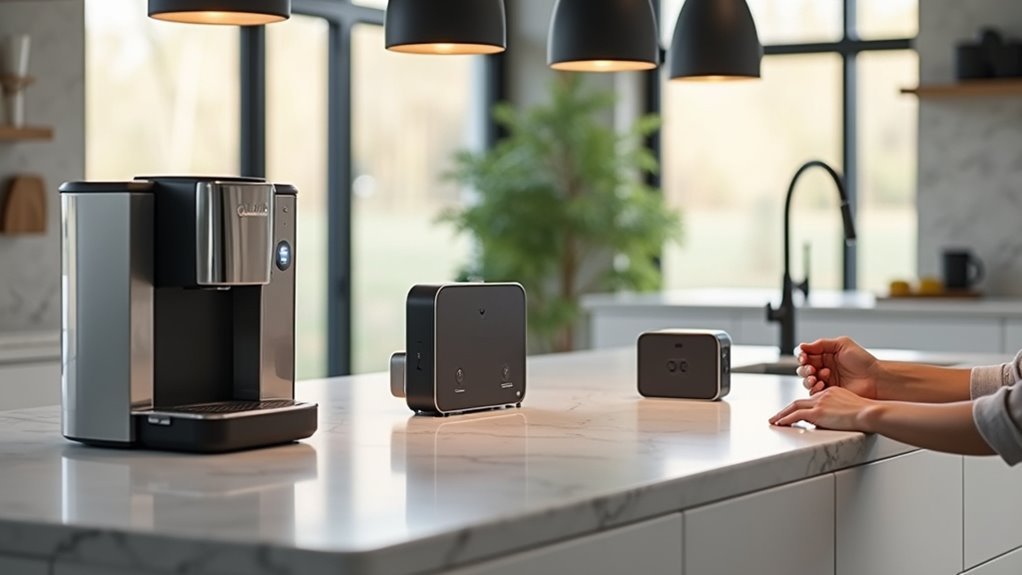
Integrating Smart Plugs for Small Kitchen Appliances
Smart plugs transform ordinary kitchen appliances into HomeKit-controlled devices without requiring expensive replacements.
You’ll convert any coffee maker, toaster, or blender into smart technology by simply plugging them into these HomeKit devices.
Before purchasing, verify HomeKit certification on the packaging to guarantee seamless integration.
Setup involves plugging the device into your wall outlet, connecting your appliance, and adding it through the Apple Home app on your iPhone or iPad.
Create powerful automations to enhance your kitchen workflow:
- Program your coffee maker to start brewing automatically each morning
- Control appliances instantly using Siri voice commands
- Monitor energy consumption to track power usage and reduce costs
The Apple Home app enables you to schedule operations, create custom scenes, and manage multiple smart plugs throughout your kitchen efficiently.
Setting Up Voice-Controlled Lighting Systems
Voice-controlled lighting transforms your kitchen experience by eliminating the need to manually flip switches while your hands are busy with food preparation.
To get started, you’ll need HomeKit-compatible smart lights like Philips Hue or LIFX bulbs. Install the Home app on your iPhone or iPad, then scan the HomeKit setup code from your light packaging to add them to your network.
Name each light specifically in the Home app—”kitchen lights” or “under-cabinet lights”—for easier Siri recognition. Create a “Kitchen” room grouping to enable commands like “Hey Siri, turn on the kitchen lights.”
Set up automated scenes such as “Cooking” that adjusts multiple lights simultaneously. This Apple HomeKit integration provides seamless voice control, making your kitchen workflow more efficient and hands-free.
Connecting Smart Switches and Outlets
While voice-controlled lighting creates a foundation for your smart kitchen, expanding to smart switches and outlets gives you extensive control over all your electrical devices.
Before connecting, verify compatibility and check for firmware updates on your smart switches.
Setting up these devices through your Apple device is straightforward:
- Open the Home app and tap the “+” icon, then select “Add Accessory”
- Scan the HomeKit setup code on your device or packaging for secure connection
- Assign switches and outlets to specific rooms for organized control
Once connected, you’ll manage everything through the Home app.
Create automation routines like scheduling appliances or controlling devices remotely. This organization enables seamless Siri voice commands and transforms your kitchen into a fully integrated smart environment.
Configuring Temperature and Climate Controls
You’ll want to start by setting up your HomeKit-compatible smart thermostat through the Home app, ensuring it’s properly connected to your Wi-Fi network.
Once configured, you can use Siri voice commands to adjust your kitchen’s temperature hands-free, making cooking more comfortable without touching any controls.
Creating automated schedules will help maintain ideal climate conditions throughout your daily cooking routines while maximizing energy efficiency.
Smart Thermostat Setup
Before you can enjoy the convenience of voice-controlled temperature adjustments, your smart thermostat needs proper installation and HomeKit integration.
First, verify your device’s HomeKit compatibility and complete the physical installation according to manufacturer guidelines. Proper wiring guarantees your thermostat communicates effectively with other smart devices in your ecosystem.
Next, open the Home app on your iPhone or iPad and follow these steps:
- Tap the “+” sign and select “Add Accessory”
- Scan the HomeKit setup code on your thermostat
- Configure temperature settings and schedules within the app
Confirm your thermostat connects to the same Wi-Fi network as your HomeKit hub for seamless operation.
Once configured, you’ll control temperatures remotely and use Siri commands like “Set the thermostat to 72 degrees” for hands-free adjustments.
Voice Control Commands
Once your smart thermostat integrates with HomeKit, configuring voice commands transforms how you manage your kitchen’s climate.
You’ll control temperature effortlessly by saying, “Hey Siri, set the kitchen temperature to 72 degrees.” HomeKit voice control extends beyond thermostats—activate smart fans with “Hey Siri, turn on the kitchen fan” for better air circulation while cooking.
Create automated scenes in the Home app that simultaneously adjust climate controls. Your “Good Morning” scene can modify thermostat settings and open blinds together.
Set helpful reminders like “Hey Siri, remind me to check the dehumidifier at 2 PM” to maintain ideal humidity levels.
Ensure all smart devices connect to the same Wi-Fi network for seamless voice control functionality through Siri’s HomeKit integration.
Automation Scheduling Tips
While voice commands provide instant control, automated scheduling takes your HomeKit kitchen climate management to the next level by working behind the scenes.
The Home app enables you to create sophisticated automation scheduling that anticipates your cooking needs throughout the day.
Configure your smart kitchen gadgets to respond intelligently to various triggers:
- Time-based automations – Schedule your oven to preheat 30 minutes before dinner or activate slow cookers at predetermined times.
- Temperature triggers – Set appliances to automatically adjust based on current kitchen climate conditions.
- Geofencing controls – Trigger climate adjustments when you arrive home, ensuring ideal cooking temperatures.
You can also combine multiple devices into single automation scenes, simultaneously adjusting lights, music, and temperature when your scheduled cooking time begins, creating seamless culinary experiences.
Establishing Kitchen Zones and Room Organization
Smart organization of your HomeKit kitchen gadgets starts with creating a dedicated “Kitchen” room in the Apple Home app, which serves as the foundation for all your culinary automation.
Once you’ve established this room, assign all your smart home devices to it for streamlined management. You’ll want to verify each gadget is compatible with Apple’s HomeKit protocol before adding them to guarantee seamless integration.
Take advantage of the Zones feature to group your kitchen with related areas like dining rooms or outdoor cooking spaces. This creates broader control over connected accessories across multiple locations.
With proper room organization in the Home app, you can easily locate and control specific devices, create targeted automation rules, and use Siri commands more effectively for hands-free kitchen management.
Creating Custom Cooking and Meal Prep Scenes
After organizing your kitchen room and zones, you’ll activate HomeKit’s most powerful feature by creating custom scenes that orchestrate multiple devices with a single command.
The Home app becomes your control center for designing scenes that transform your cooking experience.
Start with essential cooking scenes that coordinate your smart devices:
- “Meal Prep” scene – Activates kitchen fan, adjusts thermostat, and sets ideal lighting for food preparation
- “Dinner Time” automation – Triggers at scheduled times to preheat your oven and illuminate workspace areas
- “Coffee Morning” scene – Uses smart plugs to start your coffee maker while adjusting ambient lighting
You’ll enhance functionality by integrating color-changing bulbs that adapt to different cooking moods.
Custom scenes eliminate multiple app switches, letting you focus on creating delicious meals while your kitchen environment automatically adjusts.
Programming Automated Kitchen Routines
You can transform your kitchen into a smart hub by programming automated routines that handle daily tasks without your intervention.
Set up morning coffee automation to brew your perfect cup at a designated time, schedule smart appliances like toasters and ovens to activate during meal prep, and configure voice-controlled recipe timers that respond to Siri commands.
These automated sequences streamline your cooking workflow and guarantee you’ll never miss a step in your culinary routine.
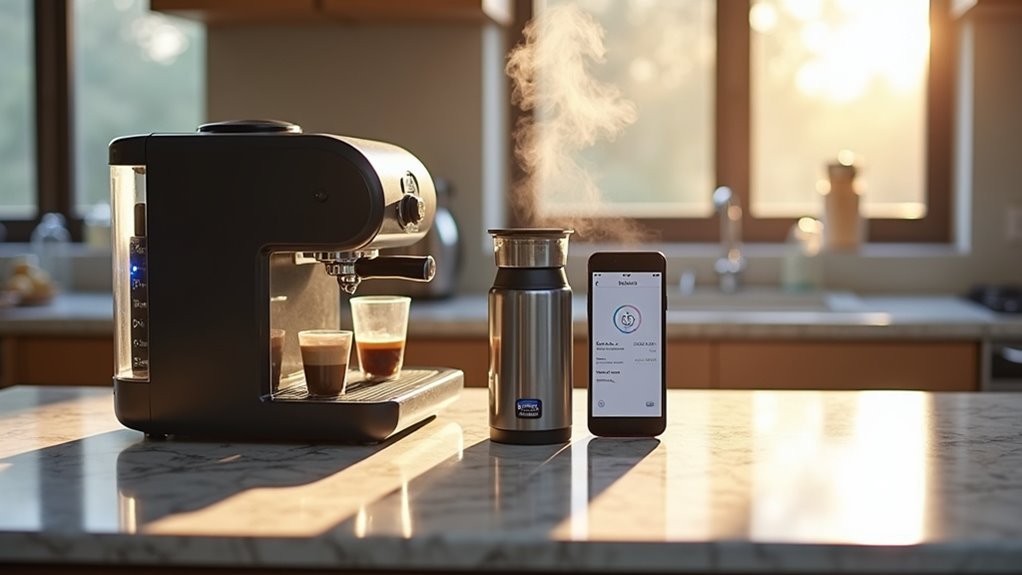
Morning Coffee Automation
Mornings become effortless when your coffee maker starts brewing before you’ve even left bed. Connect a smart plug to your coffee maker and configure scheduled brewing times through the Home app.
You’ll wake up to freshly brewed coffee without lifting a finger.
Set up voice commands through Siri for hands-free control when you need that extra cup. Simply say “Hey Siri, start my coffee” to begin brewing instantly.
Create thorough morning scenes in the Home app that include:
- Smart plug activation for your coffee maker
- Coordinated lighting adjustments throughout your kitchen
- Smart thermostat temperature controls for ideal comfort
For enhanced convenience, integrate a smart coffee scale that sends notifications when your coffee’s ready.
Always verify HomeKit certification before purchasing to guarantee seamless integration into your automated kitchen ecosystem.
Smart Appliance Scheduling
Beyond brewing the perfect cup, smart appliance scheduling transforms your entire kitchen into a synchronized cooking environment.
You’ll create automated schedules through the Apple Home app, programming your devices to turn on or off at specific times for efficient meal preparation. Set up sophisticated routines that combine multiple appliances—your coffee maker starts brewing when the smart kettle reaches ideal temperature, creating seamless coordination.
Use Siri voice commands to initiate cooking routines, enabling hands-free control while you’re multitasking.
Schedule lighting to adjust based on time of day or cooking activities, enhancing visibility and ambiance. Verify all your smart appliances support HomeKit for seamless integration through a single platform.
This unified approach maximizes convenience and efficiency, turning meal preparation into an effortless, automated experience.
Voice-Controlled Recipe Timers
When you’re juggling multiple dishes and cooking steps, voice-controlled timers become your most reliable kitchen assistant. Instead of fumbling with your phone while handling raw ingredients, you can simply ask Siri to set timers for each cooking task. This hands-free approach transforms your multitasking abilities in the kitchen.
To maximize efficiency with HomeKit-compatible kitchen gadgets:
- Set up smart plugs to automate appliance sequences that coordinate with your timer settings
- Create custom Home app automations that trigger specific routines when you select recipes
- Integrate smart scales and thermometers that work alongside your voice-controlled timers for precision
You’ll never overcook or forget dishes again when Siri manages your cooking reminders, creating a seamless culinary experience.
Optimizing Siri Voice Commands for Kitchen Tasks
Organize your kitchen devices into a single room within the Home app to facilitate group commands.
You’ll control multiple devices simultaneously by saying “Turn on the kitchen.”
Set up automations that trigger based on time or location, automatically activating meal prep routines when you arrive home.
Test and refine your voice commands regularly to verify Siri recognizes your phrasing accurately, creating a seamlessly integrated cooking experience.
Troubleshooting Common Connection Issues
Even with perfectly configured voice commands, you might encounter connectivity problems that prevent your HomeKit kitchen gadgets from responding properly.
When these connection issues arise, systematic troubleshooting steps can restore seamless operation.
Start by verifying your basic setup requirements:
- Power and proximity: Verify all kitchen gadgets are powered on and within range of your HomeKit hub, whether it’s a HomePod, Apple TV, or iPad.
- Network consistency: Check that all devices connect to the same Wi-Fi network, as HomeKit requires this for proper communication.
- Software updates: Confirm your iPhone or iPad runs the latest iOS version with Bluetooth enabled.
If problems persist, try resetting gadgets to factory settings, especially if they’ve been previously connected elsewhere.
Consult manufacturer documentation for device-specific troubleshooting steps when standard solutions don’t resolve connectivity issues.
Advanced Kitchen Automation and Scheduling
Three powerful automation features transform your HomeKit kitchen into a smart culinary workspace that anticipates your daily routines.
You can utilize the Apple Home app to create automated schedules for kitchen gadgets, setting your smart coffee maker to brew at specific times each morning. Integrate smart plugs to manage non-smart appliances, enabling remote control and scheduling through the home automation system.
Set up scenes combining multiple devices—activate your oven, turn on kitchen lights, and start music with single commands.
Leverage sensors to automate ventilation based on real-time temperature or humidity conditions. Use Siri voice commands for hands-free control of timers, appliance operation, and lighting adjustments while cooking, creating seamless automation workflows.
Frequently Asked Questions
What Are the Disadvantages of Apple Homekit?
You’ll face higher costs, iOS-only compatibility, required hubs for full functionality, limited third-party integrations, and reduced offline capabilities. These restrictions make HomeKit less flexible than competitors like Alexa or Google Assistant.
How Do I Expose Homekit Devices to Home Assistant?
You’ll install the HomeKit Controller integration in Home Assistant, navigate to integrations, and add it. Enter your device’s pairing code when prompted, then you’ll control HomeKit devices through Home Assistant’s dashboard.
How Do I See All Accessories in Homekit?
Open the Home app on your iPhone or iPad to view all connected HomeKit accessories. They’ll be organized by room and zone, or you can ask Siri to “show me my accessories.”
What Is an Apple Homekit Bridge?
An Apple HomeKit Bridge is a device that lets you connect non-HomeKit smart devices to your HomeKit ecosystem. You’ll use it to control incompatible gadgets through your Home app and Siri commands seamlessly.


Leave a Reply