You’ve probably wondered if connecting your smart coffee maker to your home network is worth the hassle. The truth is, once you understand the specific requirements and potential pitfalls, the process becomes surprisingly straightforward. However, there’s a critical step that most people overlook during setup—one that can make the difference between seamless morning brewing and frustrating connection failures that leave you reaching for instant coffee.
Understanding Smart Coffee Maker Capabilities
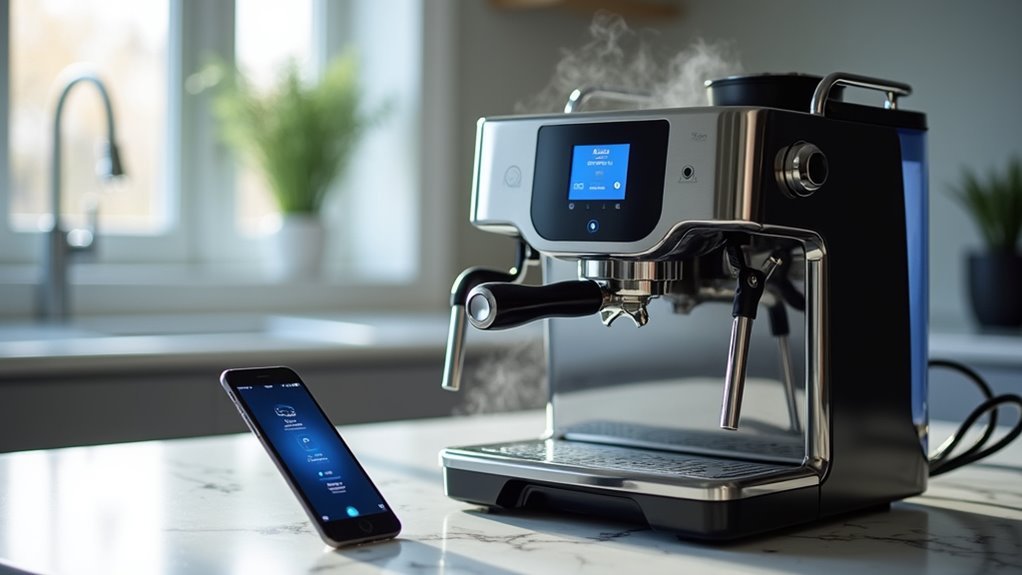
While traditional coffee makers simply brew coffee when you press a button, smart coffee makers transform your morning routine by connecting to your home’s Wi-Fi network and putting complete control at your fingertips.
You’ll discover that these advanced appliances offer remarkable capabilities beyond basic brewing. Through mobile apps, you can remotely start your coffee maker, adjust brewing strength, temperature, and cup size to match your exact preferences.
Smart coffee makers deliver personalized brewing control through mobile apps, letting you customize strength, temperature, and size from anywhere.
Models like the Keurig K Supreme Plus feature Brew ID technology that remembers your customized settings. Voice command integration with Amazon Alexa and Google Home lets you operate your coffee maker hands-free.
When connected to your smart home system, you can automate brewing schedules and receive smartphone notifications when your coffee’s ready.
Pre-Connection Setup Requirements
Success in connecting your smart coffee maker depends on completing several essential preparation steps before you begin the setup process. These pre-connection setup requirements guarantee a seamless installation experience.
First, locate your Wi-Fi password and keep it accessible during setup. You’ll need this credential to authenticate your coffee maker with your home network.
Next, find your appliance’s QR code, typically positioned on the back panel or included in the Quick Start Guide.
Verify your smartphone connects to the same Wi-Fi network you’ll use for the coffee maker. Confirm your network operates on 2.4 GHz frequency, as most smart coffee makers require this band for ideal performance.
Finally, download the manufacturer’s corresponding app, such as Home Connect or Keurig, which provides step-by-step connection guidance.
Locating and Scanning QR Codes
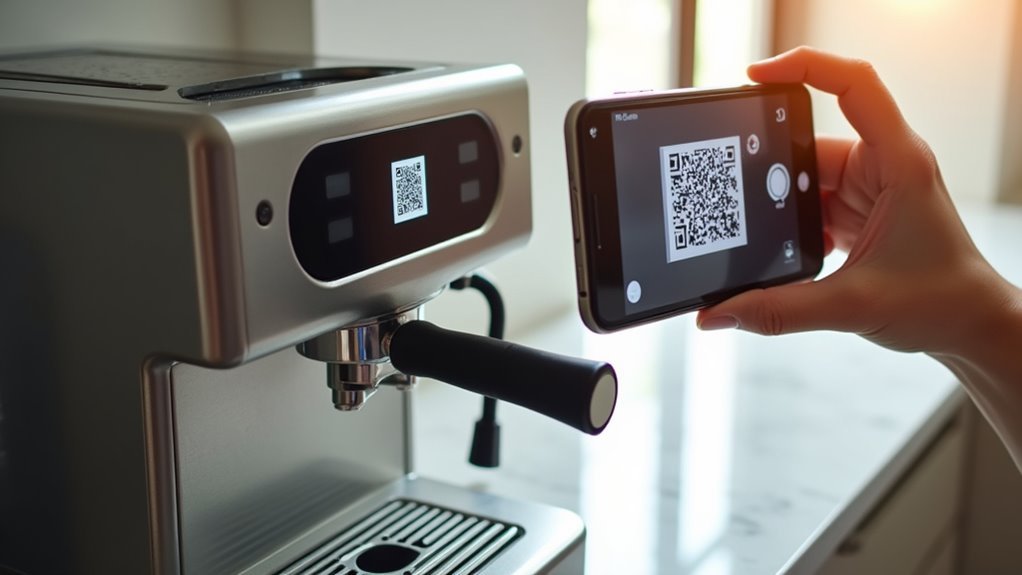
You’ll need to locate the QR code on your coffee maker, which is typically positioned on the back of the appliance or printed in your Quick Start Guide.
Once you’ve found it, use your smartphone’s camera app or a dedicated QR code scanner to capture the code.
This scanning process connects your appliance directly to the Home Connect app and streamlines the entire setup procedure.
Finding QR Code Location
Two primary locations house the QR code you’ll need to connect your coffee maker to your home network.
You’ll typically find the QR code on your Quick Start Guide, which comes packaged with your appliance. This guide contains essential setup information and prominently displays the code for easy access during initial configuration.
Alternatively, you can find the QR code directly on the back of your coffee maker itself. The manufacturer places this code on the brewer’s rear panel for convenient reference throughout the appliance’s lifetime.
Having the code permanently attached to your coffee maker guarantees you won’t lose access to this critical connection information, even if you misplace your Quick Start Guide.
Both locations provide identical codes for seamless Home Connect app integration.
Scanning Code Process
Once you’ve located your QR code, position your smartphone’s camera directly over the code to begin the scanning process. You can use your phone’s built-in camera or a QR code scanner app to initiate the connection. Make sure your smartphone connects to the same Wi-Fi network you want for your coffee maker.
| Method | Tool Required | Action |
|---|---|---|
| Camera Scanning | Smartphone camera | Point and scan QR code |
| App Scanning | QR code scanner app | Open app, then scan |
| Manual Setup | Home Connect app | Click “+” symbol to add appliance |
After scanning, the Home Connect app will launch automatically. Follow the app’s step-by-step instructions to complete your coffee maker’s network setup and establish the connection.
Downloading and Installing Manufacturer Apps
You’ll need to download your coffee maker’s specific app from your device’s app store to begin the connection process.
Most manufacturers like Bosch offer dedicated apps such as Home Connect that serve as the central hub for linking your appliance to your home network.
Once you’ve downloaded the app, open it and create an account if prompted, making sure you have your Wi-Fi password readily available for the setup steps ahead.
App Download Process
The initial step involves downloading your coffee maker’s dedicated mobile application from either the App Store or Google Play Store.
You’ll need to identify the correct app for your specific machine model, as different manufacturers offer distinct applications.
Here’s what you should look for during the app download process:
- Search for manufacturer-specific apps like “Home Connect” for compatible appliances or “Keurig” for Keurig machines
- Verify the app developer matches your coffee maker’s brand to avoid downloading incorrect applications
- Check app ratings and reviews to guarantee you’re selecting the official, well-functioning version
- Confirm the app supports your coffee maker model before installation
Once you’ve located the appropriate app, tap the download button and wait for installation to complete on your device.
Account Creation Steps
Creating an account represents your next major step after successfully downloading your coffee maker’s app. These account creation steps require an email address, password, and often email verification to complete setup.
| Step | Requirement | Purpose |
|---|---|---|
| Email Entry | Valid email address | Account identification and communication |
| Password Creation | Letters, numbers, special characters | Secure account access |
| Email Verification | Confirmation link click | Account activation |
You’ll need to guarantee your password meets the app’s specific requirements, typically including minimum length and character combinations. After completing verification through the confirmation email, you can log into your account. The app then allows you to connect your coffee maker to Wi-Fi and customize brewing preferences. Many apps also support sharing access with family members by sending email invitations.
Creating User Accounts for Coffee Maker Apps
How do you begin using your smart coffee maker’s full range of features? You’ll need to create a user account through the manufacturer’s dedicated app.
Start by downloading the appropriate application from your device’s app store, whether it’s the Keurig app or Home Connect app.
Follow these essential steps to establish your account:
- Provide your email address and create a secure password
- Make sure your password contains eight characters with one letter, number, and special character
- Check your email inbox (and spam folder) for the verification link
- Log into the app once your account is confirmed
After verification, you can connect your coffee maker and customize brewing preferences.
Remember that the first three password characters must be different to meet security requirements.
Establishing Initial Bluetooth Connections
Once you’ve set up your account, establishing a Bluetooth connection becomes your next priority for gaining wireless control of your coffee maker. This process requires coordination between your smartphone and the appliance to create a secure pairing.
| Step | Action |
|---|---|
| 1 | Enable Bluetooth on your smartphone and verify you’re within range |
| 2 | Enter pairing mode on your coffee maker using the designated button or menu |
| 3 | Select your coffee maker from available devices in your phone’s Bluetooth settings |
| 4 | Confirm the pairing on both devices using authorization codes or confirmation buttons |
After successful pairing, you’ll access remote features through the manufacturer’s app, giving you wireless brewing control from anywhere in your home.
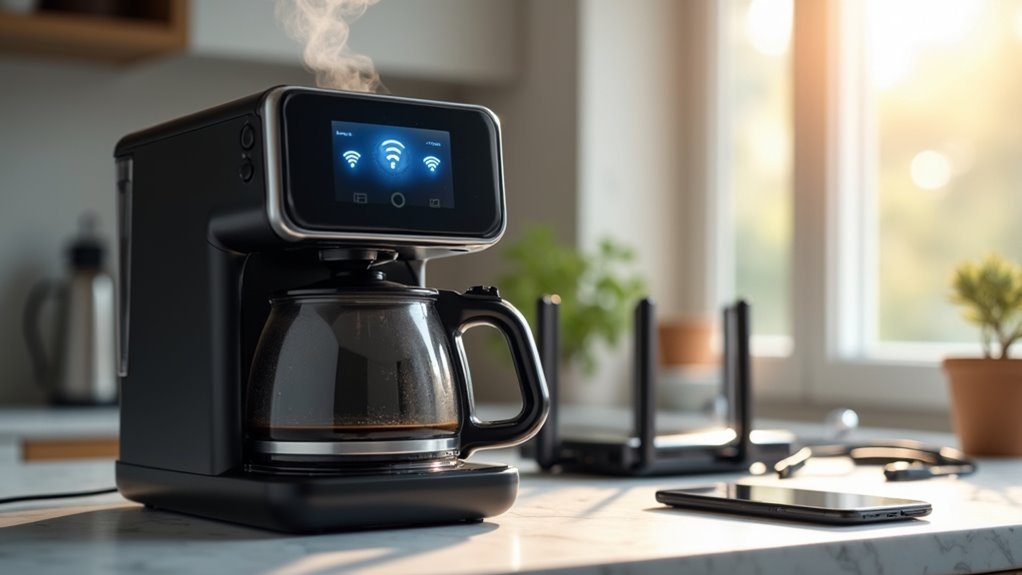
Connecting to Your Home Wi-Fi Network
While Bluetooth connections work well for nearby control, connecting your coffee maker to your home Wi-Fi network enables advanced features like remote brewing from anywhere and integration with smart home systems.
Open the Home Connect app on your smartphone and click “Add appliance” to directly start connecting. Make sure your smartphone camera can scan the QR code on your coffee maker’s display or body.
Follow these step-by-step instructions:
- Download the QR scanner app available from the App Store if needed
- Connect the code with a QR scanner by aiming your smartphone camera at the symbol and follow prompts
- Enter your Wi-Fi network credentials when prompted
- Click here to directly complete setup through the website page on your smartphone
The information we provide helps continuously aim to improve connectivity success rates.
Configuring Network Settings for 2.4GHz and 5GHz Bands
Most coffee makers require a 2.4GHz Wi-Fi connection to function properly, even though your router likely broadcasts both 2.4GHz and 5GHz networks.
To guarantee successful connectivity, configure your dual-band router with distinct network names (SSID) for each frequency band. This prevents confusion during setup and allows you to specifically connect your coffee maker to the 2.4GHz network, which provides better range for smart appliances.
Set your network security to WPA2 encryption, as most smart coffee makers require this protocol for secure connections.
Enable multicast routing in your router settings to facilitate proper device communication. During configuration, keep your mobile device connected to the same 2.4GHz network you’ll use for the coffee maker. This guarantees seamless communication between your phone and appliance during the pairing process.
Sharing Coffee Maker Access With Family Members
Once you’ve connected your coffee maker to your home network, you’ll want to share access with family members so everyone can enjoy personalized brewing experiences.
You can easily invite family members through the Home Connect app by sending email invitations that allow them to create their own accounts and join your shared appliance network.
Managing these shared accounts gives you control over access permissions while enabling each family member to customize their own coffee preferences and schedules.
Creating Shared User Accounts
Anyone in your household can enjoy personalized coffee experiences when you share access to your connected coffee maker through the Home Connect app.
Setting up shared user accounts is straightforward and guarantees everyone gets their perfect cup.
Here’s how to create shared accounts for family members:
- Send invitations through your Home Connect app profile using each family member’s email address
- Have each person create their individual Home Connect account to accept your invitation
- Allow them to customize their personal coffee preferences within their new account
- Confirm everyone maintains a stable internet connection for seamless remote control
Once you’ve established these accounts, each family member can control the coffee maker remotely and save their favorite brewing settings.
You’ll retain management control through your profile, where you can revoke access if needed.
Inviting Family Members
Although setting up shared accounts establishes the foundation, you’ll need to send specific invitations to actually grant family members access to your connected coffee maker.
Open your profile in the Home Connect app and enter the email addresses of family members you want to include. The app will automatically send invitation emails to each person you’ve specified.
Recipients must create their own Home Connect accounts if they don’t already have one. They’ll receive an email prompting them to accept your invitation and establish their connection to the coffee maker.
Once they’ve completed this process, family members can customize their individual coffee preferences and control the machine remotely through their own app interface, giving everyone personalized access to your shared coffee maker.
Managing Access Permissions
After family members join your shared coffee maker network, you’ll want to customize their access levels to match your household’s needs.
The Home Connect app makes managing permissions straightforward, giving you complete control over who can access your coffee maker and when.
You can easily adjust sharing settings through your profile:
- Modify user permissions – Grant or restrict specific brewing features for each family member
- Monitor active users – View who currently has access to your coffee maker
- Revoke access instantly – Remove sharing privileges for any user with a single tap
- Update invitation settings – Change access levels before sending new invitations
Remember that all users need the same Wi-Fi network for peak performance, and you maintain full ownership control regardless of how many people you’ve invited.
Integrating With Voice Assistants and Smart Home Systems
How convenient would it be to start your morning brew with just your voice? Many smart coffee makers integrate seamlessly with voice assistants like Amazon Alexa and Google Home, transforming your brewing experience.
Imagine waking up and simply saying “brew my coffee” to start your perfect morning routine effortlessly.
You’ll need to link your coffee maker’s app to your voice assistant through the respective app interface to facilitate this functionality.
Once connected, you can program your machine to brew at specific times or activate it remotely. Smart coffee makers also support automation routines within your smart home system, allowing coordinated actions with other devices. For instance, you can set your coffee maker to start brewing automatically when you wake up.
Remember that compatibility varies by brand and model, so check specifications before purchasing to guarantee seamless integration.
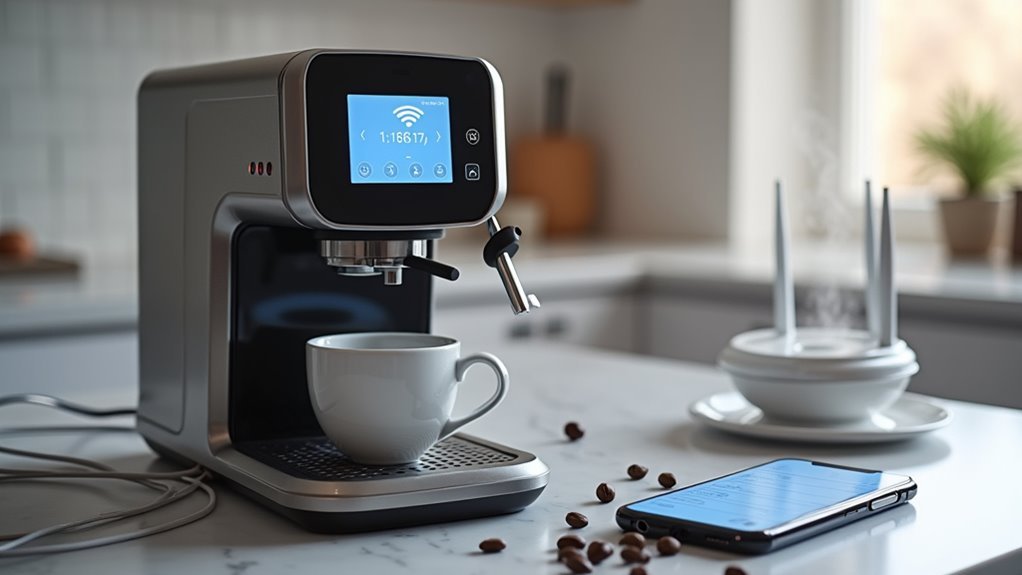
Customizing Brewing Preferences Through Mobile Apps
You’ll find that mobile apps transform your coffee maker into a personalized brewing station where you can create custom flavor profiles tailored to your exact taste preferences.
The apps let you control brewing remotely, adjusting everything from water temperature to brew strength without leaving your bed or office.
You can also set up scheduled coffee programs that automatically start brewing at specific times, ensuring your perfect cup is ready when you need it most.
Personalized Flavor Profiles
Smart coffee makers transform your morning routine by letting you craft personalized flavor profiles that match your exact taste preferences. Through your mobile app, you’ll customize brewing parameters like strength, temperature, and brew time to create your perfect cup.
Advanced models like the Keurig K Supreme Plus use Brew ID technology to automatically adjust brewing for specific coffee pods, optimizing flavor extraction.
Your app becomes a coffee laboratory where you can:
- Save multiple flavor profiles for different coffee types and moods
- Access guided tutorials and expert brewing recommendations
- Make real-time adjustments based on your current cravings
- Switch effortlessly between family members’ preferred settings
You’ll discover new brewing techniques through app recommendations while fine-tuning your coffee experience based on personal feedback and popular methods.
Remote Brewing Controls
Beyond creating your ideal flavor profiles, mobile apps enable the convenience of starting your coffee maker from anywhere in your home or even before you arrive.
You’ll have complete control over brewing preferences through your smartphone, adjusting strength, size, and temperature to match your exact taste. Smart coffee makers like the Keurig K Supreme Plus use Brew ID technology that automatically calibrates brewing parameters based on your selected pod.
You can schedule brewing times through the app, ensuring fresh coffee awaits when you wake up. The app keeps you informed with real-time notifications about brewing status, maintenance reminders, and alerts when you need to refill water or replace pods.
This seamless integration transforms coffee preparation into an effortless part of your daily routine.
Scheduled Coffee Programs
When you create scheduled coffee programs through your mobile app, you’re fundamentally programming your perfect morning routine weeks or months in advance.
Smart coffee makers like the Keurig K Supreme Plus let you customize every aspect of your brew through intuitive mobile interfaces.
You can tailor your coffee experience with these scheduling features:
- Custom brew times – Set specific brewing schedules that align with your daily routine
- Personalized strength and temperature – Adjust brewing parameters for different times of day
- Multiple saved profiles – Create distinct settings for weekdays versus weekends
- Smart notifications – Receive alerts when your coffee’s ready or maintenance is needed
Brew ID technology takes this further by learning your preferences and automatically adjusting brewing parameters.
You’ll save time while ensuring consistently perfect coffee that matches your exact taste preferences.
Troubleshooting Common Connection Problems
Three primary factors typically cause smart coffee makers to fail connecting to home networks: incompatible frequency bands, insufficient security protocols, and weak signal strength.
First, confirm your coffee maker’s compatible with your Wi-Fi network, as many models only operate on 2.4 GHz bands. If you’re using dual-band routers, you’ll need separate network names for each band.
Check your router settings to ensure 2.4 GHz compatibility, as most smart coffee makers cannot connect to 5 GHz networks.
Next, verify your network uses WPA2 encryption, which Home Connect requires for secure connections. Avoid networks requiring browser registration access.
When you encounter error codes like 4620 or 5014, restart your router by disconnecting power for thirty seconds.
If problems persist, uninstall and reinstall the Home Connect app, checking for the latest version to guarantee peak functionality and strong signal connectivity.
Managing App Updates and Device Firmware
After resolving connection issues, you’ll need to maintain your smart coffee maker’s software to prevent future problems and access new capabilities.
Regular maintenance guarantees peak performance and compatibility with your home network.
Here’s how to manage your coffee maker’s software effectively:
- Check the Home Connect app regularly for updates that improve compatibility and introduce new features for your connected device.
- Update your coffee maker’s firmware to the latest version, which can enhance performance and resolve known connectivity issues.
- Enable automatic updates in your app settings when available to receive improvements without manual intervention.
- Consult your product manual for model-specific instructions on checking and updating firmware.
Always restart both your coffee maker and the app after updates to guarantee changes take effect properly.
Optimizing Performance for Remote Brewing Control
Once you’ve updated your coffee maker’s software, maximizing remote brewing performance requires strategic network optimization and proper device placement. Connect your coffee maker to a stable 2.4 GHz Wi-Fi network, as many models don’t support 5 GHz frequencies. Position your device within range of your router and eliminate physical obstructions that weaken signals.
| Optimization Factor | Best Practice |
|---|---|
| Network Selection | Use 2.4 GHz Wi-Fi |
| Device Placement | Keep within router range |
| Signal Strength | Remove physical obstructions |
| App Management | Check for regular updates |
Utilize your manufacturer’s app—like Keurig or Home Connect—to manage brewing settings remotely from your smartphone. Integrate voice commands through Amazon Alexa or Google Home for hands-free brewing control using simple voice prompts.
Frequently Asked Questions
How Do I Share Appliances on Home Connect?
Open your Home Connect app profile and enter the email addresses of people you’d like to invite. New users must create their own Home Connect account to accept invitations and access shared appliances.
How to Connect Cafe Coffee Maker to Wifi?
You’ll need to download the Home Connect app and scan your coffee maker’s QR code. Confirm you’re on a 2.4 GHz network, then follow the app’s instructions to enter your Wi-Fi details.
How to Connect Your Keurig Coffee Maker to Wifi?
Scan the QR code on your Keurig’s back, open the Keurig app, tap “Get Connected,” press the right arrow on your brewer, join its temporary network, then select your home Wi-Fi.
What Coffee Machine Connects to Alexa?
You can connect various coffee machines to Alexa, including the Keurig K Supreme Plus Smart Brewer. You’ll need to download the manufacturer’s app and enable their Alexa skill for voice control.


Leave a Reply