You’ve probably killed more plants with good intentions than neglect, and your Arduino watering system might be heading down the same path. Most DIY plant care projects fail because builders skip essential setup steps, choose incompatible components, or can’t troubleshoot when sensors give false readings. Before you connect another wire or upload that sketch, there are five vital factors that’ll determine whether your automated garden thrives or becomes an expensive experiment in plant torture.
Choose the Right Components for Your Automated Watering System
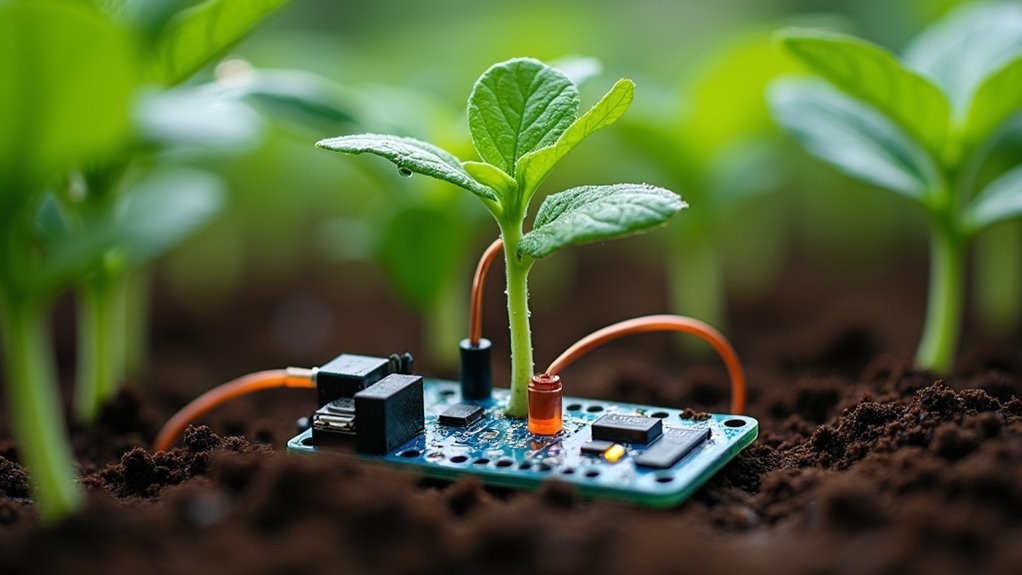
Five essential components form the foundation of any successful Arduino-based plant watering system.
You’ll need a reliable Arduino Uno microcontroller to serve as your system’s brain, controlling all operations seamlessly.
Select a soil moisture sensor that delivers accurate readings across different soil types, ensuring proper moisture monitoring for your plants.
A 12V water pump, such as the R385 DC diaphragm pump, provides efficient irrigation for multiple plants simultaneously.
You’ll want a breadboard and jumper wires for easy connections without soldering, creating a manageable setup.
Finally, add a relay module to safely control your water pump, enabling effective switching based on your soil moisture sensor readings for ideal plant care.
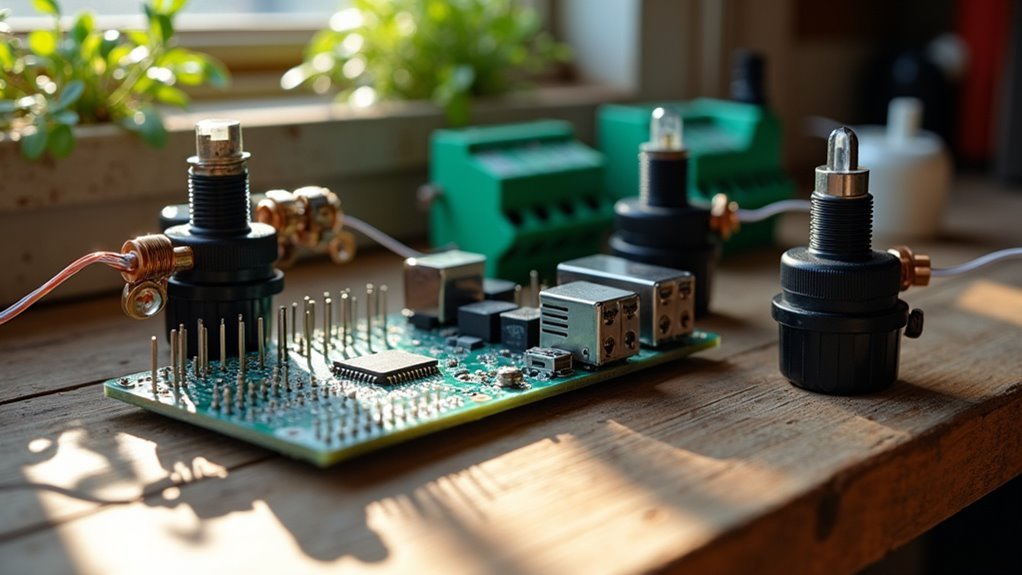
Master the Wiring and Power Supply Setup
While components form your system’s foundation, proper wiring and power supply setup determines whether your automated watering system operates safely and reliably.
Getting this right prevents electrical hazards and guarantees your water pump functions correctly.
Follow these essential wiring steps:
- Secure mains connections – Connect the live wire to the L terminal and neutral wire to the N terminal for safe system power.
- Configure 12V output – Connect the brown wire to V+ terminal and blue wire to Com terminal for proper water pump operation.
- Protect against hazards – Double-check all wiring to eliminate exposed copper that could cause shocks or short circuits.
Use a waterproof container to house your electronics, protecting them from water damage during operation while maintaining safe access for maintenance.
Calibrate Moisture Sensors for Accurate Plant Care
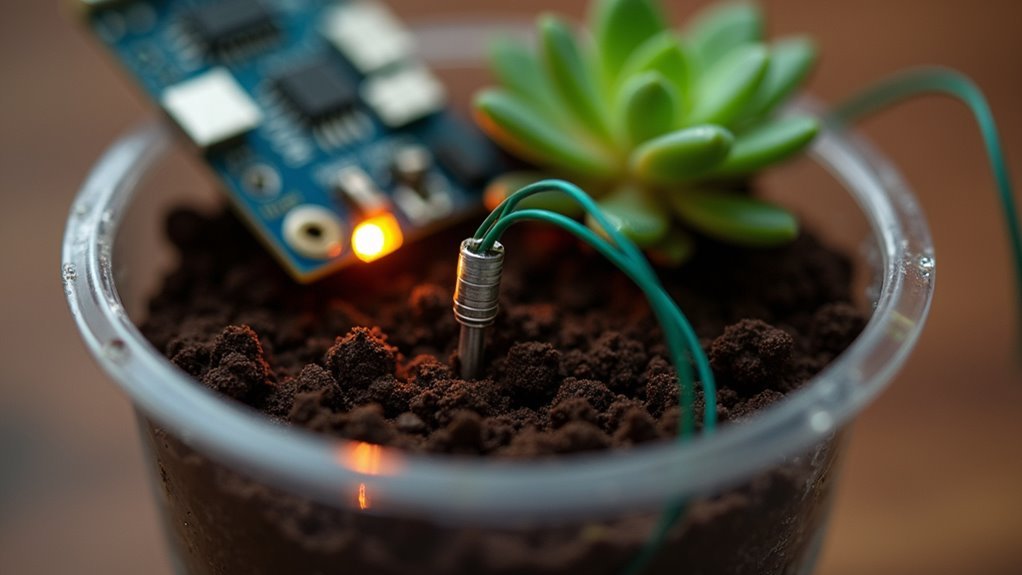
After establishing secure wiring connections, you’ll need to calibrate your moisture sensors to assure they accurately detect your plants’ watering needs.
Start by comparing your sensor readings with a reliable moisture meter to assure accuracy. Perform calibration by soaking soil completely to represent 100% moisture and recording the sensor’s reading. Then let it dry completely and record the 0% moisture reading.
Adjust threshold values in your Arduino code based on these calibration results to match your plants’ specific watering requirements. Consider using multi-point calibration by taking readings at various moisture levels for more precise profiles.
Remember to regularly check and recalibrate your moisture sensors since soil composition and environmental factors can affect their accuracy over time.
Program Smart Watering Thresholds and Timing
With your sensors properly calibrated, you can now program intelligent watering thresholds that respond to your plants’ actual needs.
Smart threshold programming guarantees your Arduino plant watering system delivers water precisely when required, preventing both drought stress and overwatering damage.
Here are three essential programming considerations:
- Set START_THRESHOLD at 30% – Trigger watering when soil moisture drops below this level to make sure plants receive timely hydration.
- Configure STOP_THRESHOLD at 70% – Prevent overwatering and root rot by stopping water delivery at ideal moisture levels.
- Adjust watering duration (6-12 seconds) – Customize timing based on plant size, pot dimensions, and environmental conditions for half-liter water delivery.
Implement timed scheduling alongside moisture monitoring for backup reliability.
This dual approach reduces sensor dependency while maintaining consistent plant care through your Arduino plant watering system.
Troubleshoot Common Circuit and Code Issues
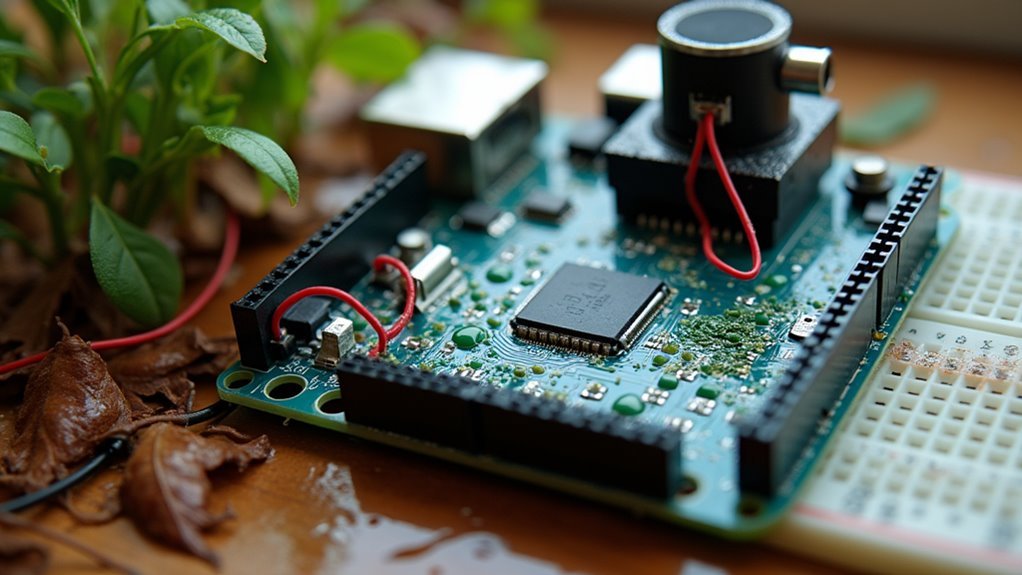
Even the most carefully designed Arduino plant watering systems can encounter unexpected issues that disrupt automated care.
Start by checking all connections for secure, proper insulation to prevent dangerous short circuits, especially around mains electricity and water pumps.
Prioritize electrical safety by ensuring all wiring connections are properly secured and insulated before powering your automated watering system.
If your moisture sensor isn’t providing accurate readings, verify its wiring to the Arduino and test its functionality through the serial monitor.
Code errors often stem from mismatched variable names or declaration problems—double-check your syntax carefully.
When your relay fails to activate the pump, test it separately and confirm you’re supplying correct voltage from the Arduino.
The serial monitor becomes invaluable for logging sensor readings and confirming your system responds appropriately to changing moisture levels.
Frequently Asked Questions
How Do You Automatically Water Plants With Arduino?
You’ll connect a soil moisture sensor to your Arduino’s analog input, then wire a relay to control a water pump. Program the Arduino to activate the pump when moisture levels drop below your set threshold.
What Is the Most Efficient Way to Water Plants?
You’ll achieve maximum efficiency by using soil moisture sensors to trigger watering only when needed, installing drip irrigation systems, and scheduling watering during early morning or evening hours.
What Is the Watering Hack for Indoor Plants?
You’ll want to create a self-watering system using moisture sensors and automated pumps. This maintains consistent soil moisture levels, prevents over-watering, and mimics your plants’ natural habitat needs effectively.
What Is the Best Watering Schedule for Plants?
You should water most plants every 5-7 days, checking soil moisture first. Water early morning or late afternoon, letting soil dry between waterings. Drought-tolerant plants need watering only every 2-3 weeks.


Leave a Reply