You’ve probably watched your pet struggle to find fresh water or noticed they’re not drinking enough throughout the day. Building a motion-activated water fountain sensor can solve this problem while giving you complete control over the technology in your home. The process requires specific components and careful attention to circuit design, but there’s a critical mistake most DIY enthusiasts make during the PIR sensor positioning phase that’ll determine whether your project succeeds or fails entirely.
Understanding Motion Detection Technology for Pet Fountains
When you’re looking to create an efficient pet fountain system, motion detection technology serves as the cornerstone for automated operation.
Passive infrared motion detectors work by sensing changes in infrared radiation from your pet’s body heat, triggering water flow only when needed. This smart approach conserves water and reduces unnecessary pump operation, extending your fountain’s lifespan.
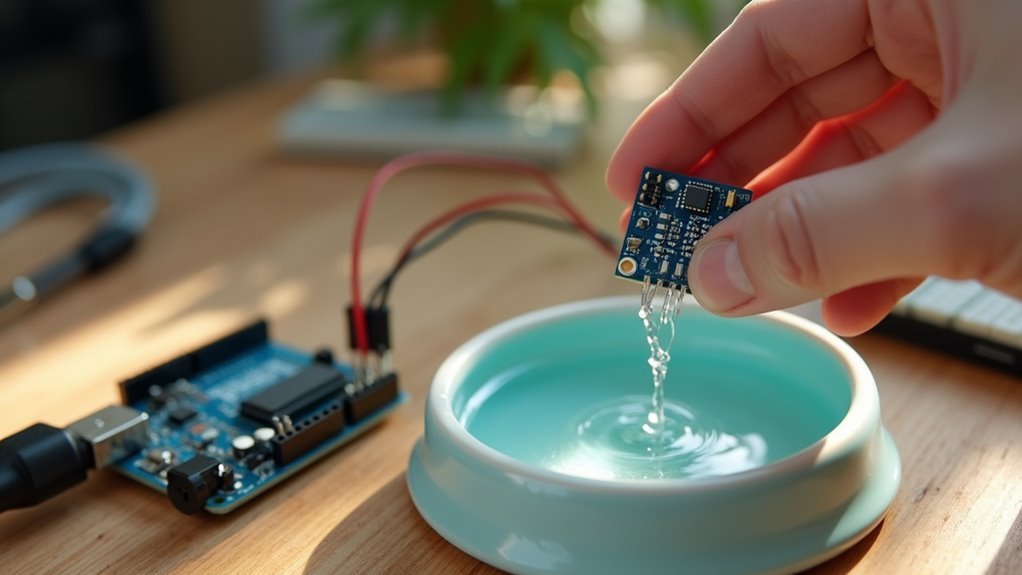
The PIR sensor integrates seamlessly into your pet water fountain design through a simple 3/8 inch hole in the frame.
You’ll need a solid state relay like the AQH 2213 to switch the pump based on sensor signals. Proper sensor placement is critical—position it to detect your pet’s movement while avoiding false triggers from environmental factors that could disrupt the motion detection technology.
Essential Components and Materials Required
Building your own pet water fountain sensor requires specific components that work together to create a reliable automated system.
You’ll need an Arduino microcontroller as your main control unit for managing sensor and pump operations. The HC-SR04 ultrasonic sensor detects your pet’s presence within 30 cm, triggering the water flow automatically.
A submersible pump with 160 liters/hour flow rate guarantees proper water circulation throughout the fountain. You’ll also require a relay module that’s compatible with your pump’s voltage to safely control power supply.
Don’t forget a 5V, 500 mA power supply to run both Arduino and pump effectively. These components provide days worth of reliable operation for your pet’s hydration needs.
Selecting the Right Water Fountain Base
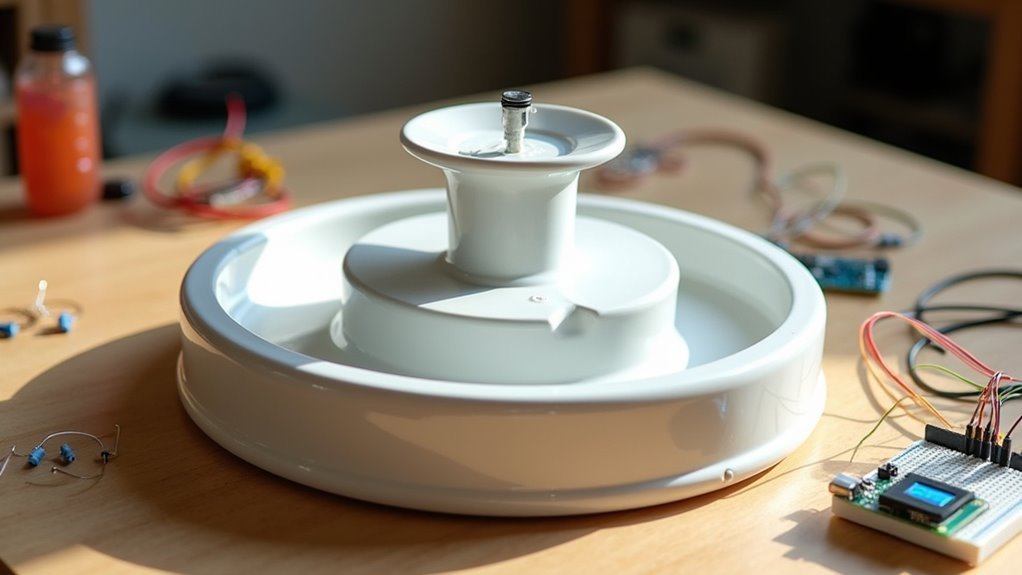
When choosing your water fountain base, you’ll need to take into account three critical factors that directly impact your sensor integration project.
The fountain’s size and capacity must accommodate your pets’ needs while providing adequate space for sensor components and wiring modifications.
You’ll also want to evaluate the pump’s power requirements and guarantee the design features allow for easy modification without compromising the fountain’s structural integrity or functionality.
Fountain Size and Capacity
One of the most essential decisions you’ll make involves determining the right fountain size and capacity for your pet’s specific needs. Consider your pet’s size and drinking habits when selecting capacity, typically ranging from 1 to 3 liters for most cats and small dogs.
| Pet Size | Recommended Capacity | Refill Frequency |
|---|---|---|
| Small (cats, toy dogs) | 1-2 liters | Every 2-3 days |
| Medium dogs | 2-3 liters | Every 1-2 days |
| Large/multiple pets | 3+ liters (168 oz+) | Every 3-4 days |
Larger reservoirs reduce refill frequency, making them ideal for multiple pets or busy owners. The fountain should fit comfortably in your chosen space, factoring in both the fountain’s dimensions and the area needed for easy pet access.
Pump Power Requirements
After determining your fountain’s size and capacity, selecting a pump with adequate power becomes your next priority.
You’ll need a submersible pump rated for at least 160 liters/hour to maintain sufficient water flow for your pet’s drinking needs. Choose a pump operating on compatible voltage – typically 12V AC for larger fountains or 5V DC for smaller setups that match your power supply.
Your relay module must support the pump’s voltage and current rating. A 10A/240V relay works well for pumps under 4W.
Consider your fountain’s reservoir size when determining necessary power to maintain continuous flow without overworking the pump. Ascertain that your fountain design provides proper ventilation around the pump area to prevent overheating during prolonged operation, extending both pump life and system reliability.
Modification-Friendly Design Features
Since pump compatibility forms just one piece of the puzzle, choosing a fountain base that welcomes modifications becomes equally critical for your project’s success.
You’ll want models like the Drinkwell Platinum that offer large reservoirs, adjustable flow, and carbon filtration while maintaining quiet operation to avoid startling your pets.
Focus on fountains with removable components and spacious interiors that give you easy access for wiring and sensor installation.
You’ll need adequate room to mount motion sensors that’ll reliably detect when pets approach.
Prioritize durable materials like stainless steel or high-grade plastic that can withstand drilling, cutting, and component additions without compromising structural integrity.
These design considerations guarantee your modified fountain remains functional and safe throughout the DIY process.
PIR Sensor Installation and Positioning
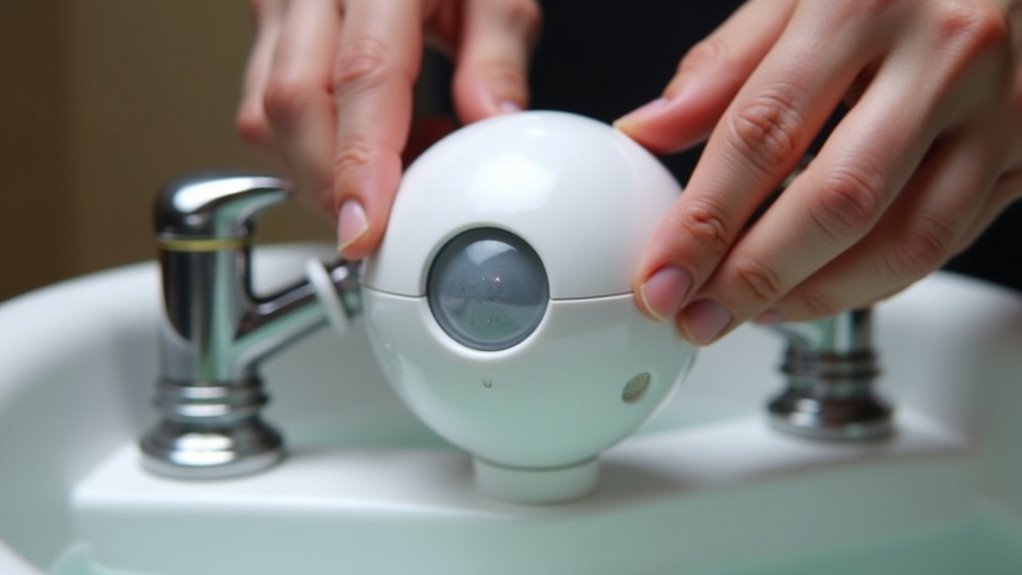
Installing the PIR sensor correctly determines whether your pet water fountain will respond reliably to your cat’s presence.
You’ll need to drill a 3/8 inch hole in the fountain frame where the sensor will sit. Position the PIR sensor to detect motion within 10 to 15 feet, mounting it approximately 2 to 3 feet from the ground for ideal cat detection.
Keep the sensor away from heat sources and direct sunlight to prevent false activations from environmental factors. These locations can trigger unwanted responses that’ll waste water and confuse your pet.
Route the wiring carefully from the PIR sensor to the control board, ensuring it’s secure and won’t interfere with the fountain’s normal operation or create safety hazards.
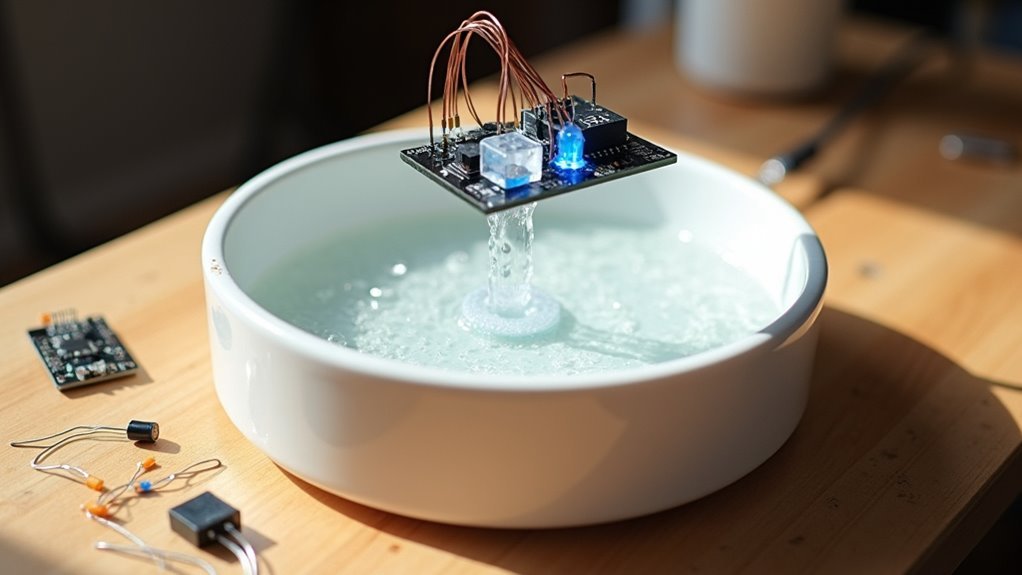
Electronic Circuit Design and Wiring
When designing the electronic circuit for your pet fountain sensor, you’ll need to integrate several key components that work together to detect your pet’s presence and control the water pump accordingly.
Start with a bridge rectifier to convert AC power from your fountain pump to DC power for the PIR motion detector. Connect a 7805 voltage regulator to reduce voltage to 5 volts for your control circuitry.
Install an AQH 2213 solid state relay to switch the pump on and off based on PIR signals, ensuring quiet operation. Use Molex KK connectors for reliable power connections between components.
Calculate proper resistor values using Ohm’s law to optimize performance and keep your circuit operating within specified parameters.
Power Supply Configuration and Connections
The power supply configuration forms the backbone of your pet fountain sensor system, requiring careful attention to voltage requirements and connection methods.
Power supply design serves as the foundation for reliable pet fountain sensor operation, demanding precise voltage management and secure connection protocols.
Your 12-volt AC transformer powers the pump while the PIR motion detector needs 5-volt DC supply. You’ll need to convert the AC output using a bridge rectifier to create DC compatibility for both components.
The voltage regulation process involves these key steps:
- Install a bridge rectifier to convert 12V AC to 12V DC output.
- Connect a 7805 voltage regulator to step down 12V DC to stable 5V DC for the PIR.
- Replace the original barrel plug with a Molex KK connector for simplified wiring connections.
Secure all electrical connections properly to maintain reliable operation and prevent power interruptions that could compromise your fountain’s sensor functionality.
Bridge Rectifier and Voltage Regulation Setup
Converting AC voltage to stable DC power requires implementing a bridge rectifier circuit that transforms your fountain’s 12V AC output into usable DC voltage.
You’ll arrange four diodes in a diamond configuration, allowing both positive and negative halves of the AC waveform to contribute to your DC output. This setup maximizes efficiency by utilizing the complete AC cycle.
After rectification, you’ll need to regulate the voltage for your PIR sensor.
Install a 7805 voltage regulator to convert the 12V DC down to a stable 5V DC supply. The PIR sensor requires this specific voltage to function properly.
Mount the regulator on a heat sink to prevent overheating, especially when operating near maximum current capacity.
Calculate all resistor values using Ohm’s law to maintain proper current flow and prevent component damage.
Solid State Relay Integration
Since you’ve established stable DC power from your bridge rectifier circuit, you’ll now integrate the AQH 2213 solid state relay to control your fountain’s pump operation.
This solid state relay eliminates mechanical wear, guaranteeing long-term reliability for your pet’s water fountain. You’ll use its low-power input to control the high-power pump output efficiently.
The integration process requires these key steps:
Follow these essential integration steps to ensure proper solid state relay installation and optimal fountain pump control performance.
- Input Connection – Connect your low voltage DC source to the relay’s input terminals using properly calculated resistor values following Ohm’s law.
- Output Configuration – Wire the relay’s output in standard configuration to handle the pump’s higher voltage AC requirements.
- Circuit Compatibility – Verify seamless integration with your existing fountain circuitry for peak performance.
This setup provides safe, efficient pump control without component overloading.
Water Level Sensor Implementation
You’ll need to strategically position your Z-Wave water sensor to accurately detect when your pet fountain reaches empty or full states.
The sensor’s placement directly impacts its ability to trigger automated pump shutoff when water levels drop too low, preventing damage to your fountain’s motor.
Proper sensor positioning also guarantees you’ll receive timely notifications to refill the fountain before your pet runs out of fresh water.
Sensor Placement Strategies
When determining where to position your water level sensor, you’ll need to balance accuracy with practicality to guarantee reliable performance. Your sensor must detect both empty and full states while avoiding false triggers from splashes or debris.
Consider these key placement strategies:
- Height positioning – Mount the sensor at a level that captures your desired water thresholds without interference from normal fountain operation.
- Airflow optimization – Position away from container walls to prevent humidity buildup that could affect sensor accuracy.
- Spillway integration – Embed sensor contacts directly into the fountain’s spillway for enhanced detection while protecting from direct water exposure.
Ensure you’ve got easy access for battery replacement and mark water lines during installation to monitor performance effectively.
Empty Tank Detection
Your water level sensor transforms fountain maintenance from guesswork into precise monitoring by detecting empty and full states in real-time.
When your fountain runs dry, the system waits three minutes before triggering notifications, giving you time to respond without constant alerts. This delay prevents false alarms from splashing or temporary water displacement.
The sensor automatically shuts off your pump when it detects an empty state, protecting the motor from damage and reducing energy waste.
Once you refill the fountain, the system immediately restarts the pump, guaranteeing your pets have continuous access to fresh water.
You’ll need to position the sensor carefully to avoid humidity interference and guarantee accurate readings.
Future upgrades should include embedding contacts directly into the fountain’s spillway for enhanced reliability.
Automated Pump Control
Since the water level sensor continuously monitors your fountain’s status, automated pump control becomes the critical bridge between detection and action. When your sensor detects an empty state, it immediately shuts off the pump to prevent costly damage from dry running. This protective mechanism safeguards your investment while maintaining system integrity.
The automation sequence follows three essential steps:
- Immediate shutdown – Pump stops within seconds of empty detection
- Continuous monitoring – Sensor tracks water level during refilling
- Automatic restart – Pump resumes operation once water reaches full status
You’ll appreciate this hands-off approach that eliminates manual intervention. The system responds faster than you could manually, preventing pump burnout and extending equipment lifespan.
This seamless automation guarantees your pet always has access to fresh, circulating water.
Arduino Programming and Code Configuration
Programming your Arduino for the pet water fountain requires straightforward code that responds to your pet’s proximity. The code activates water flow when the ultrasonic sensor detects an object within 30 cm, ensuring your pet triggers the fountain reliably.
You’ll set the polling interval to 2 seconds for timely sensor readings without overwhelming the system.
Configure the water flow duration to continue for 1 minute after the sensor detects no movement, preventing waste when your cat leaves the area.
You can adjust these parameters within the Arduino software to match your pet’s specific behaviors and your preferences.
Sample code is available on GitHub, providing a solid foundation you can modify and enhance for your unique fountain system requirements.
Testing and Calibration Procedures
Once you’ve uploaded the code to your Arduino, testing becomes your next priority to guarantee reliable fountain operation. Start by securing your ultrasonic sensor properly in the ice-cream box and calibrating it for 30cm detection range.
Next, simulate sensor activation to test your relay module’s ability to handle the pump’s voltage and current requirements without issues.
Run thorough tests focusing on these key areas:
- Response Time Analysis – Monitor how quickly the fountain activates when your pet approaches.
- Flow Duration Testing – Adjust programming parameters to achieve ideal water dispensing time.
- Consistency Monitoring – Document sensor performance over time to identify calibration drift.
Keep the sensor unobstructed and humidity-free while regularly checking its placement for consistent readings.
Mounting and Securing the Circuit Board
You’ll need to properly mount your circuit board to guarantee reliable operation and protect it from water damage.
Start by installing one-inch standoffs that’ll provide adequate spacing from the fountain frame while promoting airflow around your components.
Carefully drill mounting holes from the outside of the fountain frame to maintain structural integrity while creating secure attachment points for your circuit board assembly.
Standoff Installation Process
Before securing your circuit board to the fountain frame, gather your one-inch standoffs and confirm you’ve identified the exact mounting locations.
You’ll need to drill holes from the fountain frame’s exterior to create stable anchor points for each standoff.
Follow this installation sequence:
- Drill mounting holes – Use appropriate drill bit size for your standoffs, ensuring clean entry from the outside frame.
- Thread standoffs – Screw each one-inch standoff through the drilled holes until they’re firmly seated against the frame.
- Align circuit board – Position the board so each standoff matches its corresponding mounting hole perfectly.
Before proceeding, route your PIR motion detector and pump wiring neatly around the standoffs.
This prevents interference during installation and maintains clean connections for reliable operation.
Drilling Mounting Holes
Three critical measurements determine your drilling success: hole diameter, positioning accuracy, and depth control. You’ll need a 3/32 inch drill bit to create precise mounting holes that align perfectly with your circuit board’s mounting points.
Start by marking your desired locations with a sharpie on the fountain frame. Position the holes at a height that keeps your circuit board accessible for maintenance while protecting it from water exposure.
| Step | Tool/Material | Specification | Purpose |
|---|---|---|---|
| 1 | Sharpie | N/A | Mark hole locations |
| 2 | Drill bit | 3/32 inch | Create mounting holes |
| 3 | Standoffs | 1 inch length | Elevate circuit board |
| 4 | Screws | Snug fit | Secure board stability |
After drilling, you’ll attach one-inch standoffs to elevate the circuit board, preventing water contact and ensuring proper airflow.
Pet Training and Adaptation Strategies
Since cats are naturally cautious creatures, introducing a pet water fountain with motion sensors requires a thoughtful approach that respects their need to assess new additions to their environment.
Position your fountain where the motion sensor activates as your cat approaches, ensuring easy access while encouraging exploration. Initially, expect some distrust—patience and consistent placement help cats adapt to their new water source.
Here’s your step-by-step adaptation strategy:
- Gradual introduction: Let your cat see and hear the fountain operate without pressure to drink, fostering curiosity.
- Positive reinforcement: Use treats or affection when your cat approaches or interacts with the fountain.
- Monitor and adjust: Watch your cat’s behavior and modify the fountain’s location or settings if they seem hesitant.
This creates a comfortable, appealing water source.
Troubleshooting Common Issues and Maintenance
You’ll encounter three main issues with your pet fountain sensor that require regular attention and quick fixes.
Sensor calibration problems can cause erratic activation.
Water level detection may fail to trigger refills.
Pump operation failures can stop water flow entirely.
These issues often stem from simple maintenance oversights that you can easily address with proper troubleshooting steps.
Sensor Calibration Problems
Most pet water fountain sensors experience calibration issues that stem from environmental interference or improper setup.
You’ll need to address these problems systematically to guarantee accurate water level detection.
When your sensor provides inconsistent readings, follow these calibration steps:
- Clean the sensor contacts thoroughly to remove any debris or mineral buildup that could interfere with signal transmission.
- Adjust sensitivity settings based on your specific environment, as humidity and temperature fluctuations can affect performance.
- Test functionality regularly by manually creating empty and full states to verify the sensor responds correctly.
Poor airflow around your sensor can cause humidity interference, leading to false readings.
Position the device where air circulates freely.
Always consult your manufacturer’s troubleshooting guidelines for model-specific calibration procedures to optimize performance.
Water Level Detection
When water level detection malfunctions occur, they typically result from sensor contamination, poor positioning, or electrical connection failures.
Position your sensor away from high-humidity areas to prevent false readings and guarantee adequate airflow circulation around the device. Regularly inspect the sensor contacts for corrosion buildup or debris accumulation, as these contaminants directly impact water level detection accuracy.
If your sensor doesn’t register the ‘Empty’ state within three minutes, examine all wiring connections for loose or damaged components.
Test functionality by manually adjusting water levels and confirming the sensor triggers notifications and pump activation correctly.
During installation, incorporate accessibility features like easily reachable battery compartments to simplify routine maintenance and replacements, guaranteeing long-term reliable operation.
Pump Operation Failures
Although pump operation failures can stem from multiple causes, electrical issues represent the most frequent culprit in pet water fountain malfunctions.
You’ll need to systematically check several key components to restore proper operation.
Start your troubleshooting with these essential steps:
- Verify power specifications – Confirm you’re using a 5V power supply with minimum 500 mA capacity, as voltage inconsistencies cause most pump failures.
- Test relay functionality – Check that your 10A/240V relay module activates properly, since malfunctioning relays prevent pump operation entirely.
- Clear pump blockages – Remove debris from the intake regularly to maintain ideal flow and prevent motor strain.
Additionally, confirm your pump’s rated for 160 liters/hour to match your fountain’s requirements, and verify your ultrasonic sensor positioning for accurate water level readings that trigger proper pump activation.
Frequently Asked Questions
What Can I Use to Weigh Down My Cat’s Water Fountain?
You can use sandbags, small weights, or stones at the fountain’s bottom. Lead weights work well but keep them secure. Consider a heavier wooden base, ensuring all weights aren’t accessible to your cat.
How Much Electricity Does a Pet Water Fountain Use?
Your pet water fountain typically uses 3-12 watts, consuming 0.072-0.288 kWh daily. That’s roughly 2.16-8.64 kWh monthly, adding minimal costs to your electricity bill depending on local rates.
Do Vets Recommend Cat Water Fountains?
Yes, most vets recommend cat water fountains because they encourage increased water consumption. You’ll find that flowing water appeals to cats’ natural instincts, helping prevent urinary tract issues and supporting better kidney function.
How to Prevent Cat Water Fountain From Getting Slimy?
You’ll prevent slime by cleaning weekly, changing water daily, using filters, placing in ventilated areas, and disinfecting with pet-safe solutions. Regular maintenance stops bacteria buildup that creates slimy surfaces.


Leave a Reply