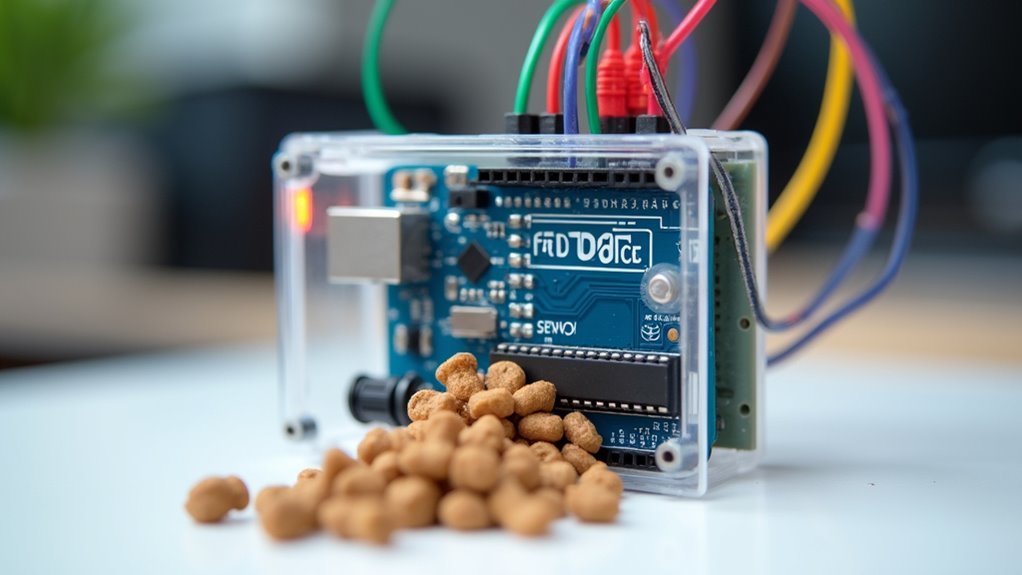
You’ve probably watched your pet’s feeding routine get disrupted by manual scheduling conflicts or wondered if they’re getting consistent meal portions while you’re away. Building a reliable Arduino pet feeding timer isn’t just about connecting a few components—it requires strategic component selection, precise programming, and thorough testing to prevent the mechanical failures and timing errors that could leave your furry friend hungry or overfed.
Choose the Right RTC Module for Accurate Timekeeping

When building an Arduino pet feeding timer, you’ll need a reliable RTC (Real-Time Clock) module to maintain accurate scheduling. The DS3231 stands out as the ideal choice, offering exceptional ±2 minutes per year accuracy that guarantees your pet’s feeding times remain precise over extended periods.
This module features a built-in temperature-compensated crystal oscillator that minimizes drift across varying environmental conditions. You’ll appreciate its simple I2C communication, requiring only two Arduino pins (SDA and SCL) for connection.
The DS3231’s battery backup maintains accurate timekeeping during power outages, preventing schedule disruptions. Most importantly, its programmable alarm feature lets you set multiple feeding times directly within the rtc, eliminating complex coding requirements while guaranteeing your automated pet feeder operates reliably.
Select Appropriate Servo Motors for Food Dispensing
Your servo motor selection directly determines whether your pet feeding timer dispenses food reliably or fails when your furry friend needs it most.
The servo motor you choose makes the difference between a reliable pet feeder and leaving your companion waiting for their next meal.
You’ll need high-torque servos with metal gears to handle dry food weight without stalling.
Consider these essential specifications:
- Torque rating: Choose servos with 15-20 kg/cm minimum torque for reliable operation
- Rotation type: Standard 180° servos work for flap mechanisms, while continuous rotation suits auger designs
- Speed requirements: Select servos with 0.1-0.2 seconds per 60° rotation for timely dispensing
- Safety features: Implement limit switches to prevent over-rotation and mechanism damage
The right servo motor guarantees consistent feeding time performance, preventing jams that could leave your pet hungry or cause mechanical failures in your automated system.
Implement Proper LCD Display Integration
Since visual feedback transforms a basic pet feeder into an intuitive device, implementing proper LCD display integration becomes essential for monitoring feeding schedules and system status.
You’ll need the `LiquidCrystal_I2C` library for seamless I2C communication with your LCD display. Initialize it in your setup function using `lcd.begin(16, 2);` for standard 16×2 displays.
Use `lcd.print()` to show current time and feeding status, updating information regularly in your main loop. Clear the screen with `lcd.clear();` before renewing to prevent data overlap.
Display feeding times and system prompts on the LCD to enhance user interaction. This creates an informative interface that shows when the next meal’s scheduled and confirms successful dispensing operations.
Configure Multiple Daily Feeding Schedules
Building on your LCD display foundation, you’ll now create a robust system that manages multiple feeding times throughout the day. You’ll need precise time tracking to guarantee your pet receives meals at consistent intervals.
Here’s how to configure multiple daily schedules:
- Install an RTC module like the DS3231 for accurate timekeeping that won’t drift during power cycles.
- Store feeding times in an array within your code, making it easy to modify set times without restructuring your program.
- Create a monitoring loop that continuously compares current time against your scheduled feeding times.
- Implement timer interrupts to handle feeding activation without blocking other system functions.
This approach guarantees your pet receives regular meals while maintaining system responsiveness for additional features.
Design Reliable Food Quantity Control Systems
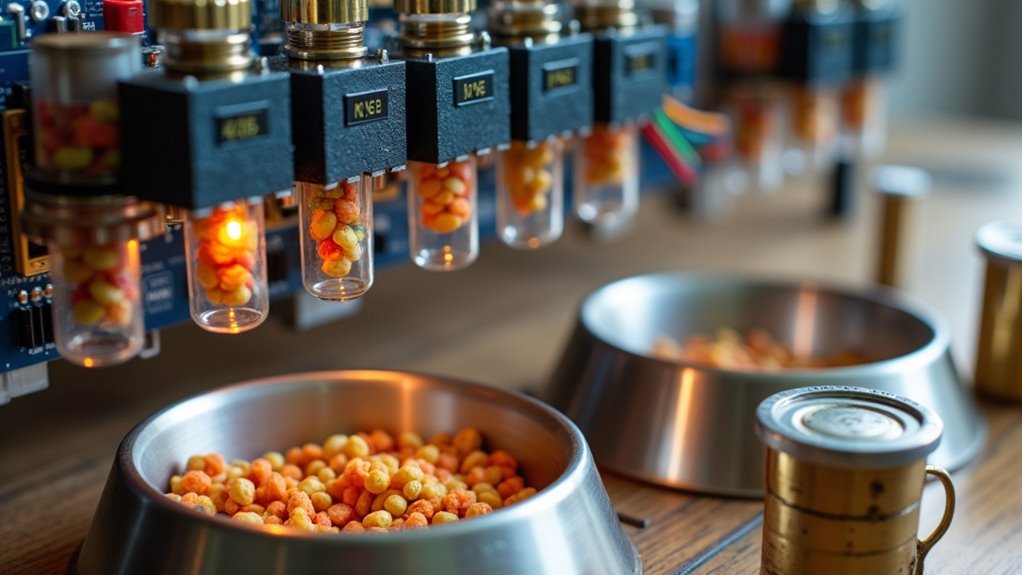
While timing controls when your pet eats, quantity control determines how much food they receive with each feeding cycle. You’ll need a stepper motor for precise dispensing control and accurate food distribution without jamming. Install a weight sensor to monitor your pet’s bowl level, ensuring the automatic pet feeder only dispenses when it’s less than half full.
Set a standardized rotation duration—typically 5 seconds—for consistent feeding portions. During initial setup, calibrate the motor’s rotation time to match your desired food quantity.
| Component | Function | Duration | Purpose |
|---|---|---|---|
| Stepper Motor | Food dispensing | 5 seconds | Precise control |
| Weight Sensor | Bowl monitoring | Continuous | Prevent overfeeding |
| Calibration | Setup optimization | One-time | Accurate portions |
| Testing | Mechanism adjustment | Regular | Reliable feeding |
Optimize Power Management for Battery Operation
You’ll need to implement low power sleep modes to dramatically extend your pet feeder’s battery life between charges.
Your Arduino should wake only during scheduled feeding times or when sensors detect activity, spending most time in deep sleep consuming mere microamps.
You’ll also want to build in battery monitoring systems that track voltage levels and alert you before power runs critically low.
Low Power Sleep Modes
Since battery-powered pet feeders must operate for weeks or months between charges, implementing low power sleep modes becomes essential for practical deployment.
You’ll dramatically extend battery life by utilizing the LowPower library to enable sleep modes during inactive periods.
Your Arduino can consume as little as 10 microamps when properly configured for low power operation. Here’s how to maximize efficiency:
- Use `sleep CPU` and `sleep ADC` modes to minimize energy consumption
- Configure timers for time keeping and scheduled feeding wake-ups
- Set up interrupt pins for manual button wake functionality
- Monitor battery voltage through analog inputs for maintenance alerts
You’ll achieve ideal power management by only activating the system when feeding checks or user interactions occur, ensuring months of reliable autonomous operation.
Battery Monitoring Systems
Building on effective sleep mode implementation, your Arduino pet feeder needs a robust battery monitoring system to prevent unexpected power failures during scheduled feeding times.
You’ll want to implement a voltage divider circuit that enables your Arduino to read battery voltage levels accurately. This setup allows precise monitoring and sends timely notifications when it’s time to replace or recharge your AA batteries.
Consider integrating a 3.3V or 5V buck converter to efficiently manage voltage from higher capacity batteries, improving overall power management and extending battery life.
Regular testing and calibration of your battery monitoring system guarantees accuracy and reliability of feeding schedules. This prevents unexpected outages that could disrupt your pet’s feeding routine, maintaining consistent meal delivery throughout your batteries’ operational lifespan.
Program Effective Time Comparison Logic
When programming your Arduino pet feeder, the time comparison logic serves as the brain that determines exactly when to dispense food. Your real time clock module provides accurate hour and minute readings that you’ll compare against predetermined schedules.
Here’s how to implement effective comparison logic:
- Store feeding times as “HH:MM” formatted strings for straightforward comparison against current RTC readings
- Create a continuous loop with delay functions to check time efficiently without excessive processing power consumption
- Use conditional statements that trigger servo activation only when current time matches your set feeding schedules
- Add debounce delays on time-setting buttons to prevent accidental multiple adjustments that could disrupt feeding accuracy
This approach guarantees your pet receives meals precisely when scheduled while maintaining system reliability.
Incorporate Manual Override and Emergency Features
While automated scheduling forms the foundation of your pet feeding system, you’ll need reliable manual controls and backup features to handle unexpected situations.
Install a manual override button that instantly dispenses food regardless of your programmed schedule, ensuring your pet won’t go hungry during delays or emergencies.
Add an emergency power backup system using rechargeable batteries to maintain operation during power outages. This keeps your feeding timer functional when electrical issues occur.
Include a simple LED or LCD display showing current feeding status and next scheduled time. Implement a timer reset feature for quick schedule adjustments.
Add notification systems like audible alarms or smartphone alerts to inform you when feeding occurs or food supplies run low, maintaining awareness and control over your pet’s feeding routine.
Test Mechanical Components for Consistent Performance
Mechanical reliability determines whether your Arduino pet feeder operates flawlessly or becomes a source of frustration.
You’ll need to thoroughly test your feeding mechanism to guarantee consistent food dispensing. Start by verifying that your servos and motors provide adequate torque for your pet’s food weight requirements.
Essential testing steps include:
- Load testing – Run your feeding mechanism repeatedly under actual food weight conditions to identify binding or slipping issues.
- Component quality verification – Use high-grade gears and mechanical components to minimize wear over time.
- Feedback system implementation – Install limit switches or encoders to confirm proper motor rotation and dispensing accuracy.
- Maintenance scheduling – Clean and lubricate moving parts regularly to prevent dirt buildup and friction problems.
Regular testing prevents mechanical failures that could leave your pet hungry.
Troubleshoot Common Timer and Sensor Issues
When your Arduino pet feeder starts missing scheduled meals or dispensing food at random times, you’re likely dealing with RTC clock drift or servo motor positioning errors.
Clock drift occurs when your DS3231 module’s battery weakens or the module isn’t properly initialized, causing time to gradually shift away from the actual schedule.
Servo positioning errors happen when the motor doesn’t rotate to the correct angle, either jamming the feeding mechanism or failing to dispense the right amount of food.
RTC Clock Drift Problems
Even the most precise RTC modules like the DS3231 can develop clock drift that throws off your pet’s feeding schedule by several seconds daily.
You’ll need to address this issue proactively to maintain accurate feeding times.
To minimize RTC DS clock drift problems:
- Synchronize regularly – Check and correct the time periodically, especially after power interruptions or extended downtime.
- Control temperature – Keep your module in a stable environment since temperature fluctuations affect accuracy.
- Maintain proper power – Guarantee consistent voltage supply and reliable battery backup to prevent timing errors.
- Calibrate frequently – Test your timer against a trusted time source and adjust synchronization frequency based on observed drift patterns.
Regular monitoring and calibration will keep your automated feeding system running precisely on schedule.
Servo Motor Positioning Errors
Precision matters when your servo motor controls food dispensing, but positioning errors can leave your pet hungry or overfed.
Start by calibrating your servo’s range of motion, testing angles between 0° and 180° to match your dispenser’s requirements. Add delays after servo activation so it reaches the target position before the next cycle begins.
Check your power supply regularly since voltage drops cause inconsistent positioning. Consider using a dedicated power source for stable operation.
Install feedback mechanisms like limit switches or potentiometers to confirm actual servo position and detect missed angles from mechanical resistance.
Test your system multiple times under various conditions to identify timing discrepancies. Compare your feeding schedule against a reliable clock source to verify accuracy and consistent meal delivery for your pet.
Frequently Asked Questions
What Size Arduino Microcontroller Fits Best in Commercial Pet Feeder Enclosures?
You’ll find Arduino Nano or Pro Mini work best since they’re compact enough for tight spaces. These smaller boards fit easily into most commercial feeder housings while providing all necessary GPIO pins for sensors and motors.
How Do I Waterproof the Arduino Components From Pet Food Moisture?
You’ll need waterproof enclosures like IP65-rated cases, silicone conformal coating on circuit boards, sealed cable glands for wire entry points, and gaskets around access panels to protect against moisture damage.
Can I Connect Multiple Feeding Stations to One Arduino Controller System?
You can connect multiple feeding stations to one Arduino by using servo motors or solenoid valves for each station. You’ll need additional digital pins and possibly a motor driver shield to control several feeders simultaneously.
What Backup Power Options Work When Main Batteries Completely Fail?
You’ll need secondary backup systems like lithium coin cell batteries for timekeeping, capacitor banks for short-term power, or connect to UPS units that’ll maintain operation during extended outages.
How Do I Prevent Pets From Damaging or Tampering With Exposed Wires?
You’ll need wire conduit, cable management sleeves, or protective tubing to shield exposed wires. Mount components inside tamper-proof enclosures and route cables through walls or under furniture where pets can’t reach them easily.


Leave a Reply