You’re tired of rushing home during lunch breaks just to feed your pets, and you’ve probably wondered if there’s a smarter way to guarantee they’re never hungry. With Google Assistant and some clever automation, you can transform a simple voice command into an action that dispenses the perfect portion of food at precisely the right time. The setup requires specific hardware components and programming knowledge, but the process isn’t as complicated as you might expect.
Understanding the Components and Hardware Requirements
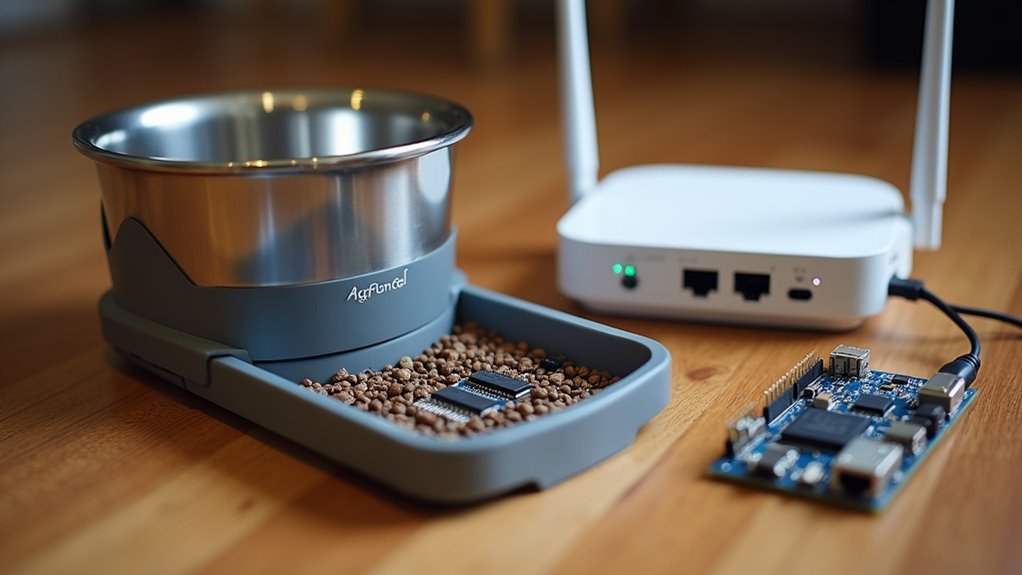
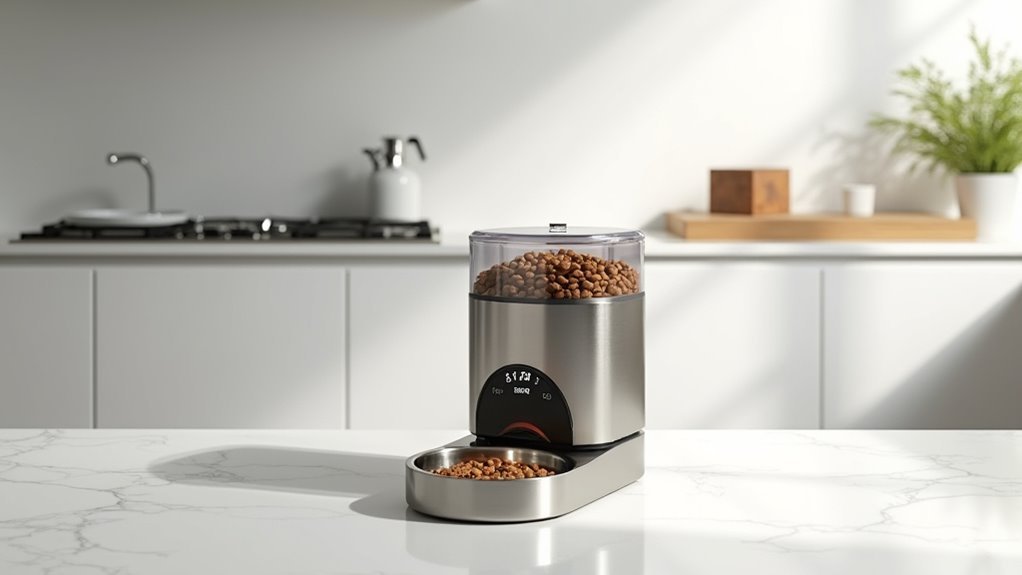
Building an effective Google Assistant pet feeding system requires several key hardware components working in harmony.
You’ll need a Nodemcu microcontroller as your system’s brain, handling Wi-Fi connectivity and MQTT client initialization for seamless remote control. The servo motor provides precise food dispensing when activated by Google Assistant voice commands. An ultrasonic sensor calculates remaining food percentage, ensuring your automatic pet feeding measurements stay accurate.
The Nodemcu microcontroller serves as your pet feeder’s intelligent hub, coordinating Wi-Fi connectivity, servo motor control, and ultrasonic sensor data for seamless voice-activated feeding.
Your Pet Feeder setup also requires an LCD display for visual feedback and an I2C communication module for efficient data transfer between components. The MQTT protocol enables lightweight messaging between devices, while IFTTT integration automates commands and connects with other smart devices.
These components work together to create a responsive, reliable automatic pet feeding solution that responds instantly to your voice commands through Google Assistant.
Setting up Nodemcu With Wifi and MQTT Integration
Three essential steps transform your NodeMCU into a smart pet feeding controller connected to Google Assistant.
First, connect your NodeMCU to your computer and upload code that initializes WiFi connection using your network’s SSID and password. Include necessary libraries like `
Second, initialize the MQTT client by specifying your broker’s IP address and port. You can use Adafruit.io or a local MQTT broker for real-time data handling. Implement a callback function that processes incoming MQTT messages, enabling your NodeMCU to respond to feeding commands from Google Assistant.
Finally, maintain continuous MQTT connection within your main loop, including reconnection logic if the connection drops, ensuring reliable automated pet feeding communication.
Configuring Google Assistant With IFTTT Automation
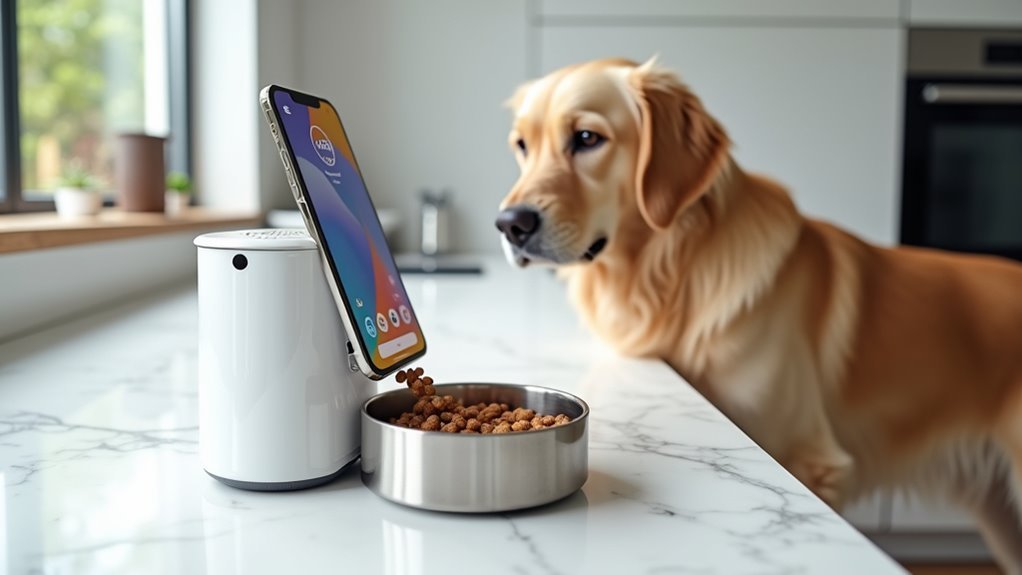
Once your NodeMCU can communicate through MQTT, you’ll need to bridge Google Assistant commands to your pet feeder using IFTTT (If This Then That) automation.
Start by creating an IFTTT account and linking your Google Assistant. Navigate to the IFTTT app and create a new applet, selecting Google Assistant as your trigger service.
Define a specific voice phrase like “Feed my Pet” that’ll initiate the feeding action. Configure the action service to send MQTT commands to your pet feeder through Adafruit.io integration. This platform guarantees real-time monitoring and status notifications for your automated system.
Test your setup by speaking the trigger phrase to Google Assistant. Verify that the IFTTT applet successfully activates your pet feeder’s dispensing mechanism, completing your voice-controlled feeding automation.
Integrating Servo Motor for Food Dispensing Mechanism
When your IFTTT automation triggers feeding commands, the servo motor becomes the mechanical heart of your pet feeder’s dispensing system. Google Assistant’s voice commands activate this precise mechanism, guaranteeing accurate food portions every time you speak your instructions.
The servo motor receives MQTT messages through callback functions that process feeding signals at designated times. Your cloud service maintains reliable communication between the device and remote servers, enabling real-time command execution and status updates. The motor’s efficient design minimizes power consumption while maximizing dispensing accuracy.
- Precise portion control – The servo motor rotates to exact angles, dispensing predetermined food amounts based on your voice commands.
- Smart monitoring integration – Ultrasonic sensors work with the servo to track remaining food levels and adjust dispensing actions.
- Seamless cloud connectivity – MQTT protocol guarantees your feeding commands reach the servo motor instantly through reliable cloud communication.
Programming the LCD Display for System Status Updates
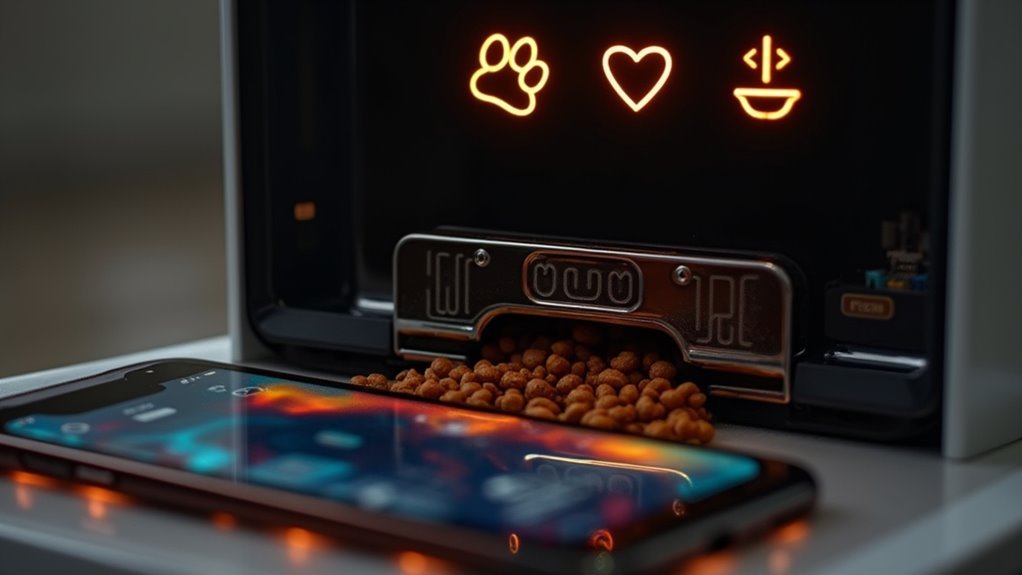
You’ll need to establish the LCD display connection through an I2C module to enable efficient communication with your microcontroller while reducing wiring complexity.
Once connected, you can program specific status messages like “Feeding in Progress” or “Food Low” to keep pet owners informed about their system’s current state.
The microcontroller’s built-in libraries make updating the display straightforward, allowing you to change content dynamically based on sensor inputs or Google Assistant commands.
Display Connection Setup
Two essential components work together to create an effective status display for your automated pet feeding system: the LCD screen itself and the I2C communication protocol that connects it to your microcontroller.
This setup enables efficient data transfer between your control unit and the display module, ensuring real-time feeding status updates appear accurately on screen.
The I2C communication protocol streamlines the connection process by requiring only two wires for data transmission. Your LCD display will show critical information like “Feeding Now” or “Food Remaining: 50%” based on sensor inputs from your servo motor and ultrasonic sensor.
- Connect the SDA and SCL pins from your microcontroller to the corresponding I2C pins on the LCD module
- Include necessary LCD libraries in your programming environment before initializing the display functions
- Program regular status updates within your main code loop to maintain current, accurate feeding information
Status Message Programming
Programming meaningful status messages transforms your LCD display into an informative dashboard that keeps you updated on every aspect of your pet feeding system’s operation.
You’ll use your microcontroller to create specific functions that respond to Google Assistant commands, displaying messages like “Feeding Now” or “Ready to Feed” based on current operations.
The I2C communication protocol enables efficient data transmission between your microcontroller and LCD display.
When Google Assistant triggers a feeding command, your code updates the status messages accordingly, providing real-time visibility into the process.
Don’t forget to program error notifications for issues like low food levels or connectivity problems.
These status messages guarantee you’re always aware of your pet feeding system’s condition and functionality.
Establishing Adafruit.io Cloud Service Connection
Before your pet feeding system can communicate with the cloud, establishing a robust connection to Adafruit.io becomes critical for remote monitoring and control capabilities.
You’ll need to create an account on the platform and obtain your unique AIO key for authentication. This cloud service enables real-time data display and control, perfect for managing your automated feeder remotely.
Your code must include the Adafruit MQTT library to configure the client properly.
You’ll connect using your username and AIO key, then subscribe to relevant feed topics for sending commands and receiving status updates.
- Configure MQTT client with your Adafruit.io credentials and AIO key
- Subscribe to feed topics for bidirectional communication between device and cloud
- Utilize lightweight MQTT protocol for efficient messaging in low-bandwidth environments
Creating Voice Command Triggers for Pet Feeding
You’ll configure Google Assistant to recognize specific voice commands that trigger your pet feeder through strategic integration points.
Setting up IFTTT applets connects your voice commands directly to the feeding mechanism, transforming phrases like “Okay Google, feed my pet” into actionable triggers.
Programming these voice triggers requires careful attention to command syntax and response protocols to guarantee reliable activation of your automated feeding system.
Google Assistant Integration
When you integrate Google Assistant with your automated pet feeding system, you’ll transform routine pet care into a hands-free experience that responds instantly to your voice.
The setup process involves configuring Google Assistant with your pet feeder app, enabling seamless voice command execution. Your system utilizes MQTT communication protocols to guarantee reliable command delivery and real-time feeding status updates.
You can establish user-defined feeding schedules that respond to simple voice triggers like “Okay Google, Feed my Pet.”
This integration provides:
- Instant meal activation through natural voice commands from anywhere in your home
- Real-time feeding confirmations delivered directly through Google Assistant notifications
- Automated workflow creation using IFTTT to connect voice commands with specific feeding actions
This hands-free approach streamlines daily pet care routines effortlessly.
IFTTT Command Setup
Creating IFTTT command triggers transforms your Google Assistant into a powerful pet feeding controller that responds to your custom voice phrases.
You’ll need to create an IFTTT account and connect both Google Assistant and MQTT services for seamless integration. Configure the “Google Assistant” service to recognize voice commands like “Feed my pet,” which triggers the MQTT protocol to activate your servo motor.
When setting up your applet, specify the exact trigger phrase and link it directly to the feeding action. Configure immediate response settings to guarantee real-time pet feeding without delays.
Test your IFTTT command thoroughly by speaking the trigger phrase and confirming the feeder dispenses food correctly. This setup creates reliable voice-controlled automation for consistent pet care.
Voice Trigger Programming
How do you transform simple spoken words into precise feeding commands that your pet feeder understands?
Creating voice command triggers for pet feeding requires connecting Google Assistant with your IoT device through MQTT commands that activate the feeding mechanism. You’ll program custom phrases like “Okay Google, Feed my Pet” using Google Assistant’s routines feature, enabling scheduled and on-demand feeding times.
Essential voice trigger programming steps include:
- Configure MQTT protocol support – Confirm your device’s firmware supports MQTT for seamless communication between Google Assistant and your pet feeder.
- Create custom voice commands – Program specific phrases through Google Assistant routines for feeding activation.
- Test command responsiveness – Regularly verify your voice command triggers work properly and update configurations for ideal compatibility.
Installing Ultrasonic Sensors for Food Level Monitoring
Since accurate food level monitoring forms the backbone of any automated pet feeding system, installing ultrasonic sensors becomes your most critical hardware integration step.
You’ll mount the ultrasonic sensors inside your feeder’s food container, positioning them to emit waves downward toward the pet food surface. These sensors calculate distance by measuring the time ultrasonic waves take to bounce back, providing precise measurements in centimeters.
Connect your sensors to the NodeMCU microcontroller for seamless integration with your Google Assistant setup.
The microcontroller processes distance data and calculates remaining food percentages, triggering automatic updates to your connected app via MQTT. This real-time monitoring guarantees you’ll receive timely refill notifications, preventing unexpected food shortages while maintaining ideal feeding schedules for your pets.
Building the Physical Feeder Structure and Assembly
After completing your sensor installation, you’ll construct the physical feeder housing using a large, food-grade plastic container that serves as your primary food storage unit.
Mount your servo motor securely to the dispensing mechanism at the container’s base, guaranteeing smooth operation when releasing pet food portions. Install the LCD display and I2C module on the front panel for easy status monitoring.
- Create a waterproof compartment beneath the main container to house your WiFi module, power supply, and control circuitry.
- Design a secure, hinged lid system that prevents pets from accessing stored food while maintaining easy refill access.
- Position the ultrasonic sensor inside the container’s top section for accurate food level measurements.
Test all mechanical connections before final assembly to confirm reliable automated feeding operations.
Testing MQTT Communication and Data Publishing
Once your physical feeder assembly is complete, you’ll need to verify that your MQTT communication system operates reliably between your NodeMCU device and the cloud broker.
Start by monitoring the serial output to confirm your device connects successfully to the MQTT broker. You’ll see connection status messages that indicate whether data publishing is functioning properly.
Test the ultrasonic sensor by observing the remaining food percentage values being transmitted to the broker. These readings should update consistently and reflect actual food levels in your container.
Next, verify that Google Assistant commands trigger the callback function correctly by issuing voice commands and watching for servo motor activation. The system should maintain continuous MQTT connectivity while processing feed commands and publishing sensor data seamlessly.
Implementing Scheduled Feeding Times and Automation
Your pet feeding system becomes truly automated when you implement scheduled feeding times that operate independently of manual commands.
You’ll configure multiple daily feeding intervals through your mobile app, setting morning, afternoon, and evening meals that execute automatically. The system runs reliably on battery power, ensuring consistent operation even during power outages.
Your automated feeding schedule offers several key advantages:
Automated pet feeding schedules deliver consistent nutrition while offering the flexibility busy pet owners need for effective care management.
- Remote schedule adjustments let you modify feeding times from anywhere with internet access
- MQTT communication processes scheduled commands efficiently across all connected devices
- Voice override capability allows Google Assistant commands to trigger immediate feeding when needed
You can now maintain consistent pet nutrition while managing busy schedules.
The combination of automated timing and Google Assistant integration provides both reliability and flexibility for modern pet care.
Adding Two-Way Audio and Camera Features
You’ll want to position your Smart Automatic Pet Feeder’s 1080P HD camera at the ideal angle to capture your pet’s feeding area while ensuring clear video streaming through the free app.
The two-way audio system lets you communicate directly with your pet using the built-in microphone and speaker, helping you comfort them during meals or correct feeding behaviors remotely.
Your feeder’s auto night vision feature seamlessly activates in low-light conditions, maintaining clear monitoring capabilities around the clock without requiring additional setup.
Camera Setup Process
When setting up your pet feeding camera, begin by unpacking the device and plugging it into a power outlet near your pet’s feeding area.
Download the companion app on your smartphone to establish a WiFi connection for live video streaming. The setup process integrates seamlessly with your existing smart home ecosystem, including Amazon Alexa and using Google Assistant commands.
Your 1080P HD camera automatically activates night vision for clear visibility around the clock. The two-way audio feature lets you communicate with your pet through the built-in microphone and speaker while monitoring via the app.
- Record personalized voice messages to comfort your pet during feeding times
- Stream live video with bank-grade AES128 bit encryption for secure monitoring
- Connect wirelessly to your home network for remote access from anywhere
Voice Communication Benefits
How does combining two-way audio with visual monitoring transform your pet feeding experience?
You’ll create a thorough communication system that lets you interact with your pets remotely during meals. The two-way audio feature enables real-time conversations, providing reassurance when your pet seems anxious or hesitant to eat. You can offer encouraging words or gentle commands to guide their behavior.
Your 1080P HD camera delivers crystal-clear visuals, allowing you to observe eating habits and respond instantly to concerns.
You’ll also benefit from recorded voice message capabilities, playing familiar sounds that comfort your pets during feeding times. With night vision functionality, you can monitor and communicate with your pets even in low-light conditions, ensuring consistent care regardless of the hour.
Night Vision Integration
Since darkness no longer limits your ability to monitor feeding sessions, the integrated night vision technology transforms how you care for your pets around the clock.
You’ll receive crystal-clear 1080P HD video quality whether it’s noon or midnight, ensuring you never miss important feeding behaviors or concerns.
The advanced motion detection system alerts you instantly when your pet approaches their feeding area, regardless of lighting conditions.
You can stream live video directly to your mobile app from anywhere with internet access, maintaining constant connection with your furry companions.
- 24/7 visibility: Monitor feeding schedules and pet behavior during late-night or early-morning sessions
- Peace of mind: Check on anxious pets during nighttime hours when separation anxiety peaks
- Real-time alerts: Receive immediate notifications when pets access food outside scheduled feeding times
Troubleshooting Common Setup and Connection Issues
Why won’t your Google Assistant respond when you ask it to feed your pet? The most common culprit is an unlinked account between your Google Assistant and pet feeder app, preventing voice commands from executing properly.
Check your WiFi signal strength next. Weak connections cause communication breakdowns, especially when your feeder’s positioned far from the router.
If commands still aren’t working, restart both your feeder and smartphone to refresh connections and clear temporary glitches.
Don’t forget to verify your MQTT settings in the feeder app. Incorrect broker addresses, ports, usernames, or passwords will disrupt cloud communication entirely.
Finally, review your IFTTT connections. Confirm your feeding applets are active and properly configured to trigger when you issue voice commands through Google Assistant.
Enhancing Security With Encryption and Motion Detection
Once you’ve established a solid connection, protecting your smart pet feeder becomes the next priority. Your device uses bank-grade AES128 bit encryption to safeguard all data transmission, preventing unauthorized access to your personal information.
Bank-grade AES128 encryption protects your smart pet feeder data from unauthorized access while maintaining seamless device connectivity.
TLS encryption creates a secure channel between your feeder and connected devices, while advanced motion detection technology sends real-time alerts through the app whenever your pets approach the feeding area.
This robust security framework combines multiple protection layers:
- Data encryption – Bank-grade AES128 bit and TLS protocols secure all communications
- Motion alerts – Real-time notifications when pets are detected near the feeder
- Regular updates – Automatic software patches address vulnerabilities and maintain system integrity
You’ll enjoy peace of mind knowing your pet feeding system maintains both data safety and reliable monitoring capabilities.
Frequently Asked Questions
How Do I Make Google Assistant Automatic?
You’ll make Google Assistant automatic by setting up routines in the Google Home app, connecting smart devices to your WiFi network, and creating IFTTT automations that trigger actions based on your customized voice commands.
Does Google Allow Pets at Work?
Google has pet-friendly policies at many offices, allowing employees to bring dogs to work. However, you’ll need to check specific workplace guidelines and restrictions, as policies vary between different Google locations and teams.
Can I Link Google Assistant to Google Home?
You can link Google Assistant to Google Home through the Google Home app. Connect both devices to the same Wi-Fi network, then follow the app’s prompts to add and manage your smart devices seamlessly.
How Can I Make the Best Use of Google Assistant?
You’ll maximize Google Assistant by setting up voice routines, connecting smart home devices, using location-based reminders, asking follow-up questions, and integrating third-party apps for seamless automation across your daily tasks.

Leave a Reply