You’ve probably experienced the frustration of dead zones in your home where WiFi signals simply won’t reach. Your current router might work fine in the living room but fails miserably in the bedroom or basement. Mesh WiFi systems promise to eliminate these connectivity gaps, but only if you set them up correctly. Most people make critical mistakes during installation that actually worsen their network performance, leaving them more frustrated than before.
Choose the Right Mesh System for Your Home Size and Layout
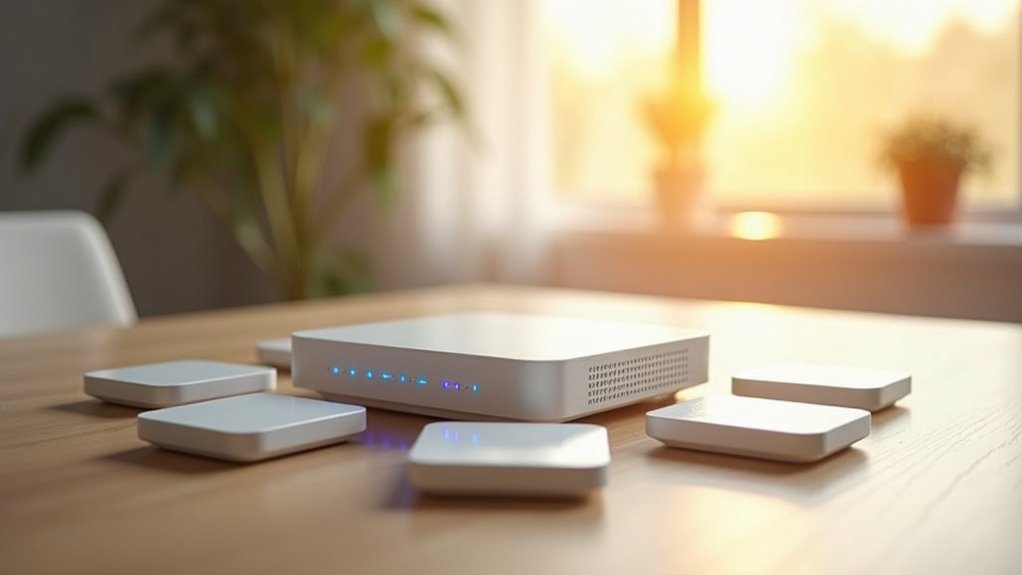
Why settle for spotty WiFi coverage when the right mesh system can blanket your entire home with reliable internet?
To choose the right mesh system, first calculate your home’s total square footage and consider your layout’s complexity. Multi-story homes or thick walls affect signal strength, requiring systems with strong coverage capabilities and node expandability options.
Start by measuring your home’s square footage and evaluating layout challenges like multiple floors or thick walls that weaken signals.
Assess your internet usage habits next. Multiple streaming devices or gaming setups demand WiFi 6 or 6e systems for peak performance.
Review each system’s specifications for coverage range—most handle 3,000 to 5,000 square feet with multiple nodes.
Ensure your selected system supports a single SSID for seamless roaming throughout your home size. Many systems allow additional nodes to eliminate stubborn dead zones, creating extensive coverage tailored to your specific layout needs.
Position Your Main Router in the Optimal Central Location
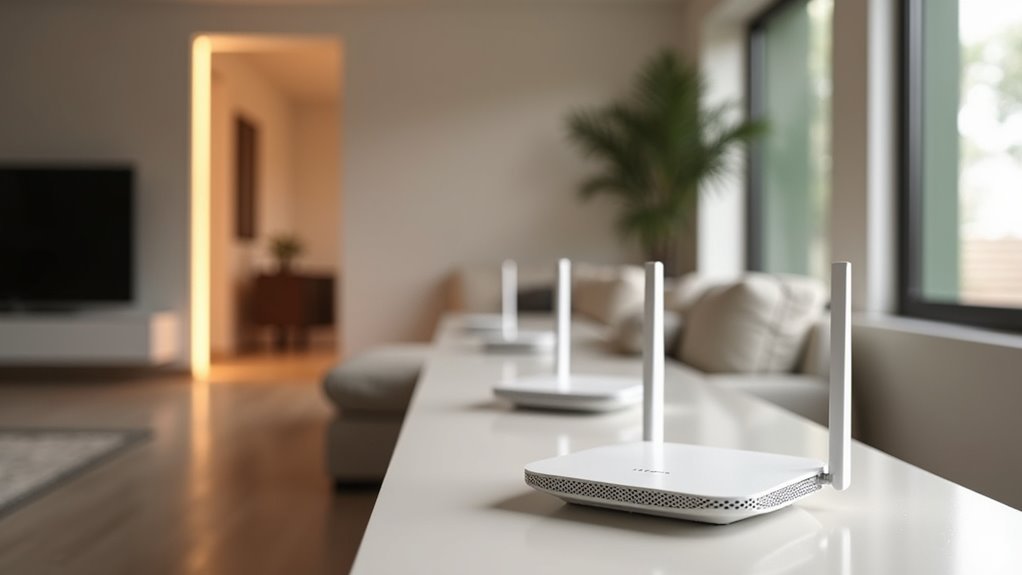
You’ll dramatically improve your mesh network’s performance by positioning your main router in a central, elevated location that maximizes signal distribution throughout your home.
This strategic placement guarantees ideal communication between your router and satellite nodes while minimizing dead zones in your coverage area.
You’ll also want to keep the router away from common interference sources like microwaves, baby monitors, and thick walls that can disrupt your Wi-Fi signals.
Central Elevated Location Benefits
Three key factors determine your main router’s effectiveness: height, centrality, and clear line of sight.
When you choose a central location and elevated location for your router, you’ll dramatically improve signal distribution throughout your home. This strategic positioning helps you minimize obstructions from walls and furniture that can cut your signal strength in half.
Key benefits of proper router placement include:
- Enhanced Coverage: An elevated central location can enhance range by allowing signals to travel freely through open spaces.
- Stronger Performance: You’ll achieve strong connectivity and effective communication between your main router and mesh nodes.
- Reduced Dead Zones: Central positioning provides consistent Wi-Fi access across complex layouts, eliminating frustrating dead zones in multi-story homes.
Avoid Interference Sources
Beyond choosing the right placement, you must actively protect your router from interference sources that can sabotage your mesh network’s performance.
Keep your main router away from large metal objects, thick walls, and electronic devices like microwaves that disrupt signal distribution. These physical obstructions weaken your Wi-Fi signal and create dead zones throughout your home.
Position your router in an open area rather than behind furniture or in closets, ensuring ideal communication between devices. Your central location should provide clear pathways for signals to travel.
Regularly monitor network performance and watch for interference patterns that indicate problems. When you notice connectivity issues, don’t hesitate to adjust position slightly.
This proactive approach will enhance connectivity and maintain consistent performance across your entire mesh system.
Place Satellite Nodes Using the Two-Room Rule
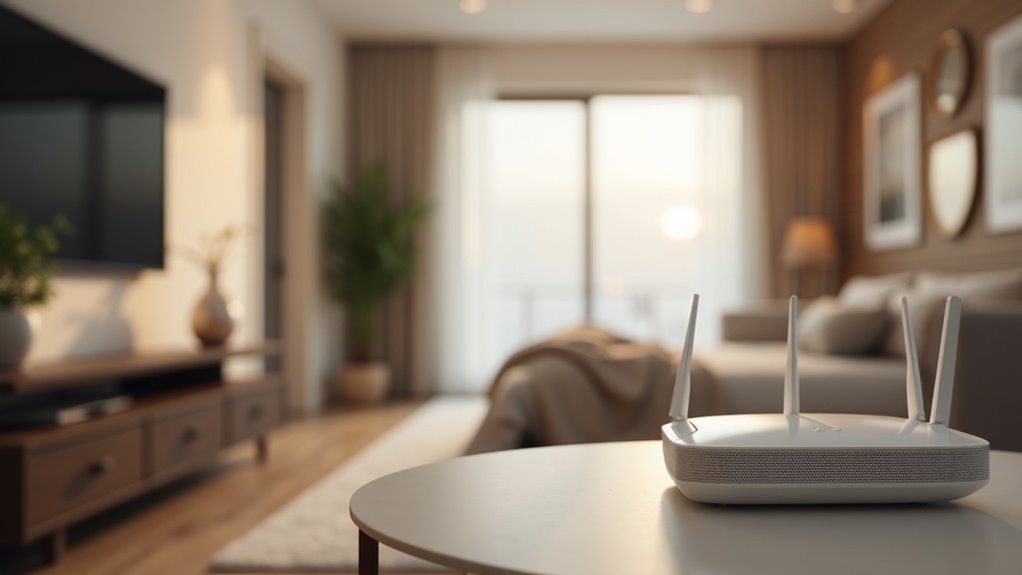
Strategic placement forms the foundation of a well-functioning mesh WiFi network, and the two-room rule serves as your primary guideline for positioning satellite nodes effectively. This rule guarantees each satellite node stays within two rooms of your main router, maintaining strong signal strength and ideal connectivity throughout your home.
When you place satellite nodes using this method, you’ll eliminate dead zones while maximizing coverage. Consider the layout of your home and focus on these key positioning strategies:
- Position nodes in central hallways or common areas where signal can spread naturally
- Keep nodes within ideal range by maintaining the two-room distance limit
- Place units near power outlets in open spaces to minimize obstructions
This systematic approach assures your satellite nodes communicate effectively with your main router.
Download the App and Complete Initial Network Setup
With your satellite nodes properly positioned, you’re ready to begin the technical setup process that brings your mesh network to life.
Download the app from the Google Play Store or iOS App Store, then create an account to access guided setup instructions. Connect the main mesh node to your modem using an Ethernet cable, ensuring your modem stays unplugged during this initial network setup for proper IP address assignment.
Configure network settings through the app by naming your Wi-Fi network and creating a secure password. Power on your satellite nodes and follow app guidance for ideal coverage positioning.
Complete their setup within the app to integrate into the network, creating a seamless mesh system.
Configure Backhaul Settings for Maximum Performance
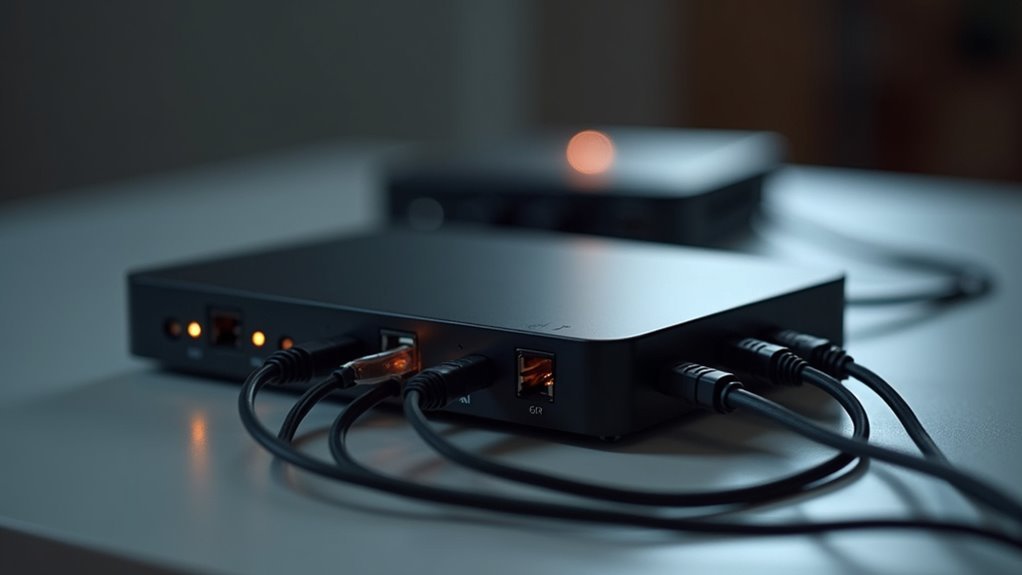
Once your mesh nodes are connected and communicating, you’ll need to enhance the backhaul settings that control how data flows between your main router and satellite nodes.
These configuration options directly impact your mesh Wi-Fi network performance. Access your backhaul settings through the mobile app to choose between wireless backhaul (using 2.4GHz or 5GHz bands) and wired backhaul via Ethernet connections.
Backhaul configuration choices between wireless frequencies and wired Ethernet connections determine your mesh network’s overall performance and reliability.
Consider these key factors:
- Distance matters: Keep wireless nodes within ideal distance of 30 feet apart for strong signal strength.
- Wired beats wireless: Ethernet backhaul considerably reduces latency and improves stability during high-traffic periods.
- Monitor regularly: Use in-app tools to test signal strength and speed between nodes.
Proper backhaul configuration guarantees your mesh system delivers maximum performance throughout your coverage area.
Test Coverage and Adjust Node Placement as Needed
You’ll need to test your mesh network’s signal strength throughout your home to identify weak spots and dead zones.
Run speed tests in different rooms and areas, paying attention to locations where devices frequently experience slow connections or dropped signals.
Use these results to strategically reposition your nodes, ensuring they’re spaced within 30 feet of each other for ideal mesh communication.
Signal Strength Testing Methods
After setting up your mesh network, testing signal strength becomes essential to verify excellent coverage throughout your home.
These testing methods help identify dead zones and enhance network performance across your mesh Wi-Fi systems.
Use these effective approaches for coverage assessment:
- Speed test apps – Measure Wi-Fi connectivity in different rooms to identify weak signal areas that need node placement adjustments.
- Built-in signal strength indicators – Monitor your mobile app’s readings and physical LED lights on nodes to confirm ideal positioning.
- Time-based testing – Conduct tests during peak usage periods to assess real-world performance variations.
Follow the two-room rule when repositioning nodes, keeping satellites within two rooms of your main router.
Regular reassessment verifies you’re maintaining strong signal strength throughout your space and making necessary adjustments for improved coverage.
Optimize Node Positioning
Testing reveals areas that need improvement, and strategic node positioning directly addresses these coverage gaps. Position your main node centrally and elevated for ideal signal distribution. Place additional satellite nodes within 30 feet, following the two-room rule to maintain effective communication.
| Problem Area | Solution |
|---|---|
| Dead zones in corners | Move mesh nodes closer to problem areas |
| Slow speeds upstairs | Add satellite node on upper level |
| Interference from neighbors | Relocate nodes away from shared walls |
| Weak signal in basement | Position node at top of stairs |
Conduct speed tests throughout your home after initial setup. Monitor signal strength using in-app tools or LED indicators on nodes. Adjust positioning based on network performance results. Regular monitoring guarantees your coverage adapts to changing interference patterns and maintains consistent connectivity.
Enable Security Features and Keep Firmware Updated
Securing your mesh WiFi network requires proactive steps to protect against evolving cyber threats and vulnerabilities.
Proactive mesh network security measures are essential for defending against constantly evolving cyber threats and potential vulnerabilities.
You’ll need to implement multiple security features and maintain current firmware updates to maximize protection for all connected devices.
Start by enabling these essential security measures:
- Enable WPA3 encryption if your mesh router supports it, providing stronger protection than older WPA2 standards.
- Set up a guest network to isolate visitors’ devices from your primary network and prevent unauthorized access.
- Activate parental controls to manage internet access and filter inappropriate content across your network.
Regularly check your mesh router’s app for firmware updates, as manufacturers frequently release patches to enhance performance and security.
Monitor network client lists to identify unauthorized devices and take immediate action when suspicious activity occurs.
Frequently Asked Questions
How to Best Setup Mesh Wifi?
Position your main router centrally and elevated. Place satellite nodes following the two-room rule within thirty feet. Use the mobile app for placement guidance, connect via Ethernet, and regularly update firmware.
What Is a Major Disadvantage of a Mesh Network?
You’ll face considerably higher costs when buying multiple mesh nodes compared to a single traditional router. The investment can quickly add up, especially for larger homes requiring more nodes for proper coverage.
Is Mesh Wifi Easy to Set Up?
Yes, you’ll find mesh WiFi surprisingly easy to set up. You simply connect the main node to your modem, plug in additional nodes, and follow the mobile app’s step-by-step instructions for quick configuration.
What Is the Best Position for a Mesh Router?
You should place your main mesh router in a central, elevated location away from walls and obstructions. Keep it within thirty feet of satellite nodes and avoid enclosed spaces for ideal signal distribution.


Leave a Reply