
You’ll face several critical decisions when installing wireless motion sensors that can make or break your security system’s effectiveness. From selecting the perfect mounting height to avoiding common interference issues, each step requires careful consideration. Most homeowners unknowingly compromise their sensor’s performance by overlooking key placement factors and connectivity requirements. These ten essential tips will help you avoid costly mistakes and guarantee your motion detection system operates at peak performance.
Choose Optimal Placement Locations for Maximum Coverage
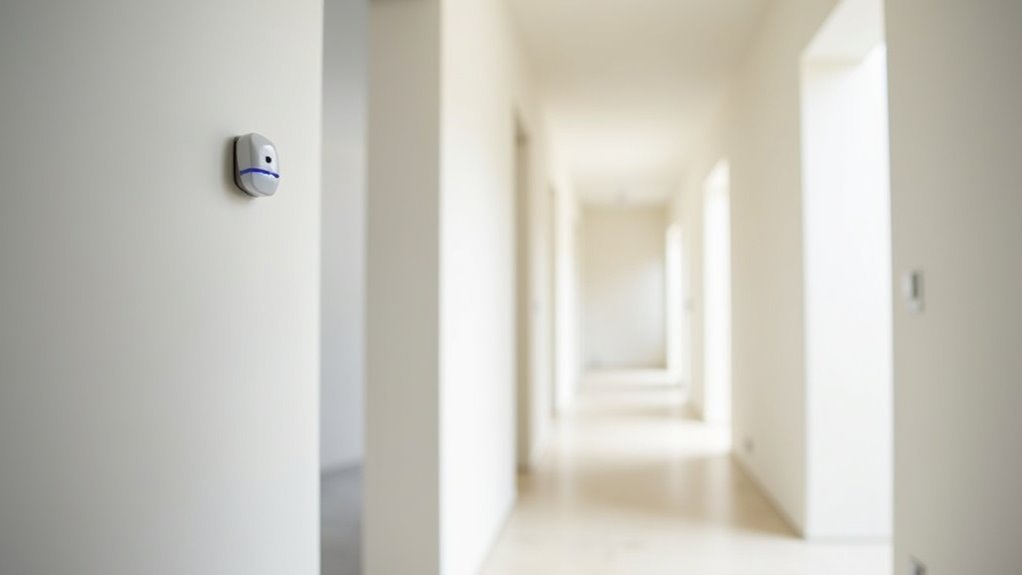
Where you position your wireless motion sensors determines the effectiveness of your entire security system. Focus your motion sensor installation near key entry points like doors and garages where intruders are most likely to enter.
Strategic placement of wireless motion sensors at entry points like doors and garages maximizes your security system’s effectiveness against potential intruders.
Mount sensors at 6-8 feet high to maximize detection range while preventing false alarms from pets or low-level movement. Avoid placing sensors near heat sources, direct sunlight, or obstructions like curtains that interfere with detection.
Check your Received Signal Strength Indicator (RSSI) values during installation, verifying they’re above -80 for reliable communication with your hub. Before finalizing locations, conduct a thorough site survey to identify dead zones and obstructions.
This guarantees you’ll achieve extensive coverage of high-traffic areas throughout your property.
Maintain Proper Distance From the Wireless Hub
Although your motion sensors might’ve impressive range specifications, maintaining proper distance from your wireless hub is essential for reliable performance.
Keep your wireless sensors within 100 feet of the hub to guarantee strong communication and prevent signal loss. Check that RSSI values exceed -80 dBm for best operation—anything lower indicates weak connectivity that could cause malfunctions.
Before installation, conduct a thorough site survey to identify potential obstructions like walls or large furniture that might interfere with signal transmission.
If sensors won’t connect, reposition them closer to the hub and test functionality before finalizing placement.
Regularly monitor your Command interface’s devices tab to verify each sensor’s online status and adjust positioning as needed for peak performance.
Avoid Heat Sources and Direct Sunlight
You’ll encounter false alarms if you don’t consider environmental factors when positioning your motion sensors.
Heat sources like radiators and air vents create temperature fluctuations that trick sensors into detecting movement that isn’t there.
Direct sunlight causes similar problems by interfering with the sensor’s ability to accurately distinguish between actual motion and light changes.
Heat Source Interference
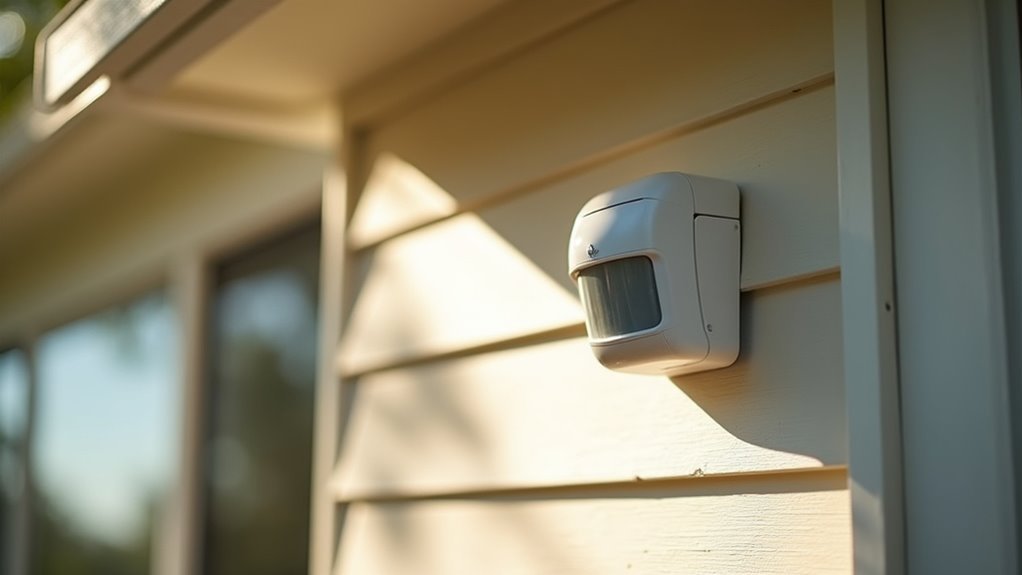
When installing wireless motion sensors that rely on passive infrared (PIR) technology, you’ll need to carefully consider heat sources in the surrounding area since these devices detect thermal changes and can trigger false alarms.
Heat source interference occurs when sensors pick up thermal fluctuations from radiators, heaters, or sunlight streaming through windows. You’ll want to position sensors at least 3 to 5 feet away from heating vents to prevent temperature variations from affecting detection.
Direct sunlight can cause sensors to misinterpret normal thermal changes as motion, so choose shaded indoor locations with consistent temperatures.
- Keep sensors away from radiators and space heaters
- Position units 3-5 feet from heating vents
- Avoid direct sunlight exposure through windows
- Choose shaded areas with stable temperatures
- Test functionality after installation to verify proper operation
Sunlight Placement Problems
Direct sunlight poses one of the most significant challenges when positioning wireless motion sensors, as intense light can overwhelm PIR detection systems and create unpredictable performance issues.
You’ll want to avoid placing sensors near windows where sunlight creates glare or reflections that trigger false alerts and reduce sensitivity.
Consider your home’s sun patterns throughout the day, particularly during peak hours between 10 AM and 4 PM when harsh sunlight is most problematic.
Position sensors away from areas receiving direct exposure during these critical periods.
After installation, you should thoroughly test your sensor’s functionality in its intended location.
Monitor performance during different times of day to verify that sunlight doesn’t interfere with detection capabilities or cause missed alerts.
Install at the Correct Height for Best Detection
Although proper placement seems straightforward, installing your wireless motion sensor at the ideal height greatly impacts its performance and reliability.
You’ll achieve excellent results when you install the sensor between 6 to 8 feet above ground level. This positioning maximizes detection range while minimizing false alarms from pets or small objects moving below.
Install your wireless motion sensor between 6-8 feet high to maximize detection range while avoiding pet-triggered false alarms.
When you install the sensor at this recommended height, it effectively captures human movement patterns while staying above typical pet activity zones.
Mounting too high reduces detection capability, while positioning too low increases unwanted triggers.
- Mount between 6-8 feet for excellent human detection coverage
- Avoid placement below 6 feet to prevent pet-triggered false alarms
- Don’t exceed 8 feet or detection range becomes compromised
- Adjust sensor angle to cover your intended monitoring area completely
- Test detection capabilities thoroughly after installation to verify proper coverage
Test Signal Strength Before Final Mounting
Before securing your wireless motion sensor permanently, you must verify that signal strength meets minimum requirements for reliable operation. Use the Received Signal Strength Indicator (RSSI) to confirm values exceed –80 for dependable communication between your sensor and hub.
Conduct a thorough site survey by temporarily placing the sensor in different locations while testing connectivity. Power on your sensor and trigger detection events to confirm communication while monitoring real-time signal readings through your management interface.
Since sensors detect infrared movement, you’ll need reliable signal transmission to capture these events. If connection fails, power cycle by removing and reinserting batteries, then retest signal strength.
Keep sensors away from thick walls and metal objects that considerably weaken wireless signals and cause missed alerts.
Configure Device Settings in the Control App
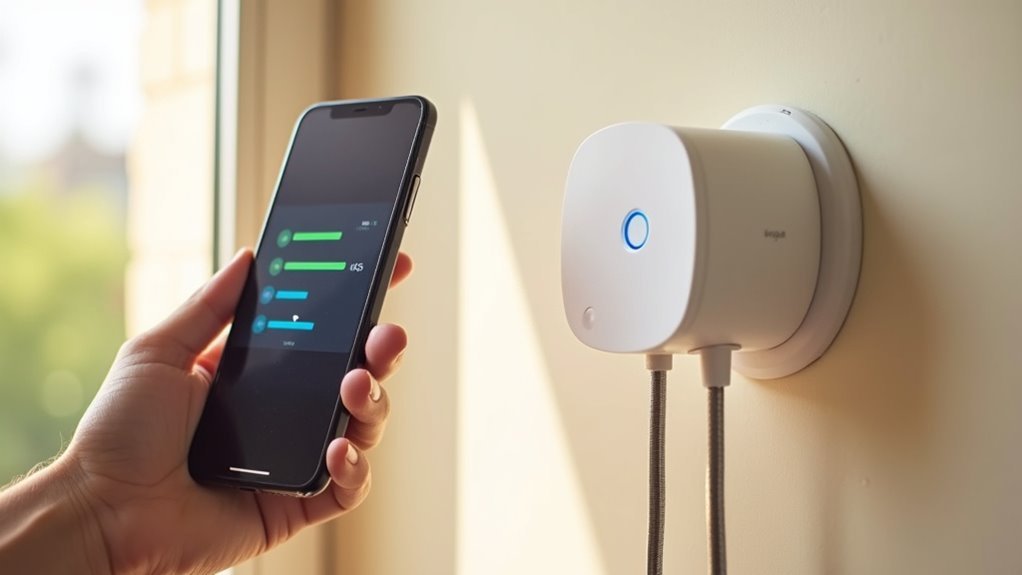
Once you’ve confirmed strong signal strength, you’ll need to access your control app’s device management section to finalize your motion sensor setup.
Start by configuring the detection parameters like sensitivity levels and coverage zones to match your specific monitoring needs.
Don’t forget to enable alert notifications so you’ll receive immediate updates when motion is detected in your designated areas.
Access Device Management
After installing your wireless motion sensors, you’ll need to configure their settings through the control app to enhance performance and customize functionality.
To access device management, open your control app and navigate to the All Products menu, then select the Devices section. Before making any adjustments, verify that your wireless motion sensor appears online and is actively communicating with the hub.
- Customize notification alerts for motion detection events based on your security preferences
- Rename and assign locations to each sensor for easy identification within your system
- Group multiple sensors together to streamline management across larger installations
- Update firmware regularly through the app to maintain peak security and performance
- Test communication status between sensors and hub before finalizing configuration settings
Set Detection Parameters
Three critical detection parameters require your immediate attention to optimize your wireless motion sensor’s performance: sensitivity levels, detection zones, and active time schedules.
You’ll find these settings within your control app’s configuration menu.
Start by adjusting sensitivity levels to prevent false alarms. Higher sensitivity detects slight movements, while lower settings require more substantial motion to trigger alerts.
Next, define detection zones within your sensors’ field of view to focus monitoring on critical areas while ignoring irrelevant spaces like trees or sidewalks.
Configure time schedules to activate monitoring during specific hours, reducing unnecessary alerts during off-peak times.
Finally, set up real-time notifications through push alerts or emails for immediate awareness of detected activity.
Remember to regularly review these parameters whenever you make environmental changes.
Enable Alert Notifications
To receive timely updates about detected activity, you’ll need to enable alert notifications through your control app’s settings menu.
Access your wireless motion sensor configuration to set up real-time notifications that’ll alert you when motion is detected. You can customize these settings to receive updates via mobile device or email, ensuring you’re always informed of important events.
Configure your sensor to send alerts for various triggers beyond just motion detection, including temperature changes and environmental conditions.
Set specific notification schedules to avoid disruptions during non-critical hours, and establish thresholds for environmental alerts when conditions exceed your predefined limits.
- Enable real-time motion detection notifications in app settings
- Customize alert delivery methods (mobile push or email)
- Set notification schedules to avoid unnecessary disturbances
- Configure temperature and humidity threshold alerts
- Regularly review settings to match changing security needs
Secure Proper Battery Installation and Backup Power
When installing wireless motion sensors, you’ll need to activate them by pulling the battery tabs before mounting, as this simple step powers the devices and establishes their initial communication with your security hub.
For reliable battery installation, always use high-quality batteries recommended by your manufacturer. This guarantees peak performance and extends sensor longevity.
| Battery Maintenance | Frequency | Action Required |
|---|---|---|
| Battery Check | Monthly | Test through monitoring system |
| Battery Replacement | Per guidelines | Replace when levels drop |
| Performance Test | After replacement | Verify sensor functionality |
| Backup Power Setup | During installation | Install UPS or rechargeable batteries |
Regular monitoring prevents false alerts and malfunctions caused by low battery levels. Consider installing backup power solutions like rechargeable batteries or UPS systems to maintain functionality during outages.
Verify Motion Detection Zones and Sensitivity
After securing your battery installation, you’ll need to test your motion sensor’s detection range to verify it covers the intended area effectively.
Walk through different zones at the recommended 6-8 foot installation height to confirm the sensor triggers consistently across its coverage area.
You can then fine-tune the sensitivity settings to balance reliable human detection while minimizing false alarms from pets or environmental factors.
Testing Detection Range
Once you’ve mounted your wireless motion sensor, verifying its detection range becomes essential for guaranteeing ideal security coverage.
Walk through your intended coverage area while observing whether the sensor triggers accurately at various distances. You’ll want to test from multiple angles and positions to confirm thorough detection.
Check that furniture or other objects aren’t obstructing the sensor’s field of view, as these obstacles can create blind spots in your security zone.
If your motion sensors offer sensitivity adjustments, fine-tune these settings to balance detection capability with false alarm prevention.
- Conduct systematic walkthroughs at different distances to map actual detection boundaries
- Remove or relocate objects blocking the sensor’s line of sight
- Adjust sensitivity settings to optimize detection while minimizing false triggers
- Monitor RSSI values to guarantee communication strength exceeds -80 dBm
- Perform regular retesting after environmental changes or seasonal shifts
Adjusting Sensitivity Settings
Fine-tuning your motion sensor’s sensitivity settings directly impacts its ability to distinguish between legitimate threats and harmless triggers. Start by selecting low sensitivity for high-traffic areas to minimize false alarms from small animals or environmental factors.
Follow the manufacturer’s guidelines to set ideal detection range, typically within 30 feet for residential sensors, ensuring thorough coverage without overlap.
Position your sensor at 6-8 feet height to maximize field of view and improve detection accuracy. Conduct walkthroughs of monitored areas to verify detection zones trigger appropriately based on expected movement patterns.
After installation, regularly review and adjust sensitivity settings based on real-world performance, as environmental changes can impact detection efficacy. Proper adjusting sensitivity settings reduces unwanted alerts while maintaining security effectiveness.
Check for Interference From Other Wireless Devices
When you’re installing wireless motion sensors, interference from other devices can greatly impact their performance and reliability.
These wireless security devices typically operate on the 2.4 GHz band, where they compete with Wi-Fi routers, cordless phones, and Bluetooth devices for signal space.
To minimize disruption, position your sensors at least 5-10 feet away from other wireless equipment and metal objects.
You’ll want to conduct a thorough site survey to identify interference sources like microwave ovens.
Using a wireless spectrum analyzer helps you select the least congested frequency channels.
- Check RSSI values regularly; readings below -80 indicate significant interference
- Maintain 5-10 foot distance from wireless devices and metal objects
- Conduct site surveys to identify interference sources
- Use spectrum analyzers to find ideal frequency channels
- Reposition sensors if performance issues persist
Perform Regular Maintenance and System Updates
Although proper installation sets the foundation for your wireless motion sensor system, ongoing maintenance guarantees peak performance and longevity.
Start by regularly checking battery levels in your wireless sensors to prevent dead zones from developing. Replace batteries promptly when they’re running low to maintain ideal functionality.
Schedule periodic system updates through your sensor’s app or management platform. These updates provide the latest firmware and feature enhancements that improve performance and security.
Conduct monthly walkthroughs to test each sensor’s functionality, ensuring they trigger correctly and communicate with your hub as expected.
Document sensor performance data to identify areas needing maintenance or coverage adjustments.
Stay informed about manufacturer recalls or updates to maintain compliance and enhance your system’s reliability.
Frequently Asked Questions
Where Should You Not Place a Motion Sensor?
You shouldn’t place motion sensors in direct sunlight, near heating vents, by reflective surfaces like mirrors, in high pet-traffic areas without immunity features, or where furniture blocks their detection range.
How High up Should You Put a Motion Sensor?
You should mount your motion sensor between 6 to 8 feet high for ideal detection. This height maximizes coverage while reducing false alarms from pets and guarantees the sensor effectively detects human movement.
How to Connect Wireless Sensors?
Place sensors next to your powered hub with solid blue LED. In Verkada Command, navigate to Add Devices and enter the sensor’s serial number. Pull battery tabs to power on and validate connection.
How to Install Motion Sensors?
Place your motion sensor near the hub, remove the battery tab, enter its serial number in Verkada Command, configure settings, then conduct a site walk to verify connectivity and signal strength.


Leave a Reply