You’ve invested in motion sensors for your security system, but poor installation can render them virtually useless. Whether you’re protecting your home or business, strategic placement and proper configuration make the difference between reliable detection and constant false alarms. From choosing the right height to weatherproofing considerations, these essential installation techniques will transform your sensors from expensive decorations into an effective security network that actually works when you need it most.
Choose the Perfect Height and Angle for Optimal Detection
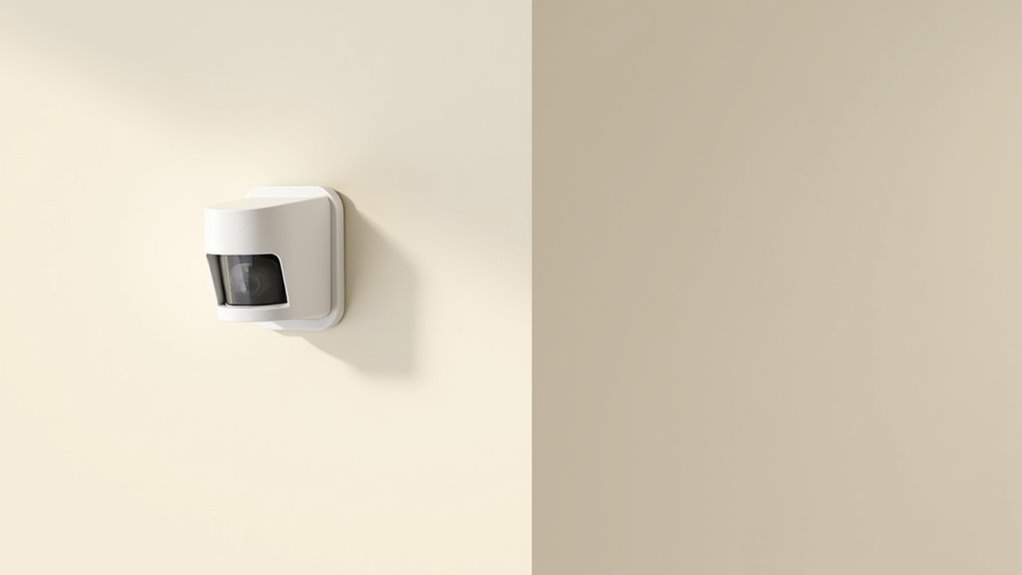
While the effectiveness of your motion sensor depends on several factors, mounting height and positioning angle are the most critical elements that determine detection accuracy.
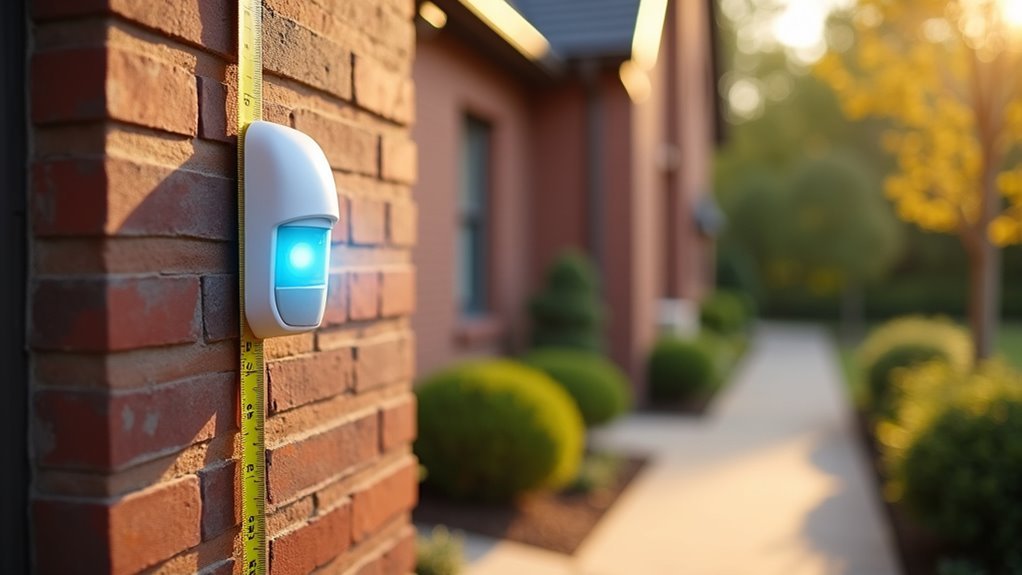
Install your motion sensors at 6 to 10 feet above ground level to maximize coverage while preventing false triggers from small animals. Position them at angles facing primary entry points and movement areas rather than walls or fences that create obstructions.
Mount sensors 6-10 feet high, angled toward entry points and open areas to maximize coverage while avoiding false triggers from small animals.
This strategic installation of motion sensors guarantees they can detect motion across open spaces effectively. Avoid directing sensors toward direct sunlight, which causes false activations and reduces daytime performance.
Use adjustable sensitivity settings to fine-tune detection parameters after positioning. Test your setup by walking through the intended coverage area to verify ideal detection performance and adjust angles as needed.
Select Strategic Locations for Maximum Coverage
You’ll want to focus on high-traffic entry points like front doors, back entrances, and garage access areas where motion detection provides the most security value.
Strategic corner placement guarantees you’re covering multiple angles while eliminating detection blind spots that intruders could exploit.
Position your sensors to monitor driveways, walkways, and property perimeters where people naturally move through your space.
High-Traffic Entry Points
Since intruders typically target entry points as their primary access routes, you’ll want to position your motion sensor lights at front doors, back doors, and side entrances to create a thorough security perimeter.
These locations offer maximum exposure to potential threats while providing essential illumination for residents returning home after dark.
Focus on high-traffic areas like garages and main walkways where family members frequently pass. This placement strategy will enhance security while improving daily convenience during nighttime activities.
Install fixtures at 8 to 10 feet high to optimize detection range and reduce false triggers from pets or wildlife.
After installation, test each sensor’s coverage by walking through detection zones. This verifies proper activation and allows you to adjust positioning for complete area coverage.
Corner Placement Strategy
Corner placements offer the most strategic advantage for motion sensor installations because they provide overlapping coverage zones that eliminate blind spots throughout your property. Your corner placement strategy should position sensors 6 to 10 feet above ground to optimize coverage while preventing false triggers from small animals. Aim sensors toward the center of rooms or areas you’re monitoring, ensuring thorough motion detection capabilities across entry points.
| Placement Factor | Optimal Range | Security Benefit |
|---|---|---|
| Height | 6-10 feet | Reduces false triggers |
| Angle Direction | Center-facing | Maximum room coverage |
| Distance from Entryways | 8-12 feet | Enhanced intrusion detection |
| Field of View | 120-180 degrees | Eliminates blind spots |
Position corner sensors near entryways to create detection barriers that make stealthy approaches nearly impossible. Avoid facing windows or areas with moving foliage that could trigger unnecessary activations.
Avoiding Detection Blind Spots
Where can intruders slip past undetected if your motion sensor lights aren’t strategically positioned?
Blind spots create dangerous vulnerabilities in your security system. You’ll eliminate these gaps by mounting sensors 8 to 10 feet high, ensuring they detect motion across wider areas while preventing interference from shrubs or furniture below.
Position sensors in high-traffic zones like doorways and driveways where movement naturally occurs.
Install units at corners to cover two walls simultaneously, maximizing your detection range with fewer devices. Clear any hanging branches or obstacles that could block sensor views.
Test your setup thoroughly by walking through potential entry points.
Adjust sensor angles until you’ve confirmed complete coverage. Don’t leave gaps between detection zones—intruders exploit these weaknesses to bypass your security system entirely.
Avoid Common Placement Mistakes That Trigger False Alarms
You’ll want to steer clear of placing motion sensors near heat sources like HVAC vents, dryers, or heating units, as temperature fluctuations can trigger false activations.
Environmental obstructions such as hanging plants, tree branches, or decorative elements can also cause your sensors to activate unnecessarily when they move with wind or air currents.
These common placement mistakes can turn your security system into a constant source of frustration rather than reliable protection.
Heat Source Interference
While motion sensors excel at detecting genuine movement, they’re equally sensitive to heat fluctuations that can trigger frustrating false alarms throughout your home.
Heat source interference represents one of the most common installation mistakes that’ll compromise your system’s reliability.
Keep your motion sensors away from HVAC units, heating vents, and air conditioning systems. These appliances constantly emit heat signatures that confuse sensors designed for detecting motion from people or intruders.
Direct sunlight streaming through windows creates similar problems, especially in outdoor spaces where temperature variations are more extreme.
Avoid positioning sensors near radiators, fireplaces, or heat-generating appliances. Even ceiling fans can cause false alarms by circulating warm air pockets.
Choose locations with stable ambient temperatures to guarantee your sensors respond only to genuine security threats, not environmental heat changes.
Environmental Obstruction Issues
Beyond heat interference, physical obstructions create another layer of detection problems that’ll sabotage your motion sensor’s performance.
Environmental obstruction issues frequently cause false alarms when you overlook natural elements during installation. You’ll want to avoid positioning motion sensors near hanging branches or foliage, as wind movement constantly triggers unnecessary activations.
Additionally, don’t face sensors toward windows where shifting sunlight patterns throughout the day create detection interference. These environmental factors disrupt your sensor’s ability to distinguish between legitimate security threats and harmless natural movements.
Proper installation requires surveying your property for potential obstructions before mounting. Consider seasonal changes too—what looks clear in winter might become problematic when trees regain their leaves.
Strategic placement away from these environmental challenges guarantees reliable motion detection without constant false alarms disrupting your security system’s effectiveness.
Configure Sensitivity Settings to Match Your Environment

Once you’ve installed your motion sensors, proper sensitivity configuration becomes critical for ideal performance. Adjust your sensitivity settings to prevent false activations from small animals or moving foliage that commonly trigger outdoor motion detectors.
Set high sensitivity in high-traffic areas where you need to detect motion promptly, while using lower settings in quieter zones to reduce unnecessary triggers.
Your mounting height greatly impacts performance—position sensors 6 to 10 feet above ground to optimize detection range without excessive false alarms.
Take advantage of adjustable sensitivity features in smart models, allowing fine-tuning for specific environmental conditions.
Remember to regularly test and recalibrate your settings based on seasonal changes, as spring and summer foliage growth can affect your motion detectors’ capabilities.
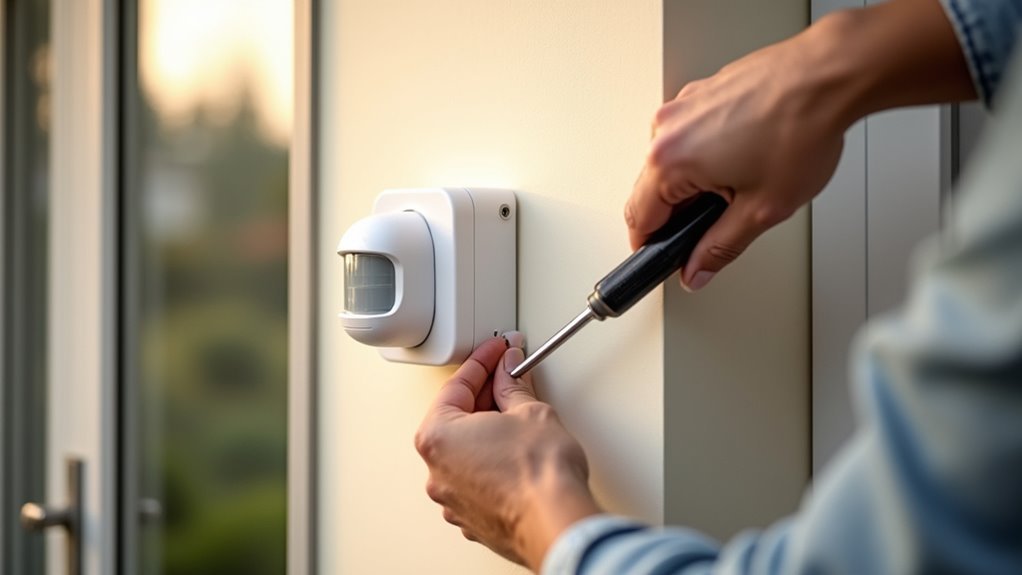
Ensure Proper Electrical Connections and Safety Measures
Before you touch any wires, turn off the circuit breaker to eliminate electrical shock risks during motion sensor installation. Proper electrical connections require weatherproof connectors and tight wire connections wrapped with electrical tape to prevent short circuits. You’ll need to follow local electrical codes for compliant installation.
| Safety Component | Purpose |
|---|---|
| Circuit breaker shutoff | Prevents electrical shock during installation |
| Weatherproof connectors | Protects connections from moisture and corrosion |
| Electrical tape insulation | Secures wire connections and prevents exposure |
| GFCI outlet protection | Minimizes outdoor electrical shock risks |
| Code compliance verification | Guarantees installation meets safety regulations |
These safety measures protect you during installation and guarantee your motion sensor operates reliably. Always verify connections are secure before restoring power to prevent electrical hazards.
Optimize Detection Zones While Minimizing Blind Spots
You’ll achieve maximum coverage by positioning sensors in corners where they can monitor multiple entry angles simultaneously.
This strategic placement eliminates the common gaps that occur when sensors only face one direction, creating overlapping detection zones that intruders can’t avoid.
Corner installations also reduce the total number of sensors you’ll need while providing thorough monitoring of your space.
Strategic Corner Placement Benefits
When you position motion sensors in corners, you’ll maximize your coverage area while creating overlapping detection zones that capture movement from multiple directions.
Strategic corner placement creates triangular detection patterns that enhance accuracy and reliability of your security system. You’ll reduce blind spots effectively since corner-mounted sensors monitor entry points where walls meet, making it harder for intruders to approach undetected.
Corner installations require fewer fixtures to cover the same space, resulting in reduced energy consumption and lower costs.
This positioning strategy creates a deterrent effect by eliminating hiding spots that intruders might exploit. You’ll find that corner placements provide extensive monitoring while using minimal equipment, making your motion detection system both efficient and cost-effective for maximum security coverage.
Avoiding Common Coverage Gaps
Why do so many motion sensor installations fail to provide adequate security coverage? The answer lies in overlooking critical coverage gaps that create blind spots in your security perimeter.
When you install motion sensor lights, you must position them to detect movement across the full length of driveways and walkways without obstructions from foliage or structures blocking the sensor’s view.
Avoid placing sensors where sunlight or heat sources can trigger false activations. Instead, angle them toward potential intruder paths while ensuring they cover key access areas.
Test your installation thoroughly by walking through detection zones to identify weak spots. Proper placement eliminates coverage gaps, maximizing both security and convenience while ensuring your motion sensor lights effectively monitor all entry points.
Account for Environmental Factors and Weather Conditions
Environmental conditions can make or break your motion sensor’s performance, so selecting the right location requires careful consideration of your local climate.
Heavy rain, snow, and extreme weather conditions demand strategic placement away from areas prone to excessive wind or debris that trigger false alarms.
You’ll need weatherproof covers and durable materials during installation to protect against harsh environmental factors.
Position sensors where adequate drainage prevents water accumulation, which causes electrical failures and short circuits.
Don’t overlook ongoing maintenance requirements.
Regular inspections help identify dirt or debris buildup that affects sensor performance, especially in areas with heavy foliage or dust.
Clean sensors monthly and check weatherproofing annually to guarantee year-round functionality and ideal detection range.
Test and Calibrate Your Sensors After Installation
Three critical steps guarantee your motion sensors function properly after installation: testing activation patterns, adjusting sensitivity levels, and verifying coverage areas.
Walk through the detection zone to test that sensors activate lights as intended. Check sensitivity settings to reduce false triggers from small animals or environmental factors. Test time delay settings, ensuring lights illuminate for your desired duration—typically 10 seconds to several minutes.
Test your motion sensor’s activation patterns, sensitivity settings, and time delay duration to ensure proper lighting response and minimize false triggers.
Verify the coverage area by observing responses to movement from various angles and distances, confirming sensors cover all intended areas without obstructions.
After completing initial tests, calibrate your motion sensors regularly. Recalibrate every few months or after significant environmental changes like new landscaping to maintain ideal functionality and reliable performance throughout the seasons.
Implement Pet-Friendly Settings to Reduce Unwanted Triggers
Pet owners often struggle with motion sensors that activate constantly due to their furry companions, but modern technology offers several solutions to minimize these false triggers.
You can greatly reduce false alarms by implementing pet-specific configurations that distinguish between human and animal movement.
Start by selecting a motion sensor equipped with pet-immune technology that detects heat signatures above certain weight thresholds. This feature helps differentiate between your pets and potential intruders.
- Install your sensor at ideal height (6-8 feet) to avoid detecting ground-level pet movement
- Adjust sensitivity settings to lower levels that won’t trigger from smaller animals
- Choose dual technology sensors combining PIR and microwave detection for enhanced accuracy
Regular testing and recalibration promote your system’s effectiveness while keeping your pets from becoming unwanted alarm triggers.
Maintain and Clean Your Motion Sensors for Long-Term Efficiency
While proper installation sets the foundation for reliable motion detection, consistent maintenance guarantees your sensors continue operating at peak efficiency for years to come.
Regular maintenance is the key to ensuring your motion sensors deliver consistent, reliable performance throughout their operational lifespan.
You’ll want to clean sensor lenses every few months using a soft, damp cloth to remove dust and debris that can obstruct detection effectiveness. Regularly inspect the area around your sensors, clearing away branches, foliage, spider webs, and insects that interfere with their field of view or cause false triggers.
Don’t forget to maintain optimal efficiency by adjusting your sensor settings seasonally—increased foliage during spring and summer affects detection sensitivity.
Test functionality periodically by walking through detection zones to confirm your sensors remain responsive and properly calibrated, ensuring efficient operation year-round.
Frequently Asked Questions
Where Is the Best Place to Put a Motion Sensor?
You’ll get ideal results by mounting motion sensors 6-10 feet high at entry points like doors and garages. Position them along pathways and in corners while ensuring they’re not blocked by vegetation or objects.
What Is the Best Height for a Motion Sensor?
You’ll want to mount your motion sensor between 6-10 feet high. For outdoor areas, aim for 8-10 feet to cover more ground. Indoor sensors work best at 6-8 feet for ideal room detection.
How Do You Trick a Motion Sensor to Stay On?
You can trick a motion sensor by placing a fan nearby to create continuous movement, positioning a heat lamp in its detection zone, or using mirrors to redirect its sensing area for prolonged activation.
What Is the Best Sensor Positioning?
You’ll get ideal results by mounting sensors 6-10 feet high at entry points and pathways. Position them away from windows and sunlight sources, then test coverage by walking through the detection zone.


Leave a Reply