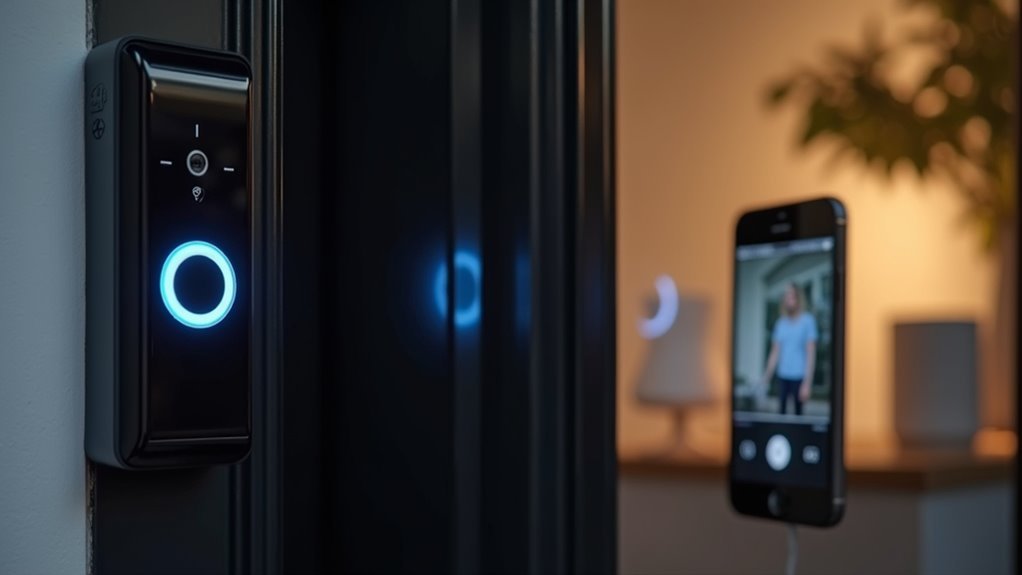
You’ve invested in a smart doorbell, but it’s sitting there like an expensive paperweight because you can’t get it to talk to your home hub. The integration process isn’t as straightforward as manufacturers claim, and you’re probably wondering why your doorbell won’t show up in your smart home app despite following every step in the manual. There’s a specific sequence of configuration steps that most people skip, and missing just one can derail your entire setup.
Understanding Home Hub Compatibility Requirements
Before you can successfully integrate your doorbell with the Home Hub, you’ll need to guarantee several compatibility requirements are met.
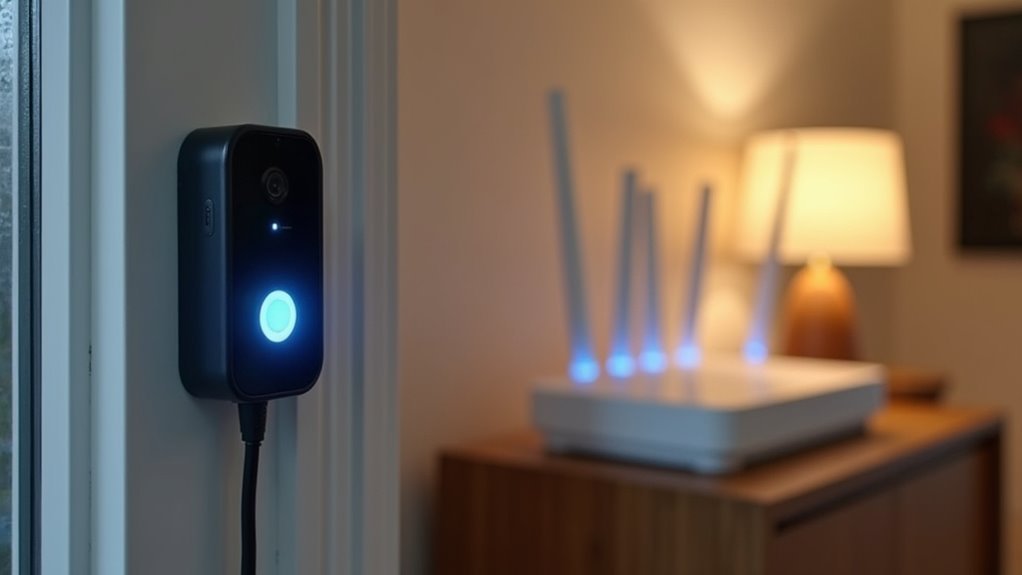
Your doorbell must maintain a strong Wi-Fi connection to communicate effectively with the Home Hub. If your doorbell’s located far from your main house, weak signals can prevent proper Home integration functionality.
Ensure your doorbell connects to the same network as your Home Hub. Extended Wi-Fi networks operating separately can create compatibility barriers that block Apple HomeKit integration.
You’ll want to configure your doorbell as a standalone device first, then import it into your Home Hub system.
Chime compatibility requires specific setup conditions – they typically only connect when your doorbell’s standalone and powered on.
Reolink’s ongoing firmware updates continue improving Home Hub connectivity, so keep your devices updated for peak performance.
Preparing Your Doorbell for Initial Setup
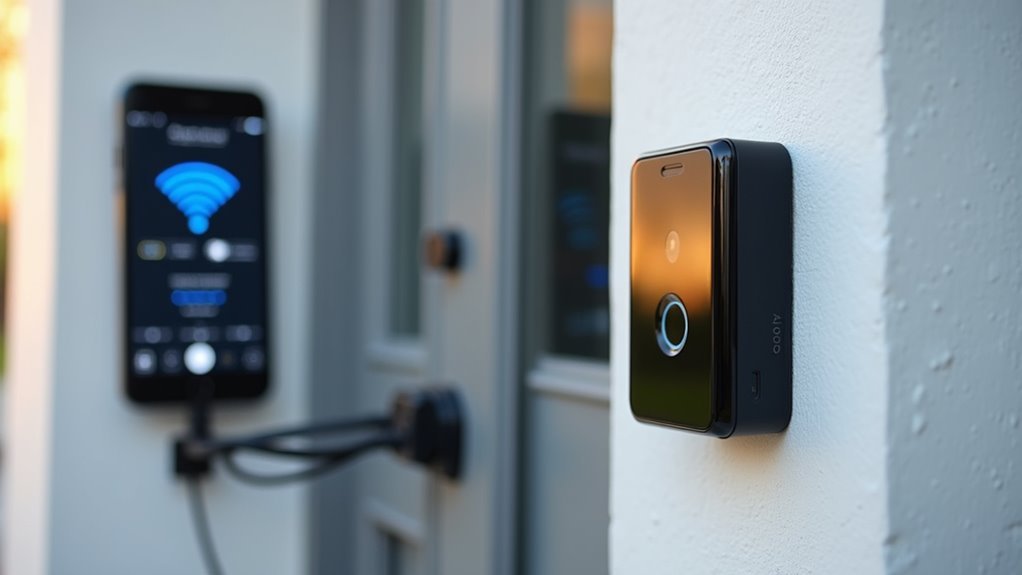
Before connecting your doorbell to your Home Hub, you’ll need to set it up as a standalone device first.
This approach prevents complications and guarantees your doorbell is fully operational before adding hub integration.
Start by configuring your power source and confirming the device connects properly to your WiFi network.
Standalone Setup First
Although you might feel tempted to connect your doorbell directly to the Home Hub, you’ll achieve better results by setting it up as a standalone device first.
This standalone setup allows your video doorbell to connect directly to your main WiFi network, avoiding potential weak signal issues that can occur when routing through the Home Hub.
Start by following the manufacturer’s instructions to establish the initial connection.
Once your doorbell functions properly as a standalone device, you can then import it into your Home Hub for enhanced smart home integration.
This approach also helps troubleshoot power-related issues that might appear during the Chime connection process.
Consider keeping your doorbell in standalone mode until manufacturers release firmware updates that address Home Hub connectivity problems.
Power Source Configuration
Your doorbell’s power configuration determines whether you’ll have a smooth setup experience or encounter frustrating connectivity issues down the line.
Choosing the right power source for your battery doorbell is essential before connecting to your Home Hub.
You have two flexible power options:
- Battery operation – Charge fully using 5V 2A Type-C charger for 4 hours, providing up to 6 months battery life
- Wired installation – Compatible with DC 24V, AC 8-24V transformers (5VA-40VA range)
- Existing chime integration – Works seamlessly with mechanical chimes when hardwired
- Setup requirement – Doorbell must be powered on during Chime setup for proper connection
- Home Hub compatibility – Adequate power guarantees reliable integration without connection failures
Confirm your doorbell’s fully powered before beginning the Home Hub integration process.
Configuring Network Settings and Wi-Fi Connectivity
When setting up your doorbell’s network connection, you’ll need to guarantee it operates on the same Wi-Fi network as your Home Hub to avoid connectivity problems.
Extended networks can interfere with proper communication, so connect directly to your main Wi-Fi instead.
If your doorbell sits far from the main house, consider moving it closer to strengthen the signal.
Start by configuring the doorbell as a standalone device first, then integrate it with your Home Hub for peak performance.
Check that your TP-link extender works with your Home Hub’s Wi-Fi system, as incompatible devices block successful connections.
Don’t forget to install firmware updates for both your Home Hub and doorbell – manufacturers regularly release patches that fix connectivity issues and improve overall system reliability.
Installing the Starling Home Hub Bridge
Once your network settings are configured, you can proceed with installing the Starling Home Hub Bridge to connect your Nest doorbell with Apple HomeKit. The installation process is remarkably straightforward and takes less than five minutes to complete.
Here’s what makes the setup process seamless:
- Plug-and-play design requires only connecting to your router and power source
- The Starling iOS app automatically pairs with Apple Home without additional applications
- 100% compatibility guarantees your Nest doorbell integrates perfectly with HomeKit
- Google Home devices also receive extensive support through the same hub
- Regular updates continuously enhance device connections and expand compatibility
You’ll find the Starling Home Hub Bridge eliminates complexity while providing unified control through the Home app and Siri for your entire smart home ecosystem.
Pairing Your Doorbell With Apple Homekit
Once you’ve installed the Starling Home Hub Bridge, you’re ready to pair your doorbell with Apple HomeKit through a straightforward setup process.
You’ll need to verify your doorbell meets HomeKit compatibility requirements and understand any limitations that might affect functionality.
The pairing process involves specific steps within the Apple Home app that’ll connect your doorbell to your HomeKit ecosystem.
HomeKit Setup Process
While setting up your doorbell with Apple HomeKit requires a few preliminary steps, the process becomes straightforward once you’ve established the proper foundation.
Your HomeKit hub must be properly configured before beginning integration.
Follow these essential steps for seamless doorbell integration:
- Complete initial doorbell setup as standalone device per manufacturer’s instructions
- Verify your HomePod or Apple TV functions as active HomeKit hub
- Open Home app on iOS device and select “Add Accessory”
- Scan HomeKit setup code included with your doorbell packaging
- Configure automation settings within Home app after successful pairing
Regular firmware updates guarantee continued compatibility between your doorbell and HomeKit ecosystem.
Check manufacturer recommendations periodically to maintain peak performance and access new features that enhance your smart home experience.
Compatibility and Limitations
Before purchasing a smart doorbell for HomeKit integration, you’ll need to verify your specific model supports Apple’s ecosystem since compatibility varies greatly across manufacturers and product lines. Several years of Apple updates have created compatibility gaps, leaving some older models incompatible while newer versions support full integration.
| Brand | HomeKit Native | Requires Bridge |
|---|---|---|
| Ring | No | Yes (Home Assistant) |
| Arlo | Select Models | No |
| Netatmo | Yes | No |
| Logitech | Yes | No |
| Eufy | Select Models | Optional |
You’ll encounter limitations even with compatible models. Some features like advanced motion detection or two-way audio may not work through Apple’s Home app, requiring manufacturer apps for full functionality. Additionally, firmware updates can temporarily disrupt HomeKit connections, requiring re-pairing.
Troubleshooting Common Connection Issues
Signal strength issues often cause the most frustrating connection problems between your doorbell and Home Hub.
When your doorbell’s too far from the main house, weak signals prevent successful connections entirely. However, connection problems aren’t always about distance.
Here are the most effective troubleshooting steps:
- Check signal strength – Move closer to the Home Hub or use a WiFi extender if the doorbell’s located far from your house
- Try standalone setup first – Set up your doorbell as a standalone device before importing it into the Home Hub
- Keep doorbell powered – Maintain continuous power supply, especially during chime setup procedures
- Wait for firmware updates – Reolink pushes compatibility improvements to Home Hubs regularly
- Consider temporary standalone operation – Leave the doorbell standalone until chime connection issues receive firmware fixes
Setting Up HomeKit Secure Video Features
Once you’ve established a stable connection between your doorbell and Home Hub, HomeKit Secure Video transforms your basic doorbell into an extensive security system.
Your HomePod or Apple TV processes video streams locally, ensuring encrypted footage that only you can access through the Apple Home app.
You’ll configure activity zones to receive alerts for specific areas, eliminating unnecessary notifications from passing cars or distant movement.
The facial recognition feature learns familiar faces, distinguishing between family members and visitors. You get 10 days of free video storage, with options to expand using your existing iCloud plan.
Access live feeds directly through the Home app for real-time monitoring.
Your recordings remain private and secure, never leaving Apple’s encrypted ecosystem.
Configuring Chime and Audio Notification Settings
You’ll need to configure your doorbell’s chime and audio notifications to guarantee you receive alerts throughout your home.
The setup process requires specific steps to establish proper connectivity between your doorbell, chime, and Home Hub.
If you encounter connection issues during configuration, there are troubleshooting methods that can resolve common problems and restore functionality.
Chime Setup Process
Before you can configure your Chime and audio notification settings, you’ll need to confirm your doorbell is powered on and operating in standalone mode.
The Chime setup process requires these specific conditions to establish a successful connection.
During setup, you might encounter connectivity issues. If the app indicates your doorbell isn’t powered, it’s likely because your doorbell is connected to the Home Hub instead of running standalone.
Here’s what you need to know:
- Disconnect your doorbell from the Home Hub before starting Chime setup
- Confirm your doorbell remains powered throughout the entire process
- Keep your doorbell in standalone mode for peak Chime functionality
- Wait for Reolink’s upcoming firmware fix addressing Hub integration issues
- Maintain standalone configuration until the firmware update releases
Audio Notification Options
After completing the Chime setup in standalone mode, you can configure various audio notification options to customize how and where you receive doorbell alerts.
Access your doorbell’s settings through the Reolink app to adjust notification preferences. You can control volume levels, select different chime tones, and set up multiple notification zones throughout your home.
If you’re experiencing connection issues after integrating with your Home Hub, contact Reolink support for a firmware update that resolves Chime connectivity problems.
This update enables proper audio notifications even when your doorbell operates through the hub system.
Until Reolink implements a permanent firmware fix, you might need to maintain your doorbell as a standalone device to guarantee reliable Chime functionality and consistent audio alerts.
Troubleshooting Connection Issues
When connection issues arise during Chime setup, start by verifying your doorbell’s power status and network configuration. These problems often stem from integration conflicts or network mismatches that prevent proper device communication.
Common troubleshooting steps include:
- Ascertain your doorbell is powered on and functioning as a standalone device before attempting Chime integration.
- Check if the doorbell is properly connected to the Home Hub, as disconnected devices will show as unpowered in the app.
- Verify your doorbell has a strong WiFi signal, since weak connectivity prevents successful Hub and Chime connections.
- Confirm your TP-link extender operates on the same network as your Home Hub to avoid compatibility issues.
- Consider keeping the doorbell in standalone mode if Hub integration fails, awaiting Reolink’s firmware updates.
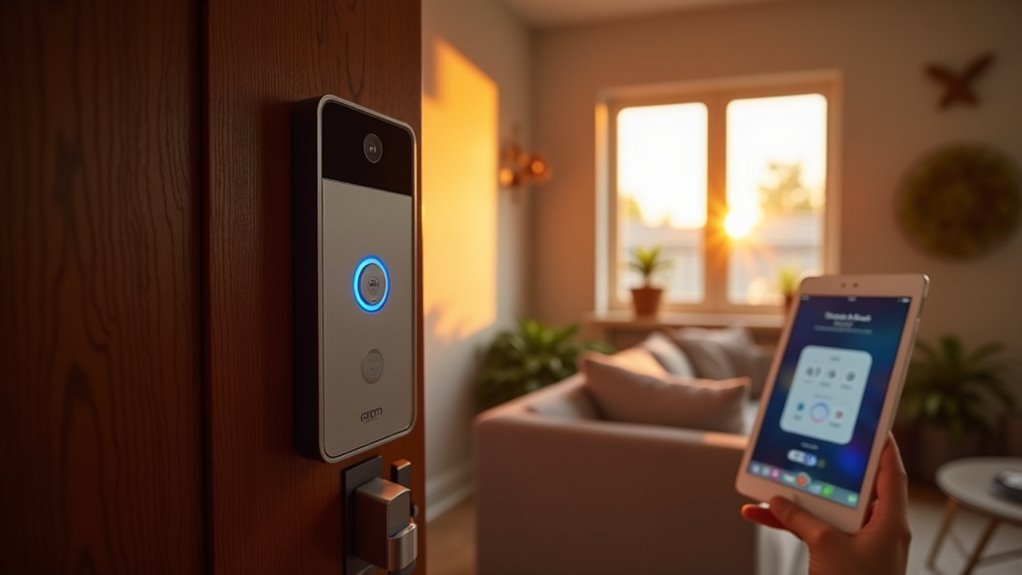
Creating Smart Home Automations and Scenes
Anyone can transform their doorbell into a powerful automation trigger that orchestrates your entire smart home ecosystem.
Once you’ve successfully connected your doorbell to your Home Hub, you can create sophisticated automations using the Home app on your iOS device. Set up custom scenes that automatically turn on exterior lights when motion’s detected, or receive instant notifications when someone approaches your door.
Your doorbell’s smart detection features distinguish between people, vehicles, and packages, allowing you to create targeted automations for each scenario.
For ideal performance with HomeKit, verify you’ve configured a HomePod or Apple TV as your hub. Remember to regularly update your Home Hub and doorbell firmware to maintain compatibility and access the latest automation capabilities.
Optimizing Video Quality and Storage Options
You’ll want to maximize your doorbell’s 2K HD resolution capabilities to capture crystal-clear footage that’s useful for security purposes.
Your storage options include the built-in 64GB microSD card plus support for up to two additional 512GB cards, giving you flexibility based on your recording needs.
The night vision feature guarantees you’re getting quality footage around the clock, maintaining that same sharp 4MP clarity even in low-light conditions.
2K Resolution Benefits
Although standard 1080p cameras have dominated the market for years, this doorbell’s 2K HD resolution (4MP) delivers significantly sharper detail that transforms how you monitor your property.
You’ll notice crisp facial features, license plate numbers, and package details that standard cameras often miss.
The enhanced resolution provides these key advantages:
- Facial Recognition: Identify visitors clearly from greater distances
- Package Details: Read shipping labels and contents through video playback
- License Plates: Capture vehicle information for security documentation
- Digital Zoom: Maintain clarity when zooming into recorded footage
- Evidence Quality: Provide law enforcement with usable, detailed video evidence
This superior image quality works seamlessly with the doorbell’s 64GB built-in storage and AI analysis, ensuring you’re capturing meaningful details without overwhelming your storage capacity.
Storage Solution Comparison
High-quality 2K footage means nothing without reliable storage to preserve those crisp details when you need them most.
You’ll get a built-in 64GB microSD card with your Reolink doorbell, but you can expand storage considerably by adding up to two 512GB microSD cards for maximum capacity.
This local storage approach keeps your 4MP video recordings safe even when your internet connection fails, ensuring you won’t lose critical footage during network disruptions.
The AI analysis feature creates weekly security reports from your stored videos, helping you track activity patterns over time.
Whether you choose battery or wired installation, your storage capacity remains consistent, giving you reliable access to high-resolution recordings whenever you need them.
Night Vision Performance
Twenty-four hours of security coverage becomes reality with the Reolink doorbell’s advanced night vision technology, which maintains that same crisp 2K resolution even in complete darkness.
You’ll capture every detail whether it’s noon or midnight, ensuring your home’s perimeter stays monitored without compromising image quality.
Your night vision capabilities deliver consistent performance through:
- 2K HD resolution (4MP) – Crystal-clear footage in all lighting conditions
- Enhanced low-light visibility – Detailed imaging even in complete darkness
- Continuous quality maintenance – No resolution dropoff during night mode
- AI-powered weekly reports – Track nighttime security events automatically
- Reliable network resilience – Stored footage remains accessible during disruptions
You’re getting professional-grade security that doesn’t sleep, backed by your 64GB built-in storage that captures everything.
Managing Multiple Device Integrations
When you’re integrating multiple devices with your doorbell system, you’ll need to establish a solid foundation by setting up each device as a standalone unit before importing them into the Home Hub. This approach prevents connection issues that commonly arise during integration.
Ensure all devices, including your doorbell and Chime, are powered on and connected to the same network. This network consistency is essential for seamless communication between components.
However, avoid using TP-link extenders with your doorbell, as they can create network compatibility problems that block Home Hub connections.
Be aware that Reolink support has identified Chime connection issues and is developing firmware fixes. While waiting for these updates, consider leveraging your Home Hub’s compatibility with smart home systems like Home Assistant for enhanced functionality.
Addressing Signal Strength and Range Problems
Signal strength and range limitations frequently undermine doorbell performance, especially when your device sits far from the main house.
When your doorbell struggles to maintain a stable connection with your Home Hub, you’ll experience unreliable notifications and poor video quality.
Here are key strategies to resolve these connectivity challenges:
- Position your doorbell closer to the Home Hub to strengthen signal reception
- Use a compatible WiFi extender specifically designed for your Home Hub’s network
- Avoid TP-link extenders as they create separate networks incompatible with Home Hub WiFi
- Set up your doorbell as a standalone device connected to main Home WiFi temporarily
- Wait for firmware updates that address known signal strength issues
Reolink support recommends keeping doorbells standalone until connectivity fixes are released, ensuring consistent performance while maintaining smart home functionality.
Firmware Updates and Maintenance Tasks
Regular firmware updates serve as your primary solution for resolving persistent doorbell integration issues, particularly when signal strength improvements alone haven’t restored full functionality.
Reolink actively releases updates that enhance connectivity and resolve integration problems with Home Hubs. Recent updates have successfully enabled Chime connections that previously failed to establish.
You’ll want to maintain both your doorbell and Home Hub with the latest firmware versions to guarantee peak performance and compatibility.
These updates fix known bugs, including connectivity failures between devices, while improving your overall smart home experience. Updated Home Hubs also integrate better with additional devices, enhancing your entire ecosystem’s functionality.
Reolink’s ongoing firmware improvements demonstrate their commitment to addressing connection issues and providing continued product support.
Advanced Automation and Voice Control Setup
Beyond maintaining updated firmware, you can access your doorbell’s full potential through advanced automation and voice control features that transform how you interact with your smart home system.
First, set up your doorbell as a standalone device before integrating it into your Home Hub. This guarantees seamless control and peak functionality across all connected devices.
- Use the Home app to create custom automations that trigger events when motion is detected.
- Enable automatic lighting activation when someone approaches your door.
- Set up Siri voice control for hands-free doorbell operation and monitoring.
- Position your Home Hub within strong WiFi signal range for reliable communication.
- Configure notification preferences to alert you instantly across multiple devices.
These automation features work together to create an intelligent security system that responds proactively to visitors and enhances your home’s overall smart functionality.
Frequently Asked Questions
How Do I Connect My Doorbell to Google Hub?
You’ll need to guarantee your doorbell’s within range of your Google Hub first. Connect it to your main WiFi network, then set it up as standalone before integrating with the Hub.
How Do I Connect My Ring Doorbell to My Home Wifi?
Open the Ring app and select your doorbell. Choose “Set Up Device,” then select your home WiFi network and enter the password. Verify you’re within router range for proper connection.
Can You Add a Ring Doorbell to Google Hub?
You can add your Ring doorbell to Google Hub by installing the Ring app, linking your Ring account through the Google Home app, and ensuring both devices share the same Wi-Fi network.
What Doorbell Camera Works With Apple Homekit?
You can use Logitech Circle View Doorbell or Eufy’s HomeKit-compatible models with Apple HomeKit. Arlo’s second-generation doorbell will support HomeKit after a firmware update, though there’s no confirmed release date yet.


Leave a Reply