You’re probably dreading the thought of rewiring your home’s electrical system just to install a new doorbell. The good news? You don’t have to tackle complex wiring or hire an expensive electrician. Today’s most affordable video doorbells offer surprisingly simple installation methods that’ll have you up and running in minutes, not hours. But choosing the wrong model could leave you frustrated with complicated setups that weren’t advertised upfront.
Top Budget-Friendly Doorbells for Easy Installation

While high-end smart doorbells can cost hundreds of dollars, you don’t need to break the bank to secure your home’s entrance with reliable video monitoring.
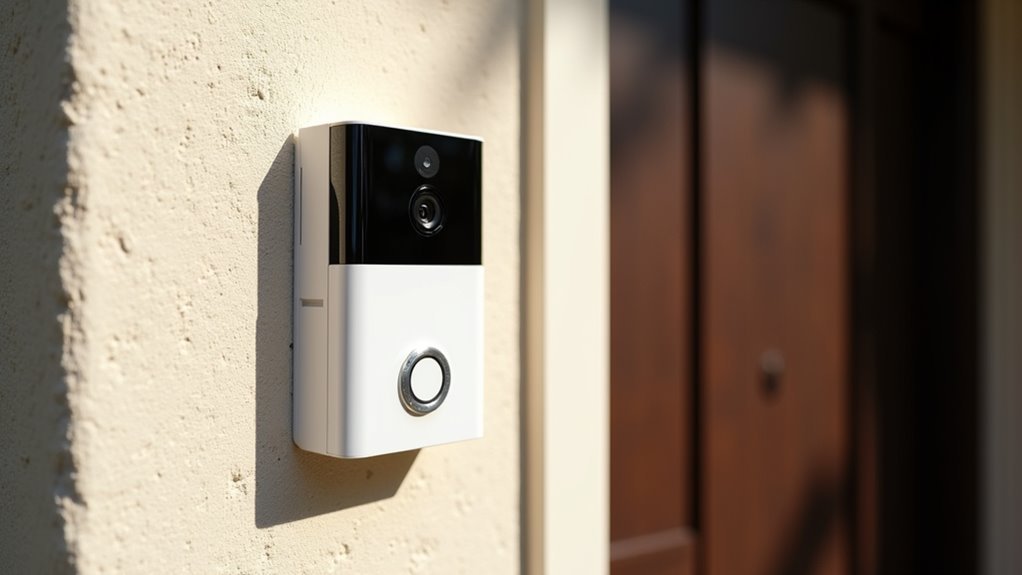
The Wyze Video Doorbell leads budget-friendly options at under $30, featuring an easy installation guide and mounting plate for quick setup.
At under $30, the Wyze Video Doorbell delivers budget-friendly home security with straightforward setup and included mounting hardware.
The TP-Link Kasa Video Doorbell offers straightforward installation at $40 with clear instructions for existing doorbell wiring.
At $60, the Blink Video Doorbell provides simple installation without requiring doorbell wiring, including a Sync Module 2.
The Ring Video Doorbell Wired costs around $50 and suits homes with existing wiring.
For battery-powered convenience, the Eufy Security Video Doorbell eliminates wiring needs, perfect for renters seeking easy installation.
Battery-Powered Vs Wired Installation Requirements
You’ll face two main power source options when choosing an affordable doorbell: battery-powered models that run on rechargeable batteries or replaceable cells, and wired versions that connect to your home’s electrical system.
Battery-powered doorbells offer considerably simpler installation since you won’t need existing wiring or electrical knowledge, while wired models require connecting to doorbell wiring and often need a transformer.
Your setup time will vary dramatically between these options – battery models typically take under an hour to mount and configure, whereas wired installations can take much longer and may require professional help.
Power Source Options
When choosing between battery-powered and wired doorbells, you’ll find that installation requirements differ considerably between the two options.
Battery-powered models offer the simplest DIY installation since they don’t require existing wiring or electrical connections. You can mount them anywhere with just basic tools and follow straightforward instructions.
Wired doorbells need professional installation if you lack existing wiring, potentially costing around $200.
Here are your main power source considerations:
- Battery models require regular charging or replacement but offer flexible placement
- Wired options provide continuous power without ongoing maintenance concerns
- Solar-powered options reduce charging frequency while maintaining installation simplicity
- Existing wiring makes wired installation more feasible and cost-effective
Your choice depends on balancing installation convenience against long-term maintenance preferences.
Installation Complexity Comparison
Battery-powered doorbells clearly win the installation simplicity contest, requiring nothing more than a drill, screws, and about 15 minutes of your time.
You’ll mount these units directly onto your door frame using the included mounting plate, making DIY setup incredibly straightforward. There’s no need to locate transformers or deal with existing doorbell wiring complications.
Wired video doorbells present a more complex installation challenge.
You’ll need to connect them to your home’s existing doorbell wiring, which often requires technical knowledge and potentially professional help. The installation process becomes considerably more involved when you’re troubleshooting electrical connections and ensuring proper transformer compatibility.
Battery models like Ring’s Peephole Cam offer even simpler solutions, replacing existing peepholes without extensive modifications.
This stark difference makes battery-powered options ideal for renters and DIY enthusiasts.
Setup Time Requirements
While installation complexity varies between doorbell types, setup time requirements reveal even more dramatic differences that can influence your purchasing decision.
Battery-powered models offer minimal installation time, typically requiring less than 30 minutes for complete setup. You’ll mount them directly on your door frame without electrical wiring complications.
Wired doorbells demand considerably more time investment:
- Installation time: 1-2 hours for proper electrical connections
- Tools: Drill, wire strippers, and additional equipment requirements
- Professional help: Potential electrician costs for complex setups
- DIY installation: More challenging due to electrical system compatibility
Battery-powered options include mounting plates and straightforward instructions, making them ideal for quick DIY installation.
While wired doorbells provide consistent power, they require considerably more time and effort to install correctly.
Essential Tools and Equipment for DIY Doorbell Installation
You’ll need several essential tools to successfully install your affordable doorbell, whether you’re working with a battery-powered or hardwired model.
Start by gathering basic installation tools like a screwdriver, drill, and level to mount your device properly and guarantee it’s positioned straight.
Don’t forget voltage testing equipment and wire connection supplies if you’re installing a hardwired doorbell, as these tools will help you safely handle electrical connections.
Basic Installation Tools
Installing an affordable doorbell doesn’t require an extensive toolkit, making it an accessible DIY project for most homeowners. Most wireless video doorbells come with mounting brackets and detailed instructions that streamline the installation process.
For battery-powered models, you’ll need minimal tools since they mount directly without electrical connections.
Here are the essential tools for basic installation:
- Screwdriver – Required for securing mounting plates and brackets
- Level – Guarantees your smart doorbell camera is positioned correctly
- Drill – Necessary for creating pilot holes in various surfaces
- Voltage tester – Essential for wired installations to verify electrical safety and security
Many manufacturers now include mobile app tutorials that guide you through each step, making the installation process even more straightforward for DIY enthusiasts.
Voltage Testing Equipment
Safety takes priority when working with doorbell wiring, making voltage testing equipment your most critical tool. You’ll need a multimeter to verify your existing doorbell wiring operates within the standard 16-24 volt range that most wired doorbells require.
Non-contact voltage testers offer a safer alternative for quick checks, letting you confirm wires are live without direct contact during installation.
Beyond voltage testing equipment, you’ll require additional tools for complete installation. A wire stripper removes insulation without damaging wires, ensuring a secure connection to your new doorbell.
Your screwdriver set handles mounting and wiring tasks efficiently. Finally, electrical tape insulates all wire connections after installation, preventing short circuits and guaranteeing reliable doorbell operation throughout its lifespan.
Wire Connection Supplies
Once you’ve confirmed your electrical safety with proper voltage testing, securing reliable wire connections becomes your next priority.
Wire strippers are absolutely essential for preparing your doorbell’s electrical connection. You’ll need to precisely remove insulation to expose the copper wire underneath, ensuring ideal conductivity.
Here are the vital wire connection supplies you can’t skip:
- Wire strippers – Remove insulation cleanly without damaging copper conductors
- Electrical tape – Secure connections and prevent dangerous short circuits
- Voltage tester – Double-check power status before handling any wires
- Screwdriver – Tighten terminal screws for solid electrical contact
These supplies work together with your drill and level tool to create professional-grade installations.
Proper wire preparation and secure connection methods prevent future electrical issues while ensuring your affordable doorbell operates reliably for years.
Step-by-Step Installation Guide for Wireless Models
Five simple steps will transform your wireless video doorbell from box to functioning security device.
First, choose a location near your front door that offers a clear view of visitors while staying within your Wi-Fi network range.
Second, use the included mounting template to mark drill holes, positioning the device at 4 feet high for ideal motion detection.
Third, drill the marked holes and attach the secure mounting bracket to your wall.
Fourth, power the doorbell by inserting batteries or charging the unit completely, then connect it to your home Wi-Fi through the manufacturer’s mobile app.
Finally, complete your installation guide by testing the doorbell—press the button to verify it sends notifications to your smartphone and adjust positioning if needed.
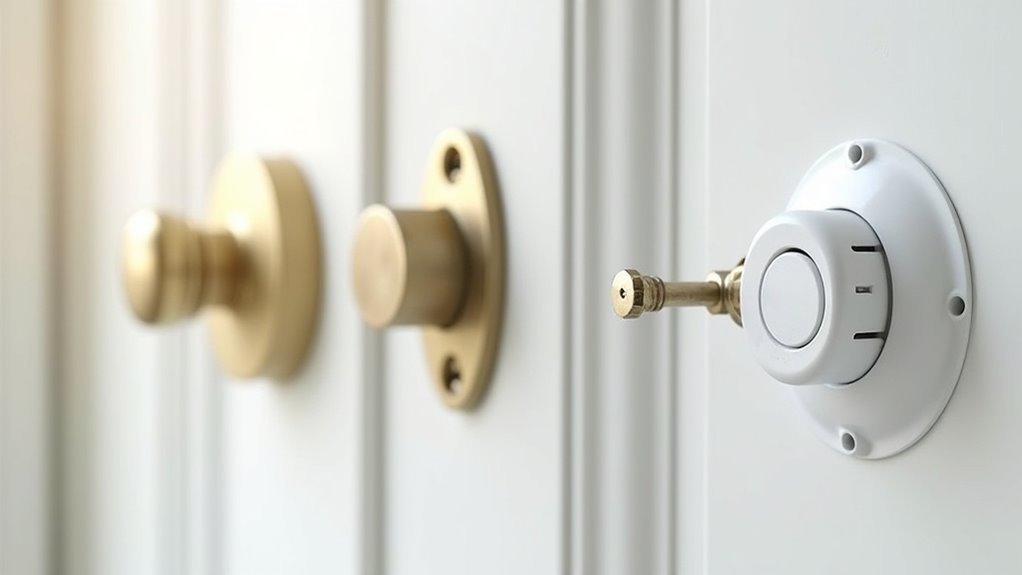
Mounting Options for Different Door Frame Materials
While wireless doorbell installation seems straightforward, your door frame material determines which mounting method you’ll use for a secure, long-lasting installation.
Different door frame materials require specific mounting options to guarantee your doorbell stays firmly attached.
Here are the best approaches for common materials:
- Wood frames – Standard screws work perfectly for most battery-operated doorbells and wired doorbells.
- Metal or vinyl frames – Special anchors or drill bits provide necessary holding power.
- Stucco or masonry walls – Masonry screws with appropriate drill bits create secure installations.
- Uneven surfaces – Adjustable mounting brackets accommodate sloped or irregular door frames.
Many battery-operated doorbells include adhesive mounting alternatives that work on clean, dry surfaces.
For wired doorbells, verify your existing wiring’s voltage compatibility (typically 16-24 volts) before starting installation.
Blink Video Doorbell Installation Process
You’ll find the Blink Video Doorbell offers two installation approaches: wireless mounting for renters who can’t modify wiring, or connecting to your existing doorbell wires for continuous power.
The wireless setup requires only basic tools like a drill and screwdriver, while the wired option needs those same tools plus wire nuts for electrical connections.
Both methods can be completed in under 30 minutes, with the main difference being whether you’re mounting with screws alone or also connecting to your home’s doorbell wiring.
Wired Vs Wireless Setup
When choosing between wired and wireless doorbell setups, the Blink Video Doorbell eliminates much of the complexity with its wireless design that doesn’t require existing doorbell wiring.
Unlike traditional wired installation, you’ll enjoy complete flexibility in placement as long as you’re within your Wi-Fi signal range.
The wireless setup offers several advantages that make it exceptionally easy to install:
- No electrical work required – Simply mount using the included mounting kit
- Two-year battery life – Eliminates frequent charging concerns
- Quick app-based setup – Download the Blink app and follow step-by-step instructions
- Flexible placement options – Position anywhere with adequate Wi-Fi coverage
This approach makes the Blink Video Doorbell particularly appealing for renters who can’t modify existing wiring systems.
Required Tools and Steps
Now that you understand the wireless advantages, let’s walk through the actual installation process.
You’ll need a Phillips head screwdriver, power drill for hard surfaces, and the included mounting hardware. Start by charging your video doorbell for several hours, then download the Blink app to connect it to your Wi-Fi network during setup.
Mark screw holes using the provided mounting bracket at approximately 4 feet height for ideal viewing angles. Drill necessary holes and secure the bracket with screws.
Simply slide your doorbell onto the mounting bracket until you hear it click into place.
Complete the installation by testing functionality through the app. Verify it properly detects motion and records video before considering your setup finished.
Eufy E340 Setup and Mounting Instructions
Since the Eufy E340 operates on battery power, you won’t need to worry about complicated wiring or hiring an electrician for installation.
This battery-powered doorbell comes with everything needed for quick setup, including a detailed installation manual that walks you through each step.
Follow these simple steps for installation:
- Mount the included bracket to your desired surface using the provided screws.
- Adjust the bracket to achieve ideal adjustable angles for your field of view.
- Download the Eufy Security app and follow the step-by-step configuration process.
- Attach the doorbell to the mounting bracket and test functionality.
The rechargeable battery lasts up to four months per charge, making the Eufy E340 a low-maintenance solution for home security monitoring.
Ring Wired Doorbell Installation Requirements
Unlike the battery-powered Eufy E340, the Ring Wired Doorbell connects directly to your home’s existing electrical system through a 16-24 volt AC doorbell transformer.
This setup allows seamless integration with your current doorbell wiring, making installation straightforward for most homeowners.
You’ll need basic tools like a screwdriver and drill to complete the installation.
The process involves removing your old doorbell, connecting the wires to your new Ring device, and mounting it using the provided screws and plate.
Installation requires only three simple steps: remove your existing doorbell, connect the wires, and mount the new device securely.
The doorbell remains compatible with standard indoor chimes, preserving familiar functionality.
The Ring app provides step-by-step instructions and troubleshooting tips throughout setup, making this project accessible for DIY enthusiasts.
This guided approach guarantees you can confidently complete the installation without professional help.
TP-Link Kasa Doorbell Installation Steps
You’ll find installing the TP-Link Kasa doorbell straightforward with its color-coded wiring system that connects to your existing doorbell setup.
The wired installation process takes less than 30 minutes using the included mounting template and detailed guide.
Once you’ve completed the physical installation, you’ll need to download the Kasa Smart app to connect your doorbell to your Wi-Fi network and finish the setup.
Wired Installation Process
Installing the TP-Link Kasa Video Doorbell requires careful attention to electrical safety and proper wiring connections. The wired installation process involves several critical steps to guarantee proper functionality and safety.
Follow these essential steps for installation:
- Power Safety: Turn off power to your existing doorbell at the circuit breaker before beginning any work.
- Remove Old Hardware: Unscrew and disconnect your existing doorbell from the wall, noting wire placement.
- Connect New Device: Attach the Kasa doorbell wires to corresponding terminals, confirming correct polarity before you secure it with provided screws.
- Test Operation: Restore power and test the doorbell button to verify activation and Wi-Fi connectivity.
Complete setup by downloading the Kasa Smart app for Wi-Fi configuration and notification customization.
App Setup Guide
After completing the physical installation, setting up your TP-Link Kasa Video Doorbell through the mobile app becomes your next priority.
Download the Kasa Smart app on your smartphone from either iOS or Android app stores. You’ll connect the doorbell to your home Wi-Fi network through the app, so stay within range during this process.
The app provides step-by-step instructions for mounting at approximately 4 feet above ground using the included mounting plate and screws.
Connect to your existing doorbell chime or choose battery-powered operation for flexibility.
Finally, customize your notification settings and test video quality through the app to guarantee peak performance and functionality.
Common Installation Challenges and Solutions
While affordable video doorbells offer excellent value, several installation hurdles can frustrate even tech-savvy homeowners. Understanding these common installation challenges helps you prepare for a smoother setup experience.
Here are four key solutions to overcome typical installation obstacles:
- Wi-Fi connectivity issues – Test signal strength at your door location before mounting; consider Wi-Fi extenders if needed.
- Wiring complexity with wired doorbells – Follow manufacturer instructions carefully or choose battery-powered doorbells for simpler installation.
- Improper placement affecting performance – Mount at ideal height (around four feet) for effective motion detection and clear video capture.
- Misaligned mounting – Use provided installation accessories like mounting templates and spirit levels for precise positioning.
These proactive steps minimize frustration and guarantee your doorbell functions properly from day one.
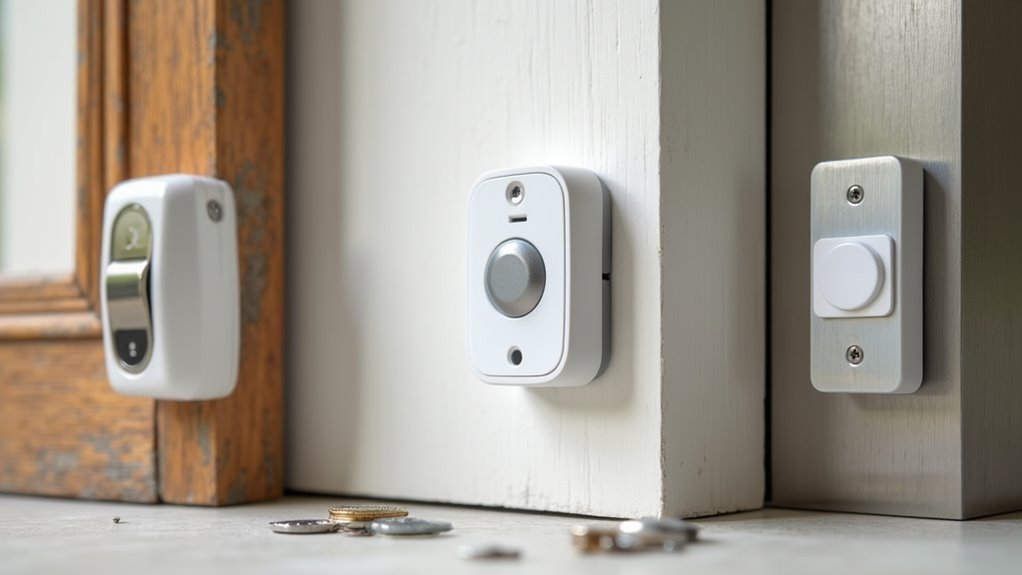
No-Drill Installation Methods for Renters
Renting your home doesn’t mean you can’t enjoy the security benefits of a video doorbell. Several affordable options offer no-drill installation methods perfect for renters who can’t make permanent modifications.
The Ring Peephole Cam simply replaces your traditional peephole, allowing easy removal when you move without any door damage.
The Blink Video Doorbell uses adhesive strips or brackets, eliminating drilling entirely while providing secure mounting on most door frames.
Battery-operated models like the Eufy Video Doorbell require minimal tools and setup time. These wireless options avoid complicated wiring installations that could violate lease agreements.
Before purchasing, verify your chosen doorbell’s compatibility with your door’s design. Some models need specific mounting configurations for ideal performance, so check your door’s material and surface area first.
Smart Home Integration After Installation
Once you’ve completed your doorbell installation, connecting it to your existing smart home ecosystem transforms basic functionality into a thorough security network.
Your video doorbell integrates seamlessly with popular platforms, making your DIY project even more valuable.
Smart home integration offers these key benefits:
- Voice Control – Connect with Alexa or Google Home for hands-free viewing and control
- Automated Notifications – Set custom alerts across multiple devices when motion’s detected
- IFTTT Integration – Create advanced automation routines linking your doorbell to other smart devices
- Multi-Platform Access – View live feeds through smart displays, smartphones, and voice assistants
Most affordable models like Ring, Eufy, and TP-Link Kasa support these integrations through dedicated mobile apps, ensuring your budget-friendly investment delivers premium smart home functionality.
Testing Your Newly Installed Doorbell Camera
After connecting your doorbell camera to your smart home network, you’ll want to confirm everything functions properly before considering the job complete.
Start by testing your motion detection by walking in front of the camera at various angles and distances. This confirms you’re capturing the desired range effectively.
Next, download the manufacturer’s app on your smartphone and complete the Wi-Fi setup process following the provided prompts.
Once connected, test the two-way audio functionality by having someone stand at your door while you communicate through the app. Check that both audio transmission and reception are clear.
Finally, confirm you’re receiving real-time notifications on your smartphone when motion is detected, confirming your installation was successful.
Maintenance Tips for Long-Term Performance
While your doorbell camera installation may be complete, maintaining peak performance requires consistent care and attention to key components.
These maintenance tips will guarantee your video doorbell operates reliably for years to come.
- Clean camera lens monthly – Remove dust and dirt that can obscure your view and compromise video quality.
- Monitor battery levels – Recharge your battery every few months for battery-operated models, as some units only last 2-4 months between charges.
- Update firmware regularly – Use your app to install the latest security enhancements and features that improve overall performance.
- Consider local storage options – Reduce reliance on cloud services and subscription fees while maintaining access to recorded footage.
Regular maintenance prevents functionality interruptions and maximizes your doorbell’s effectiveness.
Frequently Asked Questions
What Is the Easiest Ring Doorbell to Install?
You’ll find the Ring Video Doorbell Wired easiest to install since it connects directly to your existing doorbell wiring. You’ll simply mount it and connect to your home’s electrical system.
What Is the Best Affordable Doorbell Camera System?
You’ll find the Blink Video Doorbell offers the best affordable camera system, combining easy installation with local storage at budget-friendly pricing, while the TP-Link Kasa provides excellent 2K resolution value.
Are Doorbells Easy to Install?
Yes, you’ll find doorbells straightforward to install. Battery-powered models are simplest since they don’t need wiring. Wired versions require basic electrical connections. Most include easy guides and apps that’ll walk you through setup.
Can You Install a Doorbell Without Wiring?
You can install a doorbell without wiring by choosing battery-powered or wireless models. They’ll mount with simple screws and connect through smartphone apps, eliminating electrical work while providing video and audio features.


Leave a Reply