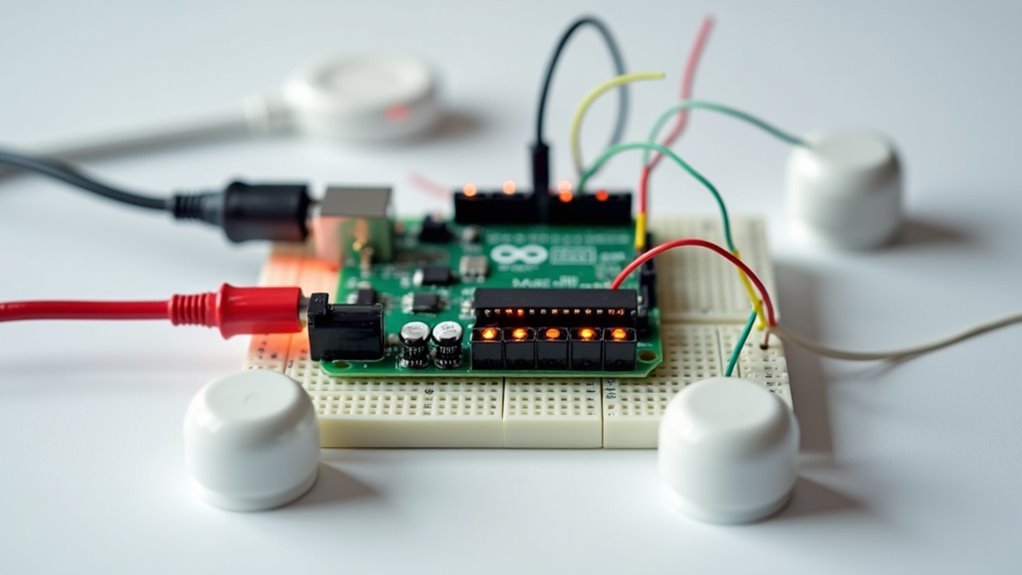
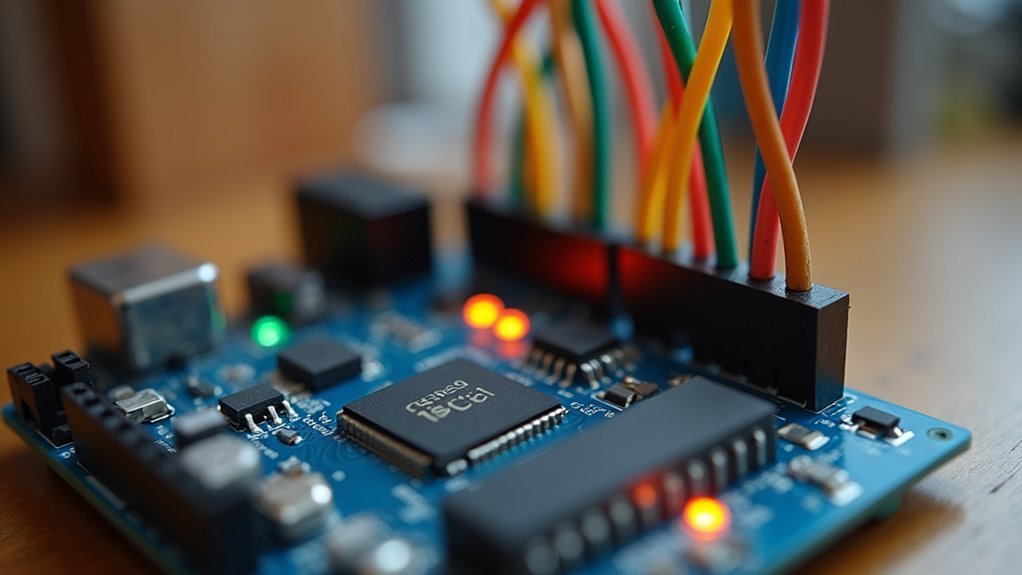
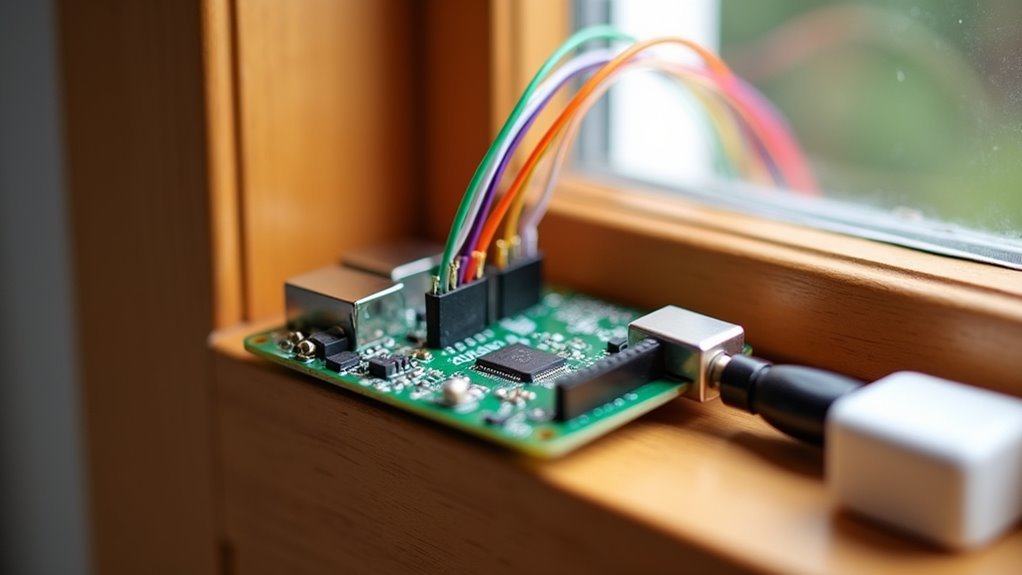
You’ll find that Arduino security systems function as thorough watchdogs for your property, monitoring everything from basic entry points to sophisticated environmental threats. These versatile platforms track motion through PIR sensors, detect unauthorized access via magnetic switches on doors and windows, and even identify gas leaks or fire hazards using specialized sensors. What makes them particularly valuable isn’t just their monitoring capabilities—it’s how they respond when something goes wrong.
Entry Points and Access Control Monitoring
When you’re setting up an Arduino security system, monitoring entry points forms the foundation of your home protection strategy. Your system can track doors and windows using PIR sensors that detect movement and magnetic reed switches that monitor door status changes.
You’ll enhance protection by adding ultrasonic sensors near entryways, which trigger alerts when someone approaches within your specified range.
Access control monitoring becomes seamless with keypad integration, letting you enter passwords to deactivate alarms or modify system settings. You can deploy multiple sensors across various entry points for thorough coverage, ensuring simultaneous monitoring of all access points.
When unauthorized access occurs, your Arduino system immediately sends SMS notifications or activates alarms, providing prompt security alerts.
Motion Detection and PIR Sensor Integration
Beyond securing entry points, your Arduino system gains significant power through motion detection capabilities using PIR sensors.
These Passive Infrared sensors detect changes in infrared radiation from moving objects like people or animals within their 3-7 meter range and 110-130 degree coverage angle.
When PIR sensors detect motion, they trigger your Arduino to activate alarms, send notifications, or illuminate lights automatically.
You can program multiple PIR sensors simultaneously, creating thorough zone coverage throughout your monitored area. This multi-sensor approach guarantees no blind spots exist in your security perimeter.
The cost-effectiveness makes PIR sensors particularly attractive for DIY projects, with individual units costing just $5-$15.
This affordability allows you to deploy multiple sensors without breaking your budget while maintaining professional-grade motion detection capabilities.
Ultrasonic Distance Sensing for Perimeter Security
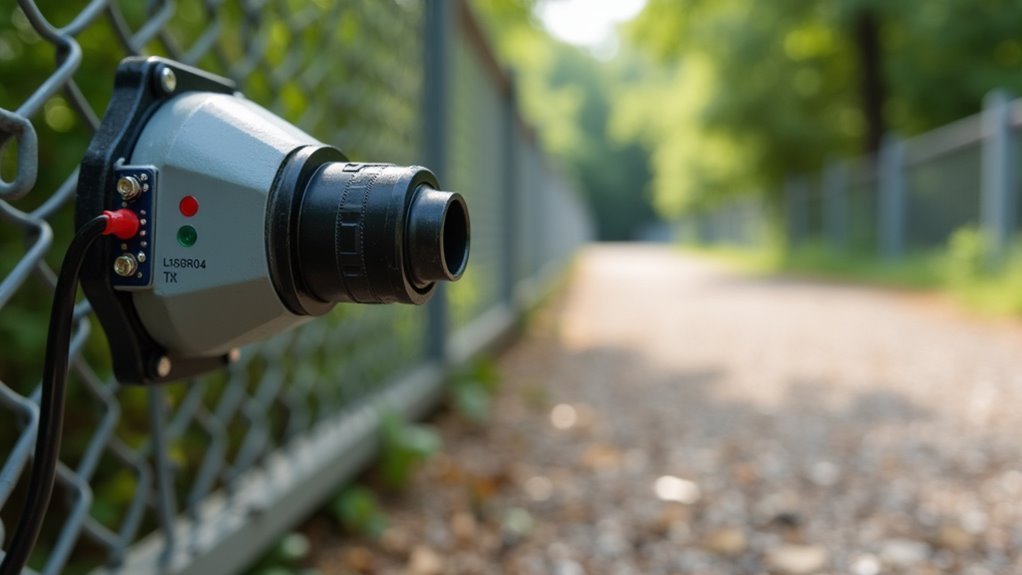
You’ll enhance your Arduino security system by incorporating ultrasonic distance sensors that emit high-frequency sound pulses and calculate distances based on echo return times.
You can configure these sensors to monitor specific ranges from 2 cm to 4 meters, creating customizable perimeter boundaries around your property.
You’ll need to establish precise triggering conditions that differentiate between normal environmental changes and actual security breaches to minimize false alarms.
How Ultrasonic Sensors Work
At the heart of ultrasonic distance sensing lies a simple yet effective principle: these sensors emit high-frequency sound waves above 20 kHz and measure the time it takes for the echo to bounce back from objects.
Your ultrasonic sensor creates invisible security barriers by continuously monitoring the space around it. When you integrate this technology into your Arduino security system, you’ll get real-time distance measurements that trigger alerts when objects breach your defined perimeter.
Here’s how ultrasonic sensors enhance your security setup:
- Sound-based detection works regardless of object color or material composition
- 2 cm to 4-meter range covers most residential and small commercial security needs
- Consistent performance in various lighting and weather conditions
- Instant feedback through connected buzzers and LCD displays
- Invisible barriers create seamless perimeter monitoring without physical obstructions
Detection Range Configuration
Configuring your ultrasonic sensor’s detection range transforms a basic distance measurement tool into a precise security perimeter.
You’ll work within a typical range of 2 cm to 4 m, allowing flexible coverage for various entry points. Through Arduino integration, you can program specific threshold distances that trigger alarms when breached.
This detection range configuration enables you to customize sensitivity based on your security requirements—set closer ranges for immediate perimeter monitoring or extend coverage for early warning systems.
The sensor’s 15 to 30-degree detection angle complements your range settings, creating overlapping coverage zones that minimize blind spots.
Real-time data logging lets you fine-tune these parameters, ensuring your system responds appropriately to legitimate movement while filtering false alarms from environmental factors.
Triggering Alarm Conditions
When your ultrasonic sensor detects an object within your predefined threshold distance, the Arduino immediately processes this data to determine if an alarm condition exists.
Your Arduino Home Security System evaluates the distance measurement against your configured parameters to trigger appropriate responses.
Your system can implement multiple triggering conditions:
- Immediate activation – Buzzer sounds instantly when objects breach the 2-meter threshold
- Delayed response – 10-second countdown allows authorized entry before alarm activation
- Multi-zone detection – Different sensors trigger varying alert levels based on proximity zones
- Time-based sensitivity – Enhanced detection during nighttime hours with reduced thresholds
- False alarm prevention – Multiple consecutive readings required before triggering to avoid environmental interference
This intelligent triggering approach guarantees your Arduino Home Security System responds appropriately to genuine threats while minimizing unnecessary alerts.
Door and Window Magnetic Switch Monitoring
Door and window magnetic switches form the backbone of most Arduino-based security systems because they’re reliable, cost-effective, and simple to implement.
These sensors consist of a magnet and reed switch that closes when positioned together, indicating your entry point is secure. When you open a door or window, the magnet moves away from the reed switch, causing it to open and triggering your alarm system.
Your Arduino can log each switch’s status, creating a detailed record of when entry points are accessed. This door and window magnetic switch monitoring capability enhances your security awareness considerably.
You can integrate these switches with motion detectors and ultrasonic sensors for extensive home monitoring, creating a multi-layered security system that protects all potential entry points effectively.
Environmental Hazard Detection Systems
While door and window sensors protect against intruders, environmental hazard detection systems safeguard you from invisible threats like toxic gases, smoke, and dangerous air quality conditions.
These Arduino-based systems use compatible sensors to continuously monitor your residential or commercial space for potential hazards.
You can integrate multiple sensors to create thorough monitoring solutions:
- MQ series gas sensors detect specific gases like methane, propane, and carbon monoxide
- Smoke detectors identify fire hazards before they become dangerous
- Temperature and humidity sensors monitor conditions that could indicate fire risks or mold growth
- Air quality monitors track overall environmental conditions
- Real-time alert systems send SMS or mobile notifications when threats are detected
Your environmental hazard detection systems provide immediate warnings, allowing you to respond quickly to potentially life-threatening situations.
Camera Integration and Visual Surveillance
You can activate your Arduino security system’s camera through multiple methods, with relay-controlled triggers being the most common approach for motion-detection scenarios.
Your recording storage options include local solutions like microSD cards for immediate access or cloud-based services that enable remote monitoring from anywhere.
These activation and storage choices directly impact your system’s responsiveness and accessibility when security events occur.
Camera Activation Methods
When motion sensors detect an intrusion, your Arduino can automatically trigger camera activation through several reliable methods.
These camera activation methods guarantee you’ll capture vital evidence when security events occur.
Your Arduino can control cameras using these effective approaches:
- Relay switching – Connects camera power through a relay module that turns on when the Arduino detects threats
- Digital signal triggering – Sends direct commands to IP cameras or dashcams through GPIO pins
- USB control activation – Powers USB cameras by controlling power supply to USB ports
- Wireless command transmission – Activates WiFi-enabled cameras by sending network commands
- Multi-sensor coordination – Combines PIR detectors, door sensors, and other inputs for intelligent camera activation
You’ll receive real-time visual surveillance that responds instantly to security breaches, providing thorough monitoring coverage.
Recording Storage Options
After activating your cameras, the recorded footage must be stored efficiently to confirm continuous surveillance coverage.
Your Arduino security system offers several recording storage options to meet different needs and budgets. You can utilize local storage solutions like SD cards for immediate access and cost-effective storage. Alternatively, you’ll benefit from cloud-based services that provide remote access and automatic backup capabilities, making sure your footage remains secure even if local hardware fails.
Motion detection features help optimize your storage usage by recording only when movement occurs, greatly extending available space. This smart recording approach prevents unnecessary footage accumulation while capturing critical security events.
Whether you choose local or cloud storage, selecting appropriate recording storage options guarantees your surveillance system maintains reliable documentation of monitored areas.
Alarm Activation and Response Mechanisms
Although motion detection forms the foundation of your Arduino security system, the alarm activation sequence creates the critical bridge between threat identification and protective response.
When your PIR or ultrasonic sensors detect unauthorized entry, they trigger a multi-layered response that maximizes security effectiveness.
Your alarm system immediately activates several protective mechanisms:
- Audio and visual alerts engage simultaneously to deter intruders and alert occupants
- LCD countdown timer displays the remaining seconds before full activation
- Keypad access allows authorized users to enter a 4-digit disarm code
- Incorrect password feedback prevents unauthorized deactivation attempts
- SMS notifications send real-time breach alerts to your mobile device
This extensive approach guarantees you’re protected while maintaining convenient access control for legitimate users.
Password Protection and User Authentication
The heart of your Arduino security system’s access control lies in its robust password protection mechanism, which prevents unauthorized users from disabling your alarm during an actual breach.
A sophisticated password protection mechanism forms the cornerstone of effective Arduino security, safeguarding against unauthorized alarm deactivation during genuine security breaches.
Your system employs a default 4-digit password (1234) that you can customize through a secure menu accessed by pressing the B button. This password protection requires entering your current password before making any changes, ensuring unauthorized modifications can’t occur.
When you enter an incorrect password, the LCD displays “Wrong! Try Again!” providing clear feedback while maintaining security.
The system’s custom input function displays your entered password on the LCD for confirmation while collecting credentials securely. You can both deactivate alarms and modify passwords through this authentication system, maintaining strict security protocols throughout all user interactions.
Multi-Zone Security Monitoring Capabilities
Expanding your Arduino security system beyond a single detection point transforms it into a thorough multi-zone monitoring network that can simultaneously track multiple areas of your property.
You’ll achieve extensive coverage by strategically placing different sensors throughout critical zones, creating a robust Arduino Home Security solution.
Your multi-zone security monitoring capabilities include:
- PIR sensors for detecting movement in living areas and hallways
- Door/window contacts for monitoring entry points and vulnerable access areas
- Ultrasonic sensors for garages, basements, and outdoor perimeter detection
- Zone-specific alerts that trigger customized responses based on sensor location
- Real-time feedback through LCD displays showing which zones are active or breached
Each zone operates independently while feeding data to your central Arduino controller, eliminating blind spots and providing tailored security responses for different property areas.
Real-Time Status Display and User Interface
You’ll interact with your Arduino security system through two primary interface components that provide clear communication between you and the monitoring device.
The LCD screen displays real-time system status, alarm countdowns, and password prompts, while the 4×4 keypad allows you to input passwords and navigate system settings.
These components work together to create an intuitive user experience that keeps you informed and in control of your security monitoring.
LCD Screen Information
Critical information flows through your Arduino security system’s LCD screen, transforming raw sensor data into clear, actionable displays. Your lcd screen serves as the primary communication hub between you and your security system, guaranteeing you’re always informed about its operational status.
The system’s interface provides essential monitoring capabilities:
- Real-time countdown timer – Shows activation delays when you press the A button
- Password prompts – Displays “Enter Password” requests for deactivation or settings access
- Status messages – Shows clear notifications like “Alarm Activated” or “Wrong! Try Again!”
- Distance measurements – Presents ultrasonic sensor readings for object detection monitoring
- Intuitive navigation – Guides you through functions with straightforward instructions
This user-friendly design guarantees you’ll navigate alarm activation and password management effortlessly while maintaining complete situational awareness.
Keypad Input Methods
When you interact with your Arduino security system, the 4×4 keypad becomes your primary control interface, translating your button presses into precise commands for password entry and menu navigation.
These keypad input methods guarantee seamless access to critical functions like alarm activation countdown and password management settings.
You’ll receive real-time feedback through LCD displays showing your system’s current status and prompting for necessary inputs. The buzzer provides audio confirmation during interactions, alerting you when incorrect passwords are entered or actions are acknowledged.
Your security system’s keypad input methods include robust password protection requiring correct existing credentials before allowing modifications.
This prevents unauthorized changes while maintaining user-friendly navigation through menus, assuring you maintain complete control over your security system’s configuration and operational status.
Remote Notification and Alert Systems
Although traditional security systems often leave you wondering what’s happening at your property when you’re away, Arduino-based security monitors excel at keeping you informed through sophisticated remote notification capabilities.
Arduino security systems transform property monitoring by delivering instant, sophisticated alerts that keep you connected no matter where you are.
Your Arduino security system can deliver instant alerts through multiple communication channels:
- GSM shields send SMS messages directly to your phone when sensors detect breaches
- Wi-Fi modules enable email alerts and push notifications using MQTT or HTTP protocols
- Sensor integration triggers notifications from door/window sensors, motion detectors, and environmental monitors
- Customizable settings let you control alert frequency and types for different security events
- Mobile app integration provides real-time monitoring and system control from anywhere
This all-encompassing remote notification system guarantees you’re always connected to your property’s security status, giving you peace of mind whether you’re across town or around the world.
Tamper Detection and System Integrity Monitoring
You’ll need to monitor zone loop resistance to detect when someone cuts or shorts your sensor wiring.
Your Arduino can measure the electrical resistance across each security zone and trigger alerts when values fall outside normal ranges.
This approach guarantees you’ll know immediately if an intruder tries to bypass sensors by tampering with the connecting wires.
Zone Loop Resistance Monitoring
Since zone loop resistance monitoring forms the backbone of tamper detection in security systems, you’ll need to understand how circuit integrity directly impacts your system’s reliability.
Your Arduino can continuously monitor resistance values to detect unauthorized alterations or bypassing attempts that could compromise security.
Zone loop resistance monitoring provides several critical benefits for your security system:
- Threshold monitoring – Maintains resistance below 2k Ohms to prevent false alarms
- Voltage tracking – Detects significant voltage drops indicating potential bypassing or shorting
- Regular testing – Identifies faults before they affect system performance
- Opto-isolator integration – Safely interfaces with Arduino without compromising existing alarm circuits
- Real-time alerts – Immediately notifies you of tampering attempts or circuit issues
This monitoring guarantees your system responds accurately during actual alarm events.
Sensor Wire Integrity
When intruders attempt to disable your security system, they’ll often target the sensor wires first, making wire integrity monitoring your second line of defense against tampering. Your Arduino continuously monitors sensor wire integrity by detecting interruptions or shorts that indicate potential damage or sabotage attempts.
You can implement tamper detection using series resistors that create measurable resistance changes when wires are compromised. This method allows your system to identify breaches immediately without interfering with normal sensor operations. Your Arduino logs these incidents, creating a historical record of tampering attempts for later analysis.
Adding opto-isolators enhances monitoring capabilities by isolating sensor circuits while maintaining detection accuracy.
Regular integrity checks automatically alert you when connections fail, ensuring your security system remains functional and effective against sophisticated bypass attempts.
Power Management and Backup Solutions
Although many Arduino security systems operate reliably on standard power supplies, implementing robust power management becomes critical when you’re protecting valuable assets or guaranteeing continuous home security.
Your system’s effectiveness depends entirely on maintaining consistent power to all components.
Effective power management strategies include:
- Installing rechargeable batteries or UPS systems to maintain operation during outages
- Using voltage regulators and monitoring circuits to detect power issues before failures occur
- Implementing low-power sleep modes to extend battery life during inactive periods
- Setting up automatic alerts for low battery conditions and power supply problems
- Monitoring voltage levels across sensors and alarms to guarantee peak performance
These backup solutions ensure your security system won’t fail when you need it most, providing continuous protection regardless of power grid reliability.
System Integration With Existing Home Security Infrastructure
Your Arduino security system doesn’t have to operate in isolation from your existing home security infrastructure. You can integrate both systems seamlessly by monitoring PIR sensor zones without disrupting your current setup.
| Integration Component | Function |
|---|---|
| Level Shifters | Monitor PIR zones safely |
| Opto-isolators | Isolate Arduino from main board |
| NC Wiring | Maintain loop integrity |
| Voltage Testing | Verify system compatibility |
| Community Support | Troubleshoot integration issues |
Connect your PIR sensors in series as Normally Closed to your Arduino while preserving your home’s original Security system functionality. Use opto-isolators to prevent interference with fault detection capabilities. Test voltage drops across zone outputs during setup to guarantee your Arduino’s presence doesn’t affect normal operations. Community collaboration helps refine these integration processes through shared experiences.
Frequently Asked Questions
What Is the Function of the Alarm in Arduino?
The alarm in your Arduino system provides audible alerts through a buzzer when motion’s detected. You’ll get a 10-second countdown before activation, giving you time to enter your password and deactivate it.
What Do Arduino Sensors Do?
Arduino sensors detect changes in your environment by monitoring motion, measuring distances, tracking temperature fluctuations, sensing door openings, and identifying harmful gases. They’ll convert these physical conditions into electrical signals for your microcontroller to process.
How Is Arduino Being Used as a Smart System?
You’re using Arduino as a smart system by integrating multiple sensors, user interfaces, and communication modules that automatically detect threats, monitor environmental conditions, send alerts, and allow remote control through customizable programming.
What Is an Ultrasonic Security System?
You’ll find an ultrasonic security system uses sound waves above 20 kHz to detect movement by measuring bounce-back time from objects, effectively monitoring areas within 2-6 meters for intruders.


Leave a Reply