You’ve decided to upgrade your pantry with a motorized shelving system, but you’re wondering if the installation process will overwhelm your DIY skills. The truth is, most homeowners can successfully complete this project in a weekend with proper planning and the right approach. While the prospect of combining electrical work with precision mounting might seem intimidating, there’s a systematic method that’ll transform your static storage into an automated marvel—if you know where to start.
Planning and Measuring Your Motorized Pantry Space
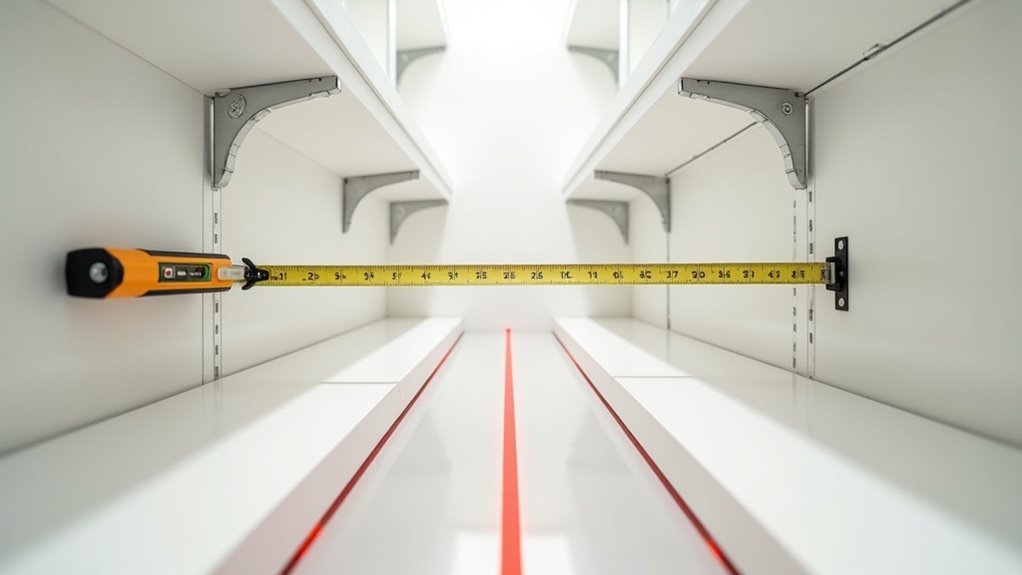
Before you invest in a motorized pantry shelving system, you’ll need to carefully measure your space and plan the layout to guarantee peak functionality. Start by measuring your pantry’s height, width, and depth to ascertain proper fit. Create a detailed sketch showing where you’ll position each component.
When planning your shelves configuration, consider the types of items you’ll store and determine appropriate spacing between levels. These storage solutions require careful attention to weight capacity—factor in both the shelving materials and your stored goods to prevent overloading the motorized mechanism.
Don’t forget to locate nearby power sources for the motor components and plan cable management routes. This measuring and planning phase prevents costly mistakes and guarantees your system operates smoothly for years.
Essential Tools and Components for Installation
Success with your motorized pantry installation hinges on gathering the right tools and components before you begin. You’ll need a stud finder, level, drill, screwdriver, and measuring tape for precise placement and secure mounting.
| Tools | Components | Electrical |
|---|---|---|
| Stud finder | Heavy-duty electric slides | Power outlet access |
| Level | Adjustable shelves | Control switch |
| Drill | Sturdy plywood shelving | Wire connections |
Your motorized system requires heavy-duty electric slides, adjustable shelves made from plywood or engineered wood, and a nearby power outlet. When installing wire connections, verify you’re following manufacturer’s guidelines for electrical requirements. Some models need direct electrical installation rather than simple plug-in operation. Always check weight limits and specific installation requirements outlined in the manufacturer’s guidelines before proceeding.
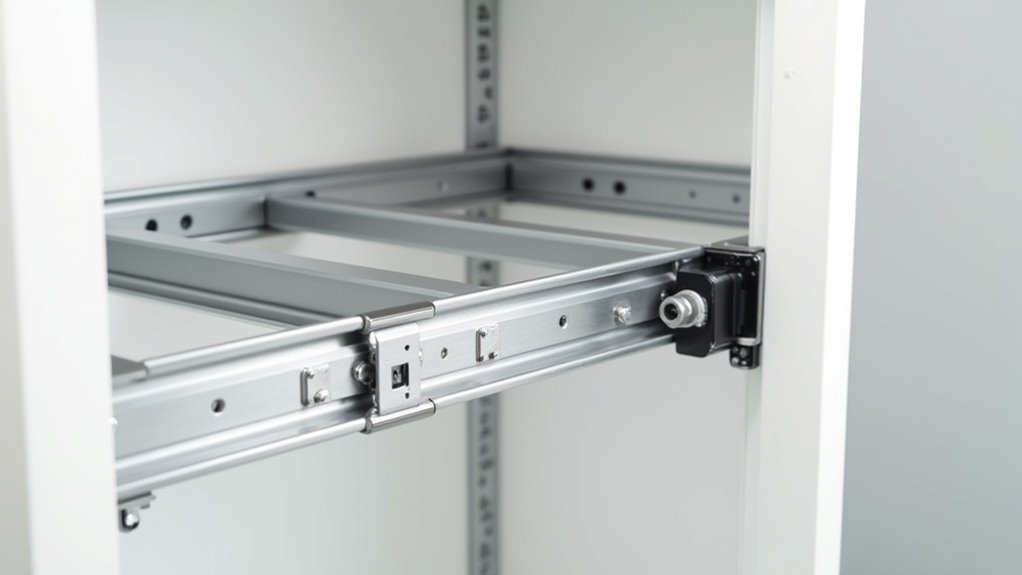
Mounting the Motorized Track System

With your tools and components ready, you’ll start the mounting process by measuring your pantry’s internal dimensions to determine the correct track length.
Use a stud finder to locate wall studs, as these provide essential support for your motorized track system. Mark a level line where you’ll install wire shelving components, making certain the track runs straight across the mounting surface.
Secure the motorized track system using heavy-duty screws driven directly into the studs. This guarantees the system remains securely attached even when supporting heavy loads.
The track should be customized to fit your specific pantry dimensions perfectly.
Finally, connect the wiring according to manufacturer specifications, making sure all electrical connections are properly secured.
Test the system before loading shelves to verify smooth operation.
Electrical Connections and Wiring Setup
Once you’ve secured the motorized track system, the electrical setup becomes your next critical step.
First, verify the electrical supply matches the manufacturer’s specified voltage and amperage requirements. Use a circuit tester to confirm power’s off before making any electrical connections.
Always confirm electrical specifications match manufacturer requirements and use a circuit tester to verify power is off before beginning connections.
Follow the wiring diagram in your installation manual carefully, ensuring all secure connections are properly tightened. Select appropriate wire gauge based on the manufacturer’s recommendations to handle the load and distance between your power source and motorized unit.
You can use a stud finder to locate ideal routing paths for concealed wiring.
After completing all electrical connections, conduct a thorough test to verify the motorized pantry shelving system operates smoothly and safely.
Testing and Calibrating Your Automated Shelves

Several critical tests await you after completing the electrical connections to confirm your motorized pantry shelving system operates flawlessly.
First, verify all components are securely installed before powering on. Watch the shelves move and check for obstructions that could impede smooth operation.
Use your remote control or mobile app to adjust height settings, confirming shelves respond accurately to each command. Test stopping points to verify they align with desired positions, adjusting limit switches if necessary.
Regular calibrating according to manufacturer guidelines maintains peak performance and prevents mechanical issues.
This systematic testing approach confirms your motorized pantry shelving functions reliably, providing years of convenient automated storage solutions for your kitchen organization needs.
Frequently Asked Questions
How Far Apart Should Pull Out Pantry Shelves Be Spaced?
You should space pull-out pantry shelves 8 to 10 inches apart for standard items. You’ll want 6 to 12 inches depending on container heights, ensuring you don’t overcrowd while maintaining easy access.
How to Install Wire Shelving Support Brackets?
Measure and mark bracket positions no more than 24 inches apart. Use a level to guarantee they’re straight, then secure with screws into wall studs or anchors. Verify they’re plumb before tightening completely.
What Is the Best Depth for Pantry Shelves?
You’ll want pantry shelves between 12-16 inches deep, with 14 inches being ideal. This depth accommodates most grocery items while ensuring easy access. Consider your cabinet’s depth so shelves don’t obstruct closing doors.
How Deep Should Open Pantry Shelving Be?
You’ll want open pantry shelving that’s 12-16 inches deep for standard items. If you’re storing larger pots or appliances, you’ll need 18-24 inches to prevent overcrowding while maintaining easy access.


Leave a Reply