You’ve decided to upgrade your property’s security with solar-powered cameras, but you’re probably wondering if the installation process is as complicated as it seems. The good news is that you can have a fully functional solar security system running in just three straightforward steps, without needing an electrician or complex wiring. However, there’s one critical mistake most people make during the first step that can render their entire system useless.
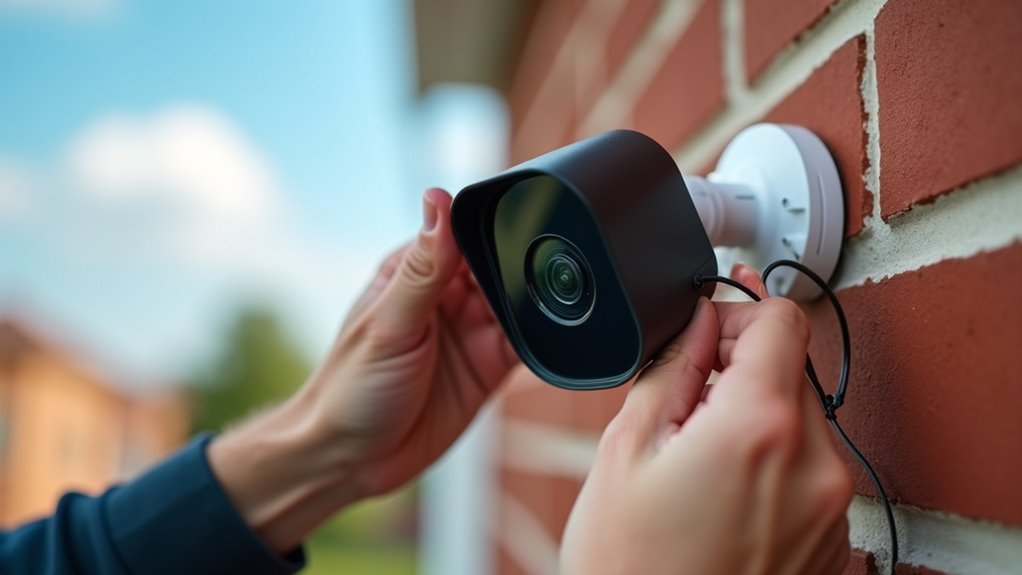
Choose the Optimal Location and Mounting Position

Most solar security cameras perform best when you mount them 8 to 10+ feet high, allowing you to angle the lens downward for perfect coverage while extending the camera’s range.
For optimal performance and maximum coverage area, position your solar security camera at least 8-10 feet above ground level.
When selecting your mounting position, prioritize areas with direct sunlight to guarantee the solar panel charges effectively. Avoid locations where glare might compromise peak visibility through the camera lens.
For secure attachment on metal surfaces, use appropriate metal screws like Buildex 8-18 x 20mm zinc-plated countersunk screws.
Wall installation requires 6mm Ramset universal anchors for hollow walls. Choose locations offering ample sunlight exposure throughout the day.
After installation, regularly monitor battery levels and adjust the mounting position if needed.
Watch for growing vegetation or other obstructions that could block sunlight and affect your solar security camera’s performance.
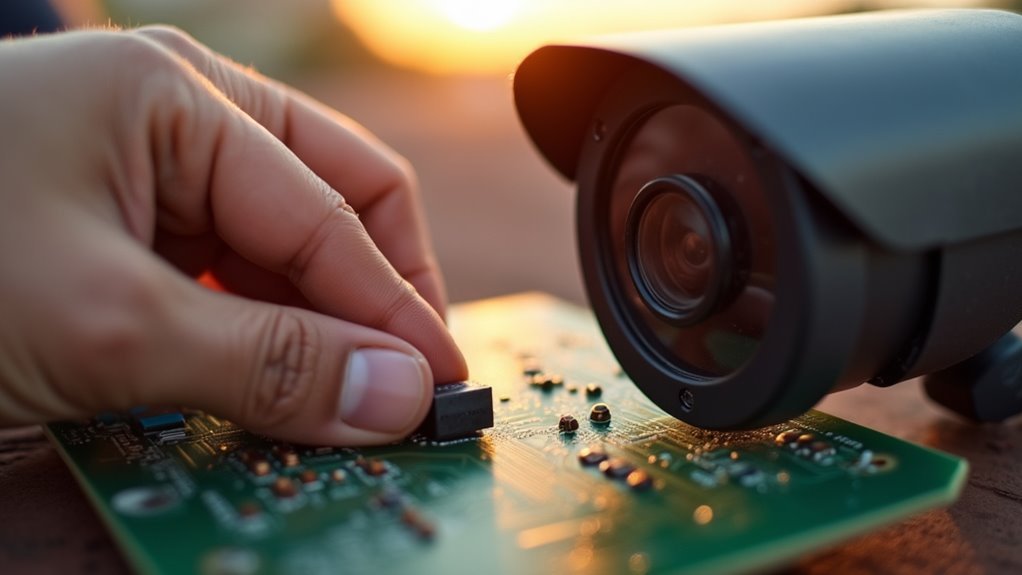
Set Up the Solar Power System and Battery Configuration
Once you’ve secured your camera’s mounting position, you’ll need to configure the solar power system that keeps it running continuously.
Calculate your camera system’s energy consumption to determine battery requirements – a 6W camera needs at least a 24Ah battery for reliable security coverage. Install solar panels with 50% extra capacity beyond your daily needs, ensuring they match your battery voltage for peak performance.
Your solar power system setup includes these critical steps:
- Connect your charge controller between solar panels and battery to prevent devastating overcharging damage.
- Wire the battery terminals carefully – incorrect connections can destroy your entire camera system investment.
- Position solar panels facing maximum sunlight exposure, tilted to your latitude for continuous operation.
This configuration guarantees your install solar security system operates reliably around the clock.
Connect and Configure Your Camera Settings
After your solar power system is operational, you’ll establish the digital connection that transforms your hardware into a functioning security network.
Download your solar powered security cameras’ companion app from the App Store or Google Play. Confirm battery charging is complete, then connect to Wi-Fi by scanning for your camera’s signal through the app.
You can now customize camera settings including motion detection sensitivity, notification preferences, and recording schedules. Configure wireless security options, video quality settings, and choose between cloud storage or local storage for recordings.
Update firmware through the app to enhance performance and security features. Test live view and video recording to verify your cameras capture desired areas correctly.
Frequently Asked Questions
How Do You Install a Security Camera Step by Step?
Choose your mounting location carefully, ensuring it’s 8-10 feet high with direct sunlight. Use proper hardware for secure attachment. Connect the camera to battery with direct cables, then position the solar panel facing the equator for ideal charging.
How to Install a Solar Camera?
You’ll mount your solar panel on a metal surface 8-10 feet high in direct sunlight, connect it to a compatible charge controller, then attach your camera while monitoring battery levels regularly.
Do Solar Security Cameras Record All the Time?
Solar security cameras typically don’t record continuously to preserve battery life. You’ll find most models use motion-activated recording instead. However, you can often customize settings for continuous, scheduled, or event-triggered recording through their apps.
What Is the Procedure of Camera Installation?
You’ll choose a sunny location 8-10+ feet high, securely mount using appropriate hardware, wire to solar battery system with correct polarity, then monitor performance and clean panels regularly for peak function.


Leave a Reply