You’ve probably noticed how traditional wired security systems can’t always cover every window in your home effectively. Remote window sensors solve this problem by offering wireless connectivity and smart home integration that adapts to your specific layout. However, choosing the wrong sensor type or making installation mistakes can leave vulnerable gaps in your security coverage. Before you invest in any equipment, there’s a critical factor that determines whether your system will actually protect your home.
Understanding Remote Window Sensor Technology and Components
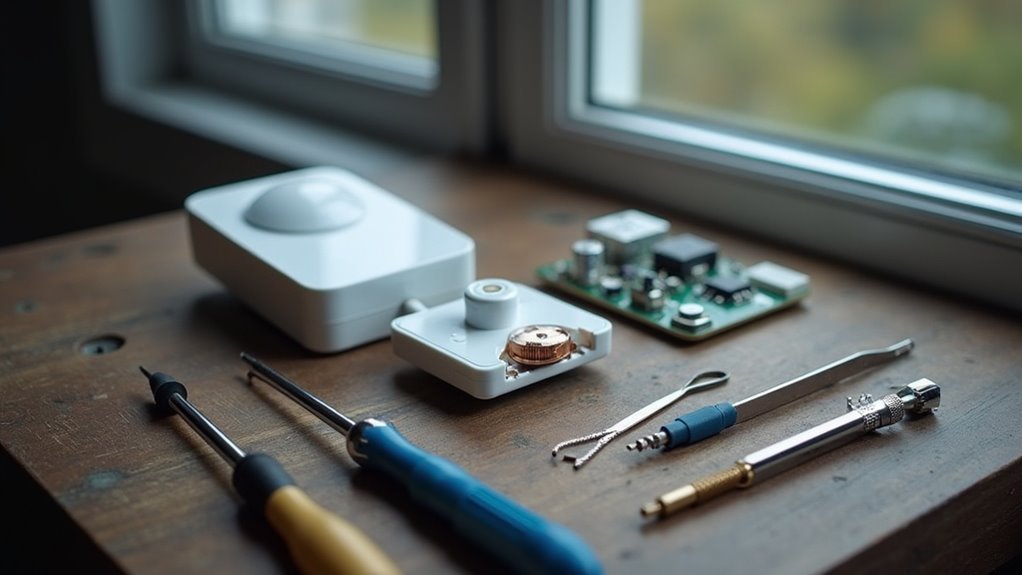
Before installing remote window sensors in your home, you’ll want to understand how these security devices actually work. These wireless sensors consist of two essential components: a magnet and a reed switch that communicate when separated or reconnected. When you open a window, the magnet moves away from the reed switch, triggering an alert to your alarm system.
Most sensors operate on common frequencies like 433 MHz or 915 MHz, ensuring seamless integration with smart home systems. Since they’re battery-operated, you’ll enjoy extended battery life with minimal maintenance requirements.
Advanced models feature encryption technology for protection against unauthorized access. The straightforward installation process typically involves adhesive mounting, making these sensors an accessible security solution for any homeowner seeking reliable window monitoring.
Essential Tools and Equipment for DIY Installation
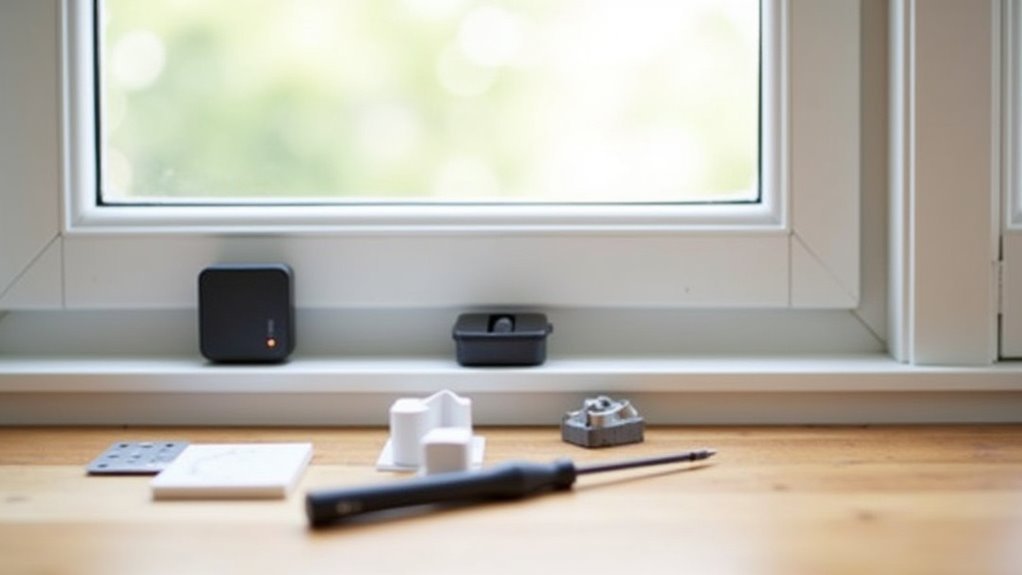
While remote window sensors offer straightforward installation, you’ll need the right tools to guarantee a successful setup. Your essential tools for DIY installation include a measuring tape for proper placement and alignment, confirming sensors function correctly.
Successful remote window sensor installation requires the right tools, proper measurements, and careful alignment to ensure optimal functionality.
A screwdriver helps secure components, while a drill creates holes for recessed installations in window frames.
Don’t forget your level – it prevents misalignment that could compromise sensor functionality. Cleaning supplies, particularly microfiber cloths, prepare installation surfaces and improve adhesive adherence.
You’ll choose between double-sided tape for temporary mounting or screws for permanent installation.
Having your battery ready assures immediate sensor operation after installation. These basic tools transform what might seem complex into a manageable weekend project you can tackle confidently.
Selecting the Right Window Sensor Type for Your Home
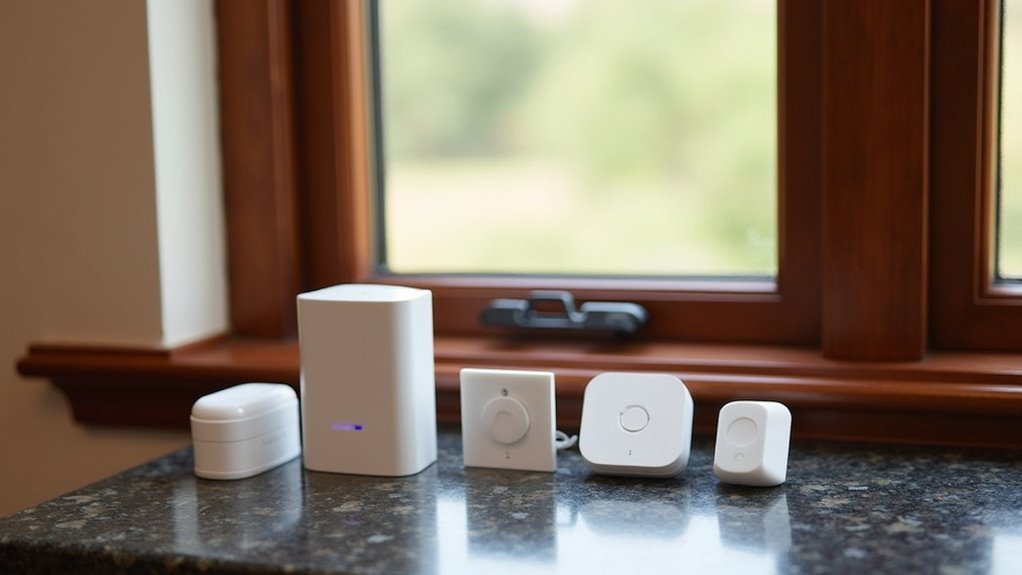
How do you choose the perfect window sensor when dozens of options flood the market? Start by evaluating your smart home security system’s compatibility requirements.
Wireless sensors like the Honeywell 5800MINI offer effortless DIY installation without extensive wiring, making them perfect for quick setups. If you prefer enhanced reliability and property value, consider a hardwired sensor instead.
Location determines your sensor choice considerably. Recessed models such as the Honeywell 5818MNL provide discreet magnetic contact installation within window frames, requiring drilling but delivering cleaner aesthetics.
Standard surface-mounted wireless sensors install faster but remain visible.
Don’t forget frequency compatibility—many operate on 345 MHz. To enhance security beyond basic opening detection, integrate glass break sensors and motion detectors into your overall strategy for thorough protection.
Step-by-Step Installation Process for Wireless Window Sensors
Once you’ve selected your wireless window sensor, proper installation requires careful attention to surface preparation and positioning.
Begin by thoroughly cleaning both the window frame and movable sections to guarantee peak adhesive bonding.
Proper surface preparation ensures maximum adhesive strength and prevents sensor failure over time.
- Sensor Placement: Remove the adhesive backing and firmly press the sensor onto the window frame, holding for 30 seconds to create a secure bond.
- Magnet Alignment: Attach the magnet to the movable window part, guaranteeing both components remain within 1 inch of each other for proper functionality.
- System Integration: Follow manufacturer instructions to pair your sensors with your security system or smart home hub for complete monitoring coverage.
Test the installation by opening and closing the window multiple times, confirming the alarm triggers appropriately and validates your security system’s responsiveness.
Configuring Remote Connectivity and Smart Home Integration
After completing your wireless window sensor installation, you’ll need to establish proper frequency compatibility with your smart home hub to guarantee reliable communication.
The pairing process involves verifying that your sensors support the same wireless protocol as your hub, whether it’s Z-Wave, Zigbee, or Wi-Fi.
You can then initiate the smart device pairing sequence through your hub’s mobile app or control interface.
Wireless Frequency Compatibility Setup
When configuring your wireless window sensors, you’ll need to verify frequency compatibility between your sensors and existing security system to establish reliable communication. Most sensors operate on standard frequencies including 319.5 MHz, 345 MHz, 433 MHz, and 915 MHz. This wireless frequency compatibility guarantees seamless integration with your control panel and smart home devices.
During installation, consider these critical factors:
- Position sensors away from metal surfaces to prevent signal interference and maintain clear communication paths
- Choose sensors with encrypted communication like the Honeywell SiXMINICT for enhanced security protection
- Pair devices with dedicated hubs to enable real-time monitoring through smartphone applications
Proper frequency matching ensures ideal remote connectivity performance, allowing your security system to deliver consistent alerts and monitoring capabilities throughout your smart home network.
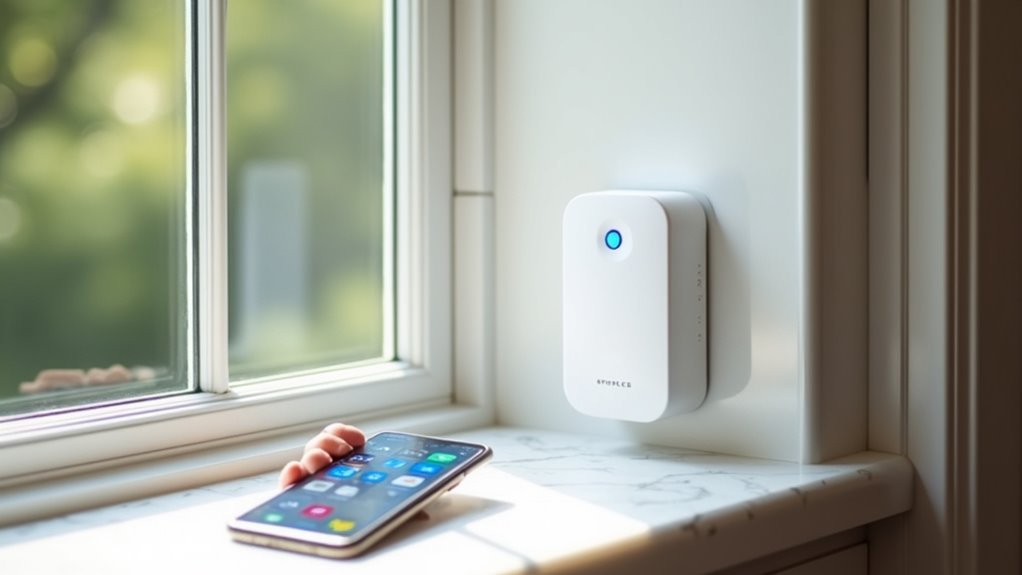
Smart Device Pairing Process
Smart device pairing transforms your window sensors into integrated components of your extensive home security network.
Follow the manufacturer’s installation instructions by pressing the designated button on your window sensor to activate pairing mode. This initiates the connection process between your sensor and smart home hub.
Access your smart home app or control panel, then select “add new device” to begin detection. The system will identify your window sensor and establish remote connectivity.
Once connected, assign the sensor to the appropriate zone for accurate monitoring.
Your smart devices are now compatible with smart home automation, enabling alert notifications when windows open or close.
Regularly install firmware updates for both sensors and hubs to maintain peak performance and security.
Testing and Calibrating Your Window Sensor System
The success of your window sensor installation depends entirely on proper testing and calibration. Start by opening and closing your window several times to verify the sensor triggers alerts when the magnet separates from the main unit.
Check that you’ve maintained proper alignment with less than a 1-inch gap for peak functionality.
Use your control panel or security app to confirm connectivity between the sensor and system. Look for error messages or connectivity issues that might affect performance.
- Test sensor activation every few months and monitor battery levels
- Recalibrate sensors after extreme temperature fluctuations to prevent false alarms
- Verify system communication through your app’s diagnostic features
Regular testing guarantees your installation continues protecting your home effectively.
Troubleshooting Common Installation and Connection Issues
Even with careful installation, you’ll likely encounter a few hiccups when setting up your remote window sensors.
The most frequent problems you’ll face involve sensors that won’t connect to your control panel, misaligned components that don’t trigger properly, and wireless signals that get blocked or interfered with by your home’s structure.
Let’s tackle these connection problems, alignment issues, and signal interference solutions so you can get your system running smoothly.
Sensor Connection Problems
Although remote window sensors offer reliable security monitoring, connection problems can frustrate even experienced installers. When your sensor won’t communicate with your security system, several factors could be disrupting wireless signals and compromising sensor functionality.
Start by checking these critical connection elements:
- Alignment and proximity – Confirm the sensor and magnet stay within 1 inch of each other, as misalignment causes circuit breaks that prevent proper detection.
- Environmental interference – Avoid installing sensors on metal surfaces or areas without climate control, which can disrupt wireless signals.
- System compatibility – Verify your sensor’s frequency matches your alarm system’s requirements (319.5 MHz vs. 345 MHz).
Don’t forget to monitor battery levels regularly, as low power directly impacts connection stability and overall sensor performance.
Alignment and Spacing Issues
When sensors fail to detect window openings consistently, improper alignment between the contact sensor and magnet is often the culprit.
You’ll need to maintain a maximum spacing of one inch between components for peak functionality. If your window frame is narrow, reverse the sensor and magnet positions while keeping them within the required distance.
Install the components at a 90-degree angle when necessary, holding them firmly for at least 30 seconds.
Test alignment by opening and closing the window repeatedly to verify proper activation without false alarms. If you’re experiencing connectivity problems, check for nearby metal surfaces that might interfere with the wireless signal.
Regular testing confirms your contact sensor operates correctly and prevents future detection issues.
Signal Interference Solutions
Several common household devices can disrupt your wireless window sensors, particularly those operating on 2.4 GHz and 915 MHz frequencies.
Wi-Fi routers and microwaves commonly cause signal interference that affects connectivity and transmission strength.
To resolve these issues:
- Position sensors strategically – Keep antennas away from electronic devices and metal surfaces that block signals
- Conduct a site survey – Identify weak signal areas and consider relocating sensors or adding range extenders
- Monitor battery levels regularly – Low battery levels reduce transmission strength and increase interference susceptibility
Smart home systems with frequency hopping capabilities offer excellent interference mitigation features.
These systems automatically switch between different frequencies to maintain reliable connections.
You’ll notice improved sensor performance when using systems designed specifically for interference-prone environments.
Regular maintenance and strategic placement guarantee ideal wireless window sensor functionality.
Maintenance Schedules and Performance Optimization Tips
Since remote window sensors operate continuously to protect your home, establishing a consistent maintenance routine guarantees they’ll function reliably when you need them most.
Check batteries every six months to prevent unexpected failures, as modern sensors alert you when power runs low. Inspect adhesive strips regularly to confirm secure attachment, particularly during humidity changes that weaken bonds.
Clean contact points between sensor pieces with microfiber cloths, removing dust and debris that cause false alarms. Test functionality monthly by opening and closing windows to verify proper triggering.
Schedule thorough annual inspection of all sensors, examining for wear, corrosion, or damage. This proactive maintenance approach optimizes performance and extends sensor lifespan while maintaining consistent home security.
Frequently Asked Questions
How Do You Install Window Sensors?
Clean window surfaces, remove adhesive backing from sensor and magnet, align and press firmly for thirty seconds. For recessed sensors, drill a seventy-five millimeter hole. Test functionality by opening windows, then pair with your security system.
How Do You Reset a Window Sensor?
You’ll reset a window sensor by removing the battery for ten seconds, then reinserting it. For hardwired sensors, turn off power for one minute. Always test functionality afterward.
Are Window Security Sensors Worth It?
You’ll find window security sensors absolutely worth it since they cut burglary attempts by 48%, send real-time alerts to your phone, require minimal maintenance, and can even lower your insurance premiums.
Where Do You Put the Ring Contact Sensor on a Window?
You’ll mount the Ring contact sensor on the stationary window frame and place the magnet on the window’s movable part. Keep them within one inch of each other for proper detection.


Leave a Reply