You’re tired of dealing with dead zones that leave your outdoor security cameras disconnected when you need them most. While running new ethernet cables seems like the obvious solution, it’s expensive, time-consuming, and often impractical for most homeowners. The good news is that several proven wireless methods can dramatically extend your camera’s range without touching a single wire. The key lies in understanding which approach matches your specific setup and budget constraints.
Understanding WiFi Signal Strength Requirements for Outdoor Cameras

Why does your outdoor security camera keep dropping its connection or delivering poor video quality? The culprit’s likely inadequate WiFi signal strength reaching your camera’s location.
Your outdoor security camera needs at least 75% to 80% WiFi signal strength for reliable connectivity and ideal performance. When your camera sits more than 40 feet from your router in a straight line, signal strength drops considerably.
Environmental obstacles like walls, trees, and elevation changes further weaken the connection.
You can assess your current signal quality using WiFi signal strength apps at your camera’s exact location. While some cameras can maintain connections up to 1,500 feet away, the effective range typically spans 300 to 1,500 feet depending on your specific camera brand and model.
Understanding these requirements helps you identify why your camera’s struggling.
Three Primary Methods to Extend Your Wireless Camera Range
You’ll find three proven methods to extend your wireless camera range, each offering distinct advantages for different scenarios.
Strategic wireless extender placement can amplify your existing signal to reach distant cameras, while proper positioning guarantees peak performance without dead zones.
Mesh network systems provide the most all-encompassing solution, creating seamless coverage that eliminates the connectivity drops and latency issues you’d experience with traditional extenders.
Wireless Extender Placement
Strategic placement of your wireless extender determines whether you’ll achieve reliable camera connectivity or continue struggling with dropped signals. Position your extender midway between your router and camera, maintaining 75-80% signal strength for ideal performance.
Use a Wi-Fi signal strength app to identify the sweet spot where your extender receives strong router signals while effectively amplifying them to your camera.
Mount your extender in an elevated location like a shelf or high wall position to minimize obstacles. Stay within 150 feet of your router and choose power outlets where camera signals weaken but router connectivity remains strong.
Avoid placing extenders near electronic devices or thick walls that cause interference, as these barriers notably degrade the extended Wi-Fi signal reaching your camera.
Mesh Network Benefits
While traditional extenders create separate network names that force manual switching between connections, mesh networks eliminate this frustration by creating a unified system that seamlessly hands off your cameras between access points.
Your Wi-Fi devices automatically connect to the strongest signal without any intervention from you.
You’ll benefit from consistent coverage across large areas, eliminating dead zones that plague traditional setups.
When you need to expand your network for additional outdoor cameras or smart home devices, simply add more nodes to scale your system effortlessly.
Advanced mesh technology includes band steering and load balancing, optimizing performance by directing your cameras to the most efficient connections.
Most systems offer intuitive mobile apps for monitoring network health and troubleshooting connectivity issues.
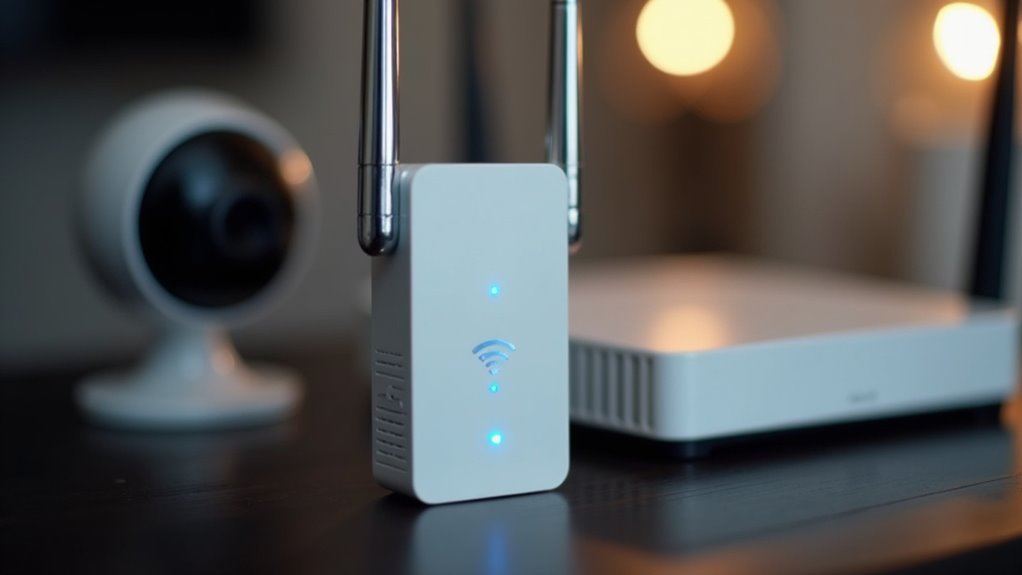
Wireless Extenders: Quick Setup for Signal Amplification
You’ll find wireless extenders offer the simplest solution for boosting your camera’s WiFi signal – just plug them into any power outlet near the weak signal area.
These devices amplify your original WiFi signal effectively, with many operating at high power levels like 700mW to considerably strengthen connectivity for outdoor cameras.
This straightforward installation requires no network cables or technical expertise, making it an ideal quick fix for extending your camera’s range.
Simple Plug-In Installation
One major advantage of wireless extenders lies in their incredibly straightforward installation process – you simply plug them into any standard power outlet near the area where your WiFi camera struggles with weak signal coverage.
You won’t need any complex wiring, professional installation, or technical expertise to get started.
Once you’ve plugged in your WiFi extender, it’ll immediately begin amplifying your original wireless signal, creating an extended coverage area that reaches your security cameras.
The device will either generate its own network name or seamlessly integrate with your existing router’s SSID for unified connectivity.
To enhance effectiveness, position your extender strategically between your router and camera location.
This ideal placement guarantees the strongest possible signal amplification, dramatically improving your camera’s connection reliability and performance.
Signal Amplification Effectiveness
Wireless extenders deliver impressive signal amplification that can transform your camera’s connectivity from unreliable to rock-solid. Operating at approximately 700mW power levels, these devices considerably boost your WiFi range, extending reliable coverage up to 150 feet from your primary router.
You’ll notice the difference immediately – no more dropped connections or frustrating buffering during critical recording moments.
The amplification process strengthens your existing signal rather than creating a new network, ensuring your outdoor security cameras maintain consistent connectivity. Users consistently report dramatic improvements in signal reception, with previously problematic dead zones becoming fully functional areas.
Your cameras will hold steady connections even at maximum distances, eliminating the signal fluctuations that once plagued remote monitoring locations.
WDS Bridge Configuration for Multiple Router Connections
When you need to extend your WiFi camera’s range across a large property or multi-story building, configuring a WDS (Wireless Distribution System) bridge creates a seamless network that connects multiple routers wirelessly. This setup eliminates the need for network cables while providing enhanced coverage throughout your space.
To establish your WDS bridge, enable the WDS function on your primary wireless router, then configure secondary routers with identical SSID and security settings. Each wireless router communicates wirelessly, greatly extending your coverage area and strengthening weak signal zones where cameras struggle to maintain connectivity.
Ensure all routers support the same wireless standards like 802.11n or 802.11ac for peak performance. Your secondary routers will also provide additional LAN ports, allowing wired camera connections while maintaining seamless wireless network integration.
Hardwired Router Solutions for Maximum Stability
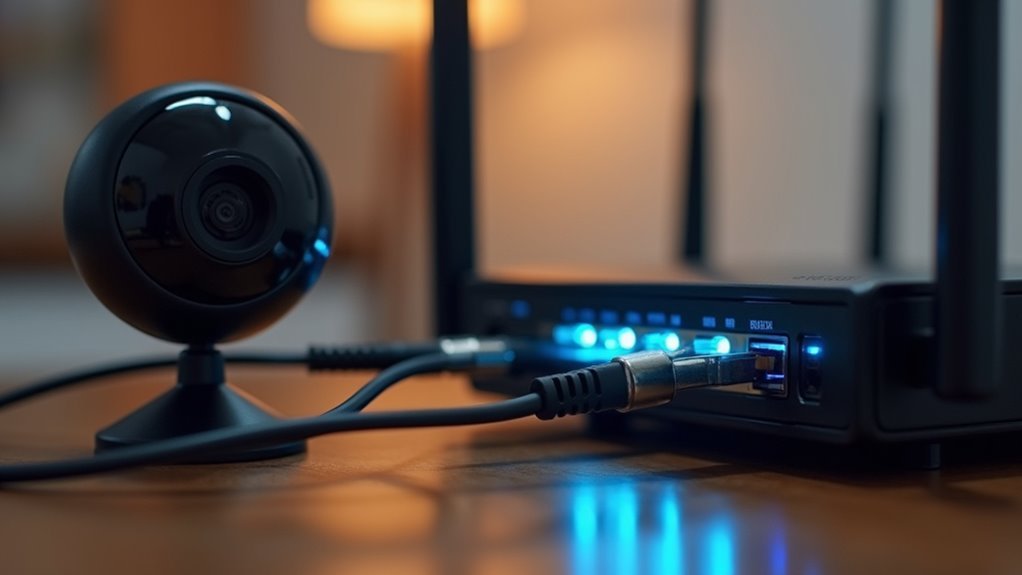
For deployments requiring rock-solid connectivity, hardwired router solutions deliver unmatched stability by connecting multiple routers through network cables rather than wireless signals.
This approach designates one device as your main router while secondary units function as wireless switches, creating a robust network infrastructure for your WiFi cameras.
Here’s what makes hardwired router solutions superior:
Hardwired router configurations outperform wireless alternatives through cable-based connections that deliver superior stability and enhanced network performance.
- Enhanced Performance – You’ll experience markedly reduced latency and increased wireless bandwidth capacity compared to wireless extenders.
- Double Device Capacity – Access twice the number of terminals without sacrificing performance quality.
- Extended Coverage – Properly configured routers provide strong network signal strength over longer distances for outdoor cameras.
- Maximum Reliability – Stable cable connections eliminate wireless interference issues.
Troubleshooting Common Camera Connectivity Issues
When your WiFi camera isn’t connecting properly, you’ll need to tackle three key areas that commonly cause headaches.
Start by checking your signal strength detection to guarantee you’re getting adequate coverage where the camera’s positioned.
Then examine your router placement and verify your firmware’s current, as these factors often create the most frustrating connectivity problems.
Signal Strength Detection
Three key indicators reveal whether your WiFi camera’s struggling with connectivity issues: signal strength percentage, connection stability, and video quality drops.
Monitoring these metrics helps you identify problems before they affect your security system’s performance.
Your Wi-Fi network’s signal strength should maintain 75% to 80% for ideal camera operation.
Here’s how to detect and measure your signal strength effectively:
- Download Wi-Fi analyzer apps on your smartphone to measure signal strength percentages at your camera’s location
- Check for direct line-of-sight between your router and camera, aiming for distances within 40 feet
- Monitor connection stability by watching for frequent disconnections or buffering during live streams
- Identify interference sources from neighboring networks or electronic devices that weaken your signal strength
Regular monitoring prevents connectivity failures and guarantees consistent camera performance.
Router Placement Issues
Poor router placement often creates the most frustrating WiFi camera connectivity problems you’ll encounter.
When your router sits in a corner or basement, you’re fundamentally handicapping your entire network’s performance. You’ll want to position your router centrally and elevated to minimize obstacles that weaken signals.
Distance becomes your enemy quickly – while 40 feet works fine, stretching to 150 feet around your property’s perimeter creates serious connectivity issues. Your cameras need signal strength between 75-80% for stable performance. Anything lower means dropped connections and unreliable footage.
If cameras still won’t connect properly after repositioning, try rebooting both your router and cameras. This simple step resolves temporary glitches.
Additionally, interference from neighboring networks might require changing your WiFi channel for improved connectivity.
Firmware Update Problems
Outdated firmware creates connectivity headaches that proper router placement can’t fix. Your camera might struggle to maintain stable connections even when positioned ideally near your router.
Manufacturers regularly release firmware updates that patch connectivity issues and enhance performance, making these updates essential for reliable operation.
Here’s how to address firmware update problems:
- Check both devices – Update your camera and router firmware, as outdated software on either device causes compatibility problems.
- Follow manufacturer instructions – Consult your camera’s user manual since update processes vary by model.
- Ensure stable connection – If connectivity issues persist during updates, temporarily move your camera closer to the router.
- Reset if necessary – Perform a factory reset if problems continue after updating firmware.
Optimal Placement Strategies for Range Extenders
While your WiFi extender can greatly boost your camera’s connectivity, its effectiveness depends entirely on where you place it. Position your range extender halfway between your router and camera to maximize signal reach while minimizing obstacles that weaken connectivity.
| Placement Factor | Best Practice |
|---|---|
| Height | Elevated on shelf or wall bracket |
| Distance | Halfway between router and camera |
| Interference | Away from microwaves, cordless phones |
| Signal Strength | Use WiFi app to find ideal spot |
You’ll want to avoid placing your extender near electronic devices that cause interference. Use a WiFi signal strength app to identify the sweet spot where your extender receives strong router signals while providing excellent camera coverage. Experiment with different locations and orientations until you find the configuration that maximizes performance.
High-Power Outdoor Access Points and Directional Antennas
When you need to cover large outdoor areas, high-power outdoor access points like the TP-LINK TL-WA5210G can extend your Wi-Fi signal up to 1500 feet with considerably stronger power output than standard indoor equipment.
You’ll maximize this coverage by strategically positioning directional antennas such as the TP-LINK TL-ANT2424B 24dBi to focus the signal precisely where your cameras are located.
These weather-resistant units are built to withstand harsh outdoor conditions while maintaining reliable connections and secure WPA2 encryption for your surveillance network.
Power Output Benefits
Anyone seeking to maximize their WiFi camera range should consider high-power outdoor access points and directional antennas as game-changing solutions.
These devices deliver exceptional power output that transforms your WiFi system’s performance in challenging outdoor environments.
The enhanced power capabilities provide several critical advantages:
- Extended Coverage Range – Directional antennas achieve up to 2000 feet of range, connecting distant cameras that standard equipment can’t reach.
- Obstacle Penetration – Increased power overcomes trees, walls, and other environmental barriers that typically weaken signals.
- Multiple Device Support – Higher power output enables stable connections across broader areas, supporting numerous security cameras simultaneously.
- Dead Zone Elimination – Strategic placement of high-power access points minimizes signal gaps across large properties, ensuring thorough coverage.
Directional Antenna Placement
Strategic positioning determines whether your directional antenna setup succeeds or fails in extending WiFi camera range.
Mount your directional antennas at the highest available elevation to maximize coverage and minimize obstructions. You’ll need to aim them precisely toward your intended coverage area where cameras are positioned.
High-power outdoor access points work best when their directional antennas face away from neighboring networks, reducing interference while concentrating signal strength.
Position antennas to create clear line-of-sight paths to your cameras whenever possible.
Consider wind resistance and weatherproofing when selecting mounting locations.
Test signal strength at various heights and angles before permanent installation. Proper antenna alignment can extend your network up to a mile, ensuring reliable connectivity for multiple security cameras without requiring additional wiring throughout your property.
Weather-Resistant Equipment Features
Outdoor WiFi equipment faces relentless weather challenges that can quickly destroy standard indoor components, so you’ll need specialized gear built to withstand extreme conditions.
When extending your security camera WiFi range outdoors, weather-resistant features become critical for maintaining reliable connectivity year-round.
Look for these essential weather-resistant features in outdoor WiFi equipment:
- IP66 rating – Protects against dust ingress and powerful water jets from any direction
- Temperature resistance – Operating ranges from -40°F to 158°F guarantee functionality in extreme climates
- UV-resistant housing – Prevents plastic degradation and component failure from prolonged sun exposure
- Sealed connector ports – Waterproof cable connections prevent moisture infiltration that causes signal loss
These protective features guarantee your outdoor access points and directional antennas maintain consistent performance regardless of weather conditions.
Mesh Network Systems Vs Traditional Extenders
When you’re struggling with weak WiFi signals for your security cameras, you’ll face a critical decision between mesh network systems and traditional extenders.
Traditional extenders offer a budget-friendly solution for small spaces but create separate network names and introduce latency that can bottleneck your camera feeds. They’re particularly problematic when multiple devices compete for bandwidth.
Mesh network systems deliver superior performance through interconnected nodes that maintain one seamless network name. You’ll experience faster speeds, better reliability, and consistent coverage throughout complex layouts or multi-story homes.
Mesh systems create unified networks with interconnected nodes, delivering faster speeds and reliable coverage for complex home layouts.
While mesh systems cost more upfront, they’re scalable for future smart home additions and optimize bandwidth distribution automatically. For WiFi cameras requiring stable, high-throughput connections, mesh networks consistently outperform traditional extenders.
Firmware Updates and Security Settings Impact
Your camera’s firmware and security settings act as invisible gatekeepers that can greatly impact your WiFi range and connection stability.
Outdated firmware can create compatibility issues that prevent effective network connections, while incorrect security configurations may block legitimate device access entirely.
Regular firmware updates are crucial for peak performance:
- Enhanced Performance – Updates fix bugs and optimize connectivity, directly improving your camera’s range capabilities.
- Security Patches – Manufacturers release critical security updates that address vulnerabilities and maintain stable connections.
- Compatibility Fixes – New firmware resolves network configuration conflicts that emerge from router updates.
- Access Control – Properly configured security settings like WPA2 encryption and MAC filtering guarantee authorized connections without blocking your camera.
Checking for firmware updates monthly keeps your system running smoothly.
Measuring Distance and Signal Loss Factors
While firmware acts as your camera’s software foundation, the physical realities of distance and signal interference determine whether that ideal connection can actually reach your device.
Your WiFi signal strength decreases approximately 3 dB every 33 feet from your router. With a 40-foot straight-line distance potentially stretching to 150 feet along perimeter routes, you’re facing significant signal degradation.
Physical obstacles like walls and furniture further weaken connectivity. Signal quality drops below the ideal 75-80% range at distances exceeding 150 feet, creating unreliable connections.
Before investing in solutions to extend the WiFi network, use signal strength apps to measure actual performance between your router and camera location. This baseline measurement helps you understand exactly how much signal loss you’re dealing with and guides your range-boosting strategy.
Professional-Grade Range Extender Equipment Options
Once you’ve identified your signal loss challenges, professional-grade range extenders offer the robust solution needed for reliable long-distance camera connections.
Professional-grade range extenders provide the robust, reliable solution your long-distance security cameras need to maintain stable connectivity.
These Camera Range Extender systems deliver superior performance compared to consumer-grade alternatives, ensuring your outdoor security cameras maintain stable connectivity.
- High-Power Outdoor Access Points – The TP-LINK TL-WA5210G provides robust signals over expansive properties, making it perfect for challenging environments requiring extended Wireless Access coverage.
- Professional Range Extenders – RadioLabs’ Outdoor WiFi Access Security Camera Range Extender extends coverage up to 2000 feet with stable connectivity designed specifically for security cameras.
- Directional Antennas – The TP-LINK TL-ANT2424B 24dBi antenna focuses signals in specific directions, greatly enhancing signal strength for targeted camera locations.
- Mesh Systems – Though pricier, mesh networks eliminate dead zones and provide seamless coverage with superior reliability.
Cost-Effective Solutions for Different Property Sizes
Selecting the right WiFi extension solution depends heavily on your property’s size and layout, as different approaches offer varying cost-to-coverage ratios.
For small properties, you’ll find wireless extenders most economical, boosting your wireless security system’s signal up to 700mW without rewiring costs.
Medium-sized properties benefit from WDS bridge setups, connecting multiple routers wirelessly for unified network coverage at moderate expense.
Larger properties require mesh WiFi systems, which provide seamless connectivity without traditional extender stability issues.
For expansive areas, installing an outdoor access point delivers exceptional value, extending coverage up to 2000 feet.
High-power antennas like the TP-LINK TL-ANT2424B offer cost-effective signal enhancement, ensuring reliable outdoor camera connectivity across various property sizes while maximizing your investment’s effectiveness.
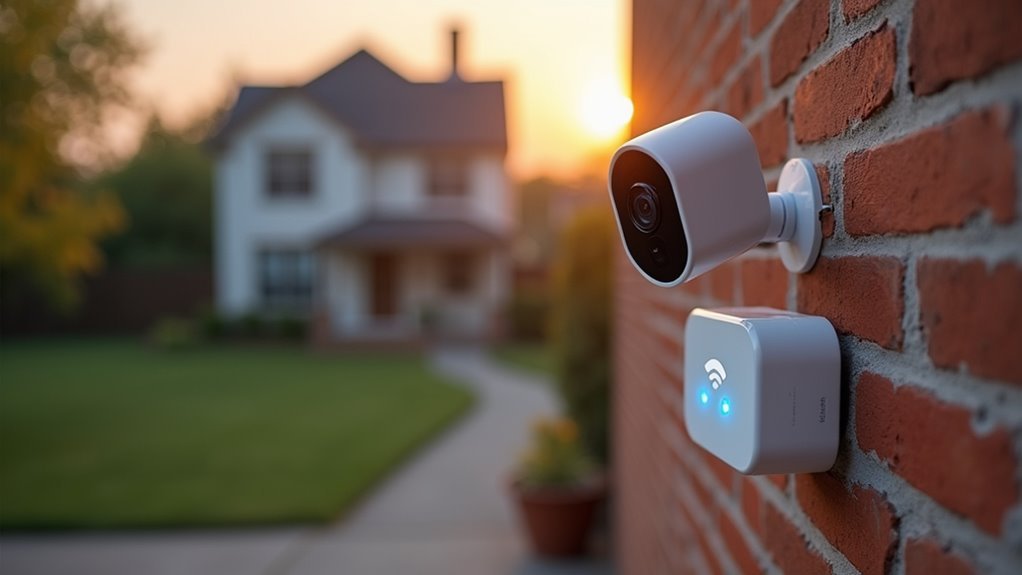
Maintaining Stable Connections in Challenging Outdoor Environments
Even when you’ve enhanced your WiFi extension setup, outdoor environments present unique connectivity challenges that can disrupt your camera’s performance.
Weather conditions, physical obstacles, and signal interference can weaken your outdoor Wi-Fi connection considerably.
Here’s how to maintain reliable connectivity:
- Position your router centrally at an elevated location to maximize coverage and minimize obstacles that could block signals to your outdoor cameras.
- Deploy a Wi-Fi extender or outdoor access point specifically designed for long-distance coverage, especially for cameras positioned beyond 150 feet from your main router.
- Use the 2.4 GHz band instead of 5 GHz for better range and obstacle penetration in outdoor installations.
- Update firmware regularly on both cameras and networking equipment to maintain peak performance and stability.
Frequently Asked Questions
How Can I Extend My Wifi Range Without Wire?
You can extend your WiFi range without wires by using wireless extenders, setting up WDS bridge connections between routers, strategically positioning equipment, or installing mesh networks for extensive coverage.
How Do I Increase the Range of My Wireless Backup Camera?
You’ll boost your wireless backup camera’s range by installing a 700mW Wi-Fi extender, positioning the camera within 40 feet of your router, and using a directional antenna with 24dBi gain for focused signal strength.
Is There Any Way to Increase Wifi Range?
You can increase WiFi range by installing extenders or mesh systems, upgrading to dual-band routers, positioning equipment strategically, and updating firmware regularly. These solutions effectively expand coverage without requiring new wiring installations.
Do Wifi Boosters Work for Security Cameras?
Yes, WiFi boosters work effectively for security cameras. You’ll need signal strength of 75% or higher for ideal performance. Choose extenders with 700mW power rating for cameras up to 150 feet away from your router.


Leave a Reply