You’re tired of monthly subscription fees and wondering who’s accessing your security footage in the cloud. Building your own storage-based security system puts you back in control, keeping all recordings on your property while offering the same professional-grade protection as expensive monitored services. The process isn’t as complicated as you’d expect, but there’s a specific order to follow if you want everything to work seamlessly together.
Understanding Storage-Based Security Systems
When you’re evaluating security options for your property, storage-based security systems offer a compelling alternative to cloud-based solutions by keeping your video footage stored locally on devices like network video recorders (NVRs) or digital video recorders (DVRs).
You’ll maintain greater control over your data security since footage doesn’t leave your premises, reducing unauthorized access risks.
These systems support both IP and analog cameras, letting you customize setup according to your specific requirements.
Your storage capacity needs depend on camera quantity, video resolution, and retention periods. Higher resolutions and longer retention times require more space.
You can easily expand capacity by adding external drives or upgrading internal ones, ensuring your system grows with evolving security needs.
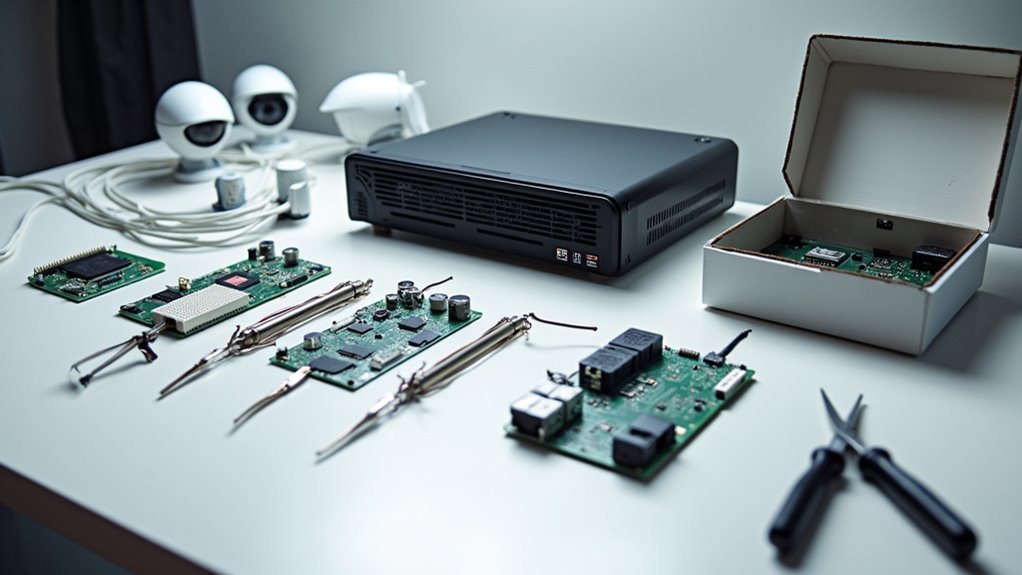
Essential Components for Your DIY Setup
Building your own storage-based security system requires several key components working together to create thorough protection.
A comprehensive DIY security system integrates multiple components to deliver complete home protection through coordinated monitoring and storage capabilities.
You’ll need a Base Station as your central hub, managing all connected devices and serving as your system’s brain. Entry Sensors are essential for monitoring doors and windows, while Motion Sensors detect movement throughout your home. Don’t forget Glassbreak Sensors to identify the sound of shattered glass.
High-definition security cameras like the Eufy Indoor Cam 2K or Wyze Cam V3 enhance your monitoring capabilities with real-time video and motion alerts.
Most systems offer cloud storage for video footage, though local storage options let you avoid monthly fees. Optional add-ons include smart locks and environmental sensors for complete customization.
Choosing the Right Base Station and Hub
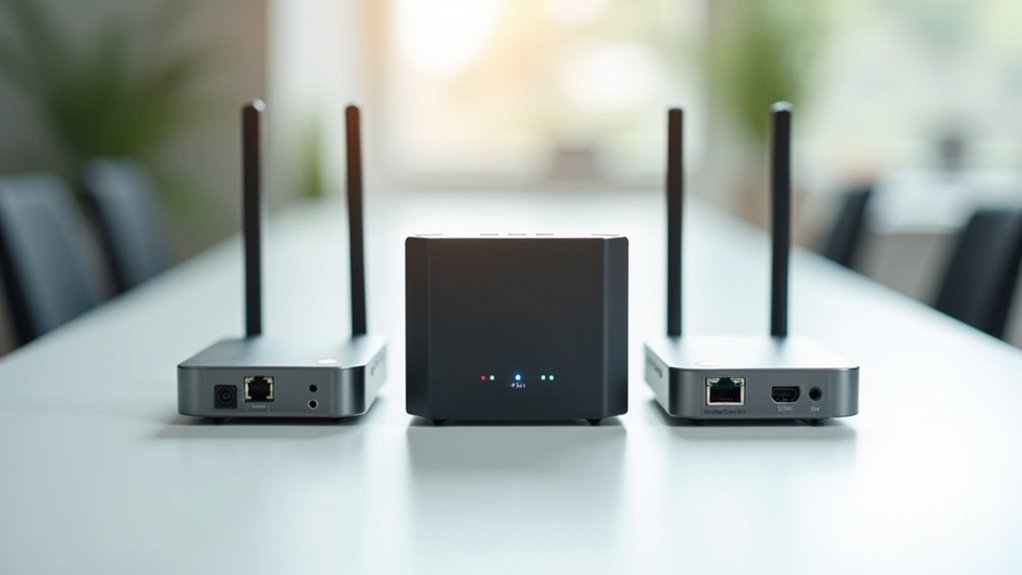
When selecting your base station and hub, you’ll need to evaluate connectivity requirements that guarantee reliable communication between all system components.
Consider whether you need Wi-Fi, cellular backup, or hardwired ethernet connections based on your home’s infrastructure and reliability needs.
Storage capacity becomes essential if you’re planning to record and store footage locally, so assess how much data you’ll generate and how long you want to retain recordings.
Hub Connectivity Requirements
How do you guarantee your storage-based security system remains connected and functional when it matters most? Your hub connectivity requirements determine whether your system works seamlessly or fails during critical moments.
Essential hub connectivity features include:
- Cellular backup capabilities – Maintains protection during power outages and internet disruptions by automatically switching to cellular networks.
- Dual-band Wi-Fi support – Provides compatibility with both 2.4 GHz and 5 GHz frequencies for stable connections across diverse devices.
- Smart home ecosystems integration – Guarantees compatibility with Alexa, Google Assistant, and HomeKit for unified control.
- Dedicated mobile app access – Enables complete remote access and monitoring capabilities from anywhere.
These connectivity standards guarantee your storage-based security system operates reliably, providing continuous protection regardless of network conditions or location-based monitoring needs.
Storage Capacity Options
Three critical factors determine your storage-based security system’s effectiveness: base station capacity, expansion flexibility, and video quality optimization.
You’ll find storage capacity options typically range from 16GB to 1TB, depending on your camera count and desired retention time. Choose a base station that supports your cameras’ video quality—whether 1080p or 2K—to maximize storage efficiency and playback clarity.
Local storage offers significant advantages over cloud subscriptions, providing cost savings and immediate access to video footage. You can expand capacity through external drives when needed, giving you budget-friendly scalability.
Select a hub with integrated storage capabilities that consolidates multiple camera management into one device. This centralized approach streamlines your security operations while maintaining complete control over your recorded data.
Selecting Cameras With Local Storage Capabilities
When you’re choosing cameras with local storage capabilities, you’ll need to take into account which storage format options work best for your system, whether that’s microSD cards, USB drives, or network-attached storage.
You should also evaluate the recording quality settings to balance video clarity with storage capacity, since higher resolutions consume more space.
Don’t forget to plan for backup power solutions that’ll keep your cameras recording during outages, ensuring continuous surveillance when you need it most.
Storage Format Options
Since cloud storage often comes with monthly fees and privacy concerns, selecting cameras with robust local storage capabilities gives you complete control over your footage while eliminating ongoing costs.
You’ll find several storage format options to suit different needs and budgets.
- MicroSD Card Slots – Budget-friendly cameras like the Wyze Cam V3 offer direct recording to microSD cards, supporting continuous recording for around-the-clock monitoring.
- Hub-Based Storage – Premium models such as the Arlo Pro 4 Spotlight utilize dedicated hubs like the Arlo SmartHub to store video clips locally.
- Customizable Motion Detection – Cameras like the Ring Floodlight Cam Wired Pro optimize storage through tailored recording triggers.
- Capacity Planning – Consider maximum storage limits ranging from 128GB to 256GB before footage overwrites.
Recording Quality Settings
Recording quality settings directly impact both your storage capacity and monitoring effectiveness, so you’ll need to find the right balance for your specific security needs. When configuring your cameras with local storage, you’ll discover that adjustable settings give you control over how much space your footage consumes while maintaining adequate video quality for identification purposes.
| Quality Setting | Storage Usage | Best Application |
|---|---|---|
| 4K Ultra HD | Very High | Critical areas requiring maximum detail |
| 1080p Full HD | Medium | Standard monitoring with clear identification |
| 720p HD | Low | Basic coverage areas with motion detection |
Higher resolutions capture more detail but quickly fill your local storage. You’ll want to prioritize 1080p for most applications, reserving 4K for entrance points where facial recognition matters most.
Backup Power Solutions
Although local storage eliminates your dependency on internet connectivity for recording, you’ll still need reliable backup power to guarantee your security cameras continue operating during electrical outages.
When selecting backup power solutions for your local storage security system, you’ll want to verify uninterrupted video footage recording and maintain essential monitoring options.
Consider these backup power solutions for your security cameras:
- Uninterruptible Power Supply (UPS) – Provides immediate power backup for cameras and local storage devices during outages.
- Solar panel systems – Offers sustainable power for outdoor cameras with battery backup capabilities.
- Rechargeable battery packs – Delivers portable power solutions for wireless cameras with local storage.
- Generator connections – Secures extended power supply for thorough security systems during prolonged outages.
These solutions protect your investment in local storage technology.
Best Indoor Security Cameras for Local Recording
When you’re building a storage-based security system, selecting the right indoor cameras for local recording can save you from monthly subscription fees while maintaining complete control over your footage.
The best indoor security cameras offer excellent value when you prioritize local storage capabilities.
The Eufy Indoor Cam 2K Pan & Tilt P24 delivers outstanding 2K video quality with built-in storage options, eliminating ongoing costs.
For budget-conscious users, the Wyze Cam V3 provides color night vision and intelligent motion alerts without breaking the bank.
The Arlo Pro 4 Spotlight Camera combines rechargeable batteries with high-resolution recording.
Most models feature smart home integration with Alexa, Google Assistant, and HomeKit, plus customizable recording settings that let you tailor surveillance exactly to your needs.
Top Outdoor Cameras With Built-In Storage
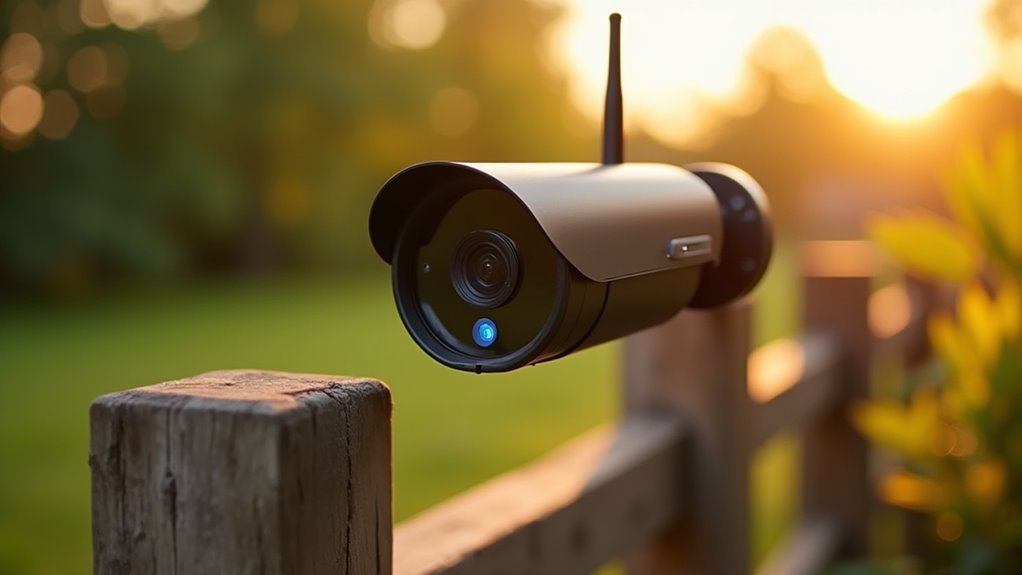
Since outdoor security cameras face harsh weather conditions and power limitations, choosing models with built-in storage becomes essential for reliable surveillance without monthly subscription costs.
These top outdoor cameras deliver exceptional performance with local storage capabilities:
- Arlo Pro 4 Spotlight – Features 2K video resolution, rechargeable battery, and local storage options for subscription-free video storage.
- Eufy Security SoloCam S40 – Offers 2K resolution with built-in battery and no monthly fees, making it cost-effective for your security system.
- Ring Floodlight Cam Wired Pro – Provides 3D motion tracking and HDR video with local storage when paired with compatible Ring devices.
- Lorex Outdoor Cameras – Include built-in storage for direct recording without cloud dependency, enhancing privacy while reducing costs.
You’ll maintain complete control over your footage while avoiding ongoing subscription expenses.
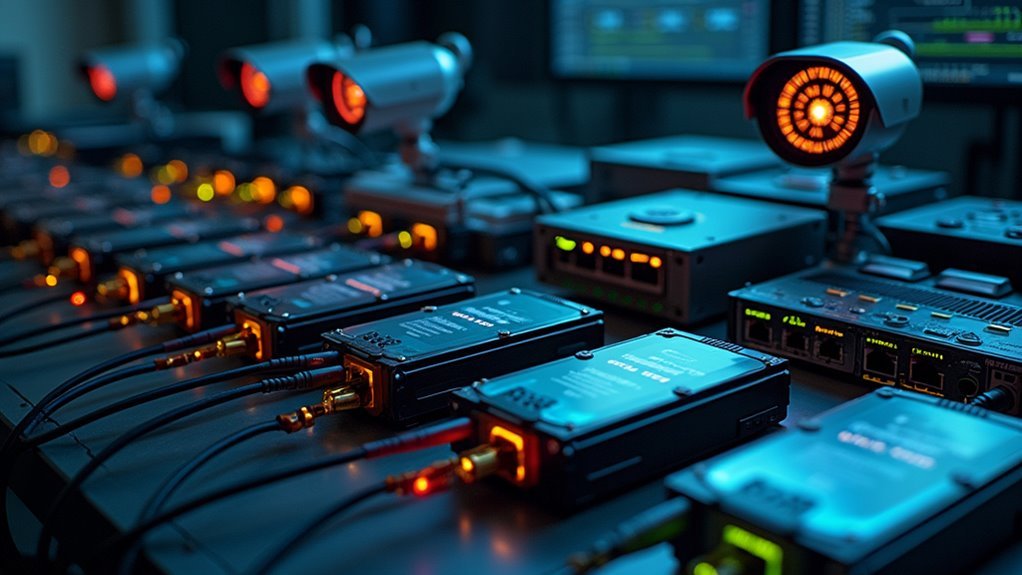
Network Video Recorders vs. Cloud Storage
Two primary storage solutions dominate the security camera market: Network Video Recorders (NVRs) and cloud storage services.
NVRs give you complete control over your video footage through local storage, eliminating internet dependency and subscription fees. You’ll enjoy higher storage capacities and extended retention periods without recurring costs.
Cloud storage offers automatic backups and remote access convenience, but monthly fees accumulate quickly with high-resolution recordings.
With NVRs, you can customize storage by selecting hard drive sizes that match your needs, while cloud services use tiered pricing structures.
Security becomes a vital factor—NVRs keep your footage on-premises, enhancing privacy control, whereas cloud storage stores data offsite, potentially exposing it to breaches.
Choose based on your budget, privacy preferences, and access requirements.
Setting Up Your Central Storage Solution
You’ll need to choose between Network Attached Storage (NAS) systems, dedicated local recording devices, or hybrid solutions that combine both approaches for your central storage setup.
Each option offers different benefits for storing your security footage locally while maintaining control over your data.
Consider integrating cloud backup capabilities as a secondary layer to protect against hardware failures or disasters that could affect your primary storage solution.
Network Attached Storage
Network Attached Storage (NAS) transforms your home security system by creating a powerful centralized hub that stores footage from multiple cameras while providing seamless access across all your devices.
You’ll connect your network attached storage device directly to your router via Ethernet, then configure it through a web interface or dedicated app.
- Configure RAID settings – Set up data redundancy across multiple drives to protect your security footage from hardware failures
- Enable remote access – Access your stored recordings from anywhere with an internet connection for real-time monitoring
- Set up file sharing – Allow multiple devices to view and manage security footage simultaneously across your network
- Activate media streaming – Stream live feeds and recorded content directly to smartphones, tablets, or computers for convenient viewing
Local Recording Devices
Choose NVRs with advanced features like motion detection and alert notifications to maximize functionality.
PoE technology simplifies installation by powering cameras through Ethernet cables, eliminating separate power supplies.
Make certain your system includes remote access capabilities via mobile apps for monitoring from anywhere.
Always back up recorded footage to external drives or cloud services to prevent data loss from hardware failure or theft.
Cloud Backup Integration
While local recording devices form the backbone of your security system, cloud backup integration creates an essential safety net that protects your footage from hardware failures, theft, and natural disasters.
Modern security cameras offer seamless cloud backup options that automatically upload your video recordings to off-site servers. Before choosing a service, you’ll need to evaluate subscription costs, which typically range from $3 to $30 monthly based on storage capacity and features.
Here’s what you should prioritize when selecting cloud backup:
- Camera compatibility – Verify your cameras support Google Drive, Dropbox, or manufacturer-specific services.
- Storage capacity – Choose plans matching your recording volume and retention needs.
- Security features – Select services offering encryption and two-factor authentication.
- Cost analysis – Compare subscription costs against storage requirements and backup frequency.
Configuring Motion Detection and Recording Settings
After you’ve installed your storage-based security system, configuring motion detection and recording settings becomes essential for maximizing both security effectiveness and storage efficiency.
Start by adjusting sensitivity levels to minimize false alarms while capturing all relevant activity. You’ll want to set specific detection zones focusing on high-priority areas like entry points and driveways, while excluding busy streets that generate unnecessary alerts.
Fine-tune sensitivity settings and create targeted detection zones to capture real threats while filtering out routine neighborhood activity.
Schedule your recording settings to activate during specific hours or when motion occurs, conserving valuable storage space.
Enable smart alerts to receive instant notifications on your mobile device when motion’s detected, allowing quick responses to potential breaches.
Remember to regularly review and adjust these settings based on seasonal changes or varying activity levels to maintain peak security coverage throughout the year.
Installing Entry and Motion Sensors
You’ll need to develop a strategic sensor placement plan that maximizes coverage while minimizing false alarms throughout your home.
Once you’ve identified ideal locations, you’ll pair each wireless sensor with your storage-based system using the manufacturer’s specific pairing protocol.
Don’t forget to install fresh batteries in each sensor before mounting, as proper power management guarantees reliable operation from day one.
Sensor Placement Strategy
Since effective security depends on thorough coverage, installing entry and motion sensors requires strategic placement to eliminate vulnerabilities in your home’s defense system.
Your sensor placement strategy should create overlapping fields that capture all potential intrusion points while minimizing false alarms.
- Install entry sensors on all accessible doors and windows at 4-5 feet height, positioning them on the interior side to detect unauthorized openings effectively.
- Mount motion sensors in high-traffic areas like hallways and living rooms, placing them 6-8 feet off the ground to detect motion across ideal sight lines.
- Avoid heat sources when positioning motion sensors, as radiators and vents cause temperature fluctuations that trigger false alarms.
- Create overlapping coverage zones by combining entry sensors with motion sensors that cover 90º fields of view, reducing blind spots throughout your home.
Wireless Pairing Process
Once your sensors are strategically positioned, the wireless pairing process connects each device to your security system’s base station through a straightforward setup sequence.
First, verify your base station is powered on and connected to your Wi-Fi network for ideal performance. Open the manufacturer’s mobile app or web portal and select “Add Device” to begin pairing your DIY security system components.
Follow the guided prompts to sync each sensor individually. During installation, maintain at least a 1/4 inch gap between entry sensors and their magnetic counterparts on doors and windows.
Position motion sensors within clear sight lines for accurate detection.
After completing the wireless pairing process, test each device by opening doors or walking past motion sensors to confirm proper connectivity and alert functionality.
Battery Installation Tips
Proper battery installation forms the foundation of reliable sensor performance in your DIY security system. Following these battery installation tips guarantees your sensors include reliable monitoring capabilities that keep your storage protected around the clock.
- Choose correct battery types – Most entry and motion sensors require AA, AAA, or CR123A lithium batteries depending on your specific model.
- Verify compartment accessibility – Check that battery compartments open clearly without obstructions for future replacements.
- Position sensors properly – Mount motion sensors 6-8 feet high for ideal 90º detection range, and place entry sensor magnets within 1 inch of sensors.
- Test and maintain regularly – Verify sensor functionality after installation and replace batteries every 6-12 months for consistent monitoring in DIY systems.
Integrating Smart Locks With Your Storage System
While traditional locks have served their purpose for decades, smart locks revolutionize how you secure and manage access to your storage areas.
Models like the Kwikset Halo Touch and Ultraloq U-Bolt Pro Wi-Fi offer remote access through smartphone apps, eliminating the vulnerability of physical keys that can be lost or stolen.
These smart locks integrate seamlessly with major smart home platforms including Alexa, Google Assistant, and HomeKit.
When paired with security cameras, they enable real-time monitoring and instant alerts whenever someone accesses your storage space.
You’ll gain precise control over access permissions, creating temporary codes for guests or service personnel while maintaining complete oversight.
This integration transforms your storage system into an all-encompassing security ecosystem.
Adding Video Doorbells to Your Network
Video doorbells extend your storage security network by monitoring the primary entry points where potential intruders first approach your property.
These smart home devices integrate seamlessly with your existing security infrastructure, providing 2K video quality and motion alerts that enhance your property’s protection. You’ll benefit from flexible installation options using battery power or existing doorbell wiring.
Key features that strengthen your security network include:
- HDR video capabilities ensuring clear footage in varying lighting conditions
- Local storage options reducing subscription dependencies while maintaining privacy
- Smart home integration with Alexa and Google Assistant for centralized control
- Intelligent motion detection triggering coordinated responses from security cameras and smart locks
This integration creates a thorough security ecosystem where your video doorbells communicate with other devices, automatically activating additional monitoring when motion’s detected.
Expanding Your System With Additional Sensors
Beyond monitoring your front entrance, you’ll want to fortify your entire property perimeter with strategic sensor placement. Entry sensors protect doors and windows, guaranteeing thorough coverage of potential access points. Motion sensors monitor interior areas with 90º fields of view while distinguishing between people and pets to minimize false alarms.
| Sensor Type | Coverage Area | Key Feature |
|---|---|---|
| Entry Sensors | Doors/Windows | Contact detection |
| Motion Sensor | Interior rooms | Pet-friendly technology |
| Glassbreak | High windows | Sound recognition |
DIY security systems like SimpliSafe make integration straightforward, allowing customization based on your specific needs. When expanding your system, prioritize compatibility with existing components and consider best placement for maximum effectiveness. This strategic approach guarantees seamless operation across your entire security network.
Managing and Accessing Your Stored Footage
Once you’ve captured security footage, accessing and organizing your recordings becomes essential for maintaining effective surveillance oversight.
Your storage-based system provides multiple ways to access footage through dedicated mobile apps and web interfaces, letting you view, download, or share recordings anytime.
Modern systems offer these key management features:
- Cloud storage integration – Provides redundant backup alongside local storage, enabling remote access from anywhere with internet connectivity
- Customized motion detection alerts – Sends notifications when specific events occur, helping you manage stored footage efficiently
- Tagging and bookmarking tools – Allows you to mark important incidents for quick retrieval later
- Smart home devices integration – Triggers automated responses based on footage events, enhancing your overall security management capabilities
Frequently Asked Questions
What Is the Best DIY Security System?
SimpliSafe’s widely regarded as the best DIY security system you can get. You’ll find customizable packages starting at $249.96 with monitoring plans from $21.99 monthly, offering reliable protection that’s easy to install yourself.
What Security System Does Not Require a Monthly Fee?
You’ll find systems like Wyze Cam, Eufy Indoor Cam 2K, Arlo, Lorex, and Reolink don’t require monthly fees. They use local storage via SD cards or hard drives instead of cloud subscriptions.
Does ADT Have a DIY System?
Yes, ADT offers ADT Self Setup, a DIY home security system. You’ll install sensors and cameras yourself, connecting them to a Bluetooth hub. Setup takes under 10 minutes, and you can choose self-monitoring options.
Are DIY Alarm Systems Worth It?
DIY alarm systems are worth it if you’re budget-conscious and tech-savvy. You’ll save money on installation and monthly fees while gaining flexibility without contracts. However, you’ll handle setup and troubleshooting yourself.


Leave a Reply