You’ve invested in backyard security cameras, but their effectiveness hinges entirely on where you position them. Most homeowners make critical placement mistakes that leave glaring blind spots, fundamentally inviting trouble through unmonitored entry points. The difference between a camera system that actually protects your property and one that simply records after-the-fact lies in understanding the strategic positioning that professional security experts use to create an impenetrable surveillance network.
Essential Entry Points to Monitor in Your Backyard
When securing your backyard, you’ll want to focus on the areas where intruders most commonly attempt entry. Your back door requires immediate attention, as 22% of burglars use this access point.
Don’t overlook side doors either—they’re often less secure and provide alternative entry routes for intruders.
Ground-floor windows demand surveillance too, especially those facing your backyard, since approximately 23% of break-ins occur through these openings.
Your garage doors also need monitoring, as 9% of burglars gain access through garages.
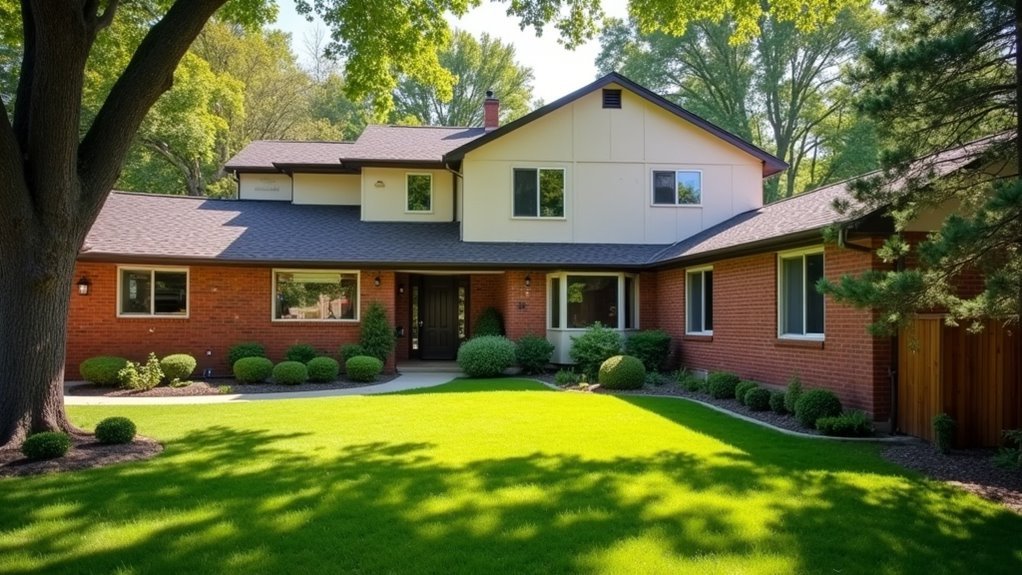
Position cameras strategically to cover your entire yard. This thorough approach helps you detect suspicious activity before intruders reach your home.
Wide-angle views enhance your overall security by providing early threat detection throughout your property.
Strategic Camera Placement for Back and Side Doors
Now that you’ve identified which entry points need monitoring, let’s focus on the specific positioning strategies that’ll maximize your camera effectiveness at these vulnerable locations.
Position your security camera placement at back and side doors strategically, as 22% of burglars enter through these less secure entrances. Install cameras 8-10 feet high to achieve a wide field of view while preventing tampering.
Install cameras 8-10 feet high at back and side doors where 22% of burglars enter to prevent tampering while maximizing coverage.
Don’t forget adjacent windows near these doors—23% of break-ins occur through first-floor windows. Your back yard surveillance should include night vision capabilities since 70% of burglaries happen after dark.
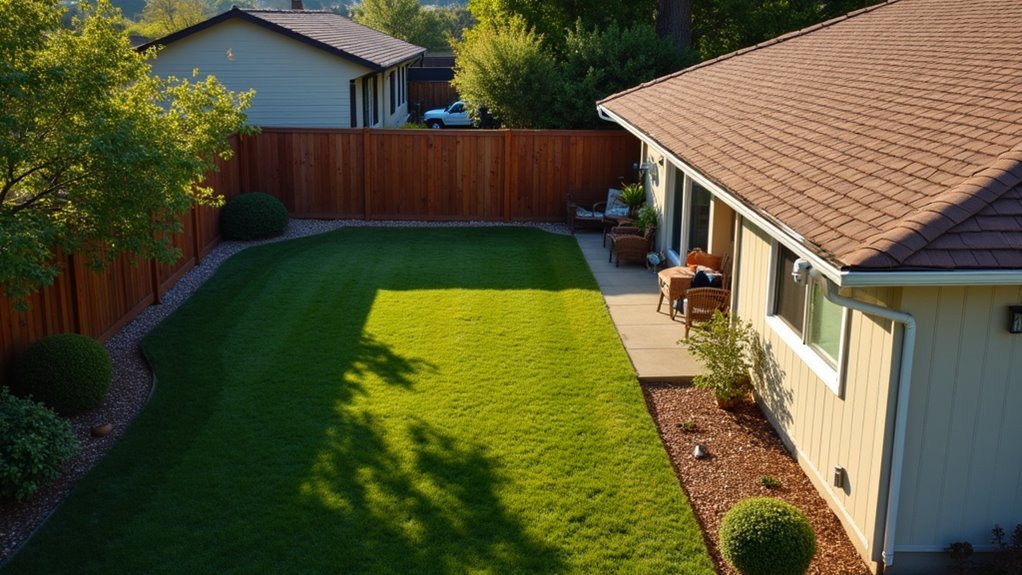
Cover the entire backyard perimeter to detect suspicious activity before intruders reach your side doors and back entrances.
Covering Ground-Level Windows and Basement Access
You’ll need to focus on ground-level windows since they’re the entry point for nearly a quarter of all break-ins.
These vulnerable access points require camera coverage, especially windows that aren’t visible from the street or neighboring properties.
Don’t overlook basement access points either, as they can provide burglars with a hidden route into your home’s main living areas.
Ground-Level Window Vulnerabilities
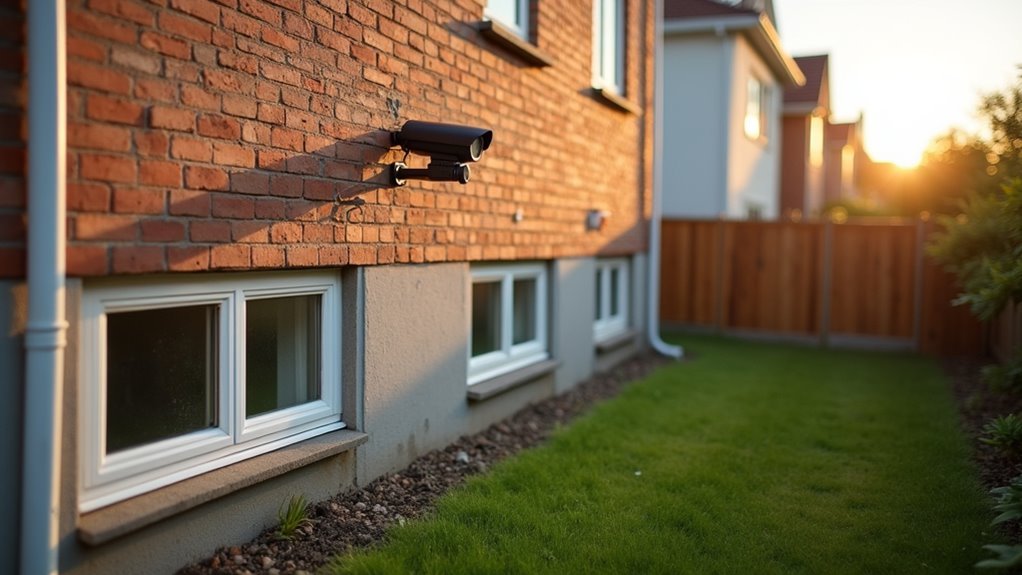
Since approximately 23% of burglars enter through first-floor windows, you’ll want to prioritize camera placement around these vulnerable access points.
Ground-level windows present significant security risks that require strategic monitoring.
Focus your security cameras on these critical areas:
- Obscured windows – Target ground-level windows hidden from public view, as these attract intruders seeking concealed entry points.
- Basement access points – Monitor basement windows and doors, even though they’re less commonly targeted but still present security risks.
- Side and rear windows – Cover windows facing away from street traffic where burglars can work undetected.
Installing cameras near these vulnerable entryways guarantees thorough coverage of potential break-in points.
Regular footage review provides valuable evidence and helps identify suspicious activity before incidents occur.
Basement Entry Monitoring
Most homeowners overlook their basement entry points, yet these areas represent critical security vulnerabilities that deserve dedicated camera coverage.
You’ll want to position security cameras to monitor both basement door access and ground-level windows, as 23% of burglars enter through windows while 9% use garage entry routes that often lead to basements.
Install cameras 8-10 feet high to prevent tampering while maintaining clear visibility of these entry points.
Your basement likely contains valuable items that burglars target, making monitoring essential for thorough home security.
Regular footage review helps you identify suspicious activity around these vulnerable areas.
Don’t let your basement become an easy target – strategic camera placement transforms these overlooked spaces into well-protected zones.
Monitoring Detached Garages and Storage Buildings
You’ll need to position cameras strategically around your detached garages and storage buildings since these structures often contain valuable tools, equipment, and vehicles that attract burglars.
Focus your camera placement on all entry points including doors, windows, and any side access areas that provide cover for potential intruders.
Don’t forget to choose weatherproof cameras and establish a regular maintenance routine to guarantee your surveillance system continues protecting these vulnerable outbuildings year-round.
Strategic Camera Placement
When protecting detached garages and storage buildings, you’ll need to position cameras to cover their entire perimeter since these structures rank among thieves’ top targets for tools and unsecured vehicles.
Strategic camera placement requires careful consideration of height, coverage, and environmental factors to maximize your surveillance system’s effectiveness.
Follow these essential placement guidelines:
- Mount cameras 8-10 feet high to capture clear footage while preventing tampering.
- Choose wide-angle lenses with at least 130-degree field of view for maximum coverage.
- Install night vision capabilities since over 70% of car thefts occur after dark.
Your outdoor security cameras must eliminate blind spots around these vulnerable areas.
Regularly test camera functionality to address any coverage gaps caused by changing foliage or weather conditions that could compromise your security perimeter.
Weatherproofing and Maintenance
Since detached garages and storage buildings face constant exposure to harsh weather elements, your security cameras need robust weatherproofing with an appropriate IP rating to handle rain, snow, dust, and temperature fluctuations. Install cameras 8-10 feet high to prevent tampering while maximizing coverage.
| Feature | Requirement | Benefit |
|---|---|---|
| IP Rating | IP65 or higher | Weather resistance |
| Night Vision | Infrared capability | 70% theft prevention |
| Height | 8-10 feet | Anti-tampering |
| Connectivity | Wi-Fi independent | Consistent monitoring |
| Maintenance | Weekly cleaning | Clear footage |
Regular maintenance guarantees ideal performance. Clean camera lenses weekly to maintain clear visibility and test connectivity to eliminate blind spots. Choose night vision cameras since most thefts occur after dark. For areas with poor Wi-Fi, select cameras offering offline monitoring capabilities.
Optimal Height and Angle for Backyard Camera Installation
While proper camera placement involves multiple considerations, height and angle form the foundation of effective backyard surveillance. You’ll achieve ideal height by installing cameras between 8 to 10 feet, capturing detailed footage while preventing intruder tampering.
When positioning your cameras, follow these essential guidelines:
- Angle cameras away from direct sunlight to eliminate glare and maintain clear image quality throughout the day.
- Target key areas including entry points, pathways, and potential hiding spots for thorough coverage.
- Choose cameras with wide field of view (minimum 130 degrees) to monitor larger spaces efficiently.
Secure mounting protects your investment from weather damage and guarantees consistent performance.
Position each camera strategically to maximize your surveillance network’s effectiveness while minimizing blind spots in your backyard security system.
Weatherproofing Considerations for Outdoor Cameras
When selecting outdoor security cameras for your backyard, you’ll need to understand IP ratings to make certain your equipment can withstand the elements.
IP65 is the minimum rating you should consider, as it guarantees protection against dust and low-pressure water jets from any direction.
You’ll also want to verify that your chosen cameras can operate within the typical temperature range of -4°F to 122°F to maintain functionality during extreme weather conditions.
IP Ratings Explained
Although many homeowners focus on camera resolution and features, the IP rating often determines whether your outdoor security cameras will survive their first storm.
IP ratings measure weatherproofing protection through two digits: the first indicates defense against solid objects, while the second represents liquid protection.
Understanding these ratings guarantees reliable operation and maximum durability:
- IP65 cameras offer dust-tight protection and resist water jets from any direction, making them suitable for most outdoor conditions.
- IP66 cameras withstand powerful water jets and excel in areas with heavy rain or snowfall.
- Minimum IP65 rating should be your baseline for outdoor installations to protect against dust and moisture effectively.
Choosing the right IP rating based on your local weather conditions reduces malfunction risks and extends your camera’s lifespan considerably.
Temperature Range Requirements
Beyond water and dust protection, extreme temperatures pose the greatest threat to your outdoor cameras’ functionality.
You’ll need cameras with a suitable temperature range between -40°F to 140°F to handle extreme weather conditions. Standard indoor cameras simply can’t survive harsh outdoor environments.
Look for models specifically designed with weatherproof enclosures that provide enhanced thermal protection. These outdoor cameras feature robust housing that shields internal components from temperature fluctuations.
HDR technology helps reduce sun glare during hot summer days, maintaining clear visibility despite challenging lighting conditions.
Don’t forget about camera maintenance – extreme temperatures can affect lens clarity and component performance.
Regular cleaning and inspection guarantee your cameras continue operating effectively year-round, regardless of seasonal temperature swings in your backyard.
Legal Boundaries and Privacy Laws for Backyard Surveillance
Before installing backyard security cameras, you’ll need to understand the legal boundaries that govern surveillance on your property. Privacy laws require you to avoid capturing footage of neighboring properties to maintain a reasonable expectation of privacy under the Fourth Amendment. Your cameras must focus solely on your own property without infringing on areas like neighboring windows or backyards.
Key compliance considerations include:
- Audio recording restrictions – Research local statutes since many states require consent for audio surveillance.
- Camera positioning – Verify cameras don’t face areas where neighbors expect privacy.
- Legal consultation – Consult experts since regulations vary between states and municipalities.
You should inform neighbors about your cameras to foster transparency and prevent potential legal disputes over privacy invasions.
Avoiding Common Blind Spots in Backyard Coverage
Why do many homeowners discover security gaps only after an incident occurs? Poor camera placements create blind spots that intruders exploit.
Security blind spots remain hidden until criminals expose them through successful break-ins and theft.
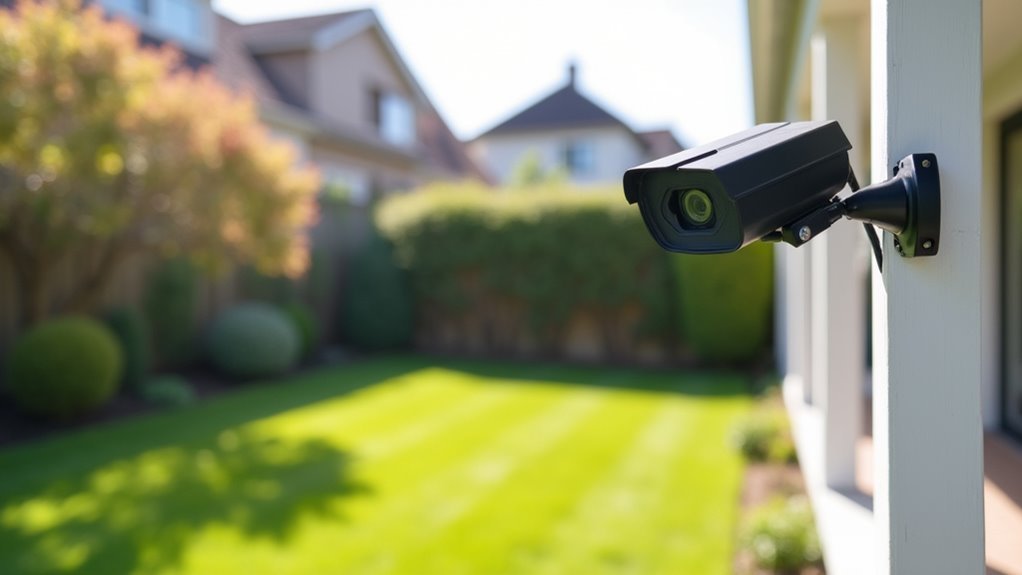
You’ll eliminate these vulnerabilities by positioning security cameras at 8-10 feet high, reducing tampering while expanding your field of view. Choose wide-angle cameras with minimum 130-degree coverage to capture corners and fence lines where blind spots commonly develop.
Focus on overlooked entry points like side gates and rear doors—these vulnerable access areas need dedicated surveillance.
Don’t let landscaping sabotage your security; install cameras that maintain clear visibility of pathways even when positioned behind trees or shrubs.
Conduct regular motion tests to identify emerging blind spots from growing vegetation or new obstructions.
Your security cameras only work when they’re strategically placed to cover every potential access route.
Lighting Requirements for Night Vision Effectiveness
Most security cameras struggle with nighttime surveillance without adequate lighting support. Your night vision cameras need minimal ambient light (0.1 lux or less) to capture clear footage effectively.
While infrared technology enables recording in complete darkness, strategic outdoor lighting greatly reduces graininess and improves image quality.
Consider these essential lighting requirements for ideal night vision performance:
- Install motion-activated floodlights to illuminate areas when activity’s detected, enhancing visibility while deterring intruders.
- Position lights 8-10 feet high to minimize shadows and maximize coverage across camera monitoring zones.
- Maintain lighting systems regularly by checking for burnt-out bulbs and clearing obstructions that reduce effectiveness.
Combining proper outdoor lighting with your security cameras creates a thorough surveillance system that performs reliably throughout nighttime hours.
Wi-Fi Signal Strength and Camera Connectivity Issues
When you’re installing wireless security cameras in your backyard, you’ll quickly discover that Wi-Fi signal strength can make or break your surveillance system’s effectiveness.
Poor connectivity often stems from signal range limitations, where cameras placed too far from your router experience frequent disconnections and degraded video quality.
Fortunately, you can resolve most connectivity issues through systematic troubleshooting methods and strategic Wi-Fi extender solutions that boost signal coverage throughout your property.
Signal Range Limitations
Although Wi-Fi security cameras offer convenient wireless installation, they face significant signal range limitations that can compromise your backyard surveillance system. Understanding these constraints helps you make informed placement decisions for ideal performance.
Your Wi-Fi signal strength directly impacts camera functionality and footage quality. As distance increases from your router, connectivity issues become more pronounced, potentially causing intermittent recording or complete signal loss.
Consider these key range limitations:
- Indoor range: Approximately 300 feet with potential wall interference
- Outdoor settings: Around 150 feet, reduced by trees and structures
- Recommended distance: Stay within 100 feet for reliable performance
Environmental factors like heavy rain and electronic device interference can further compromise signal stability.
If your backyard exceeds these ranges, you’ll need Wi-Fi extenders or mesh networks to maintain consistent connectivity for your security cameras.
Connectivity Troubleshooting Methods
Despite taking precautions with camera placement, you’ll likely encounter connectivity issues that require systematic troubleshooting to maintain reliable surveillance coverage.
Start by checking your camera’s connection status through its app, which provides real-time feedback on Wi-Fi signal strength. If you’re experiencing frequent disconnections, verify your firmware updates are current, as manufacturers regularly release patches to improve connectivity performance.
For persistent signal problems, reposition your router centrally and remove physical obstructions that weaken transmission.
Consider installing Wi-Fi extenders or mesh networks to boost coverage in weak signal areas. When wireless solutions fail, outdoor cameras benefit from switching to wired options or using powerline adapters, which deliver more stable connections than relying solely on Wi-Fi signals for critical surveillance locations.
Wi-Fi Extender Solutions
If your backyard cameras consistently drop connections or show weak signal indicators, Wi-Fi extenders offer an effective solution to bridge the gap between your router and distant surveillance locations.
These devices boost signal strength and guarantee reliable connectivity for your outdoor security cameras.
Proper installation requires strategic positioning:
- Place extenders halfway between your main router and camera locations for ideal coverage.
- Choose appropriate models – plug-in units for basic needs or external antenna types for larger backyards.
- Verify compatibility with your cameras since some extenders limit simultaneous device connections.
After installation, regularly test your camera’s connection strength to identify potential issues.
Different extender types provide varying coverage levels, so select one matching your backyard’s layout and size requirements for consistent surveillance performance.
Motion Detection Zones and Sensitivity Settings
When you’ve positioned your backyard security cameras, configuring motion detection zones becomes your next essential step for effective surveillance. You’ll want to focus on vulnerable areas like entry points, pathways, and storage locations where valuables are kept to maximize security coverage.
You can customize detection zones to target specific areas while ignoring less significant spaces. This strategic approach helps minimize false alarms from pets or wind-blown branches that trigger unnecessary notifications.
| Zone Priority | Recommended Sensitivity |
|---|---|
| Entry Points | High |
| Pathways | Medium |
| Storage Areas | High |
Fine-tuning sensitivity settings is vital for reliable performance. Test your motion detection regularly to guarantee it’s capturing genuine threats without being overly sensitive, allowing you to respond promptly to actual security concerns.
Protecting Cameras From Tampering and Theft
Well-configured motion detection means nothing if thieves can access and disable your cameras. Protecting your outdoor cameras from tampering and theft requires strategic positioning and robust security measures.
Position your security cameras 8-10 feet high to prevent easy access while maintaining clear footage. Corner placements offer three key advantages:
- Wider field of view – Cover more ground with fewer cameras
- Reduced tampering risk – Harder for intruders to approach undetected
- Better structural support – Walls provide stable secure mounting points
Choose cameras with tamper-resistant enclosures and reinforced brackets. Built-in tamper alerts immediately notify you when someone attempts theft or damage.
Regular maintenance guarantees mounting hardware stays tight and functional, preventing easy removal by opportunistic thieves.
Maintenance Schedule for Outdoor Camera Systems
Five critical maintenance tasks will keep your outdoor camera system running at peak performance year-round.
First, inspect your cameras regularly for dirt, debris, or foliage obstructing their view.
Clean camera lenses monthly since dust and environmental elements reduce footage clarity.
Test connectivity and functionality every few months to confirm proper recording and motion detection responsiveness.
Check wireless camera battery levels quarterly, replacing or recharging as needed to prevent surveillance gaps.
Finally, conduct thorough system checks twice yearly, including software updates and footage reviews.
Following this maintenance schedule guarantees your security camera installation continues protecting your property effectively.
Neglecting these tasks compromises your outdoor cameras’ reliability and defeats their security purpose.
Professional Installation Vs DIY Setup for Backyard Cameras
After setting up your maintenance routine, you’ll need to decide between professional installation and tackling the camera setup yourself. Companies like Vivint offer expert analysis of your property’s unique security needs, guaranteeing ideal coverage of vulnerable areas.
Professional teams mount cameras at the perfect 8-10 foot height and angles to minimize blind spots—crucial since 81% of break-ins occur on the first floor.
However, DIY installation is increasingly popular due to user-friendly systems and step-by-step guides.
Modern security systems now feature intuitive interfaces and detailed installation tutorials, making self-setup an attractive option for tech-savvy homeowners.
Consider these factors when choosing:
- Cost vs. convenience – Professional installation costs more but saves time
- Technical expertise – DIY requires understanding local privacy laws and proper camera placement
- Coverage quality – Professionals guarantee thorough monitoring of entrances and windows
Frequently Asked Questions
Where Is the Best Place to Put an Outdoor Security Camera?
You should place outdoor security cameras on your house’s corners at 8-10 feet high for ideal coverage. Monitor entry points like back doors and guarantee wide 130-degree field views while protecting from weather.
Is It Legal for My Neighbor’s Security Camera to Record My Yard?
Your neighbor’s camera can legally record areas of your yard visible from public spaces, but it can’t capture areas where you’d reasonably expect privacy, like secluded backyards or inside your home.
Where Not to Put Security Cameras?
Don’t place cameras in bedrooms, bathrooms, or on neighbors’ property. Avoid spots with bright light sources, easy obstructions like bushes, or unsecured networks that hackers can exploit for footage.
How to Best Position Outdoor Security Cameras?
Position your cameras 8-10 feet high with 130-degree field views. Cover all access points, gates, and driveways. Angle them away from direct sunlight to prevent glare and maintain regular cleaning for ideal surveillance performance.


Leave a Reply