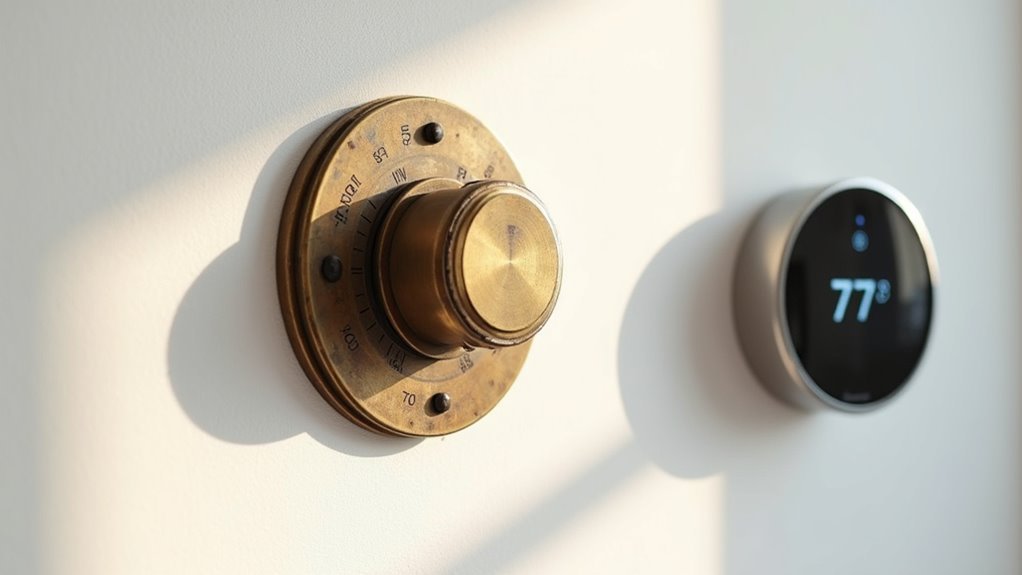
You’re probably tired of walking to that old thermostat every time you want to adjust the temperature, especially when you’re already comfortable in bed or away from home. Your outdated system isn’t just inconvenient—it’s likely costing you money through inefficient heating and cooling cycles. The good news? Transforming your basic thermostat into a smart, energy-saving powerhouse doesn’t require an HVAC technician, but there are seven critical steps you can’t afford to skip.
Verify Your HVAC System’s Voltage Compatibility
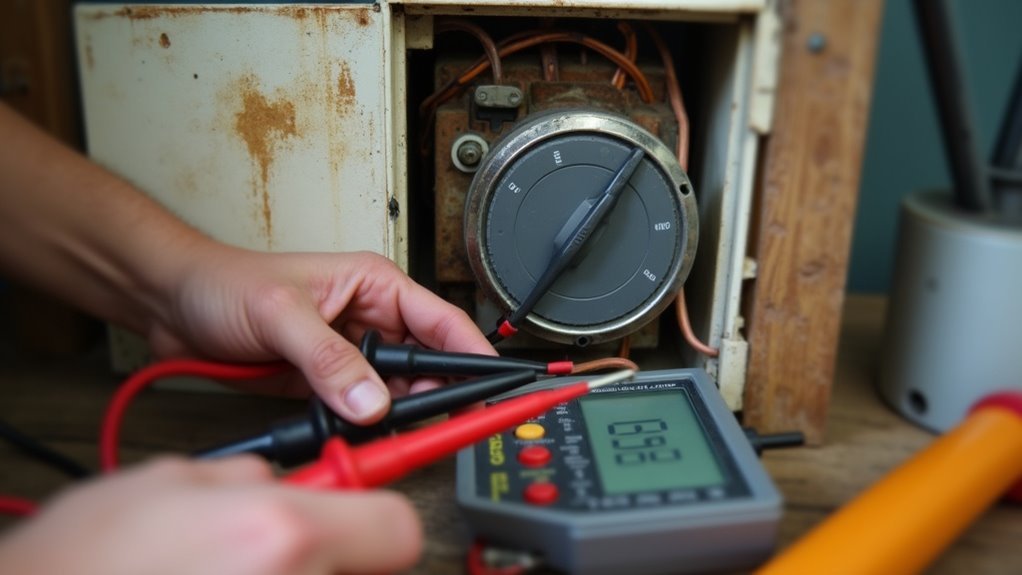
Before upgrading to a smart thermostat, you’ll need to verify your HVAC system operates on low voltage, typically 24 volts, since most modern smart thermostats aren’t compatible with older line voltage systems that run on 120 or 240 volts.
To check your HVAC system’s voltage compatibility, examine your current setup. A single thermostat typically indicates a central heating and cooling system using low voltage, while multiple units suggest line voltage systems requiring specialized smart thermostats.
Check your old thermostat’s wiring by removing the faceplate and counting the wires. Smart thermostats often need more wires than basic two-wire mechanical models.
When you install a new thermostat, make sure there’s a C-terminal wire for continuous power. Consulting a professional helps verify voltage type and thermostat wiring compatibility before purchasing.
Assess Your Current Wiring Configuration
Once you’ve confirmed your system’s voltage compatibility, you’ll need to assess your current wiring configuration to guarantee a smooth smart thermostat installation.
Start by documenting your existing setup with clear photos before removing anything. Check if you have a C-wire, which provides continuous power that most smart thermostats require for peak performance.
Count the available wires and note their colors, as advanced features like heat pumps or dehumidifiers need additional terminals.
Verify that your current wiring is compatible with your chosen smart thermostat model by comparing it against the manufacturer’s requirements.
Having sufficient wires, particularly the C-wire, prevents installation complications and guarantees your new device operates at full capacity with all its smart features functioning properly.
Install a C-Wire for Continuous Power Supply
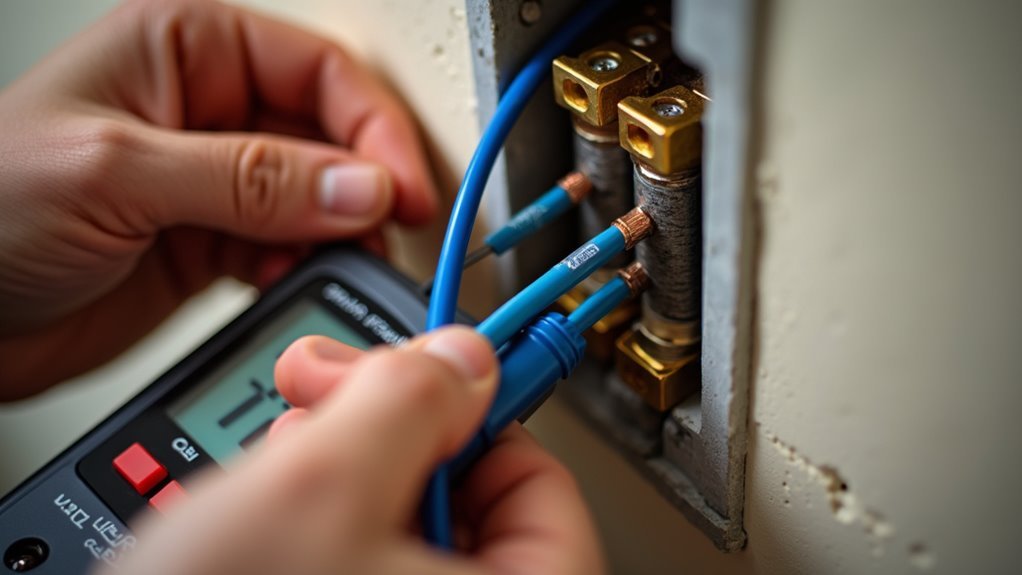
Most smart thermostats require a C-wire to deliver the continuous 24-volt power needed for their advanced features like Wi-Fi connectivity, touchscreen displays, and constant system monitoring.
If your HVAC system lacks this common wire, you’ll need to address this before upgrading. The installation process involves running new wiring from your HVAC control board to the thermostat’s C terminal or using a C-wire adapter as an alternative solution.
This upgrade guarantees your smart thermostat won’t experience power interruptions or rely on battery backup. Proper C-wire installation prevents device malfunctions and enhances your thermostat’s performance, enabling ideal energy savings through consistent operation and advanced scheduling capabilities.
Choose the Right Smart Thermostat for Your System
After establishing reliable power through proper wiring, you’ll need to select a smart thermostat that matches your HVAC system’s specific requirements. Your new smart thermostat must support your system’s functionality, whether it’s multi-stage heating, cooling, heat pumps, or multiple zones.
Most HVAC systems use low-voltage setups, but confirm compatibility before installation to avoid costly mistakes.
Always verify your HVAC system’s voltage requirements match your chosen smart thermostat to prevent expensive installation errors.
Consider integration capabilities with your existing smart home devices. Modern thermostats offer seamless connectivity and smartphone app control for convenient remote access.
Don’t overlook energy-saving features that provide consumption reports and optimize heating and cooling schedules. These capabilities help maximize efficiency and reduce utility costs.
Professional installation guarantees proper compatibility assessment and prevents potential system damage during setup.
Document and Safely Remove Your Existing Thermostat
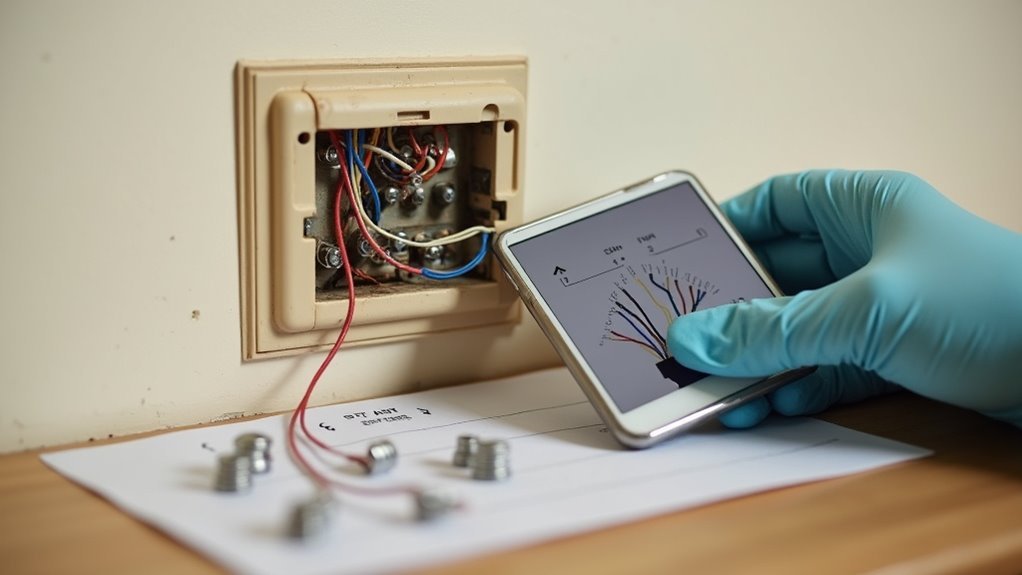
Before you start removing your current thermostat, you’ll want to take clear photos of the existing wiring configuration so you can reference them during installation.
Turn off the power to your HVAC system at the circuit breaker to guarantee you’re working safely without risk of electrical shock.
These two simple steps will save you time and prevent potentially dangerous situations as you begin the removal process.
Photo Current Wiring Setup
Documentation serves as your safety net when upgrading to a smart thermostat. Photo current wiring setup before touching anything – these images become invaluable if you need to restore the original configuration or contact customer support for troubleshooting assistance.
| Wire Color | Terminal Label | Function |
|---|---|---|
| Red | R or RH | Power/Heat |
| White | W | Heating |
| Green | G | Fan |
Ensure that you turn off the power at the circuit breaker before proceeding. Take multiple clear photos from different angles, capturing wire colors, terminal connections, and the overall setup. These reference photos will guide you when you install the thermostat, making the shift from your old one to the new one seamless and reducing installation errors.
Power Off Before Removal
Three critical safety steps protect you from electrical hazards during thermostat removal.
First, locate your HVAC system’s circuit breaker and turn it off completely. This prevents electrical shocks and protects both you and your equipment during the installation process. Don’t rely on simply turning off your old thermostat – always cut power at the source for maximum safety.
Next, verify the power is off by checking that your HVAC system isn’t running. Once confirmed, you can safely begin documenting your current wiring setup with clear photos. These images will prove invaluable when connecting your new thermostat later.
After photographing, carefully disconnect each wire from the old unit, taking care not to damage them since proper wire condition is essential for your upgraded system’s performance.
Mount and Connect Your New Smart Thermostat
You’ll start by mounting the baseplate to your wall, ensuring it’s perfectly level before securing it with screws.
Next, you’ll connect each labeled wire to its corresponding terminal on the new thermostat, following the manufacturer’s color-coded diagram.
Make sure you attach the C-wire if it’s available, as this common wire provides continuous power for your smart thermostat’s advanced features.
Secure Baseplate Installation
Proper baseplate installation forms the foundation of your smart thermostat upgrade and determines how well your device will function long-term. Start by mounting the baseplate securely to the wall, ensuring it’s level and aligned with existing wiring for professional results. Use the manufacturer’s included screws to fasten it firmly, preventing any wobbling that could damage connections over time.
| Installation Step | Key Requirement | Common Mistake |
|---|---|---|
| Wall Mounting | Level alignment | Crooked placement |
| Wire Connection | Follow labels | Wrong terminals |
| Screw Fastening | Firm attachment | Loose mounting |
| Display Attachment | Proper clicking | Incomplete seating |
| Power Restoration | Circuit breaker | Skipping test |
Connect labeled wires to corresponding terminals following instructions carefully. After secure baseplate installation, install thermostat display until it clicks properly. Turn power back on to test functionality.
Wire Terminal Connections
Careful wire management separates successful smart thermostat installations from frustrating troubleshooting sessions.
Before making any wire connections, refer to the manufacturer’s specific wiring diagram since each smart thermostat model has unique terminal configurations. Match your HVAC system wires to the corresponding terminals: red (R), green (G), white (W), and yellow (Y).
The C-wire is essential for powering your smart thermostat, so make sure it’s available and properly connected. Use your labeled wires and reference photo to avoid confusion during installation.
Secure each connection firmly to the designated terminals, guaranteeing no loose strands touch other wires. After completing all wire connections, verify each terminal is tight and properly seated before proceeding with the final installation steps.
Configure Wi-Fi Settings and Optimize Performance
Once you’ve installed your smart thermostat, connecting it to your home Wi-Fi network becomes essential for accessing its full potential and remote capabilities. A stable connection enables seamless integration with your smart home ecosystem and smartphone control from anywhere.
After establishing connectivity, you’ll want to optimize performance through several key features. Enable the learning algorithms to automatically adapt to your daily routines, maximizing efficiency without sacrificing comfort.
Set up geofencing so your thermostat can adjust the temperature based on your phone’s location, reducing energy waste when you’re away.
Don’t forget to regularly update firmware through the app and review monthly energy reports to identify consumption patterns and further optimize your settings for maximum savings.
Frequently Asked Questions
Can I Upgrade My Old Thermostat?
You can upgrade your old thermostat to a smart model if your HVAC system’s compatible with low-voltage requirements. Check for a C wire first, then document existing wiring before installation begins.
What Can You Do With an Old Thermostat?
You can recycle your old thermostat through electronics programs, repurpose it as home decor, convert it into a smart device, keep it as backup, or salvage parts for repairs.
Should I Keep Old Thermostat?
You shouldn’t keep your old thermostat because it’ll limit energy savings, lack convenient features like remote control, require manual adjustments, and cause inconsistent temperature control that increases costs.
Can You Replace a Regular Thermostat With a Smart Thermostat?
You can replace a regular thermostat with a smart one if your HVAC system’s compatible with low-voltage operation. You’ll likely need a C-wire for power, though some models use batteries instead.


Leave a Reply