You’re probably tired of walking into rooms that feel like saunas while others resemble ice boxes, all while your energy bills continue climbing. Multi-room temperature zoning can solve this frustrating problem by giving you precise control over each area of your home. The best part? You don’t need to hire expensive contractors or completely overhaul your existing HVAC system to make it happen.
Understanding Multi-Zone HVAC Systems and Their Benefits
While traditional HVAC systems treat your entire home as a single zone, multi-zone HVAC systems divide your house into separate areas with independent temperature controls.
You’ll enjoy customized comfort by addressing individual preferences and varying thermal loads across different spaces in your home.
These systems use separate thermostats and zone dampers to heat or cool only occupied areas, greatly reducing energy waste and lowering your monthly utility bills.
Multi-zone systems target only occupied areas, dramatically cutting energy waste and reducing your monthly utility costs.
You can typically create 2 to 5 zones, allowing tailored temperature management for rooms with different usage patterns, like bedrooms versus living spaces.
Multi-zone HVAC systems also enhance equipment efficiency by minimizing strain on your heating and cooling components, potentially extending their lifespan while improving indoor air quality through better airflow management.
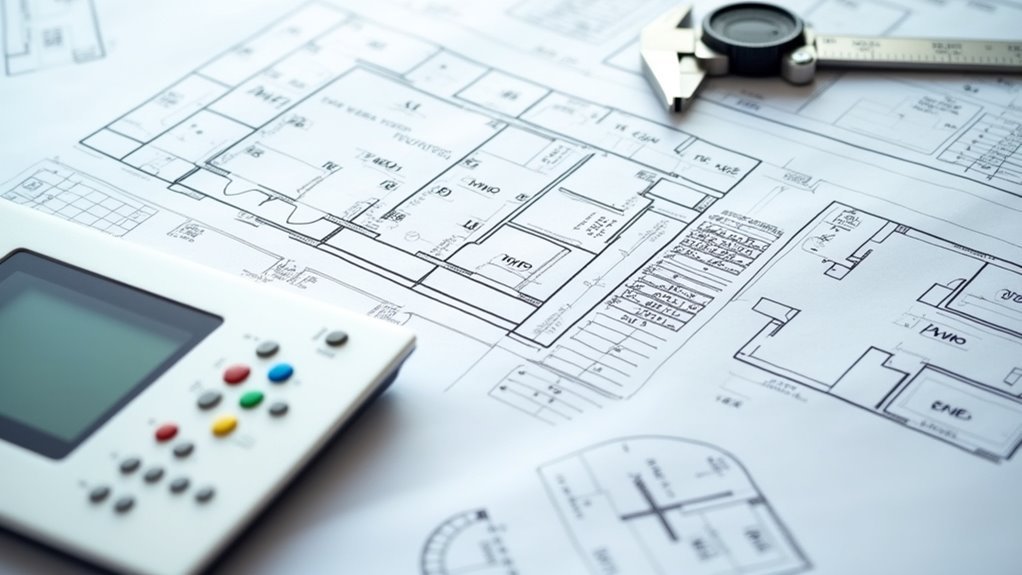
Measuring Square Footage for Proper Zone Planning
Accurate square footage measurements form the foundation of effective multi-zone HVAC planning, directly impacting your system’s performance and energy efficiency.
To measure each room, multiply length by width using precise measurements. Don’t rush this step—inaccurate calculations will compromise your entire HVAC zoning project.
Combine all room measurements to determine your total area, which determines necessary BTUs and air handlers. Pay special attention to spaces requiring independent temperature control, as their square footage influences overall system design.
Use the 20 BTUs per square foot rule to estimate heating and cooling needs for each zone.
Proper measurements guarantee adequate capacity without oversizing equipment. When you calculate square footage correctly, you’ll create balanced zones that maintain consistent comfort while maximizing energy efficiency throughout your home.
Calculating BTU Requirements for Each Room
Now that you’ve measured your rooms, you’ll need to calculate the BTU requirements for each space to guarantee proper heating and cooling capacity.
Start with the basic rule of 20 BTUs per square foot, then adjust based on room-specific factors like window count, insulation quality, and usage patterns.
This calculation forms the foundation for selecting appropriately sized equipment and distributing the thermal load across your zoning system.
BTU Calculation Methods
Before you can properly size your multi-room temperature zoning system, you’ll need to calculate the BTU requirements for each individual room in your home. Start by measuring each room’s square footage—multiply length by width to get the total area. Apply the standard rule of 20 BTUs per square foot for basic calculations.
| Room Type | Square Footage | BTUs Required |
|---|---|---|
| Living Room | 300 sq ft | 6,000 BTUs |
| Bedroom | 150 sq ft | 3,000 BTUs |
| Kitchen | 200 sq ft | 4,000 BTUs |
Adjust calculations upward for rooms with high ceilings or large windows. Online calculators can help refine your BTU calculation methods by factoring in insulation quality and climate conditions. Once you’ve determined total BTUs, distribute them evenly across your air handlers for balanced temperature control.
Room-Specific Heat Requirements
While the basic 20 BTUs per square foot rule provides a foundation, each room’s unique characteristics demand tailored calculations for ideal comfort and efficiency.
You’ll need to assess room-specific heat requirements by examining several critical factors that affect your HVAC system’s performance.
Consider these essential elements when calculating BTU needs:
- Kitchen spaces – Add 10-20% extra BTUs for heat from ovens, stoves, and refrigerators
- Sunrooms or south-facing rooms – Increase calculations for solar heat gain through large windows
- Basement rooms – Reduce BTUs due to natural ground cooling and minimal sun exposure
- High-ceiling areas – Multiply standard calculations by ceiling height divided by eight feet
- Well-insulated vs. poorly insulated rooms – Adjust BTUs based on thermal efficiency ratings
Distribute total BTUs strategically across air handlers to guarantee balanced coverage throughout your zoned system.
Choosing Between Sensor-Based and System-Based Zoning
You’ll need to choose between sensor-based and system-based zoning approaches, each offering distinct advantages for your multi-room temperature control project.
Sensor-based systems work best with existing central HVAC setups, while system-based zoning excels when you’re using multiple independent units.
Your decision should factor in compatibility with your current heating and cooling infrastructure, installation complexity, and upfront costs.
Sensor-Based Zoning Benefits
When you choose sensor-based zoning over traditional single-thermostat systems, you’ll gain precise temperature control that responds to each room’s unique conditions rather than relying on one central measurement point.
Sensor-based zoning transforms your home’s comfort and efficiency by:
- Cutting energy costs by heating and cooling only occupied spaces
- Integrating seamlessly with smart thermostats for automated scheduling
- Adapting to various HVAC configurations for new or existing systems
- Creating personalized climate zones tailored to each room’s purpose
- Eliminating hot and cold spots throughout your living space
You’ll enjoy sophisticated control features that let you program different temperature preferences for specific times and occupancy levels.
This versatile approach works whether you’re installing a new system or retrofitting your current HVAC setup, making sensor-based zoning an accessible upgrade for any homeowner.
System-Based Zoning Advantages
Unlike sensor-based approaches that rely on centralized systems, system-based zoning gives you complete independence through multiple heating and cooling units that operate separately in each zone.
You’ll benefit from precise temperature control since each area gets its own thermostat, letting you customize comfort based on how you actually use different rooms.
If you’ve got existing ductwork, system-based zoning integrates seamlessly without major renovations.
You’ll see real energy savings because you’re not wasting money heating or cooling empty spaces. Each unit only runs when needed in its designated area.
Smart thermostat compatibility takes system-based zoning to the next level, giving you automated scheduling and remote control capabilities that optimize both comfort and energy efficiency throughout your home.
Compatibility and Cost Factors
Although both zoning methods deliver energy savings, your existing HVAC setup largely determines which option makes financial sense. Central HVAC systems typically work best with sensor-based approaches, while electric systems often come ready for system-based control.
Consider these cost factors when choosing your zoning system:
- Sensor installation costs – Additional wiring and room sensors increase upfront expenses
- Existing equipment – Multiple units already in place make system-based zoning more economical
- Monthly utility savings – Both methods reduce energy bills through precise temperature control
- Future expansion flexibility – Sensor-based systems allow adding zones without major overhauls
- Individual room control – Sensor-based zoning offers more tailored temperature management based on usage patterns
Evaluate your current setup’s compatibility before committing to either approach.
Selecting the Right Air Handler Types and Quantities
Everyone faces unique challenges when determining which air handlers will best serve their multi-room zoning system.
You’ll need to evaluate your home’s layout and decide how many zones require independent temperature control, typically ranging from 2 to 5 units.
MRCOOL offers three main air handler types: wall-mounted units are most common and easiest to install, ceiling cassettes work best in rooms with limited wall space, and combination units provide additional flexibility.
Choose from wall-mounted units, ceiling cassettes for tight spaces, or flexible combination units to match your specific zoning needs.
You can mix different types throughout your home to meet each zone’s specific demands.
Focus on proper placement for ideal coverage and efficiency.
Assess each room’s layout carefully, considering airflow patterns and heating and cooling requirements to guarantee your selected air handlers deliver consistent comfort across all zones.
Planning Zone Layout for Optimal Temperature Control
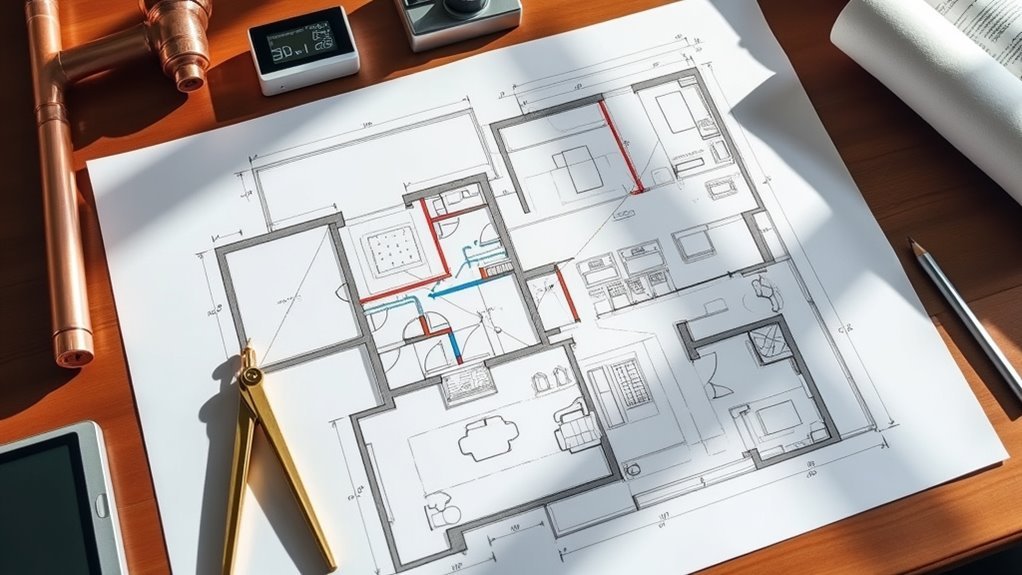
After you’ve chosen your air handlers, you’ll map out your home’s zone layout to maximize temperature control efficiency. Effective zoning requires strategic planning based on how you actually use each space.
Start by identifying distinct usage patterns throughout your home:
- Bedrooms clustered together – Group sleeping areas into one zone since they share similar temperature needs and schedules.
- Open-concept living spaces – Combine kitchen, dining, and living rooms that flow together naturally.
- Home office or study areas – Create separate zones for workspaces that need consistent temperatures during business hours.
- Sun-drenched rooms – Isolate spaces with heavy sunlight exposure that heat up differently than shaded areas.
- Basement or attic spaces – Zone these areas separately due to their unique heating and cooling challenges.
Position thermostats centrally within each zone for accurate temperature readings.
Installing Zone Dampers in Existing Ductwork
Once you’ve mapped your zones, installing dampers in your existing ductwork becomes the essential step that transforms your single-zone system into a multi-room temperature control powerhouse.
Start by evaluating your duct layout and selecting appropriate zone dampers like EzySlide or InsertaDamper that fit without extensive modifications. Position these zone dampers close to your air handler or furnace to optimize airflow efficiency and performance.
Each damper requires connection to a zoning panel that manages multiple thermostats for localized temperature control.
During installation, make sure of proper fitting and secure connections to prevent air leaks. After installation, test each zone damper’s operation and establish a regular maintenance schedule.
Check for blockages and verify proper damper function to maintain your zoning system’s efficiency and effectiveness.
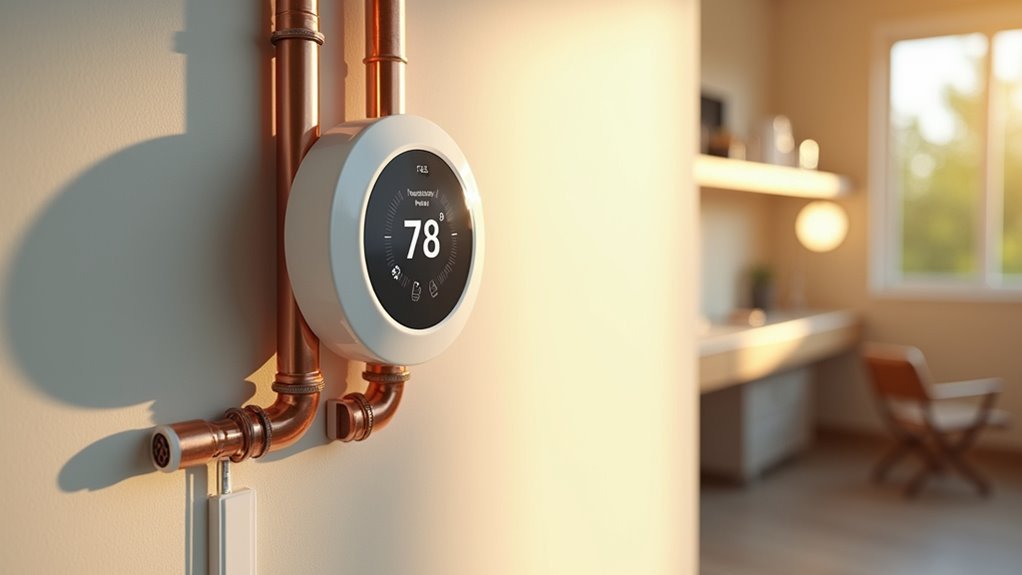
Setting Up Smart Thermostats in Multiple Zones
While zone dampers control airflow distribution, smart thermostats serve as the intelligent command centers that make precise temperature control in each zone possible.
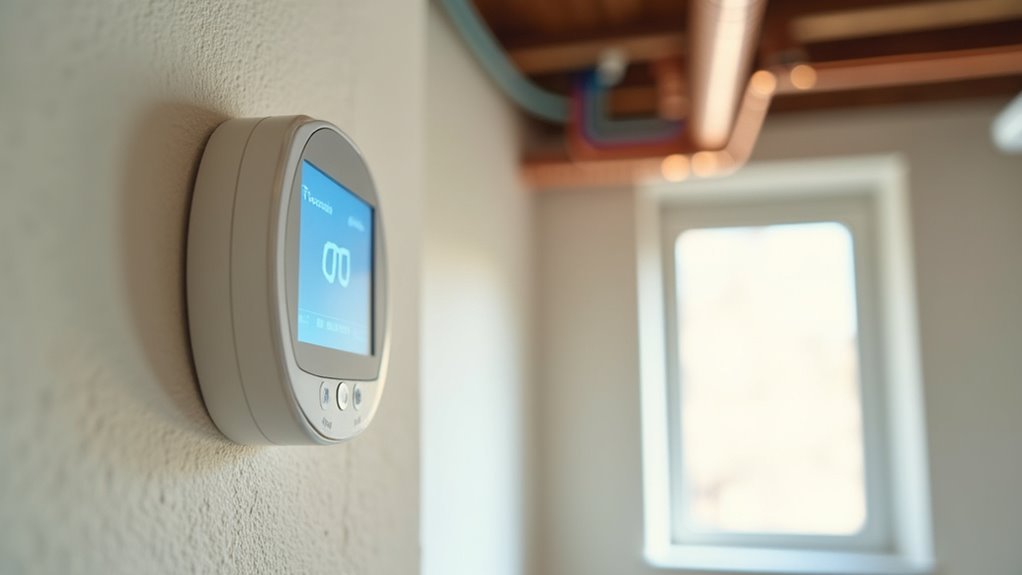
You’ll need to replace existing units in each zone with compatible smart thermostats that work with your HVAC system.
- Each zone requires its own thermostat mounted on the wall like a digital control panel
- Advanced models from Ecobee or Google Nest connect wirelessly to your smartphone for remote adjustments
- External sensors placed throughout each zone feed real-time temperature data to the main unit
- Wireless room sensors enhance accuracy by monitoring conditions in specific areas rather than just one location
- Smartphone apps display all zones simultaneously, letting you adjust temperatures from anywhere
This setup transforms basic HVAC systems into intelligent, responsive climate control networks.
Configuring Wireless Sensors for Room-Specific Control
Smart thermostats reach their full potential when paired with strategically placed wireless sensors that monitor conditions in specific rooms rather than relying on a single central reading.
You’ll want to position these wireless sensors away from heat sources, direct sunlight, and air vents to capture accurate temperature data. Most sensors plug directly into standard outlets, making installation straightforward without requiring professional wiring.
Configure each sensor through your smart home app, assigning specific zones and temperature preferences for different rooms.
Remember to replace AA batteries regularly to maintain consistent performance. When properly integrated with your smart thermostat, these sensors enable precise room-by-room control, automatically adjusting heating and cooling based on real-time conditions in each area of your home.
Connecting Zoning Panels and Control Systems
After you’ve positioned your wireless sensors, the next critical step involves installing and wiring the zoning panel that’ll coordinate your entire multi-room temperature system.
These zoning panels serve as your central command hub, managing multiple thermostats and zone dampers to deliver precise airflow distribution.
Before installation, verify compatibility with your existing HVAC system to prevent functionality issues. You’ll need to wire the panel to each thermostat and damper while ensuring proper power connections.
- Control wires snaking through walls like digital veins
- Dampers opening and closing like mechanical lungs
- Thermostats blinking with temperature readings across rooms
- The central panel humming quietly in your utility closet
- Smart notifications flowing to your smartphone instantly
Modern zoning panels offer smart technology integration, enabling remote monitoring through smartphone apps for ultimate convenience.
Retrofit Solutions for Existing HVAC Systems
Since most homes weren’t built with zoning in mind, you’ll need retrofit solutions that work seamlessly with your existing HVAC system without requiring major ductwork overhauls.
EzySlide and Inserta dampers are excellent options that regulate airflow without modifying existing ductwork. Arzel Zoning offers retrofit-friendly solutions compatible with various HVAC equipment types, making upgrades cost-effective and straightforward.
EzySlide and Inserta dampers provide seamless airflow control while Arzel Zoning delivers cost-effective retrofit solutions for any HVAC system.
You can integrate non-proprietary zone controls into your current system, providing flexibility and efficiency without extensive modifications. These retrofit solutions allow you to achieve tailored temperature control across different areas of your home, enhancing both energy efficiency and comfort.
Remember that regular maintenance is essential—check and clean dampers periodically to guarantee peak performance and prevent blockages in your retrofitted zoning system.
Testing and Calibrating Your Multi-Zone System
Once you’ve installed your multi-zone system, proper testing and calibration become essential for achieving perfect performance and comfort throughout your home.
Start by verifying each thermostat compatible with your zoning panel responds accurately to temperature adjustments and communicates properly with your HVAC system.
Follow this systematic approach to guarantee peak performance:
- Use a reliable thermometer to verify actual room temperatures match thermostat readings in each zone
- Monitor airflow from vents to confirm dampers open and close correctly based on zone demands
- Run complete heating and cooling cycles to identify any temperature distribution irregularities across zones
- Check thermostat calibration settings and make necessary adjustments for accuracy
- Schedule regular recalibration after maintenance or system modifications to maintain peak performance
This thorough testing process guarantees your multi-zone system delivers consistent comfort.
Maintenance Tips for Long-Term Performance
You’ll need to establish a consistent maintenance routine to keep your multi-zone system running efficiently for years to come.
Regular component inspection and system performance monitoring are the two pillars that’ll protect your investment and prevent costly breakdowns.
Let’s explore how you can implement these maintenance practices to guarantee your zoning system continues delivering maximum comfort and energy savings.
Regular Component Inspection
While your multi-room temperature zoning system operates behind the scenes, its components require consistent attention to maintain peak performance.
Regular component inspection keeps your HVAC systems running efficiently and prevents costly breakdowns.
Focus your inspection routine on these critical areas:
- Dampers – Clean monthly to remove dust buildup that blocks airflow and reduces efficiency
- Thermostats – Test temperature accuracy twice yearly to verify proper zone control and comfort
- Zoning panel – Check for error messages or warning lights that signal potential malfunctions
- Ductwork – Examine seals and insulation annually to prevent energy-wasting air leaks
- Air filters – Replace every 1-3 months depending on usage to maintain ideal airflow
You’ll catch minor issues before they become major problems, extending your system’s lifespan while keeping energy costs manageable.
System Performance Monitoring
Monitoring your multi-room zoning system’s performance data reveals efficiency trends and potential problems before they impact your comfort or energy bills.
Check your zoning panel regularly for error messages or warning lights that signal component malfunctions. Track energy usage patterns through your utility bills or smart thermostat data to identify when your HVAC system’s working harder than necessary.
Notice temperature inconsistencies between zones, which often indicate blocked dampers or ductwork issues affecting energy efficiency. Document unusual noises, longer heating or cooling cycles, and rooms that struggle to maintain set temperatures.
Keep maintenance records to spot recurring problems and schedule professional tune-ups when performance metrics decline, ensuring your system operates at peak efficiency year-round.
Troubleshooting Common Zoning System Issues
Even with careful installation, zoning systems can develop issues that compromise their effectiveness.
Despite proper setup, zoning systems may still encounter performance problems that reduce their heating and cooling efficiency over time.
When problems arise, systematic troubleshooting will help you identify and resolve them quickly. Start by checking the most common culprits before calling a professional.
Here’s your troubleshooting checklist:
- Check zone dampers – Look for blockages or mechanical failures if rooms aren’t heating or cooling properly.
- Verify thermostat calibration – Verify your existing thermostat and zone thermostats communicate correctly with the zoning panel.
- Inspect ductwork – Search for leaks or poor insulation that reduce system efficiency.
- Clean motorized vents – Remove dust buildup from vents and sensors that impede airflow.
- Monitor zoning panel – Watch for error messages indicating component malfunctions.
Most zoning issues stem from these basic problems rather than complex system failures.
Frequently Asked Questions
How to Create Multiple Heating Zones?
You’ll measure each room’s square footage and calculate BTUs needed. Install separate air handlers for each zone, add zone dampers to control airflow, then connect smart thermostats for independent temperature management.
How to Have Different Temperatures in Different Rooms?
You’ll install a zoned HVAC system with multiple thermostats and motorized dampers controlling airflow to each room. Smart sensors allow precise temperature adjustments, while calculating proper BTUs guarantees adequate heating and cooling capacity.
How Much Does a HVAC Zoning System Cost?
You’ll spend approximately $3,000 for an HVAC zoning system, though costs vary based on your house size and requirements. Retrofitting existing systems costs less than full installations, but you’ll need professional labor expenses.
Can a Thermostat Control Multiple Zones?
Yes, you can control multiple zones with a single thermostat by integrating it with a zoning panel. You’ll need dampers and zone sensors to manage airflow and temperature in each area effectively.


Leave a Reply