You’ve probably dismissed automated blinds as an expensive luxury reserved for tech enthusiasts with deep pockets. The reality is that you can transform your ordinary window treatments into smart, motorized systems for less than the cost of a weekend getaway. With the right approach and a few readily available components, you’ll discover that the biggest challenge isn’t your budget—it’s choosing which windows to automate first.
Why Choose Budget Automation Over Expensive Smart Blinds
While expensive smart blinds can cost hundreds or even thousands of dollars, budget automation options let you enjoy the convenience of automated window treatments without breaking the bank.
Budget blinds like the SwitchBot Blind Tilt at $70 retrofit your existing window coverings, ensuring smart home compatibility without complete replacements.
Affordable smart shades such as Ikea’s Fyrtur models offer essential automation features for $155, perfect for first-time users exploring home automation.
DIY motorization kits like Eve’s MotionBlinds Upgrade Kit transform standard shades into smart versions for $200, delivering personalization while maintaining cost savings.
These budget-friendly solutions provide simpler controls and easier setup, making them ideal entry points into smart home technology before considering premium upgrades.
Essential Tools and Materials for DIY Blind Automation
You’ll need specific hardware components like motorized kits, servo motors, and limit switches to transform your regular blinds into automated ones.
Your installation toolkit should include a screwdriver, drill, and measuring tape to mount brackets and guarantee precise fitting.
Setting up a smart hub becomes essential if you want to control your blinds through mobile apps or integrate them with existing smart home systems.
Basic Hardware Components
Success in automating your blinds starts with gathering the right tools and materials before diving into installation.
You’ll need a power drill for mounting brackets securely to your window frame, along with a reliable screwdriver for assembling components. A tape measure guarantees precise measurements for proper fit.
For motorized blinds, you’ll require complete kits containing motors, brackets, and control systems.
Add limit switches to manage your blinds’ range of motion effectively. An automation hub like Raspberry Pi or Arduino enables smartphone control and smart home integration.
Consider a rechargeable battery setup for wireless operation, eliminating complex wiring needs.
For budget-conscious DIY projects, hobby servos offer cost-effective alternatives—modify them for continuous rotation to automate existing non-motorized blinds with basic mechanical skills.
Installation Tool Requirements
Before you can transform your ordinary blinds into smart, automated window treatments, assembling the right installation tools guarantees a smooth and professional-looking result. You’ll need essential equipment to handle everything from mounting brackets to connecting electric motors.
| Basic Tools | Electrical Components | Safety Equipment |
|---|---|---|
| Power drill with bits | Wire cutters | Ladder |
| Screwdriver set | Electrical tape | Level |
| Measuring tape | Wire connectors | Stud finder |
| Scissors | Extension cord | Safety glasses |
| Pliers | Voltage tester | Work gloves |
Your power drill handles mounting brackets securely, while measuring tape guarantees precise positioning. Wire cutters prepare electrical connections for motorized systems. A level prevents crooked installations, and your stud finder locates secure mounting points for heavier electric motors. Keep electrical tape handy for neat wire management.
Smart Hub Setup
Once your installation tools are ready, setting up the smart hub forms the foundation of your automated blind system.
You’ll need a compatible smart hub like Amazon Alexa, Google Home, or Apple HomeKit to control your smart blinds effectively. These hubs enable seamless integration and remote operation throughout your home.
For enhanced performance, consider investing in a Thread border router such as the Amazon Echo Dot (5th Gen) or Apple HomePod Mini.
These devices optimize connectivity when using the Matter protocol, ensuring reliable communication between your hub and blinds.
Choose smart blinds with a user-friendly app that simplifies setup and automation scheduling.
This feature streamlines the entire integration process, making it accessible for first-time users while providing thorough control over your automated window treatments.
Understanding Motor Types: Servo Vs Stepper Vs DC Motors
When choosing automated blinds on a budget, you’ll encounter three main motor types that greatly impact both performance and cost.
Servo motors offer exceptional precision for angular positioning but come with higher cost and complexity, making them less ideal for budget builds.
Stepper motors provide excellent incremental control and hold position without continuous power, striking a balance between performance and affordability.
Stepper motors deliver precise incremental movement while maintaining position without constant power, offering an ideal balance of performance and cost-effectiveness.
DC motors represent the most budget-friendly option, though they require additional encoders for precise positioning.
Regarding power consumption, servo and stepper motors use more energy when holding positions, while DC motors consume less during operation.
For first-time automation projects, stepper motors often provide the best compromise between precision, cost, and ease of implementation.
RollerTrol Mini Motors: Your Gateway to Affordable Automation
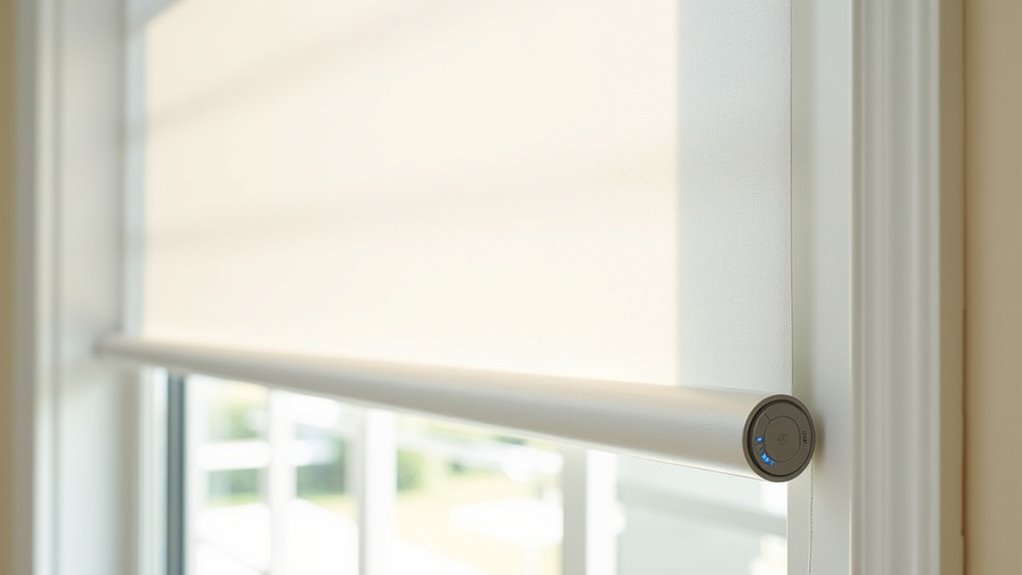
If you’re ready to dip your toes into automated window treatments without the hefty price tag, RollerTrol Mini Motors offer an impressive entry point that won’t drain your wallet.
These compact motors transform your existing roller shades into smart, remotely controlled systems perfect for budget-friendly automation projects.
You’ll appreciate the flexible power options—choose between battery or hardwired configurations based on your specific needs.
With a 16-inch minimum width requirement, these motors work with most standard windows.
The installation process remains rejuvenatingly straightforward, making them ideal for DIY enthusiasts tackling their first motorized shades project.
RollerTrol provides extensive instructions and community support, ensuring you’ll successfully convert manual window coverings into automated solutions that integrate seamlessly with smart home systems.
Retrofitting Existing Blinds With Hobby Servos
You’ll need to start by choosing the right servo motor that matches your blinds’ weight and size requirements.
Once you’ve selected your servo, you can begin the installation process by creating a housing box and modifying your blinds’ existing mechanism to accommodate the motor.
After the physical setup is complete, you’ll program a control system that integrates micro switches as limit stops to guarantee your blinds operate smoothly within their designated range.
Servo Motor Selection
Since hobby servos offer an affordable entry point into blind automation, they’re perfect for retrofitting your existing window treatments without breaking the budget.
When making your servo motor selection, you’ll need to evaluate torque requirements first. Most residential blinds work well with servos offering 1.5 to 20 kg/cm of torque, depending on their weight and size.
Choose continuous rotation servos for your automation project, as they provide the extended movement range needed for full blind operation.
You’ll mount the servo in a compact housing near your blinds, connecting it to the existing control mechanism via an extension shaft.
Don’t forget to incorporate micro switches as limit stops, preventing overextension and ensuring smooth operation throughout the blind’s full range of motion.
DIY Installation Process
Three essential steps will transform your manual blinds into automated window treatments using hobby servos.
First, you’ll select continuous rotation servos that can be modified for motorized functionality, guaranteeing they’re compatible with your existing blind mechanism.
Next, create a small housing box to contain your servo motor and extension shaft – this conceals the retrofit components while providing professional-looking installation results.
Finally, integrate micro switches as limit stops to prevent your blinds from exceeding their intended range of motion. This budget-friendly approach guarantees safe, reliable operation without damaging your window treatments.
Consider sourcing mini motors from RollerTrol.com for cost-effective options.
Don’t forget to connect with DIY communities online – they’re invaluable resources for troubleshooting tips and innovative automation ideas that’ll enhance your project’s success.
Programming Control Systems
With your servo motor and housing properly installed, programming the control system becomes your next priority.
You’ll need to configure your continuous rotation servo to respond properly to control signals for smooth operation. Micro switches act as essential limit stops, preventing your motorized window treatments from overextending and causing damage.
Your programming should include position feedback and timing controls to guarantee precise movement.
Many DIY enthusiasts retrofit smart systems using Arduino or Raspberry Pi controllers, offering multiple control options like smartphone apps, voice commands, or scheduled automation. These smart window coverings can integrate with existing home automation platforms.
RollerTrol.com provides compatible controllers and programming guidance for your project.
Online communities offer valuable code examples and troubleshooting support when programming control systems for your newly automated blinds.
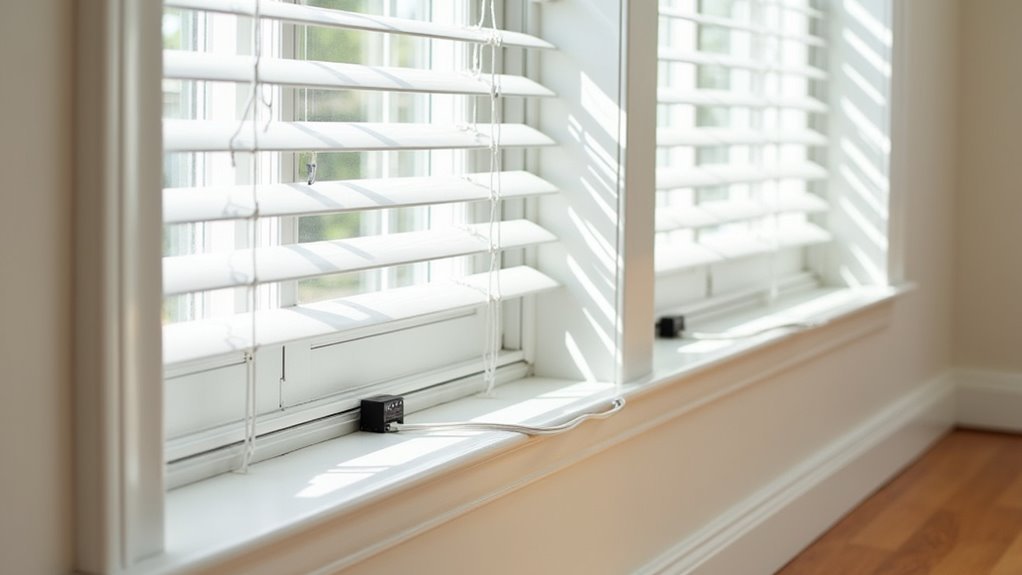
Setting Up Limit Switches and Safety Controls
Two critical components guarantee your motorized blinds operate safely and efficiently: limit switches and safety controls.
These devices define maximum and minimum positions for your automated blinds, preventing motor strain and potential damage. During installation, you’ll connect limit switches to your motor’s circuit, enabling automatic stops when blinds reach desired heights.
Safety controls are equally important for user safety, allowing immediate stopping if obstructions are detected. Most DIY motorization kits include pre-configured limit switch options, making setup straightforward for beginners without technical expertise.
After installation, you must test both systems thoroughly. Check that limit switches stop movement at correct positions and safety controls respond to obstructions.
Make adjustments if your blinds don’t operate as intended, ensuring reliable performance.
X-10 Modules for Simple Remote Control Integration
Once you’ve established proper safety controls, X-10 modules offer an affordable pathway to wireless remote control for your motorized blinds.
These low-cost devices send signals through your existing electrical wiring, eliminating complex installations. You’ll easily integrate X-10 modules into broader home automation systems, controlling window treatments via handheld remotes or smartphone apps.
The X-10 protocol supports multiple devices, letting you scale automation across lighting and climate controls alongside your blinds. You can configure modules for momentary contact relay control, ensuring precise blind operation without extensive wiring modifications.
X-10 systems require minimal technical expertise, making them ideal for first-time DIYers.
You’ll appreciate the beginner-friendly setup process and cost-effective approach to automating window coverings without sacrificing functionality or reliability.
Programming Basic Automation Schedules
After installing your X-10 modules, you’ll want to establish automation schedules that maximize both convenience and energy savings.
Smart blinds like SmartWings and Lutron Serena offer mobile apps where you can program automatic opening and closing based on specific times or natural events like sunrise and sunset. You’ll enhance energy efficiency by coordinating your blinds with daily lighting patterns.
Smart blinds automatically adjust to sunrise and sunset patterns, coordinating with natural light cycles to maximize energy efficiency throughout the day.
Setting up automation schedules takes just a few taps in most apps, making the process accessible even without technical expertise.
Many systems support voice commands, letting you create hands-free routines that control multiple devices simultaneously.
Regular manufacturer updates guarantee you can refine your schedules as needs change, giving you long-term flexibility for optimizing comfort and energy savings.
Connecting to Popular Smart Home Platforms
You’ll find that most budget-friendly smart blinds work seamlessly with Alexa, Google Home, and Apple HomeKit, giving you flexibility across major platforms.
However, you’ll typically need a compatible hub like the Lutron Caséta Smart Hub or a Matter-supporting device to bridge the connection between your blinds and smart home system.
Once you’ve got the hub configured, setting up voice control becomes straightforward through each platform’s respective app.
Alexa Google Apple Compatibility
When you’re investing in budget-friendly smart blinds, compatibility with major smart home platforms becomes essential for creating a seamless connected experience. You’ll find that most affordable options work with Amazon Alexa, Google Home, and Apple Home, eliminating the need for multiple apps or complicated setups.
| Brand | Amazon Alexa | Google Home | Apple Home |
|---|---|---|---|
| SmartWings | ✓ | ✓ | ✓ |
| OmniaBlinds | ✓ | ✓ | ✓ |
| Lutron Serena | ✓ | ✓ | ✓ |
| Ikea Fyrtur | ✓ | ✓ | Limited |
These smart shades respond to voice commands like “Alexa, close the bedroom blinds” or “Hey Google, open the living room shades.” You’ll appreciate how this compatibility transforms your daily routine, letting you control lighting and privacy without leaving your couch or bed.
Hub Requirements Explained
Most budget-friendly smart blinds can’t connect directly to your Wi-Fi network and instead rely on a compatible hub to bridge the gap between your shades and smart home platforms.
Understanding hub requirements is essential before purchasing. SmartWings shades use Thread wireless and Matter standard, requiring a Matter-compatible hub like Amazon Echo Dot or Apple HomePod Mini.
Lutron Serena shades need the Lutron Caséta Smart Hub for Wi-Fi connectivity. These hubs enable integration with major smart home systems including Amazon Alexa, Google Home, and Apple Home.
Without a compatible hub, you’ll miss advanced automation capabilities like scheduling and remote access. The hub investment enables voice control and seamless operation through mobile apps.
Voice Control Setup
Once you’ve set up your hub, connecting your budget blinds to voice assistants becomes straightforward.
For Alexa integration, enable the corresponding skill in the Alexa app, then discover new devices to link your smart home devices.
Google Home users can connect through the Google Home app by adding devices while ensuring your budget-friendly blinds are powered and within hub range.
Apple HomeKit requires scanning the provided HomeKit code in the Home app for voice control features.
Many affordable smart blinds support Matter and Thread standards, enhancing cross-platform compatibility and simplifying automation setup.
These standards make voice control seamless across different ecosystems, letting you operate your blinds through simple voice commands regardless of your preferred platform.
Troubleshooting Common DIY Installation Issues
Even with careful planning, DIY blind installation can hit unexpected snags that’ll test your patience and problem-solving skills. When issues arise, start with measurement accuracy—double-check dimensions against your blinds to identify fitting problems. An installation hardware check guarantees you’ve got the right screws and brackets for your mounting style considerations.
| Problem | Likely Cause | Solution |
|---|---|---|
| Blinds won’t fit frame | Wrong measurements | Re-measure and order correct size |
| Motor not responding | Power/calibration issue | Check battery/follow calibration instructions |
| Uneven mounting | Hardware mismatch | Verify bracket compatibility |
For smart blinds, power source availability becomes vital when motors fail. Follow calibration instructions precisely—skipping steps causes automation failures. Most installation problems stem from rushing through setup procedures.
Cost Comparison: DIY Vs Commercial Smart Blind Solutions
When you’re weighing smart blind options, you’ll face a stark price difference between DIY kits starting around $200 and commercial solutions that can reach $5,000.
Your installation costs will vary dramatically too—DIY requires your time and effort, while commercial options often include professional setup services.
To make the smartest choice, you’ll need to evaluate not just upfront expenses but also long-term value factors like battery life, feature sets, and potential maintenance costs.
Initial Investment Breakdown
While commercial smart blinds command premium prices that can stretch your budget, DIY motorization offers a dramatically more affordable entry point into home automation.
Your initial investment varies dramatically depending on your chosen approach:
- DIY motorization solutions – Start at just $50 for basic hobby servo parts and basic tools.
- Retrofit kits – Mid-range option around $200 (like Eve MotionBlinds) for upgrading existing shades.
- Commercial smart blinds – Begin at $170 for entry-level products like SmartWings motorized shades.
- Premium automated systems – Exceed $700 per window for high-end Lutron Serena Shades.
Remember that commercial smart blinds often require professional installation, adding labor costs to your budget.
However, they typically offer better long-term maintenance and may provide energy savings that offset higher upfront costs over time.
Installation Cost Analysis
Installation costs reveal the most significant price gap between DIY and commercial smart blind solutions.
When you choose DIY solutions, you’ll typically handle installation yourself with minimal tools and skills required. This budget-friendly approach eliminates professional installation fees entirely, saving you $100 to $300 per project.
Commercial smart blinds often require professional installation, especially for complex setups or multiple windows. These fees quickly add up, making your total investment substantially higher than the product’s base price.
For first-time users, DIY installation offers clear advantages beyond cost savings.
You’ll gain hands-on experience with your smart blinds system, making future maintenance and troubleshooting easier. The installation process for most DIY kits is straightforward, requiring only basic household tools and following simple instructions.
Long-Term Value Assessment
Long-term value calculations shift dramatically in favor of DIY smart blind solutions when you examine the total cost of ownership over several years.
While commercial custom shades like Lutron Serena can exceed $800 per window, budget-friendly DIY solutions typically stay under $200.
Here’s why DIY automation delivers superior long-term value:
- Incremental upgrades – You can modify components without replacing entire systems.
- Competitive battery life – Solutions like Eve MotionBlinds offer year-long battery performance.
- Scalable investments – Add automation room-by-room as your budget allows.
- Tailored solutions – Customize for unique window sizes without premium pricing.
DIY solutions provide flexibility that commercial systems can’t match.
When manufacturers discontinue products or require costly updates, you’re not locked into expensive replacement cycles that can double your initial investment.
Upgrading Your System With Advanced Features
Once you’ve installed basic budget blinds, you can transform them into a sophisticated smart home component without breaking the bank.
Smart blinds with programmable adjustments can automatically respond to sunrise and sunset schedules, optimizing energy efficiency while maintaining privacy. Budget-friendly options like SmartWings Motorized Roller Shades offer Matter support, ensuring seamless integration with existing home automation systems including Alexa, Google Home, and Apple HomeKit.
For DIY enthusiasts, retrofit solutions like SwitchBot Blind Tilt start around $70, making automation accessible without replacing entire window treatments.
These systems provide smartphone control and scheduling capabilities that rival premium alternatives. Advanced features such as light sensors and temperature-based adjustments add convenience while battery life spanning 6-12 months keeps maintenance minimal, delivering modern functionality at fraction of traditional smart blind costs.
Community Resources and Online Support Groups
While smart blind technology offers impressive capabilities, you don’t have to navigate the installation and optimization process alone. Numerous online forums and community-driven platforms provide invaluable support for your DIY motorized blinds project.
Here are four essential resources you’ll want to bookmark:
- Reddit’s r/HomeAutomation – Share experiences and get troubleshooting advice from fellow enthusiasts exploring budget-friendly automation solutions.
- Instructables and DIY Network – Access step-by-step guides tailored to various skill levels and budgets for retrofitting existing blinds.
- Facebook smart home technology groups – Discover affordable motorization recommendations and real user experiences with specific products.
- YouTube automation channels – Watch visual tutorials that simplify complex installation processes, making smart home technology more accessible for beginners.
These communities offer ongoing support throughout your automation journey.
Safety Considerations for Motorized Window Treatments
When upgrading to motorized window treatments, safety should be your top priority—especially if you have children or pets in your home.
These systems eliminate dangerous dangling cords that pose strangulation risks, making them inherently safer than traditional options.
Key safety considerations include choosing models with obstacle detection features that prevent shades from closing on objects or people.
Look for programmable settings that automatically adjust your treatments at specific times, enhancing home security by simulating occupancy when you’re away.
Battery-powered options often include low battery alerts to maintain operational safety features.
Always select products complying with Window Covering Safety Council standards, ensuring your motorized window treatments prioritize safety in their design and functionality.
Frequently Asked Questions
Can I Motorize My Existing Blinds?
You can motorize your existing blinds using retrofit kits like SwitchBot Blind Tilt for Venetian blinds or Eve MotionBlinds for roller shades. These DIY-friendly solutions add smart features without replacing your current blinds.
How Much Does It Cost to Motorize Blinds?
You’ll spend $70-$1,000+ depending on your choice. Basic retrofit kits cost around $200, while new motorized blinds start at $129. Add $70-$200 for smart hubs and potentially $100-$300 for professional installation.
What Are the Best Blinds for Home Automation?
You’ll find Lutron Serena Smart Roller Shades offer the best premium automation with ultra-quiet motors and extensive customization. For budget-conscious users, SmartWings provides excellent compatibility with major smart home systems starting at $170.
What Is an Affordable Alternative to Blinds?
You’ll find roller shades and cellular shades are excellent affordable alternatives to traditional blinds. They’re customizable for different window sizes and styles while remaining budget-friendly for most homeowners.


Leave a Reply