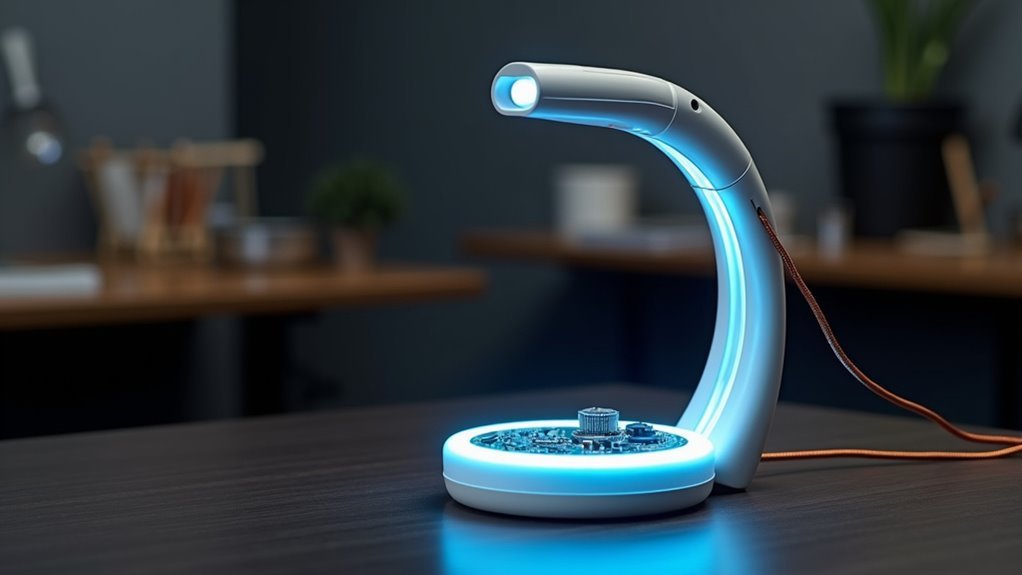
You’re tired of getting up to turn your desk lamp on and off, but buying a smart lamp feels like overkill when you’ve got a perfectly good one already. With an ESP8266 microcontroller, a relay, and some basic wiring skills, you can transform any standard desk lamp into an Alexa-controlled device for under twenty dollars. The process isn’t as complicated as you’d expect, though there’s one critical safety step most tutorials completely overlook.
Essential Components and Hardware Selection
Five key components form the foundation of your Alexa desk lamp project.
You’ll need an ESP2866-12e microcontroller as your brain, handling voice commands and lamp control. A 5v power supply provides necessary electricity, while a 5v relay acts as the switching mechanism for your lamp’s power state.
Don’t forget the supporting components: a 5v to 3v3 step-down converter guarantees proper voltage levels, and an opto coupler like the 4N35 provides safe interfacing between your microcontroller and higher voltage circuits.
The relay connects to your lamp’s hot wire, creating an interrupt switch controlled by the ESP2866.
The relay acts as your electronic switch, interrupting the lamp’s power flow whenever the ESP2866 receives voice commands.
For budget-friendly sourcing, check eBay and similar platforms. You’ll find competitive prices on all these components while maintaining quality standards for your DIY project.
Preparing Your ESP8266 Microcontroller
Before you can control your desk lamp with voice commands, you’ll need to configure the ESP8266-12e microcontroller properly. This cost-effective variant offers Wi-Fi capabilities and a compact form factor perfect for your project.
Start by installing the Arduino IDE, which enables you to upload control sketches to your ESP8266. Once installed, you’ll need to modify the provided code with your specific Wi-Fi SSID and password.
Don’t forget to set the device name that Alexa will recognize for voice commands. The GPIO4 pin controls the relay that switches your lamp on and off, so wire it carefully for safe operation.
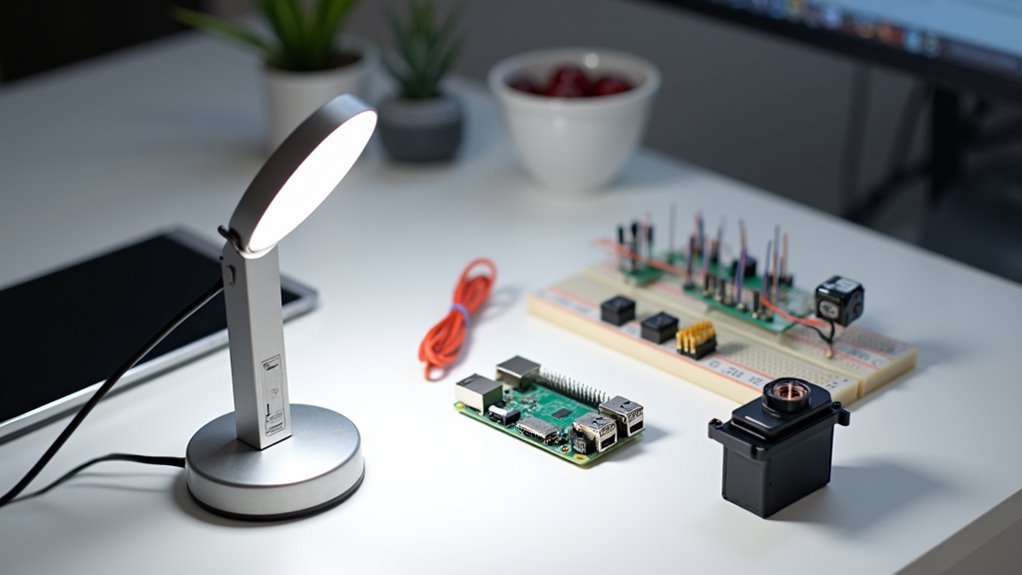
Before final assembly, test your ESP8266 setup on a breadboard to confirm functionality and troubleshoot any potential issues.
Wiring the Relay Circuit for Lamp Control
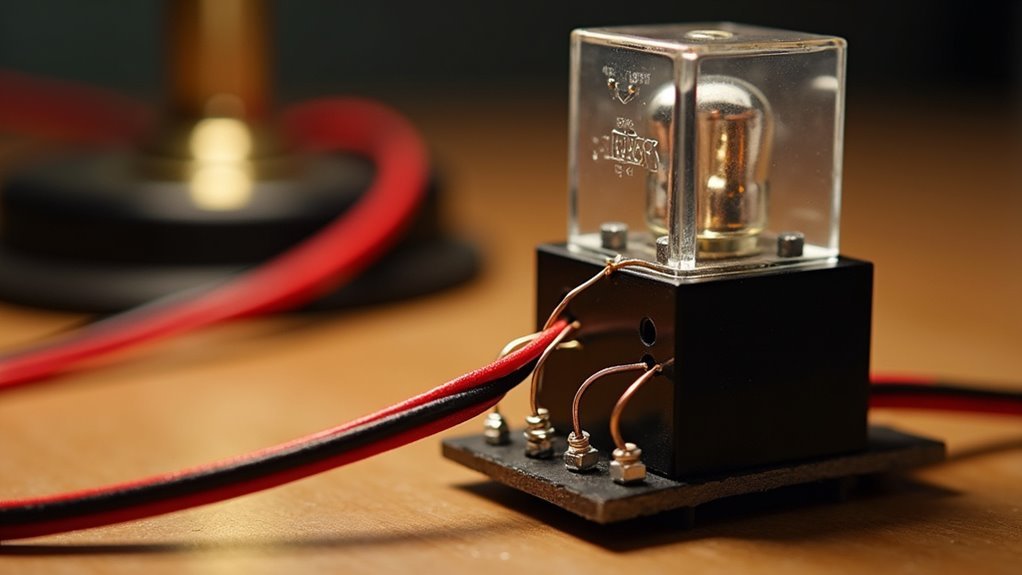
Now you’ll wire the relay circuit that actually controls your lamp’s power. Connect your lamp’s hot wire to the relay’s Normally Open (NO) terminal, then connect the Common (COM) terminal to your power source. This setup lets the relay interrupt power flow when activated.
Wire your lamp’s hot line to the relay’s NO terminal, then connect COM to your power source for proper switching control.
Next, connect the relay coil to your ESP8266. Wire one coil end to a GPIO pin for control and the other to ground, enabling your microcontroller to switch the relay on and off.
Use a breadboard first to prototype these connections before soldering. This helps you test functionality and troubleshoot issues.
When working with mains electricity, verify your relay’s rated for appropriate voltage and current. Consider adding an opto coupler for extra isolation between high-voltage and low-voltage circuits.
Installing the Power Supply and Voltage Regulation
You’ll need to select a stable 5V power supply with at least 1A current capacity to handle your desk lamp and ESP2866-12e microcontroller.
Set up a 5V to 3.3V step-down converter to safely power the ESP2866’s GPIO pins without causing damage.
Make your wiring connections by linking the positive terminal to both the 5V relay and microcontroller while connecting all ground points together for a common reference.
Power Supply Selection
Selecting the right power supply forms the foundation of your Alexa desk lamp’s electrical system. You’ll need a 5V power supply that delivers at least 1A to adequately power both your ESP2866 microcontroller and relay. This guarantees stable operation without voltage drops that could cause malfunctions.
| Component | Voltage Requirement | Current Draw |
|---|---|---|
| ESP2866 | 3.3V | 200-300mA |
| Relay Module | 5V | 50-100mA |
Don’t forget you’ll need a 5V to 3.3V step-down converter since the ESP2866 operates at lower voltage than your relay. Choose a switching regulator over linear types for better efficiency. Proper voltage regulation prevents damage to your sensitive microcontroller, which can’t handle over-voltage conditions. A quality power supply investment protects your entire project.
Voltage Step-Down Setup
With your power supply chosen, the next step involves properly implementing the voltage step-down circuit that’ll safely deliver power to each component.
You’ll need to install a 5V to 3.3V step-down converter specifically for your ESP8266 microcontroller, which requires 3.3V for peak performance. Connect your 5V power supply directly to the relay controlling your lamp while routing power through the converter for the microcontroller.
Before finalizing connections, verify you’ve calculated the total current draw of all components to verify your power supply can handle the load without overheating. Use a multimeter to confirm voltage outputs match requirements – 5V for the relay and 3.3V for the ESP8266.
This voltage step-down setup assures reliable operation and prevents component damage from incorrect voltages.
Safe Wiring Connections
Since proper voltage regulation forms the foundation of your circuit, installing the power supply and making safe wiring connections requires careful attention to both component compatibility and electrical safety.
You’ll need to verify your 5V power supply works seamlessly with the ESP2866-12e before proceeding. Connect the 5V relay to interrupt the lamp’s hot wire using the Normally Open and Common terminals for reliable switching.
Install your 5V to 3.3V step-down converter to properly power the ESP2866-12e microcontroller.
When wiring the relay coil to the GPIO pins, follow your schematic precisely to prevent short circuits. Most importantly, confirm all mains-side connections are thoroughly insulated and secure.
These precautions protect both you and your smart lamp from electrical hazards during operation.
Setting Up the Physical Switch Integration
Before you can control your desk lamp through both voice commands and manual operation, you’ll need to integrate a relay module that replaces the lamp’s original switch mechanism.
Connect the hot wire to the Normally Open and Common terminals of the relay module. Pay careful attention to the relay coil connectors—incorrect wiring can cause operational failures or create safety hazards.
Bridge the jumper on the relay board to enable microcontroller control, allowing both voice and manual operation.
Install a power override switch for independent control, so you’re not limited to Alexa commands alone.
Always prototype your circuit on a breadboard first to verify functionality and make adjustments before final assembly.
Programming the Arduino Software

Now that your hardware components are properly wired and tested, you’ll need to program the Arduino software to enable voice control functionality. Start by downloading the IOT-ESP8266-ESP12E-Alexa-Multiple-Devices-master repository from GitHub, which contains the essential libraries for programming your ESP8266.
| Configuration Step | Required Setting |
|---|---|
| WiFi SSID | Your router’s network name |
| WiFi Password | Your router’s password |
| GPIO Pin | GPIO4 for relay control |
| Alexa Command | Custom voice trigger word |
| Device Name | “the light” for recognition |
Using Arduino IDE, modify the sketch with your network credentials and upload it to the ESP8266. The software configures GPIO4 to toggle the relay based on Alexa commands. Implement interrupts to prevent switch bounce during manual operation, ensuring reliable Arduino performance.
Configuring WiFi and Alexa Integration
Now you’ll connect your desk lamp to your home WiFi network and set up Alexa integration.
You’ll need to modify the Arduino code with your router’s SSID and password, ensuring you’re using a 2.4GHz network since the ESP8266 doesn’t support 5GHz frequencies.
Once connected, Alexa will discover your lamp through the fauxmoESP library that makes it appear as a controllable smart device.
WiFi Network Setup
Once you’ve assembled the hardware components, you’ll need to configure your ESP8266 microcontroller to connect to your home WiFi network.
Start by ensuring you have a 2.4GHz network available, as the ESP8266 doesn’t support 5GHz networks. Open Arduino IDE and locate the provided code for your lamp project.
You’ll need to modify specific lines by entering your Wi-Fi SSID and password where indicated in the code. This wifi network setup process enables the ESP8266 to establish a connection with your router.
After entering your credentials, upload the modified code to your microcontroller. Once uploaded successfully, the ESP8266 will automatically attempt to connect to your network.
You can verify the connection by checking the serial monitor for confirmation messages indicating successful network connectivity.
Device Discovery Process
With your ESP8266 successfully connected to your WiFi network, you’ll need to integrate the fauxmoESP library into your Arduino code to facilitate Alexa discovery.
This library cleverly emulates a Belkin WeMo device, making your desk lamp appear as a compatible smart home device to Alexa’s detection system.
Once you’ve uploaded the modified code to your microcontroller, open the Alexa app on your smartphone.
Navigate to the device discovery section and search for new smart devices. Your lamp should appear in the list if everything’s configured correctly.
Remember to give your device a simple, intuitive name like “the light” in your Arduino code. This guarantees natural voice interactions when you command Alexa to control your custom-built lamp.
Testing Voice Commands and Functionality
How well does your newly assembled Alexa desk lamp respond to voice commands? After programming your ESP8266 microcontroller, you’ll need to configure the device in your Alexa app for proper recognition. Unlike a traditional smart bulb, your custom lamp requires specific testing protocols.
Start with simple commands like “Alexa, turn the light on” and “Alexa, turn the light off.” Watch GPIO4 pin toggle correctly with each command to confirm relay operation. Test your manual switch to verify it doesn’t interfere with Alexa connectivity.
| Test Category | Command | Expected Result |
|---|---|---|
| Basic Control | “Turn lamp on” | GPIO4 activates relay |
| Basic Control | “Turn lamp off” | GPIO4 deactivates relay |
| Connectivity | Multiple sessions | Consistent response |
| Manual Override | Switch operation | No Alexa interference |
| Performance | Extended testing | No lag/disconnection |
Building the Enclosure and Safety Considerations
Creating a safe and attractive enclosure requires careful planning before you start cutting materials or drilling holes. Choose high-quality materials that’ll enhance durability and prevent fire hazards from poor construction.
Design your enclosure to be compact yet aesthetically pleasing, guaranteeing it fits various room decors while accommodating all components comfortably.
Prioritize safety when wiring mains electricity connections, especially the relay coil connectors. Drill adequate airflow holes for heat dissipation, even though minimal heat’s generated during operation.
Before final assembly, build a breadboard prototype to test your smart lamp’s connections and functionality thoroughly. This testing phase guarantees your Alexa-powered device responds correctly to voice commands and integrates seamlessly with the Alexa app before you permanently house everything in your custom enclosure.
Final Assembly and Circuit Protection
After completing your prototype testing, begin the final assembly by carefully connecting the relay to the lamp’s hot wire, which allows the ESP8266 microcontroller to safely interrupt the circuit.
Wire your 5v relay with an opto coupler like the 4N35 to isolate the high voltage AC circuit from low voltage components. This isolation dramatically improves safety when your table lamp operates under Alexa commands.
Double-check that relay coil connectors are wired correctly to prevent misfires and guarantee reliable operation.
Drill airflow holes in your enclosure for heat dissipation, even though components generate minimal heat.
Always supervise assembly when handling mains electricity, confirming all components are properly rated for their respective voltage and current loads to maintain safe operation.
Troubleshooting Common Setup Issues
When your Alexa desk lamp doesn’t respond as expected, start by verifying that your ESP8266 microcontroller connects to a stable 2.4GHz Wi-Fi network and receives adequate power.
Here are the most common setup issues you’ll encounter:
- Network Configuration Problems – Update your Arduino sketch with the correct router SSID and password before uploading. Without proper credentials, your ESP8266 can’t establish the network connection required for Alexa integration.
- Wiring Connection Errors – Double-check that the lamp’s hot wire correctly interrupts between the relay’s Normally Open and Common terminals. Incorrect wiring prevents proper control.
- Device Name Mismatches – Confirm the device name in your sketch matches exactly what you’re saying to Alexa.
- Switch Bounce Issues – Test your physical switch independently and implement debounce logic if responsiveness problems persist.
Frequently Asked Questions
Can I Use Any Type of Desk Lamp for This Project?
You can’t use just any desk lamp. You’ll need one with enough internal space for the Alexa components and wiring. Choose lamps with sturdy bases and accessible power connections for easier modification.
What’s the Estimated Total Cost to Build an Alexa-Powered Desk Lamp?
You’ll spend roughly $80-150 total. You’re looking at $30-50 for an Echo Dot, $20-40 for smart plugs or relays, $10-30 for wiring components, plus your existing lamp’s cost.
How Much Technical Experience Do I Need to Complete This Project?
You’ll need basic electronics skills like soldering, understanding simple circuits, and following wiring diagrams. If you’re comfortable with Arduino projects or basic DIY electronics, you’ve got enough experience to succeed.
Will This Work With Other Voice Assistants Like Google Assistant?
You can integrate other voice assistants, but you’ll need different hardware and software configurations. Google Assistant requires specific APIs and authentication methods that aren’t compatible with Alexa’s existing setup.
Can I Control Multiple Lamps With One Alexa Device?
You can control multiple smart lamps with one Alexa device by giving each lamp a unique name during setup. You’ll simply say “Alexa, turn on bedroom lamp” or “Alexa, dim kitchen light” to control them individually.


Leave a Reply