You’ve probably watched your houseplants struggle with inconsistent humidity, especially during winter months when indoor air becomes desert-dry. A DIY plant misting system can solve this problem while freeing you from daily spray bottle duties. The setup isn’t complicated, but there’s an essential component most beginners overlook that determines whether your system becomes a plant paradise or a breeding ground for fungal problems.
Benefits of Automated Plant Misting for Indoor Gardens
While traditional watering methods require daily attention and guesswork, automated plant misting systems transform your indoor garden into a self-regulating ecosystem that consistently delivers the precise humidity levels your plants crave.
These systems dramatically reduce your daily maintenance routine, freeing you to focus on other gardening tasks while ensuring ideal plant health.
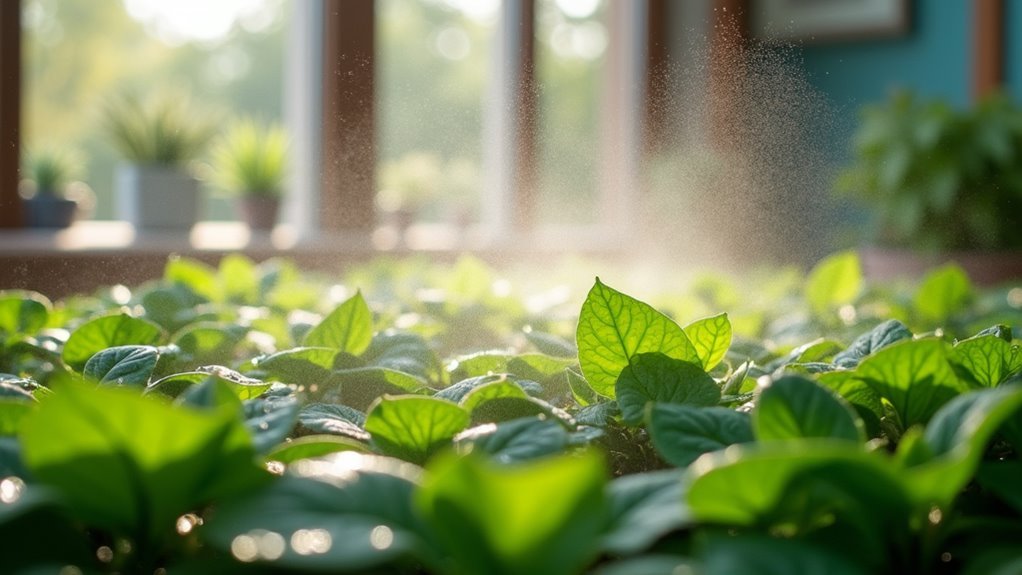
You’ll notice improved photosynthesis and enhanced growth in your tropical plants as consistent moisture levels support their natural processes.
The automatic timing prevents overwatering issues like mold and leaf rot by maintaining proper moisture without creating soggy conditions.
Additionally, the cooling effect from misting creates a more comfortable indoor environment during hot weather.
Smart integration capabilities let you customize schedules for different plant species’ specific requirements.
Essential Components and Materials You’ll Need
Before you begin construction, gather the core components that’ll form your misting system’s foundation.
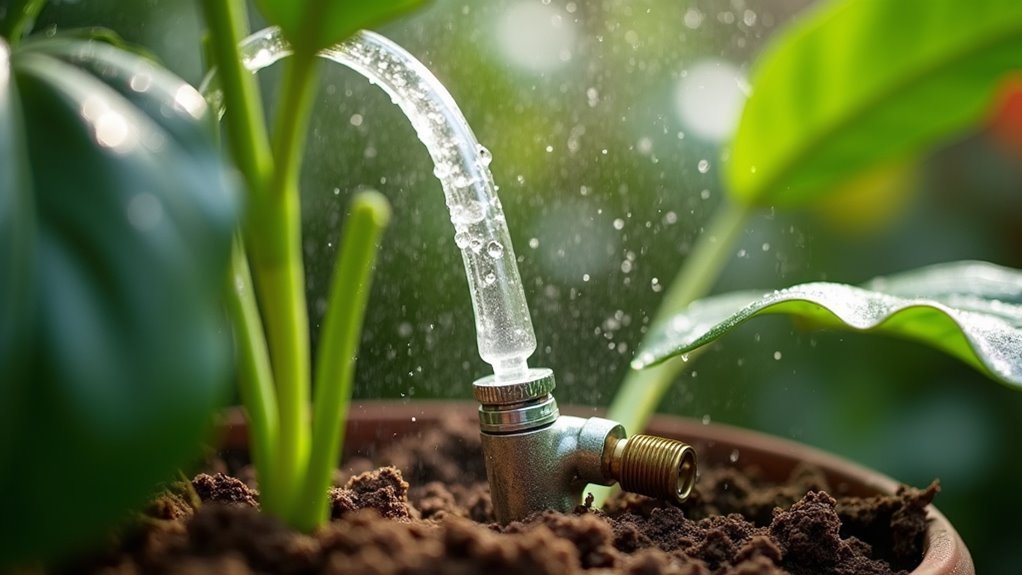
You’ll need ½-inch flexible plastic tubing to connect your water source to the misting nozzles, ensuring compatibility with standard fittings. Choose low-pressure misting nozzles – plastic versions offer cost-effectiveness while brass provides superior durability. Smaller nozzles create finer mist for better humidity control.
Install a 200 mesh drip irrigation filter at your water spigot to prevent clogs.
You’ll also need compression fittings, elbow and T fittings, plus figure-eight end clamps to secure tubing and maintain leak-free connections.
Consider optional upgrades like an automatic drain valve to prevent post-use dripping and Teflon tape for watertight seals throughout your system.
Planning Your Misting System Layout
Before you start installing components, you’ll need to assess your coverage zones and determine how many plants or areas require misting.
Space your nozzles 2-3 feet apart throughout each zone to guarantee even water distribution and prevent dry spots that could stress your plants.
This systematic approach to nozzle placement will create overlapping mist patterns that provide consistent humidity levels across your entire growing area.
Zone Coverage Assessment
Once you’ve determined your system requirements, you’ll need to map out exactly where each component will go to secure complete coverage of your target area.
Start by evaluating the specific zones that require misting, measuring the dimensions and noting plant placement. Space your nozzles approximately 2 feet apart to achieve ideal distribution without excessive overlap.
Identify potential obstacles like trees, walls, or structures that could block mist flow, then adjust nozzle positions accordingly.
Examine your available water pressure, as this directly impacts nozzle selection and system layout effectiveness.
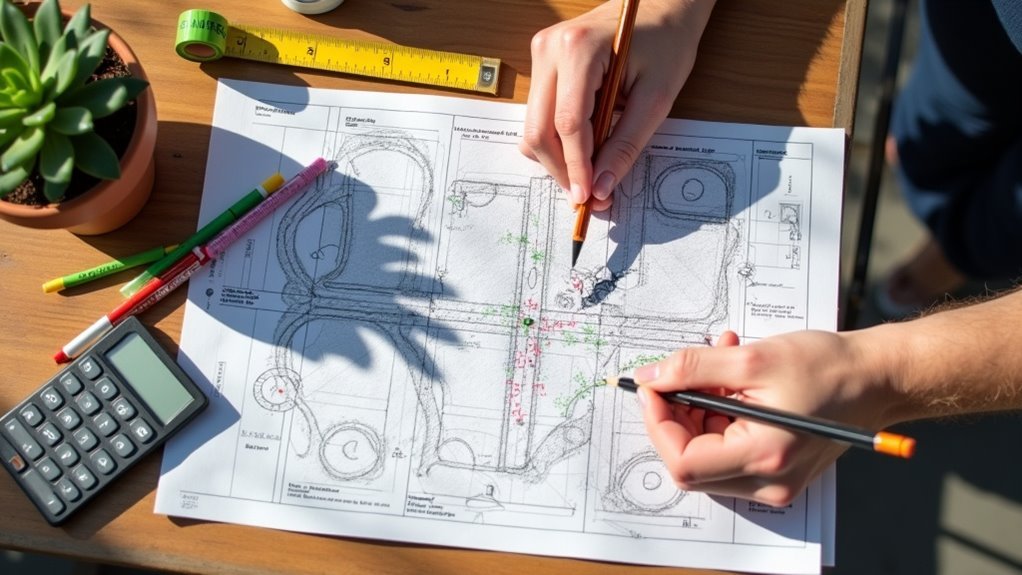
Create a detailed diagram marking each proposed nozzle location, coverage zones, and water lines. This visual plan helps guarantee your misting systems deliver uniform coverage while preventing dry spots or oversaturated areas that could harm your plants.
Nozzle Spacing Requirements
After mapping your coverage zones, you’ll need to establish precise spacing between each nozzle to achieve uniform mist distribution. Understanding nozzle spacing requirements guarantees you’ll avoid dry spots and oversaturated areas that can damage your plants.
Follow these essential spacing guidelines:
- Position nozzles 2 feet apart for ideal coverage and efficient cooling throughout your growing area.
- Install at head height or slightly above to maximize coverage without excessively wetting surrounding surfaces.
- Use smaller nozzles positioned inward toward the center of your area for finer mist production and even distribution.
When installing multiple rows, stagger your nozzle placement to enhance coverage and minimize overlap. This technique guarantees more uniform mist distribution across your entire growing space while maintaining consistent moisture levels.
Water Source Setup and Filtration Requirements
While setting up your plant misting system, you’ll need to establish a proper water source connection that delivers consistent flow and clean water to your nozzles.
Your water source setup begins with connecting ½-inch flexible plastic tubing from your garden spigot. Install a 200 mesh drip irrigation filter directly at the spigot to prevent debris from clogging your misting nozzles.
| Component | Specification | Purpose | Maintenance |
|---|---|---|---|
| Tubing | ½-inch flexible plastic | Reliable water flow | Check for kinks |
| Filter | 200 mesh drip irrigation | Remove debris/sediment | Clean regularly |
| Adapter | ½-inch drip tubing | Secure compression fitting | Inspect for leaks |
| Connection | Garden spigot compatible | Seamless installation | Verify tightness |
Attach a ½-inch drip tubing adapter to the filter’s end, creating a leak-proof compression fitting. Regularly clean your filter to maintain peak performance.
Selecting the Right Tubing and Connectors
You’ll need to choose the right tubing size and material to guarantee your misting system operates effectively.
The compression fittings you select must match your tubing diameter and provide secure, leak-free connections at joints and directional changes.
Your system’s pressure rating requirements will determine whether standard residential water pressure works or if you need additional pressure regulation components.
Tubing Size and Material
The foundation of any effective misting system lies in choosing the right tubing and connectors. Your tubing size and material decisions will directly impact your system’s performance and longevity.
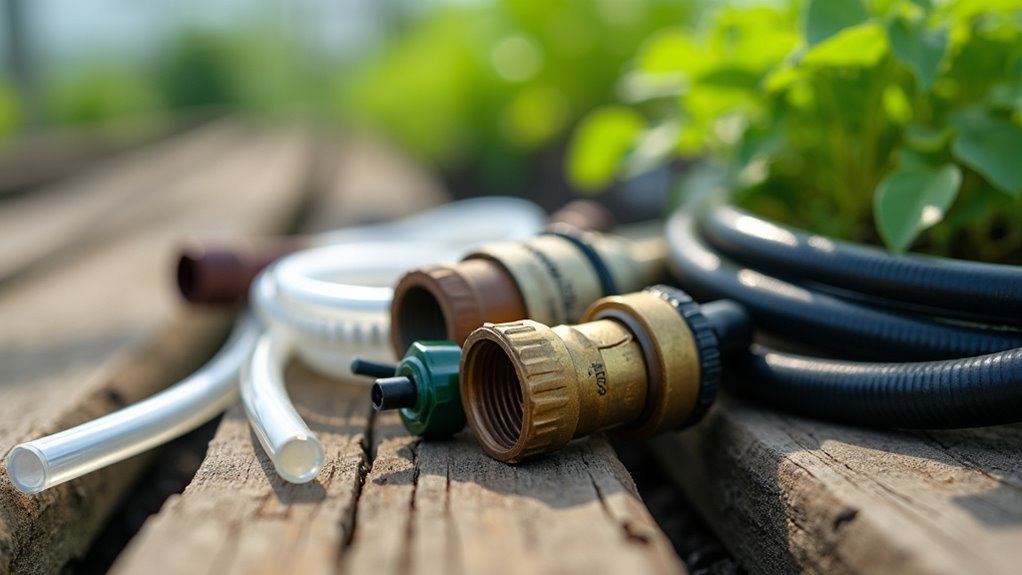
For ideal results, you’ll want ½-inch flexible plastic tubing that’s compatible with standard misting nozzles while ensuring sufficient water flow.
Though plastic tubing offers cost-effectiveness, consider these key components:
- Brass connectors – They provide superior durability and corrosion resistance compared to plastic alternatives.
- Compression fittings – These secure connections between tubing and nozzles, preventing leaks and maintaining efficiency.
- Teflon tape – Essential for sealing all joints and fittings to create watertight connections.
Compression Fitting Types
Success in your misting system depends heavily on selecting the right compression fitting types for your specific layout needs.
You’ll need ½-inch compression fittings that match your tubing diameter to maintain proper water flow and pressure throughout the system.
Choose elbow fittings when you need to change direction around corners or obstacles. T-shaped compression fittings work perfectly for creating branches that split water flow to multiple zones. Straight connectors help you extend tubing runs or repair damaged sections.
Invest in high-quality brass or durable plastic compression fittings for long-term reliability.
During installation, push your tubing firmly into each connector until it contacts the internal compression ring. This creates a secure, leak-proof seal that won’t disconnect under water pressure.
Pressure Rating Requirements
Beyond selecting the right fitting types, your tubing and connector choices must match your system’s pressure requirements to prevent costly failures and maintain consistent performance.
Understanding these pressure rating requirements guarantees your misting system operates safely and efficiently.
Here’s what you need to know:
- Low-pressure systems typically require tubing rated for 150 PSI, making them suitable for basic residential misting applications with standard water pressure.
- High-pressure systems demand tubing capable of handling up to 1000 PSI, necessary for commercial-grade installations or systems using high-pressure pumps.
- All components including compression fittings, elbows, T-connectors, and nozzles must share the same pressure rating as your tubing to prevent weak points that could cause system failures.
Always verify specifications before purchasing components.
Choosing Optimal Misting Nozzles for Your Plants
Since your misting system’s effectiveness depends heavily on nozzle selection, you’ll want to prioritize low-pressure designs that work seamlessly with DIY setups. These misting nozzles prevent excessive water flow while maintaining peak performance.
| Feature | Recommendation |
|---|---|
| Material | Plastic (affordable) or brass (durable) |
| Size | Smaller for finer mist |
| Special Features | Anti-drip devices |
Choose smaller nozzles to create finer mist that provides adequate humidity without over-saturating your plants. Brass nozzles offer superior longevity and corrosion resistance, while plastic options keep costs down without sacrificing functionality.
Look for built-in anti-drip devices that prevent water pooling after shutdown, maintaining controlled watering conditions. Space your nozzles 2 inches apart to guarantee even mist distribution across all plants while avoiding overly wet conditions.
Installing the Main Water Supply Line
You’ll start by connecting your ½-inch flexible plastic tubing directly to the water spigot, making sure to install a 200 mesh drip irrigation filter between them to prevent clogs in your misting nozzles.
Next, you’ll attach a ½-inch drip tubing adapter to the filter’s opposite end, creating a secure compression fitting by firmly pushing the tubing into the adapter’s open end.
Now you’re ready to plan and run your tubing route from the water source to your desired misting location, using elbow and T compression fittings to navigate around corners and obstacles.
Water Source Connection
The foundation of any effective misting system starts with establishing a reliable water source connection that’ll deliver consistent pressure throughout your setup.
Creating this connection requires three essential components working together seamlessly.
Here’s what you’ll need for your water source connection:
- Install a 200 mesh drip irrigation filter directly onto your water spigot to remove debris and prevent nozzle clogging that can disrupt your entire system.
- Attach a ½-inch drip tubing adapter to the filter’s output end, then push your ½-inch flexible plastic tubing firmly into the adapter for a secure compression fitting.
- Run the main supply line directly to your misting location, using elbow and T compression fittings to navigate obstacles while maintaining ideal water flow.
Filter Installation Process
After you’ve gathered your materials, start by threading the 200 mesh drip irrigation filter directly onto your water spigot’s threads, turning it clockwise until it’s hand-tight to create a secure seal.
This filter installation process prevents debris from clogging your misting nozzles later.
Next, connect your ½-inch flexible plastic tubing to the filter’s output end. Push the tubing firmly into the open end of a ½-inch drip tubing adapter to create a compression fitting that eliminates leaks.
Guarantee smooth water flow by running the tubing straight without kinks or bends. Secure the line with stakes or cable ties at regular intervals.
Finally, seal any open tubing ends with figure-eight end clamps to maintain system pressure and prevent air infiltration.
Tubing Route Planning
Planning your tubing route strategically minimizes pressure loss and guarantees efficient water delivery to all misting locations. Your tubing route planning begins with mapping the shortest, most direct path from your water source to each misting area.
Use ½-inch flexible plastic tubing for your main supply line, as it’ll easily navigate around obstacles and fit into tight spaces.
Here’s your installation process:
- Route and secure the tubing using stakes, cable ties, or nail straps along your planned path to prevent shifting.
- Install elbow and T compression fittings to effectively route tubing around corners and branch off to different nozzles.
- Seal open tubing ends with figure-eight end clamps to maintain pressure and prevent leaks before connecting misting nozzles.
This systematic approach guarantees ideal water flow throughout your system.
Positioning Misting Nozzles for Even Coverage
Why does proper nozzle placement make the difference between a thriving greenhouse and patchy, struggling plants? Strategic positioning creates uniform humidity distribution that prevents dry spots and inconsistent growing conditions.
Space your misting nozzles every 2 to 3 feet along the tubing for ideal coverage. Drill holes at specific intervals—27″, 39″, 57″, 75″, and 93″—to maintain this consistent pattern throughout your system.
Precise nozzle spacing every 2-3 feet creates the uniform mist distribution essential for consistent greenhouse growing conditions.
Aim each nozzle inward toward the center of your growing area. This technique maximizes mist coverage while eliminating dry edges that can stress your plants.
Choose smaller nozzles to produce finer mist, which reduces excess wetness in surrounding areas while maintaining adequate humidity levels.
Insert each nozzle firmly until you hear a slight snap, ensuring secure connections that prevent leaks and maintain proper functionality.
Connecting Electrical Components and Pumps
You’ll need to select a high-pressure pump that handles at least 300 PSI for effective misting in larger setups.
Before connecting any components, make sure you’re following basic electrical safety practices like turning off power at the breaker and using proper wire nuts for connections.
Set up your timer control system by installing a plug-in solenoid valve and integrating a thermostat control like the SureStat TS116 to automate your misting cycles based on temperature thresholds.
Pump Selection Criteria
Three critical factors determine the success of your plant misting system’s pump selection: pressure requirements, compatibility specifications, and built-in control features.
When evaluating pump selection criteria, you’ll need to match your system’s pressure needs first. Low-pressure systems operate at 150 PSI, while high-pressure applications can reach 1000 PSI for maximum cooling efficiency.
Consider these essential compatibility requirements:
- Tubing and nozzle compatibility – Most systems use ½-inch tubing with nozzles designed for low-pressure applications.
- Power supply options – Choose between direct electrical connection or battery-operated models based on your system’s location.
- Built-in control features – Look for automatic shut-off or pressure control to enhance efficiency and prevent overwatering.
These pump selection criteria guarantee peak performance and prevent costly system malfunctions.
Wiring Safety Basics
When installing electrical components for your plant misting system, proper wiring safety prevents dangerous malfunctions and protects your investment. These wiring safety basics guarantee reliable operation while protecting against electrical hazards.
Always use GFCI-protected outdoor-rated power supplies and waterproof connectors with conduit to shield connections from moisture. Before connecting your pump, verify voltage and amperage specifications match exactly to prevent component damage.
| Safety Component | Purpose |
|---|---|
| GFCI Protection | Prevents electrical shock |
| Waterproof Connectors | Guards against moisture damage |
| Proper Wire Gauge | Handles current load safely |
| Voltage Matching | Prevents pump overheating |
Select appropriately gauged wiring that handles your pump’s current requirements—undersized wires create resistance and fire risks. Most importantly, always disconnect power before performing maintenance or adjustments on any electrical components.
Timer Control Setup
Now that you’ve established safe wiring practices, adding timer control transforms your manual misting setup into a fully automated system.
Your timer control setup requires careful consideration of electrical compatibility and water protection to guarantee reliable operation.
Follow these essential steps for proper installation:
- Select a programmable timer that matches your pump’s voltage and amperage requirements, typically 120V household current.
- Install a solenoid valve between your timer and misting nozzles to regulate water flow precisely and prevent waste.
- Use waterproof housing for all electrical connections to protect components from moisture damage and electrical shorts.
Consider upgrading to Wi-Fi-enabled smart timers for smartphone control and real-time monitoring.
This allows you to adjust misting schedules remotely and respond to changing plant needs instantly.
Programming Timer Controls for Automated Operation
After assembling your misting system’s physical components, you’ll want to establish a reliable automation schedule that keeps your plants properly hydrated without constant manual intervention.
Programming timer controls requires selecting a model rated for outdoor use that can handle your pump’s electrical load. Look for timers offering multiple on/off cycles per day, allowing you to customize intervals based on your plants’ specific watering needs and environmental conditions.
Verify compatibility with your pump’s voltage requirements and choose models featuring manual override capabilities for immediate control when necessary.
Consider integrating smart home systems for enhanced convenience, enabling remote schedule adjustments through smartphone apps or voice commands. This flexibility lets you modify misting patterns from anywhere while maintaining consistent plant care.
Integrating Smart Home Automation Features
While basic timer controls provide reliable automation, integrating smart home features transforms your misting system into a sophisticated plant care network that adapts to real-time conditions.
Start with a Wi-Fi-enabled smart plug to control your pump remotely through smartphone apps. You’ll gain instant access to your system from anywhere, allowing manual adjustments when needed.
Remote smartphone control gives you complete system access from anywhere, enabling instant manual adjustments whenever your plants need attention.
Next, incorporate environmental sensors that monitor temperature and humidity levels. These sensors trigger misting only when conditions require it, optimizing water usage while ensuring your plants receive proper care.
- Connect voice-activated assistants like Amazon Alexa or Google Assistant for hands-free control.
- Use smart home hubs like SmartThings for advanced scheduling based on environmental data.
- Install a smart irrigation controller to integrate with existing garden watering systems.
This all-encompassing approach creates an intelligent plant care ecosystem.
Testing and Calibrating Your Misting System
Once you’ve completed the installation, it’s time to put your misting system through its paces to guarantee peak performance.
Turn on the water and observe the mist output, ensuring adequate coverage without excessive ground pooling. Adjust flow rates by changing pressure settings or replacing nozzles with different outputs to achieve optimal mist density.
Test all connections for leaks and apply Teflon tape to threaded areas for watertight seals.
Monitor your greenhouse’s temperature and humidity levels post-installation to assess effectiveness – you’re aiming for temperature drops up to 30 degrees under ideal conditions.
Clean nozzles and filters regularly to prevent clogs, maintaining consistent production and system efficiency for your misting systems.
Maintenance and Troubleshooting Common Issues
Three key maintenance tasks will keep your misting system running smoothly and prevent most operational headaches.
Regular upkeep prevents costly repairs and guarantees your plants receive consistent moisture.
Consistent maintenance ensures your misting system delivers reliable performance while avoiding expensive breakdowns and plant stress.
1. Clean nozzles weekly – Check and clean misting nozzles to prevent clogs from mineral buildup or debris.
Use a 200 mesh filter in your water source to minimize clogging risks and maintain peak mist output.
2. Inspect connections monthly – Examine flexible tubing and connections for leaks or wear.
Replace damaged components promptly to prevent water loss and system inefficiency.
3. Monitor pressure consistently – If mist becomes too fine or stops entirely, adjust water pressure or replace the pump.
Flush entire systems with clean water every few weeks during peak use for troubleshooting maintenance issues.
Expanding Your System for Multiple Plant Zones
As your plant collection grows across different areas of your home or garden, you’ll need to expand your misting system to accommodate multiple zones with varying humidity requirements.
Use additional supply tubing and T compression fittings to create separate lines for each area while maintaining consistent water pressure. Install misting nozzles every 2-3 feet along new tubing to guarantee even coverage across different zones, allowing tailored humidity levels based on each area’s specific needs.
If you’re extending the system considerably, utilize a high-pressure pump to maintain adequate performance and prevent weak mist output.
Incorporate timers or automated controls for each zone to manage independent misting schedules. This prevents over-saturation while guaranteeing ideal moisture levels.
Remember to regularly check and clean filters and nozzles in each expanded zone to prevent clogs and maintain efficient operation across your entire misting systems network.
Frequently Asked Questions
What Psi Is Needed for a Misting System?
You’ll need 30-50 PSI for most misting systems to work efficiently. If you’re using smaller nozzles for finer mist, aim for 40-60 PSI to guarantee proper evaporation and cooling performance.
Do Misters Waste a Lot of Water?
Misters don’t waste much water when properly designed. You’ll use considerably less water than traditional sprinklers since the fine droplets evaporate quickly and target specific areas efficiently.
How to Make a Mist Sprayer at Home?
You’ll drill holes in PVC pipe, screw in misting nozzles facing inward, connect to your water source with hose adapter, seal connections with Teflon tape, then test and adjust nozzle positions.
What Is the Common Problem of a Mist System?
You’ll commonly face clogged nozzles from debris buildup, insufficient water pressure from long tubing, uneven coverage from poor spacing, leaks at loose fittings, and post-use dripping that creates puddles.


Leave a Reply