You’ve probably fumbled around in the dark bathroom one too many times, stubbing your toe or struggling to find the light switch. Installing motion sensor lights can eliminate this frustration while adding modern convenience to your daily routine. The process isn’t as complicated as you might think, but there are specific steps you’ll need to follow and potential pitfalls that could turn this simple upgrade into a costly mistake.
Tools and Materials Needed for Bathroom Motion Sensor Installation
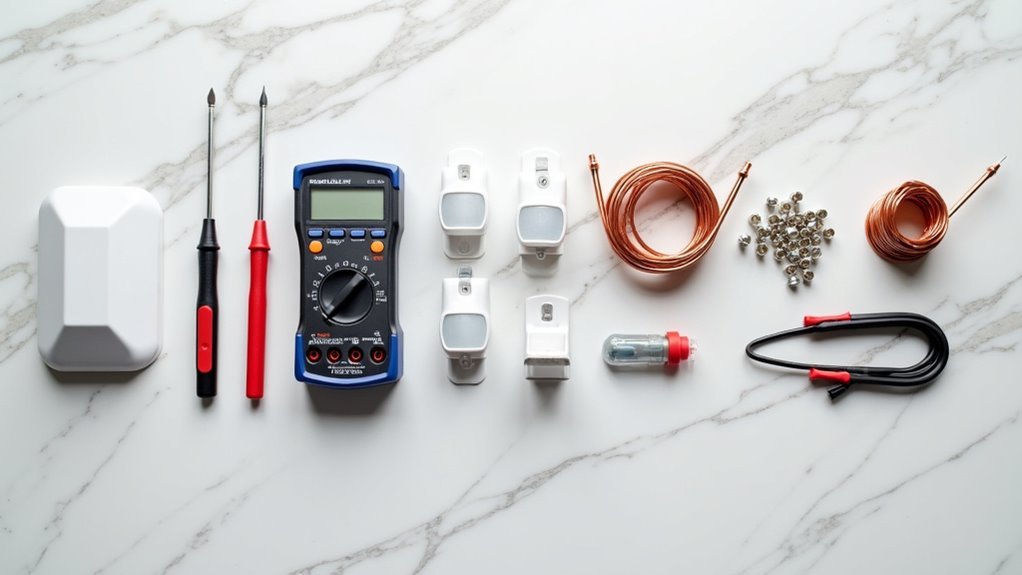
Success in installing bathroom motion sensor lights depends heavily on gathering the right tools and materials before you begin.
Proper preparation with the right tools and materials is absolutely crucial for a successful bathroom motion sensor light installation.
You’ll need essential tools including a voltage meter for safety testing, screwdrivers for fixture mounting, wire connectors for secure electrical connections, electrical tape for insulation, and silicone caulk for weatherproofing.
Don’t forget a sturdy ladder to safely access high installation points like ceilings or above doorways.
Your primary materials consist of the motion sensor light itself, additional wire connectors, electrical tape, and silicone caulk.
Make certain your chosen motion sensor offers bathroom-compatible features like moisture resistance and adjustable sensitivity settings.
Before starting, clear your workspace by removing old light bulbs and fixtures, disposing of them properly to maintain safety throughout the installation process.
Safety Precautions Before Starting the Installation
Before you start installing your bathroom motion sensor lights, you must turn off the power supply at the main circuit breaker or fuse box to prevent electrical shock.
Once you’ve switched off the power, use a voltage meter to test the wires and confirm there’s no electrical current flowing through them.
Don’t skip this vital step—it’s the difference between a safe installation and a potentially dangerous situation.
Turn Off Power Supply
Since electrical safety forms the foundation of any successful installation, you must turn off power supply at the main fuse or circuit breaker box before touching any wires.
Locate the specific breaker controlling your bathroom lighting circuit and switch it to the OFF position.
After shutting off power, use a voltage meter to verify there’s no electrical current flowing through the wires you’ll be working with.
Double-check that the wall switch controlling your current light fixture is also in the OFF position to prevent accidental activation.
Before making any electrical connections, follow the manufacturer’s instructions carefully and review local electrical codes for compliance.
If you’re uncertain about any electrical procedures, contact a licensed electrician immediately.
Use Voltage Meter Testing
Three critical voltage tests will confirm your bathroom’s electrical circuit is completely dead before you begin installation. After you turn off the electricity at the main breaker, your voltage meter becomes your safety lifeline.
Test each wire connection methodically to verify zero electrical current flows through the circuit.
- Test between hot and neutral wires at the switch box location
- Check hot wire to ground connection for any residual current
- Verify neutral to ground reads zero voltage throughout the circuit
- Test the actual light fixture wires where you’ll make new connections
- Double-check readings by testing a known live circuit to confirm your meter works
Never trust the breaker switch alone. Wire connections can still carry dangerous voltage from other sources, making voltage meter testing absolutely essential for your safety.
Choosing the Right Location for Your Bathroom Motion Sensor Light
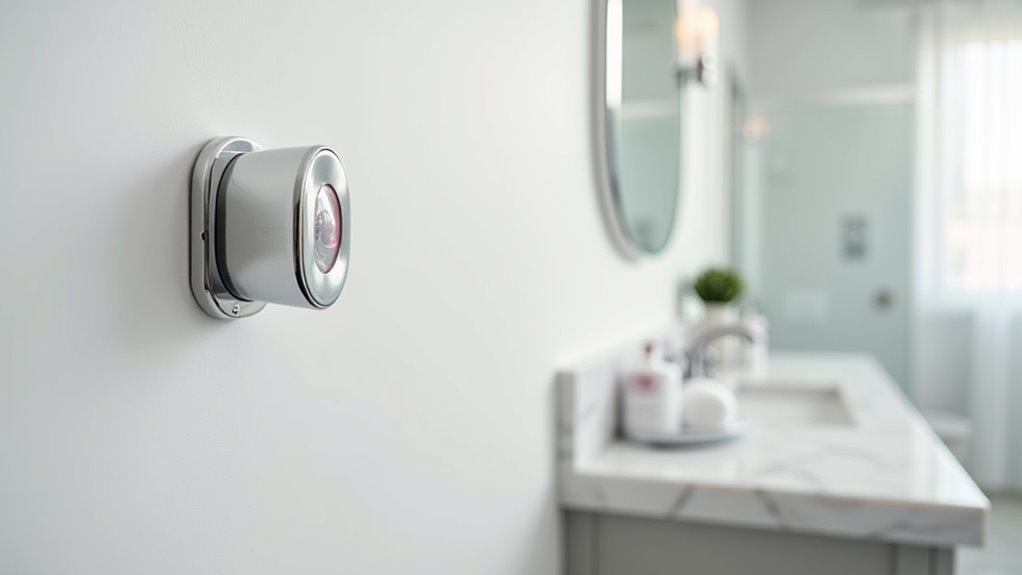
Where you position your bathroom motion sensor light determines how effectively it’ll illuminate your space and respond to movement.
When choosing the ideal location, install your sensor 6 to 10 feet above the floor for best motion detection. Position it near the bathroom entrance so it activates immediately when someone enters.
Avoid placing the sensor directly facing windows or heat sources like radiators, as these create false triggers from external light changes or temperature fluctuations.
Don’t let doors or cabinets obstruct the sensor’s view, which blocks motion detection.
Consider your bathroom’s layout carefully. The sensor should cover the entire area without creating dark spots that compromise safety and functionality.
Proper positioning guarantees complete coverage and reliable operation.
Turning Off Power at the Circuit Breaker
Before touching any electrical components, you must turn off power at the circuit breaker to prevent potentially dangerous electrical shock.
Your home’s circuit breaker panel is typically located in the basement, garage, or utility room. Look for the switch labeled “Bathroom” or similar designation that controls your bathroom lighting circuit.
- Locate your circuit breaker panel in the basement, garage, or utility room
- Identify the correct breaker by checking labels marked “Bathroom” or similar
- Flip the appropriate breaker to the “OFF” position to cut power completely
- Test with a voltage meter to verify electricity is actually disconnected
- Keep the wall switch in “OFF” position throughout installation
Once you’ve confirmed the circuit breaker is off and tested for zero voltage, you can safely proceed with your motion sensor installation.
Removing the Existing Bathroom Light Fixture
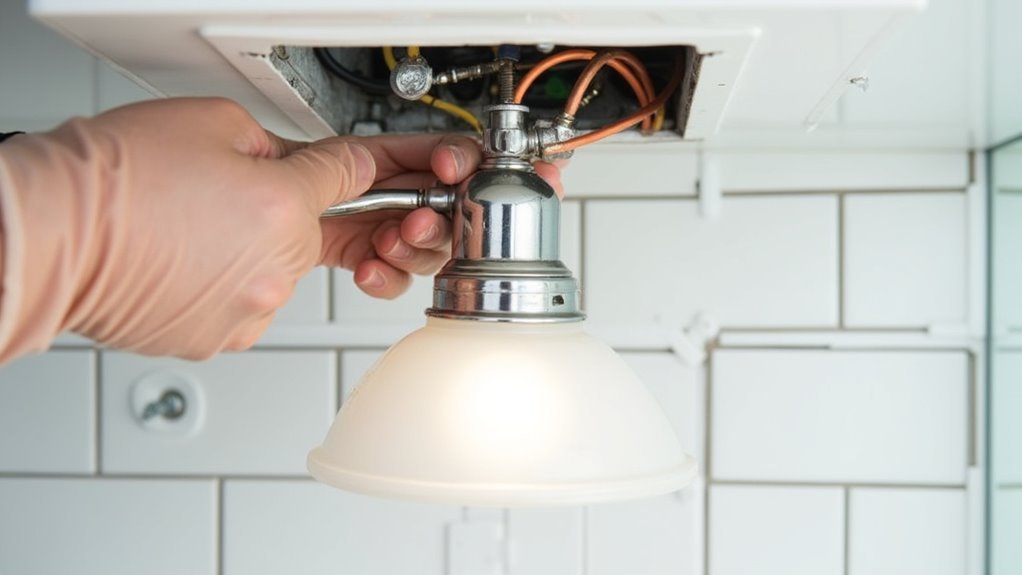
Before you start removing your existing bathroom light fixture, you’ll need to turn off the power supply at the circuit breaker and verify it’s off with a voltage tester.
Remove any light bulbs from the fixture first, as this makes the unit lighter and prevents potential breakage during removal.
Once that’s done, you can carefully unscrew the fixture from the wall or ceiling mounting bracket, supporting its weight as you work.
Turn Off Power Supply
Since electrical safety forms the foundation of any successful lighting installation, you’ll need to cut power at the main circuit breaker before touching your existing bathroom fixture.
Locate the breaker controlling your bathroom lighting circuit and flip it to the OFF position. This critical step prevents electrical shock when you’re handling wires during the motion sensor switch installation.
After cutting power at the breaker, you’ll want to verify the existing light is completely disconnected from electrical current.
Here’s your safety checklist:
- Test the light switch to confirm the existing light won’t turn on
- Use a non-contact voltage tester on the fixture wires
- Double-check the correct breaker by having someone verify the lights are off
- Wait five minutes for any residual electricity to dissipate
- Keep the breaker in OFF position throughout installation
Remove Light Bulbs First
Start by carefully unscrewing all light bulbs from your existing bathroom fixture. This step prevents accidental breakage during fixture removal and guarantees you don’t damage the bulbs while working.
Remember that you’ve already turned off the electricity at the main circuit breaker for safety.
Handle each bulb gently to avoid cuts from broken glass. Once you remove the existing light bulbs, place them in a designated safe area away from your workspace.
If the bulbs are still functional, you can reuse them with your new motion sensor fixture if they’re compatible.
Properly dispose of any old or burnt-out bulbs according to local recycling regulations.
Clear your workspace of debris and organize any screws or components you’ll remove next.
Unscrew Fixture Carefully
With your bulbs safely stored, you can now remove the fixture itself from the wall.
Before proceeding, verify you’ve turned off the power at the circuit breaker for complete safety.
Now you’re ready to unscrew the mounting hardware that secures your old fixture.
Use a screwdriver to carefully unscrew each wall plate screw, taking your time to avoid stripping the threads.
Once all screws are loose, gently detach the fixture from the wall, being mindful not to damage the surrounding drywall or the fixture itself.
- Turn off power at the circuit breaker before starting
- Use appropriate screwdriver size to prevent screw stripping
- Store all screws in a small container or bag
- Gently pull fixture away from wall once unscrewed
- Inspect existing wiring for damage or wear
Preparing the Electrical Box and Wiring
Before you can install your motion sensor light, you’ll need to properly prepare the electrical connections and guarantee a safe working environment. Start by using a voltage meter to verify there’s no electrical current flowing to the wires. This double-check confirms your safety even though you’ve already turned off the main circuit breaker.
Next, disconnect the wires from your old fixture by untwisting the wire nuts counterclockwise. Keep these wire nuts handy as you’ll likely reuse them.
When preparing the electrical box, remove any debris or old wire nuts that might interfere with your new connections. Clean the box thoroughly and inspect the existing wires for any damage or wear. Verify all wire ends are straight and stripped properly for secure connections with your new motion sensor light.
Installing the Motion Sensor Light Base
Position the motion sensor light base in the exact location of your old fixture to guarantee proper alignment with the electrical box.
Use the manufacturer’s provided screws to securely attach the base, making sure it’s fastened tightly to prevent any movement or instability.
Before tightening completely, verify that all wiring is properly routed through the gasket to maintain the water-tight seal your bathroom requires.
Position Base Correctly
Once you’ve turned off the power and removed the old fixture, you’ll need to mount the motion sensor light base at the proper height and location. Proper positioning guarantees ideal sensor performance while maintaining easy installation.
To position base correctly for maximum effectiveness:
- Mount the base 6 to 10 feet above the floor for ideal motion detection coverage
- Install in the same location as your old fixture to minimize additional wiring requirements
- Secure the base using provided screws, guaranteeing it’s firmly attached to the electrical box
- Check that the base sits level and faces the correct direction for proper sensor orientation
- Apply silicone caulk around the junction box perimeter to prevent water intrusion and protect connections
Taking time to position everything correctly now saves troubleshooting later.
Secure Mounting Hardware
With your base properly positioned, you’ll secure the mounting hardware to create a stable foundation for your motion sensor light.
Thread the provided screws through the base into your existing electric box, ensuring proper alignment with mounting holes. Use a level to verify the base sits straight before fully tightening screws – this prevents crooked installation later.
Before proceeding, turn the power off at your circuit breaker for safety.
Once you’ve confirmed the base is level and secure, tighten all mounting hardware completely. The fixture shouldn’t move or shift when gently tested.
Apply silicone caulk around the base edges to seal against moisture intrusion.
Next, you’ll connect your wire connectors to join the fixture wiring with your home’s electrical system.
Connecting the Electrical Wires
After you’ve successfully mounted your motion sensor light fixture, the next critical step involves making proper electrical connections that’ll confirm both safety and functionality.
Connecting the wires correctly confirms your motion sensor operates reliably while preventing potential electrical hazards.
- Connect the black wire from your motion sensor to the black supply wire using wire nuts.
- Attach the red wire from the original switch to the second black wire on the new motion sensor switch.
- Join the white motion sensor wire to the grouped white neutral wires in the gang box.
- Secure the ground wire (green or bare copper) to the designated ground terminal.
- Double-check all connections are tight and no bare wires remain exposed before restoring power.
These connections form the foundation for proper motion sensor functionality.
Mounting the Motion Sensor Light Fixture
Before securing your motion sensor light fixture permanently, you’ll need to position it at the ideal height of 6 to 10 feet above the ground for maximum detection coverage. Install your fixture near entry points like doorways to maximize safety and convenience.
| Step | Action | Key Point |
|---|---|---|
| 1 | Position fixture | 6-10 feet height |
| 2 | Align with electric box | Check stability |
| 3 | Insert mounting screws | Use provided hardware |
| 4 | Tighten connections | Confirm secure attachment |
| 5 | Apply silicone caulk | Seal junction box base |
Securely attach the fixture base to your existing electric box using the manufacturer’s provided screws. Verify the connection is stable before proceeding. After mounting, seal the junction box base with silicone caulk to prevent water intrusion and protect your electrical connections from bathroom moisture.
Adjusting Motion Detection Settings
After mounting your bathroom motion sensor light, you’ll need to fine-tune its detection settings for peak performance.
Start by adjusting the sensitivity level to guarantee it responds appropriately to movement without triggering false activations from minor disturbances.
Next, configure the timer duration to determine how long the light stays on after detecting motion, balancing convenience with energy efficiency.
Sensitivity Level Calibration
Once you’ve installed your bathroom motion sensor light, you’ll need to calibrate its sensitivity settings to guarantee it responds appropriately to movement without triggering false activations.
Most fixtures include adjustable controls that let you fine-tune how easily the sensor detects movement.
To calibrate sensitivity effectively:
- Locate the sensitivity dial or control panel on your fixture and consult the manufacturer’s instructions
- Test the sensor by walking through the detection zone and observing the light’s response
- Adjust sensitivity levels based on your bathroom’s specific needs and environmental factors
- Choose appropriate threshold settings (high, medium, or low) depending on factors like pets or nearby motion
- Confirm the wall switch stays in the “on” position for automatic operation
Fine-tuning these settings guarantees peak performance for your bathroom environment.
Timer Duration Setup
Setting the timer duration determines how long your motion sensor light stays illuminated after detecting movement. You’ll find duration settings ranging from a few seconds to several minutes, allowing customization based on your bathroom’s specific needs.
Refer to your manufacturer’s instructions since different models use varying methods for adjusting these settings.
Keep your light switch in the “on” position so the sensor operates automatically. After configuring the timer duration, test the system by walking through the detection zone to confirm proper activation and timing.
If you’re experiencing unwanted activations or inadequate lighting periods, adjust the sensitivity settings alongside the timer duration. This combined approach optimizes your motion detection performance, ensuring your bathroom lights respond appropriately to movement while conserving energy.
Setting Light Duration and Sensitivity
Proper calibration of your motion sensor’s duration and sensitivity settings guarantees peak performance tailored to your bathroom’s specific needs.
You’ll need to adjust the light duration based on your typical usage patterns, with most motion sensors offering ranges from 10 seconds to several minutes. Fine-tune sensitivity settings to prevent false triggers while ensuring reliable activation when needed.
- Locate the sensitivity dial or control panel on your motion sensor unit
- Start with medium sensitivity settings and adjust based on your bathroom’s traffic patterns
- Test the detection zone by walking through it after each adjustment
- Reduce sensitivity in high-traffic areas to minimize unnecessary activations
- Familiarize yourself with your specific model’s integrated features and adjustment options
Testing the Motion Sensor Functionality
Why test your motion sensor before considering the installation complete? Testing verifies your bathroom motion sensor lights function properly and meet your specific needs.
Walk into the detection zone and observe if the lights activate in response to your movement. Keep the light switch in the “on” position so the sensor operates automatically.
Adjust the sensitivity settings to minimize false activations while maintaining effective motion detection.
Test the sensor during different times of day to confirm it responds correctly in various lighting conditions.
Time how long the lights remain on after being triggered to verify the duration setting matches your preferences.
These tests assure your motion sensor system works reliably.
Troubleshooting Common Installation Issues
Even after careful installation, you might encounter issues that prevent your bathroom motion sensor lights from working correctly.
Troubleshooting these problems systematically will help you identify and resolve most common installation issues quickly.
- Verify power supply – Confirm the wall switch is on and check for voltage using a meter to guarantee electricity reaches the fixture.
- Inspect wiring connections – Match black wires to hot terminals and white wires to neutral terminals for proper electrical flow.
- Adjust sensitivity settings – Fine-tune the sensor’s detection range if it’s not responding when the sensor detects movement appropriately.
- Check manufacturer specifications – Review your model’s specific troubleshooting guidelines for unique features and calibration requirements.
- Test detection zones – Walk through different areas to verify the sensor’s coverage pattern.
Maintenance Tips for Bathroom Motion Sensor Lights
Once you’ve successfully installed your bathroom motion sensor lights, maintaining them regularly will extend their lifespan and guarantee consistent performance.
These maintenance tips will keep your motion sensor functioning efficiently.
Clean the sensor lens and light fixture monthly to prevent dust buildup that causes false activations.
Replace light bulbs when they dim or flicker, as worn bulbs affect sensor response and brightness quality.
Inspect the wiring annually for wear, corrosion, or loose connections to maintain electrical safety.
Adjust sensitivity settings if you’re experiencing frequent false triggers, especially after bathroom renovations or furniture changes.
Ensure your motion sensor remains unobstructed and properly positioned.
Remove any items blocking the detection range to maximize coverage and minimize unnecessary activations in your bathroom space.
Frequently Asked Questions
Are Motion Sensor Lights Easy to Install?
Yes, you’ll find motion sensor lights easy to install with basic tools like screwdrivers. Battery-powered models don’t require wiring, while hard-wired versions need simple electrical connections following manufacturer instructions.
Do You Need an Electrician to Install a Motion Sensor Light?
You don’t need an electrician for basic motion sensor light installations if you’re comfortable with electrical work. However, you’ll want professional help for complex wiring situations or when integrating multiple lights.
Can You Put a Motion Sensor in a Bathroom?
You can install a motion sensor in your bathroom for convenience and energy savings. Choose humidity-resistant models with adjustable sensitivity to prevent false triggers from steam or water movement.
Can I Add a Motion Sensor to Existing Light?
You can add a motion sensor to your existing light by purchasing an outdoor motion sensor kit. Confirm it’s compatible with your current fixture and follow installation instructions for proper functionality and peak performance.


Leave a Reply