You’re probably unaware that the air you’re breathing in your bedroom could be silently affecting your sleep quality and health. While commercial air monitors cost hundreds of dollars, you can build your own sophisticated device for under fifty dollars using basic components like an ESP32 microcontroller and environmental sensors. This DIY approach isn’t just about saving money—it’s about creating a customized monitoring system that tracks exactly what matters to you.
Essential Components for Your Bedroom Air Monitor
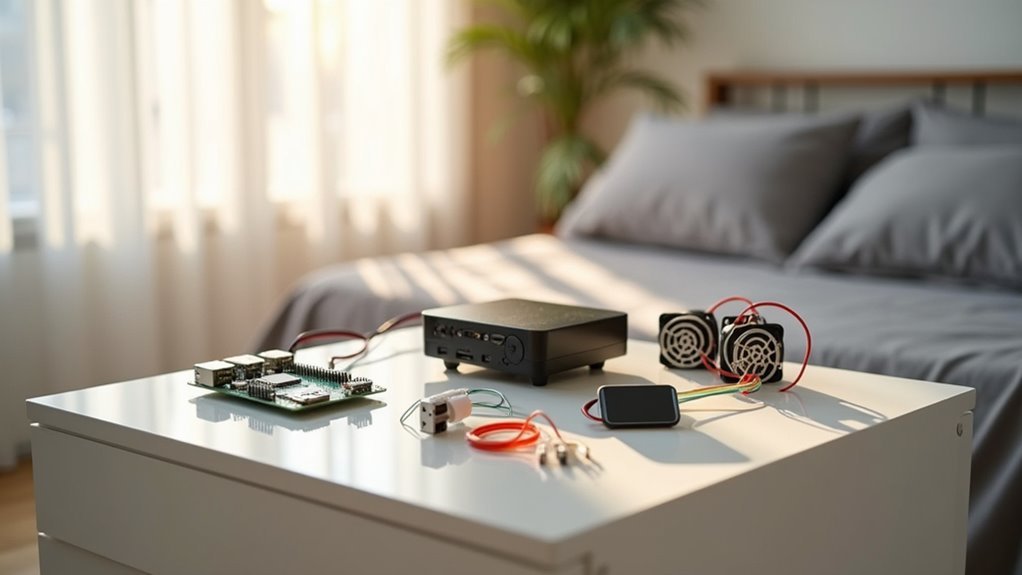
Building a smart bedroom air monitor starts with selecting the right microcontroller, and the NodeMCU ESP8266 stands out as an ideal choice for its built-in Wi-Fi connectivity and reliable data transmission capabilities.
You’ll need a temperature and humidity sensor like the DHT11 or DHT22 to track environmental conditions. For extensive air quality monitoring, add gas sensors such as the MQ135, which detects harmful gases including ammonia and CO2.
A 16×2 LCD display with I2C interface provides real-time data visualization without complex wiring. Don’t forget essential accessories: a power supply, connection cables, and Stemma QT/Qwiic connectors for flexible integration.
You’ll program everything using Arduino IDE for seamless operation.
Setting Up Sensors for Temperature, Humidity, and Air Quality
Once you’ve gathered your components, you’ll start by connecting the DHT11 or DHT22 sensor to your NodeMCU ESP8266 for temperature and humidity monitoring.
These sensors deliver accurate readings with minimal wiring complexity. Next, integrate the MQ135 CO2 sensor for thorough Air Quality Monitoring. This sensor detects multiple gases including ammonia and CO2, giving you complete Indoor Air assessment capabilities.
The MQ135 sensor provides comprehensive indoor air quality assessment by detecting multiple gases including ammonia and CO2 with minimal complexity.
Connect sensors using I2C or UART protocols based on specifications. Don’t skip the vital 24-hour calibration period – this guarantees accurate data collection.
Install Adafruit’s sensor libraries in Arduino IDE to streamline your Arduino Air quality project setup. These libraries simplify data integration and make programming straightforward.
Proper calibration and connection protocols are fundamental for reliable Indoor Air quality measurements in your bedroom monitoring system.
Programming Your ESP32 Microcontroller
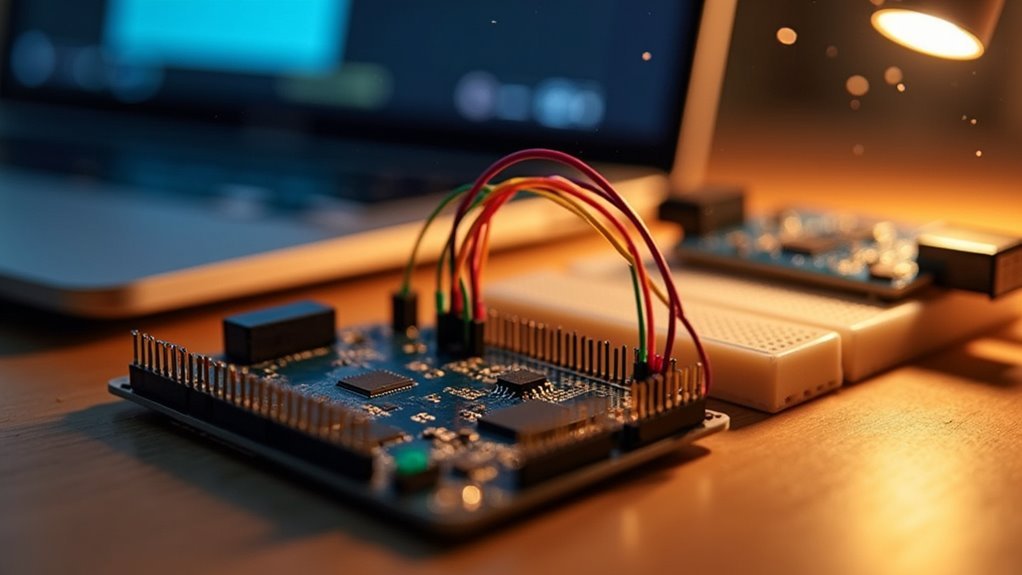
You’ll start by setting up the Arduino IDE with the ESP32 board package to program your microcontroller effectively.
Next, you’ll configure WiFi connectivity using the `WiFi.h` library and your network credentials to enable data transmission.
Finally, you’ll integrate the necessary sensor libraries like `Adafruit_AHTX0` for temperature and humidity monitoring to collect environmental data from your bedroom.
Setting Up Arduino IDE
Programming your ESP32 microcontroller requires setting up the Arduino IDE as your primary development environment. You’ll need to download and install the latest version from the official Arduino website first.
Next, add the ESP32 board package by accessing “File” > “Preferences” and entering `https://dl.espressif.com/dl/package_esp32_index.json` in “Additional Board Manager URLs.” Install the package through Board Manager.
| Step | Action |
|---|---|
| 1 | Select your ESP32 board model from “Tools” > “Board” |
| 2 | Connect ESP32 via USB cable |
| 3 | Choose correct port from “Tools” > “Port” |
| 4 | Include `WiFi.h` library for Wi-Fi network connectivity |
| 5 | Add sensor libraries to monitor the air quality data |
These libraries enable real-time air quality data collection and transmission for your bedroom monitoring system.
Configuring WiFi Connectivity
After installing the ESP32 board package, you’ll need to establish a stable WiFi connection for your air monitor to transmit data effectively.
Start by including the WiFi library with `#include
Initiate the connection with `WiFi.begin(wifi_ssid, wifi_password);` and implement a status-checking loop: `while (WiFi.status() != WL_CONNECTED) { delay(1000); Serial.println(“Connecting to WiFi…”); }`. This guarantees your ESP32 successfully connects before proceeding.
Once connected, print the assigned IP address using `Serial.println(WiFi.localIP());` to access your air quality readings remotely through a web browser.
Sensor Library Integration
Proper sensor library integration forms the backbone of accurate air quality monitoring on your ESP32 microcontroller. Download necessary libraries like Adafruit’s AHT20 for temperature and humidity readings, and SGP40 for gas detection.
Add these libraries to your device’s `Lib` folder, then implement specific initialization code for each sensor. Use `Adafruit_AHTX0 aht;` followed by `aht.begin();` to configure the AHT20 sensor properly.
Verify correct I2C addresses in your code – AHT20 uses `0x38` while SGP40 uses `0x58`.
With all components in place, implement data-reading functions like `aht.getTemperature()` and `sgp.readRaw()` to capture air quality parameters.
Test sensor functionality using debug prints before you upload the code to guarantee accurate readings display correctly.
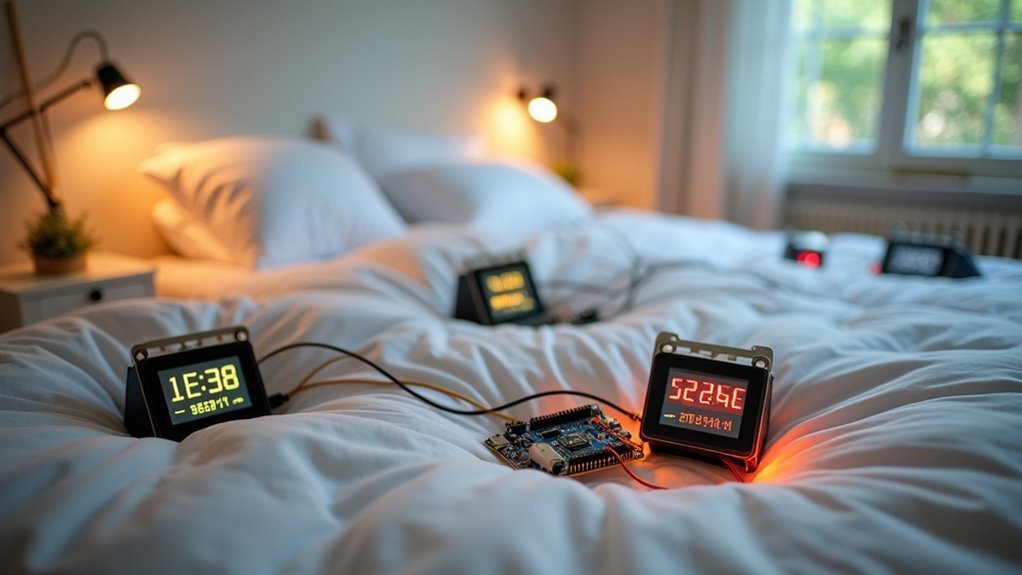
Building the Circuit and PCB Assembly

Three essential sensors form the core of your smart bedroom air monitor’s circuit assembly. You’ll need to solder each component to the PCB with precision to guarantee accurate readings.
Your circuit requires these key connections:
- PMS5003 PM2.5 sensor – Connect using four wires to the PCB, maintaining proper orientation for reliable particulate matter detection.
- MH-Z19 CO2 sensor – Wire according to specifications, leveraging its non-dispersive infrared technology for precise CO2 measurements.
- DHT22 sensor – Integrate for temperature and humidity monitoring, guaranteeing stable environmental data collection.
Follow your circuit diagram carefully when connecting sensors to the Arduino Pro Mini.
After completing the solder work, test your monitor by connecting the Mini USB connector and verifying each sensor provides accurate display readings.
Creating a Custom Enclosure for Bedside Use
When you’re designing an enclosure for bedside use, you’ll need to prioritize bedroom-specific factors like aesthetics, size constraints, and placement flexibility to guarantee your air monitor blends seamlessly with your nightstand setup.
You’ll want to incorporate noise reduction features such as sound-dampening materials or strategic component placement to minimize any operational sounds that could disturb your sleep.
Additionally, you’ll need to take into account how the display will function during nighttime hours, planning for dimming capabilities or sleep-friendly lighting that won’t interfere with your rest while still providing readable air quality data.
Bedroom-Specific Design Considerations
Although standard air quality monitors work adequately in most rooms, bedroom environments demand specialized enclosure considerations that prioritize both functionality and sleep-friendly design.
Your bedroom-specific design considerations must address unique challenges that standard air quality monitors can’t handle. The enclosure needs strategic ventilation placement to capture accurate readings in spaces with limited airflow, while materials should minimize noise and visual disruption during sleep hours.
Key bedroom adaptations include:
- Dimmed display options – Incorporate adjustable brightness controls or auto-dimming features that respond to ambient light levels.
- Silent operation design – Guarantee ventilation holes don’t create unwanted airflow noise that could disturb sleep.
- Compact footprint – Design the enclosure to fit seamlessly on nightstands without overwhelming limited bedside space.
These modifications guarantee your air quality monitor functions effectively without compromising your sleep environment.
Noise Reduction Features
Creating a custom enclosure takes bedroom-specific design one step further by addressing the most disruptive element for sleep: operational noise.
You’ll want to use sound-dampening materials like acrylic or foam that absorb vibrations and minimize sound transmission effectively.
Proper ventilation remains essential—strategically place air intake and exhaust openings to prevent sound wave buildup while ensuring unobstructed airflow to your sensors.
Your compact design should fit snugly on bedside tables without sacrificing accessibility to displays and controls.
Add rubber feet or pads underneath to isolate the monitor from surface vibrations.
For access panels, incorporate soft-close mechanisms or magnetic closures to prevent rattling during operation.
These noise reduction features create a quieter monitoring experience that won’t disturb your sleep cycles.
Nighttime Display Settings
Since bedroom lighting greatly affects sleep quality, your custom enclosure’s display requires careful consideration to prevent sleep disruption.
Your nighttime display settings must balance visibility with comfort while monitoring the quality of the air throughout the night.
When designing your DIY Air Quality monitor’s main enclosure, implement these essential display modifications:
- Light Diffusion Integration – Incorporate frosted acrylic or translucent 3D printing filament in your STL design to soften harsh LED brightness and create gentle illumination.
- Brightness Control Access – Position programming ports externally so you can adjust display intensity without opening the enclosure, allowing real-time customization based on ambient lighting conditions.
- Heat Management Venting – Design strategic airflow channels that prevent internal heat from affecting temperature sensors while maintaining ideal screen visibility for nighttime air quality monitoring.
Connecting Your Monitor to Wi-Fi and Smart Home Systems
When you’re ready to transform your basic air quality monitor into a connected smart device, you’ll need to equip it with Wi-Fi capabilities using a microcontroller like the NodeMCU ESP8266.
Taking your air quality monitor from a standalone device to a smart home-integrated system requires adding Wi-Fi connectivity through an ESP8266 microcontroller.
Poor air quality detection becomes much more powerful when you can connect your monitor to your home network for real-time alerts and automation.
Define your Wi-Fi credentials in the code using `const char* wifi_ssid` and `const char* wifi_password` variables.
Implement MQTT protocol for seamless smart home integration, enabling communication with platforms like Home Assistant.
Configure your monitor’s MQTT settings and include necessary entities in your Home Assistant YAML configuration.
Set up a web server within your code to serve sensor data in JSON format, accessible through your device’s IP address.
Frequently Asked Questions
How to Make an Air Quality Monitoring Device?
You’ll need an Arduino Pro Mini, PM2.5 sensor, CO2 sensor, and display. Solder components onto a PCB, program using Arduino IDE with sensor libraries, calibrate sensors properly, and add Wi-Fi for remote monitoring.
How to Make a Homemade Air Pollution Detector?
You’ll need a microcontroller like Arduino, PM2.5 sensor, gas sensor like MQ135, and temperature/humidity sensor. Connect components, calibrate sensors properly, program the Arduino, then display readings on LCD or send data to IoT platforms.
Do Cheap Air Quality Monitors Work?
Cheap air quality monitors work partially – you’ll get basic readings for particles like PM2.5, but they’re often inaccurate for gases and lack proper calibration, giving incomplete data.
What Is the Best Indoor Air Quality Monitoring Device?
You’ll find the best indoor air quality monitors measure PM2.5, CO2, VOCs, ozone, temperature, and humidity. Look for devices with Wi-Fi connectivity, smartphone apps, and calibration features for accurate, thorough monitoring.


Leave a Reply