
You’ve invested in a doorbell camera for home security, but its effectiveness hinges entirely on where you mount it. Most homeowners make critical placement errors that render their expensive security device nearly useless—creating blind spots, capturing unusable footage, or worse, leaving their property vulnerable to intruders who know exactly how to avoid detection. The difference between ideal and poor placement can determine whether you’ll catch a burglar or simply own an overpriced decoration.
Optimal Height Requirements for Doorbell Camera Installation

One essential factor determines whether your doorbell camera effectively captures clear footage of visitors: installation height.
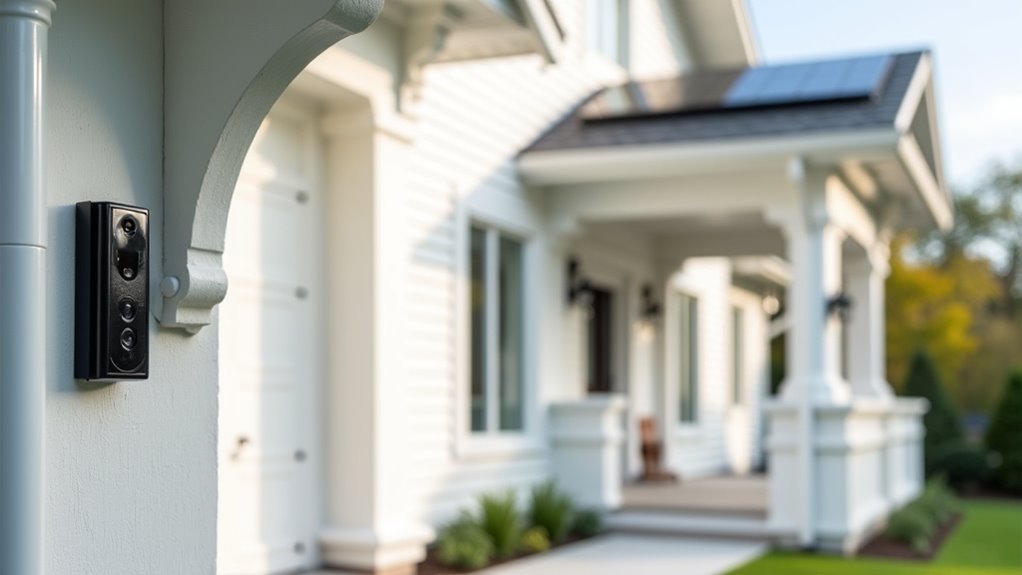
You’ll achieve ideal height by mounting your camera approximately 48 inches from the ground. This doorbell camera placement guarantees you capture visitors’ faces and bodies clearly while maintaining excellent video quality.
Position your camera at chest level to minimize false alarms from passing objects and maximize identification accuracy. You’ll want to stay close to your front door while maintaining this recommended height for best results.
Chest-level positioning reduces false alerts while maximizing visitor identification, keeping your camera close to the door at the recommended height.
Avoid installing too low, which captures only lower body parts, or too high, which misses faces entirely.
Make sure you maintain an unobstructed view by checking for overhangs or foliage that might interfere with visibility and compromise your camera’s performance.
Choosing the Right Angle to Capture Visitor Activity
How should you angle your doorbell camera to maximize visitor detection and identification? Your doorbell camera’s placement requires strategic consideration of horizontal movement patterns. You’ll achieve ideal results by adjusting the camera angle to capture horizontal motion, as most visitors approach from side angles rather than straight-on paths.
| Angle Consideration | Recommendation |
|---|---|
| Horizontal positioning | Face main approach path |
| Vertical tilt | Use wedge mounts for adjustment |
| Field of view obstacles | Trim overhanging vegetation |
| Shadow interference | Avoid direct porch overhang placement |
| Motion detection zone | Align with walkway traffic |
Proper positioning involves using wedge mounts when your camera can’t directly face the monitored area. These accessories enable both horizontal and vertical adjustments. Make sure your camera’s view remains unobstructed by trimming branches or bushes that could compromise your field of view and overall security effectiveness.
Wired Vs Wireless Power Source Considerations
While doorbell camera placement depends heavily on your home’s electrical infrastructure, you’ll find that wired models offer superior reliability at the cost of installation flexibility.
Wired doorbell cameras connect to existing chimes and transformers, restricting placement to pre-wired locations but delivering consistent power source performance. However, inadequate transformer voltage can cause sluggish operation.
Wireless doorbell cameras provide placement freedom since they’re battery-powered, making installation simpler without electrical work. You can position them anywhere for ideal security coverage.
The tradeoff involves regular battery maintenance – consider accessibility when choosing locations, as frequent charging requirements vary by usage patterns.
Your power source decision ultimately balances reliability against flexibility. Wired installations excel in consistent operation, while wireless models offer versatile positioning for maximum security coverage without existing electrical constraints.
Avoiding Obstructions That Block Camera View
Strategic camera positioning means nothing if obstructions compromise your doorbell’s field of view. You’ll need to eliminate anything blocking your camera’s line of sight to maintain ideal visibility.
| Obstruction Type | Impact on Camera View | Solution |
|---|---|---|
| Tree branches/bushes | Blocks portions of entrance | Regular trimming and maintenance |
| Porch overhangs | Creates shadows in low-light | Avoid mounting underneath |
| Growing landscaping | Gradually reduces visibility | Monitor and prune seasonally |
| Direct sunlight/reflections | Causes glare and poor image quality | Use adjustable mounts for positioning |
Install your camera at 48 inches height to minimize obstructions naturally. Regularly inspect the area for new growth that might interfere with recording. Adjustable brackets let you fine-tune angles, ensuring clear capture of your entrance while avoiding environmental interference.
Weather Protection and Environmental Factors
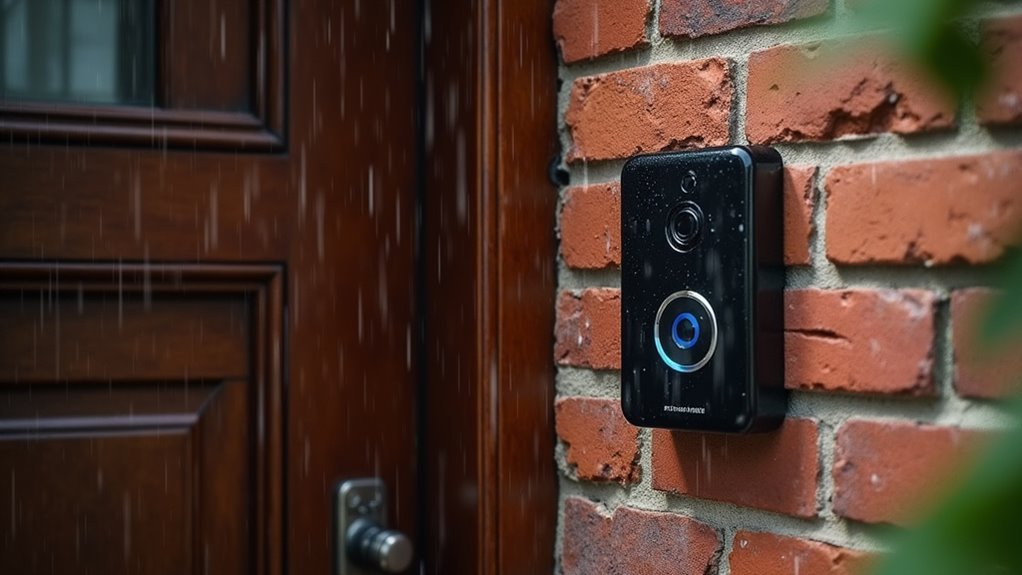
Beyond clearing visual obstructions, you must protect your doorbell camera from harsh weather conditions that can degrade performance and damage internal components.
Position your device under eaves or overhangs to shield it from rain, snow, and direct sunlight. These environmental factors can compromise video quality and reduce your camera’s lifespan.
Proper placement under protective structures shields your doorbell camera from weather damage and extends its operational lifespan significantly.
Avoid locations exposed to extreme temperatures, which negatively impact device performance.
Don’t position your camera toward direct light sources, as glare interferes with infrared night vision capabilities and affects how your camera captures footage during low-light conditions.
Consider surrounding landscaping and structures that create problematic shadows or temperature variations.
For additional weather protection, install doorbell covers or shades that maintain ideal visibility while safeguarding against environmental damage.
Wi-Fi Signal Strength and Connectivity Requirements
You’ll need to test your Wi-Fi signal strength at the proposed doorbell location before installation to guarantee reliable performance.
Use your camera’s app to check that the connection meets the minimum -70 dBm requirement for ideal video streaming and motion alerts.
If you discover weak signals, you can boost connectivity by installing a Wi-Fi extender or upgrading to a mesh network system.
Testing Connection Strength
Before finalizing your doorbell’s placement, you’ll need to verify that your Wi-Fi signal reaches the installation spot with adequate strength.
Use your doorbell camera’s app to test the connection strength at your chosen location. For ideal performance, you’ll want at least 70% signal strength to guarantee reliable motion detection and smooth video streaming.
Position your doorbell within 30 feet of your Wi-Fi router whenever possible. If the signal falls short, install a Wi-Fi extender to boost connectivity in that area.
After installation, regularly monitor the connection status through your camera app to maintain stable network performance.
Should you experience sluggish performance or frequent disconnections, check your doorbell transformer’s voltage and amperage specifications to confirm they meet your device’s requirements.
Improving Weak Signals
When your doorbell camera struggles with connectivity issues, several proven strategies can boost your Wi-Fi signal strength and restore reliable performance.
If your signal is weak, you’ll need to take proactive steps to optimize your home’s Wi-Fi network.
Here are four effective methods to strengthen your connection:
- Install a Wi-Fi extender – Place it strategically between your router and doorbell camera to amplify signal reach.
- Relocate your router – Position it centrally in your home to maximize coverage area.
- Reduce interference – Minimize competing devices and eliminate sources that disrupt your Wi-Fi network.
- Consider wired alternatives – Switch to a hardwired doorbell camera for the most reliable connection possible.
These solutions will considerably improve your doorbell camera’s performance and guarantee consistent security monitoring.
Privacy Compliance and Neighbor Relations
When you’re positioning your doorbell camera, you’ll need to angle it carefully to capture your own property while avoiding your neighbors’ driveways and doorways.
Check with your local homeowners association or city government about any surveillance regulations that might affect your installation.
Open communication with your neighbors about your camera placement can prevent privacy disputes and help maintain positive relationships in your community.
Respecting Neighbor Privacy
Why should doorbell camera placement consider your neighbors’ privacy? Thoughtful positioning protects relationships while maintaining security. Your doorbell camera’s angle directly impacts neighbor trust and legal compliance.
Follow these placement options to respect privacy:
- Adjust the viewing angle to focus primarily on your property, avoiding neighboring driveways and homes.
- Review local regulations and HOA rules regarding camera placements before installation.
- Communicate proactively with neighbors about your security plans to address privacy concerns.
- Monitor footage regularly to guarantee you’re not inadvertently surveilling adjacent properties.
Many modern doorbell cameras offer adjustable viewing angles, letting you fine-tune coverage areas. This flexibility helps minimize capture of neighboring spaces while maximizing your property’s protection.
Regular footage reviews ensure ongoing compliance with privacy standards.
Local Regulation Compliance
Beyond neighborly considerations, you must navigate the legal landscape surrounding doorbell camera installations. Many municipalities enforce privacy regulations that restrict camera placement to prevent capturing public areas or neighboring properties. You’re required to check local laws before installation, as violations can result in fines or legal disputes.
| Regulation Type | Key Requirements | Potential Consequences |
|---|---|---|
| Municipal Codes | Angle restrictions, permit requirements | Fines, removal orders |
| HOA Guidelines | Placement approval, design standards | Violation fees, forced compliance |
| State Privacy Laws | Recording consent, signage mandates | Legal action, penalties |
| Federal Regulations | Data protection, storage limits | Criminal charges, lawsuits |
| Neighbor Agreements | Mutual boundaries, angle limits | Civil disputes, mediation |
You must adjust camera angles to focus solely on your property while respecting neighbors’ privacy rights for compliant installation.
Motion Detection Zone Configuration
After installing your doorbell camera in the perfect location, you’ll need to configure its motion detection zones to maximize security effectiveness.
Properly set zones guarantee you capture relevant activity while avoiding unnecessary notifications.
Follow these steps to enhance your motion detection settings:
- Focus on high-traffic areas like walkways and entry points where intruders would naturally approach your home.
- Customize detection zones through your camera’s app to exclude neighboring properties and respect privacy boundaries.
- Adjust sensitivity levels to prevent false alerts from small animals, swaying foliage, or passing vehicles.
- Maintain an unobstructed view by trimming vegetation that could block the camera’s field of vision.
Regularly review these settings seasonally, as growing foliage and changing conditions may require adjustments to maintain peak security coverage.
Night Vision Enhancement Strategies
You’ll need to position your doorbell camera away from direct light sources like porch lights or street lamps, as glare can wash out night vision and create blind spots.
Your camera’s infrared sensors work best when they’re not competing with artificial lighting that can cause reflections on the lens.
Consider installing ambient lighting nearby to enhance visibility while keeping direct beams from pointing toward the camera itself.
Avoid Direct Light Sources
While proper lighting enhances your home’s security, placing your doorbell camera in direct sunlight or near bright light sources can sabotage its night vision capabilities.
Strategic placement away from these interfering elements guarantees peak performance around the clock.
Follow these essential positioning guidelines:
- Shield from direct sunlight – Install under eaves or overhangs to prevent glare that obstructs infrared sensors.
- Distance from streetlights – Keep away from bright porch lights and street lamps that wash out nighttime images.
- Adjust viewing angles – Point the lens away from light sources while maintaining your desired field of view.
- Test regularly – Monitor night vision performance and relocate if footage appears washed out.
Proper doorbell camera placement maximizes night vision effectiveness, guaranteeing clear surveillance footage regardless of lighting conditions.
Infrared Technology Optimization
Your doorbell camera’s infrared technology becomes the cornerstone of effective nighttime surveillance when properly optimized.
Keep your camera lens meticulously clean, as dirt or debris severely compromises infrared performance and prevents clear images in darkness.
Install your device under eaves or overhangs to shield infrared sensors from environmental interference and reduce glare that weakens night vision capabilities.
Select cameras equipped with advanced infrared technology, including high-quality LED arrays or color night vision features, to maximize low-light visibility.
After installation, thoroughly test your system’s night vision functionality in complete darkness.
If captured footage appears unclear or distorted, adjust the camera’s angle to eliminate obstructions and optimize the infrared field of view for superior nighttime security coverage.
Lighting Conditions That Affect Video Quality
How can lighting make or break your doorbell camera’s effectiveness? The right lighting conditions directly impact your video quality, determining whether you’ll capture clear footage or struggle with washed-out images and shadows.
Direct sunlight creates glare that compromises image clarity, especially affecting cameras with night vision capabilities. Poor lighting conditions can render your security system ineffective when you need it most.
Here’s how to optimize your doorbell camera’s lighting setup:
- Position artificial lighting away from the lens to prevent glare and unwanted shadows.
- Choose well-lit areas with minimal direct light sources for balanced daytime and nighttime visibility.
- Ensure night vision features aren’t overwhelmed by nearby porch lights or street lamps.
- Adjust camera positioning seasonally to accommodate changing sunlight patterns throughout the year.
Door Frame and Architectural Compatibility
You’ll need to assess your door frame’s structural integrity to guarantee it can support your doorbell camera’s weight and withstand daily use.
Consider adjustable mounting brackets that accommodate angled surfaces or uneven door frames, allowing you to achieve the best camera positioning regardless of your home’s architectural quirks.
Position the camera where existing eaves, overhangs, or covered porches provide natural weather protection while maintaining clear sightlines to approaching visitors.
Mounting Surface Strength
Three critical factors determine whether your doorbell camera will remain securely mounted: surface material strength, weight capacity, and architectural interference. Your mounting surface must be sturdy enough to support the camera’s weight without loosening over time.
For secure installation, consider these surface requirements:
- Solid surfaces – Door frames, walls, and brick provide ideal support.
- Weight capacity – Verify the surface can handle your camera’s specifications.
- Additional hardware – Use mounting brackets for softer materials like vinyl siding.
- Clear positioning – Confirm no obstructions from eaves or overhangs affect camera angles.
Check that your chosen mounting surface is free from significant wear or damage that could compromise functionality.
Proper surface selection prevents your camera from becoming loose or falling, maintaining consistent security coverage.
Bracket Adjustment Options
Once you’ve confirmed your mounting surface can support your doorbell camera, adjustable brackets become essential for achieving perfect positioning despite architectural challenges.
Different bracket adjustment options let you work around door frames, overhangs, and other architectural features that could obstruct your camera’s effectiveness.
You’ll want to position your camera at the ideal height of approximately 48 inches from the ground for clear visitor identification.
When standard mounting won’t provide the right viewing angle, wedge mounts allow horizontal or vertical angling to maximize motion detection coverage.
These brackets also help eliminate shadows that architectural elements might create.
Always verify your chosen bracket maintains secure mounting while preserving your home’s aesthetic appeal and delivering maximum security functionality.
Weather Protection Placement
While proper bracket adjustment guarantees ideal viewing angles, protecting your doorbell camera from weather elements requires strategic placement that works with your home’s existing architectural features.
Smart weather protection placement directly impacts your video quality and device longevity.
Position your doorbell camera strategically using these architectural considerations:
- Mount under eaves or overhangs to shield from rain and direct sunlight that degrades video quality.
- Choose stable surfaces like solid door frames or reinforced walls for wind resistance.
- Minimize extreme temperature exposure to protect internal components from damage.
- Utilize existing covers such as awnings or porch structures for enhanced protection.
Regularly inspect your doorbell camera’s placement for debris or foliage that might compromise weather protection or obstruct views, ensuring year-round ideal performance.
Safety Distance From High-Traffic Areas
Positioning your doorbell camera too close to bustling sidewalks or busy streets creates a constant stream of false alerts that’ll quickly overwhelm your security system.
You’ll want to maintain at least 3 to 5 feet of distance from high-traffic areas to prevent passing pedestrians and vehicles from triggering unnecessary notifications.
This strategic spacing helps your security cameras capture clearer, more focused images of actual visitors rather than motion blur from constant foot traffic.
Position your doorbell camera at an angle that prioritizes your entryway over street activity to minimize background distractions.
Remember to periodically reassess your setup as traffic patterns change throughout seasons.
Adjusting the camera’s position when needed guarantees you maintain ideal security coverage while reducing the frustration of endless false alarms from routine neighborhood activity.
Professional Installation Vs DIY Setup
Before you drill the first hole, consider whether professional installation or a DIY setup better suits your security needs and technical comfort level. While DIY installation offers flexibility and cost savings, you’ll risk improper placement that compromises your doorbell camera’s effectiveness.
Professional installation guarantees ideal camera placement by evaluating your home’s unique layout, maximizing both security and functionality.
Here’s what professional services provide over DIY approaches:
- Expert evaluation of your home’s layout for strategic placement
- Proper power source connection guaranteeing safe wired installations
- Wi-Fi strength analysis preventing connectivity issues
- Security system integration advice for thorough home security
Professionals minimize common mistakes like poor angles, weak connections, or vulnerable positioning that could undermine your entire security strategy.
Testing and Troubleshooting Camera Placement
Three critical tests determine whether your doorbell camera placement delivers the security coverage you need.
First, review your live feed to verify the camera captures your entrance clearly without obstructions. Adjust the angle using mounts or brackets to eliminate sunlight glare and interference from moving cars or animals.
Second, test your video quality during nighttime hours, ensuring night vision functions properly without direct light interference disrupting the footage.
Third, evaluate your Wi-Fi connection strength through the camera’s app. If you’re experiencing weak signals, consider repositioning the camera or installing a Wi-Fi extender.
Finally, regularly review your motion detection settings and recorded footage to optimize performance, ensuring you’re capturing relevant activity while minimizing false alarms that waste storage and attention.
Frequently Asked Questions
Where Is the Best Place to Put a Doorbell?
You should mount your doorbell camera 48 inches above ground at chest level near your entrance. Make sure it’s got unobstructed views, strong Wi-Fi signal, and won’t invade neighbors’ privacy.
How Do Burglars Disable the Ring Doorbell?
Burglars can disable your Ring doorbell by cutting its power source, jamming Wi-Fi signals, physically removing the device, blocking the camera lens, or exploiting software vulnerabilities if you haven’t updated it.
How Far Can a Ring Doorbell Be From the Router?
You can place your Ring doorbell up to 30 feet from your router for ideal performance. Beyond that distance, you’ll experience weaker connectivity, delayed notifications, and poor video quality unless you use a Wi-Fi extender.
Where Can You Not Put a Ring Doorbell?
You can’t place Ring doorbells under deep overhangs, behind obstructions, above 48 inches or below 36 inches, where they’d capture neighbors’ property, or in areas with weak Wi-Fi signals.


Leave a Reply