You’ve invested in a bird feeder camera, but you’re not capturing the stunning footage you expected. Whether you’re dealing with blurry images, missed bird visits, or equipment failures, the difference between amateur recordings and professional-quality wildlife documentation comes down to strategic setup and monitoring techniques. These seven essential tips will transform your backyard into a reliable bird-watching station that consistently delivers the crisp, engaging footage you’re after.
Optimal Camera Placement and Positioning Strategies
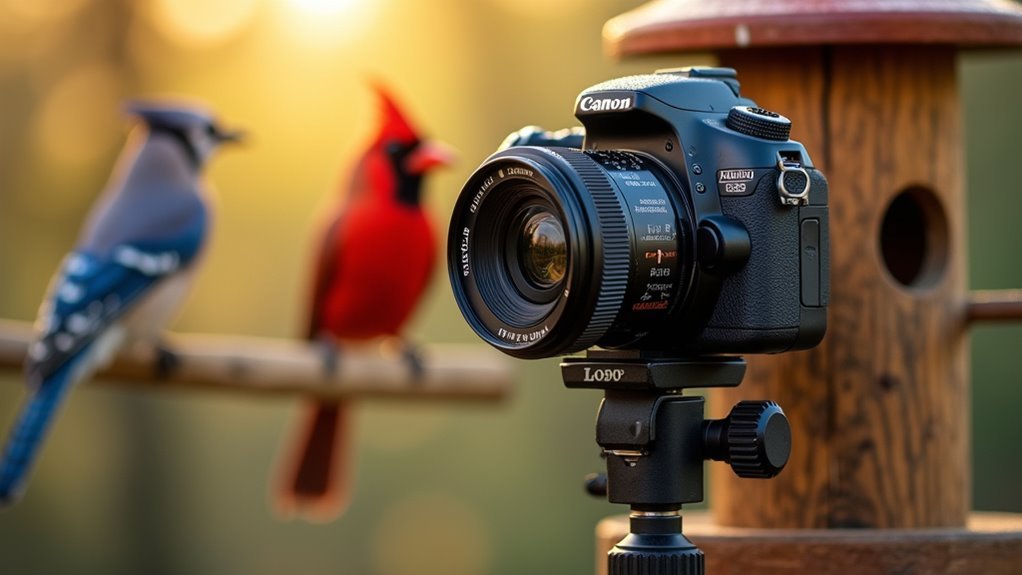
Getting the perfect shot of visiting birds starts with positioning your camera at the right angle and height. For ideal placement, mount your camera about 5 feet off the ground, facing slightly downward toward your bird feeder. This elevation provides an unobstructed view while keeping equipment safe from larger animals.
Position your camera facing north to minimize harsh sunlight and reduce glare that obscures bird details. You’ll want to avoid high contrast backgrounds that make plumage difficult to see.
North-facing camera placement reduces harsh sunlight and glare while preventing high contrast backgrounds that obscure delicate bird plumage details.
A wide-angle lens captures broader feeder areas without distortion, ensuring birds remain in frame even when they’re not perfectly centered.
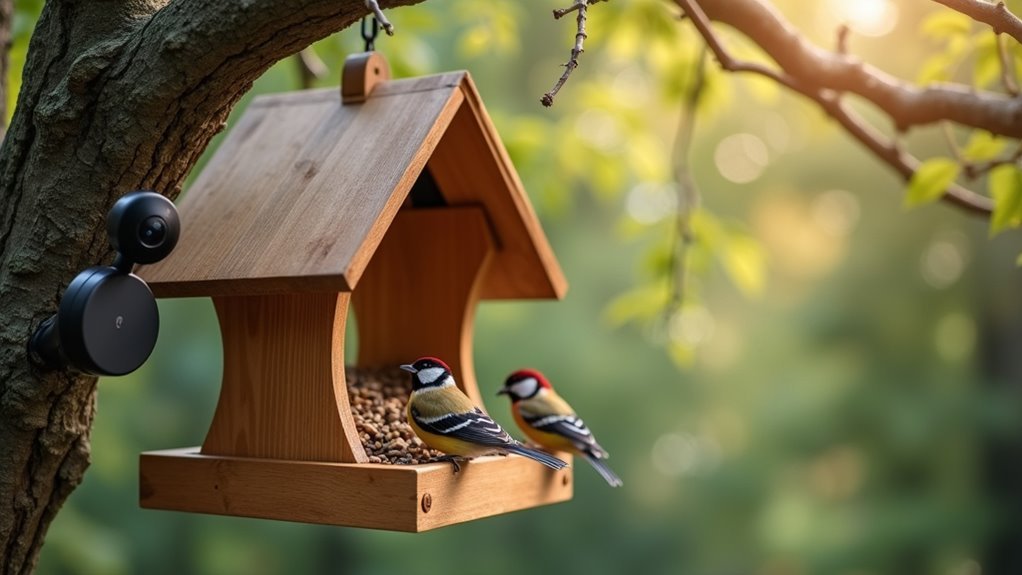
Consider installing multiple cameras around your feeder to document social interactions and behaviors from different perspectives, creating a thorough monitoring system.
Essential Weather Protection and Durability Features
You’ll need robust weatherproof housing that meets IP65 standards or higher to protect your bird feeder camera from rain, snow, and dust infiltration.
Your camera’s performance depends on how well it handles seasonal temperature extremes, so look for models that’ve undergone rigorous testing in various weather conditions.
Choose cameras with durable materials and protective casings that won’t crack or deteriorate when exposed to UV rays and moisture over time.
Weatherproof Housing Standards
When selecting a bird feeder camera, you’ll need housing that can endure Mother Nature’s harshest conditions without compromising your camera’s performance.
Look for weatherproof housing with an IP65 rating or higher, which guarantees your camera is dust-tight and protected against water jets from any direction. This standard guarantees reliable outdoor functionality throughout changing seasons.
Choose materials like UV-resistant plastics or treated metals that resist environmental damage from prolonged sun exposure, freezing temperatures, and moisture.
Sealed enclosures with waterproof connectors are essential for preventing moisture ingress that could destroy internal components.
Don’t overlook ventilation features that prevent overheating while maintaining weather protection.
Quality housing balances complete sealing with adequate airflow, making sure your camera operates efficiently year-round without succumbing to condensation or temperature extremes.
Seasonal Performance Testing
Before investing in a bird feeder camera, conduct thorough seasonal performance testing to verify your device maintains consistent functionality across extreme weather conditions.
Your smart bird feeder must withstand temperature extremes that can compromise camera connectivity and battery performance during winter months. Test the camera captures quality across seasons, ensuring it maintains clear footage when documenting various bird species throughout the year.
Focus on models with proven weatherproof design that’ve undergone rigorous environmental testing. Verify the night vision capabilities work effectively during shorter winter days and varying light conditions.
Examine user feedback from diverse climates to identify potential performance issues. Your seasonal performance testing should evaluate how well the device handles rain, snow, and intense sunlight while consistently delivering high-quality bird monitoring footage year-round.
Motion Detection Settings and Alert Configuration
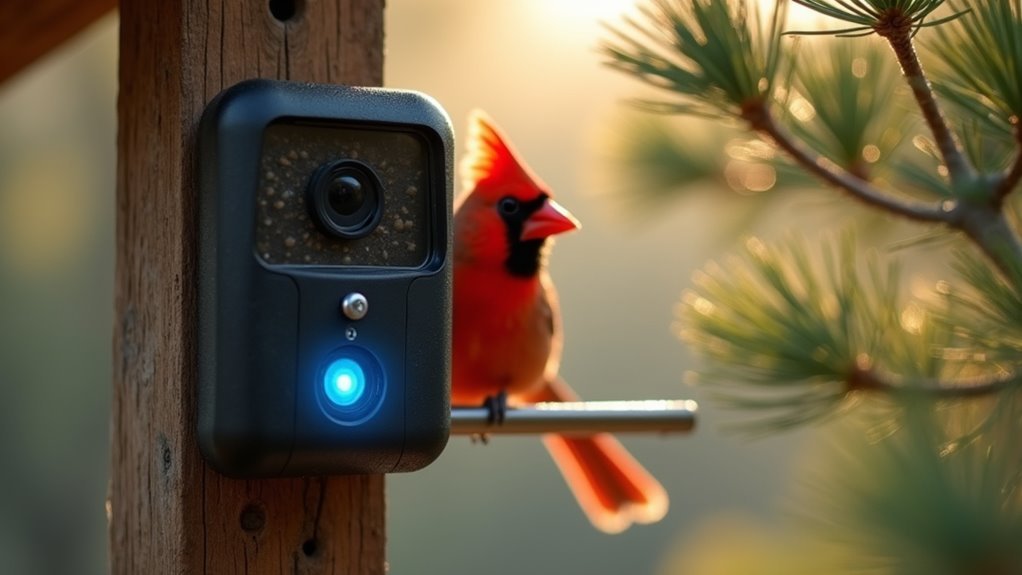
One of the most valuable features of modern bird feeder cameras is their motion detection capability, which sends instant push notifications to your phone the moment birds arrive at your feeder.
You’ll want to adjust sensitivity settings carefully to guarantee only bird movements trigger alerts, not wind or environmental factors. Configure your alert configuration through the feeder’s app to customize notification frequency and types for your ideal bird-watching experience.
Advanced feeders let you set specific time frames for detection, activating alerts only during peak bird activity hours.
Regular testing and recalibration of these settings guarantees peak performance, as seasonal changes can affect movement detection. Fine-tuning these features eliminates the need to review hours of footage while maintaining reliable bird monitoring.
Bird Attraction Techniques for Better Camera Coverage
Strategic feeder placement dramatically impacts both bird activity and camera performance, making positioning your most critical decision for successful wildlife photography.
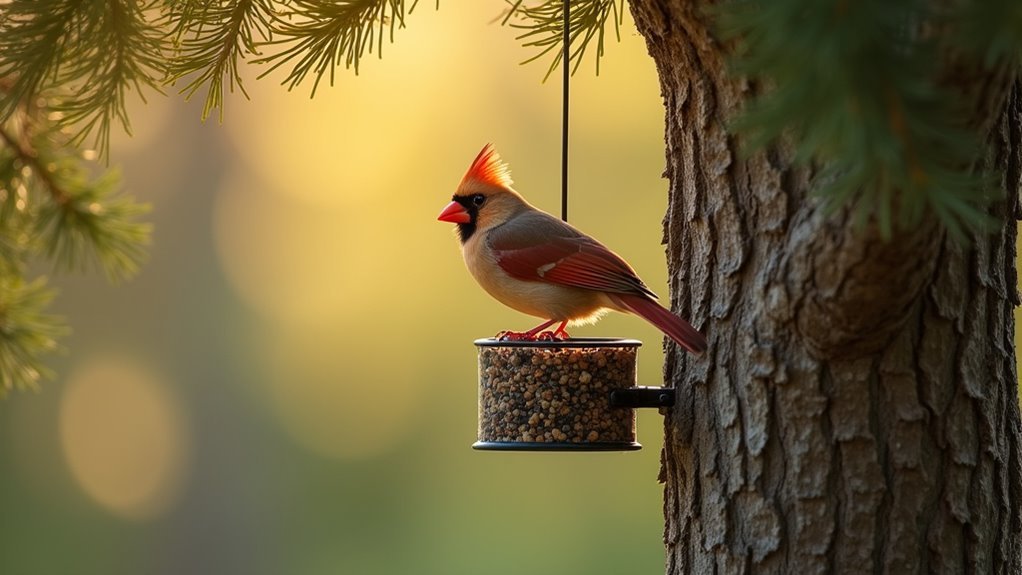
Position your bird feeder cameras near natural cover like shrubs or trees to create safe environments that encourage frequent visits from local birds. Place feeders at least 5 feet off the ground and 7 feet from structures to enhance camera visibility while deterring squirrels.
Diversify your bird food selection with black oil sunflower seeds and thistle seeds to attract various species. These bird attraction techniques guarantee motion detection features capture different birds throughout the day.
Maintain clean feeders regularly to prevent mold and disease, creating healthy feeding environments that promote consistent visits and ideal camera coverage for your wildlife monitoring efforts.
Video Quality Optimization and Storage Management
You’ll want to configure your camera’s resolution to at least 1080P to capture crisp details of bird plumage and behaviors without compromising file size unnecessarily.
Set up motion detection to trigger recordings only when birds visit, which drastically reduces storage consumption and makes reviewing footage more efficient.
Plan your storage capacity by calculating how much space high-resolution videos will require and consider cloud storage options or high-capacity memory cards for seamless access to your recordings.
Camera Resolution Settings
While capturing stunning bird footage starts with choosing the right resolution, balancing video quality with storage limitations requires careful consideration of your camera’s settings.
You’ll want to select at least 1080P resolution for your bird feeder camera to guarantee detailed images that clearly show bird behaviors and features. However, high-resolution videos consume storage quickly, so you’ll need expandable storage options or strategic settings adjustments.
Configure your camera resolution based on activity levels—use maximum quality during peak feeding times and lower settings during inactive periods.
Motion detection features help conserve storage by recording only when birds are present. This approach maximizes video quality while extending your recording duration, letting you capture more meaningful footage without constantly managing storage space.
Motion Detection Configuration
Motion detection serves as your camera’s intelligent gatekeeper, triggering recordings only when birds arrive at your feeder. Configure your smart feeder’s motion detection settings to activate specifically for bird presence, eliminating unnecessary footage and preserving valuable storage capacity.
You’ll want to fine-tune sensitivity levels to avoid false triggers from background movement like swaying branches or passing shadows.
Combine motion detection with high-resolution video settings to capture crisp, detailed footage of your feathered visitors. Position cameras at ideal angles to maximize detection accuracy while minimizing environmental interference.
Don’t forget to enable cloud storage options when available—this provides essential backup protection for your precious recordings. Regular monitoring of your storage capacity prevents automatic deletion of valuable footage, ensuring you won’t lose those special moments when rare species visit your feeder.
Storage Capacity Planning
Storage capacity planning determines whether you’ll capture every magical moment or miss those rare bird encounters due to insufficient space. Your video quality settings directly impact storage consumption, so balance high-resolution clarity with available capacity.
Essential Storage Management Strategies:
- Choose adjustable video quality settings – Higher resolutions like 1080P consume more storage but provide superior clarity for identifying bird species.
- Install microSD cards with 64GB or larger capacity – Accommodates high-quality video files and extends recording duration before overwrites occur.
- Enable cloud storage options when available – Automatically backs up footage while freeing local storage space.
- Configure motion detection features – Minimizes continuous recording by capturing only significant bird activity, optimizing both storage use and relevant footage retrieval.
Regularly review and delete unnecessary footage to maintain efficient storage management.
Maintenance Schedules for Feeders and Equipment
Because bird feeder cameras combine both feeding stations and electronic equipment, you’ll need to establish dual maintenance routines that keep both components functioning effectively. Your bird feeders require cleaning every two weeks with mild bleach solution, while hummingbird feeders need attention every 2-3 days due to rapid bacterial growth. Don’t forget to monitor and replace old bird food hulls regularly.
| Component | Frequency | Task |
|---|---|---|
| Bird Feeders | Every 2 weeks | Clean with bleach solution |
| Hummingbird Feeders | Every 2-3 days | Deep clean and refill |
| Camera Equipment | Monthly | Check software updates |
| Solar Panels | Weekly | Remove debris, test charging |
Monthly camera equipment checks guarantee peak functionality, while weekly solar panels inspections maintain continuous power. Test motion detection features regularly for accurate bird alerts.
AI Species Identification and App Integration Tips
While traditional birdwatching requires extensive field guide knowledge, modern smart bird feeders with AI species identification transform anyone into an instant ornithologist. Your AI bird technology can accurately identify visiting species using verified databases like Cornell Lab’s All About Birds.
Here are essential tips for maximizing your smart bird feeder’s capabilities:
- Keep your Birdfy app updated to access the latest AI identification algorithms and enhanced features for peak performance.
- Enable push notifications for immediate alerts when new species arrive, ensuring you never miss exciting visits.
- Monitor bird visitation patterns through app tracking to understand feeding preferences and seasonal behaviors.
- Review subscription models carefully since some limit full AI functionality, potentially restricting your species identification capabilities and overall birdwatching experience.
Frequently Asked Questions
What Is the 5 7 9 Rule for Bird Feeders?
You’ll follow the 5-7-9 rule by placing feeders 5 feet off ground, 7 feet from structures, and 9 feet from jump points. This’ll deter squirrels while keeping birds safe and comfortable.
Where Is the Best Place to Hang a Bird Feeder Camera?
You’ll want to hang your bird feeder camera near shrubs or trees for natural cover, ensuring good lighting conditions while positioning it at least 5 feet high and away from reflective surfaces.
What Is the Best Resolution for a Bird Feeder Camera?
You’ll want 1080P Full HD resolution for clear bird details and plumage. Consider 2MP or 3MP for sharper images of fast-moving birds, ensuring at least 30fps to minimize motion blur during feeding.
What Is the Best Camera for a Bird Feeder?
You’ll want the Birdfy Feeder 2 Duo with its dual-lens system offering 3MP portrait and 2MP wide-field lenses, plus motion detection and reliable WiFi for thorough bird monitoring.


Leave a Reply