
Voice-controlled lighting lets you illuminate your home with simple spoken commands. You’ll need an Arduino microcontroller, voice recognition module, LED lights, and a power relay. Assemble by connecting these components, then program your Arduino to recognize specific voice triggers that control your lights. For best results, train your system in a quiet environment and use phonetically distinct commands. Follow proper wiring safety protocols to prevent shorts. The steps below will transform your lighting experience into an intuitive, hands-free system.
Essential Components for Voice-Activated Lighting Systems
Building a voice-activated lighting system requires several essential components working in harmony to transform your spoken words into illumination.
At the core, you’ll need a microcontroller unit (MCU) like Arduino Uno for beginners or Arduino MKR WIFI 1010 for more advanced connectivity with services like Alexa.
You’ll also need a voice recognition module to interpret commands and convert them to digital signals your MCU can process.
For lighting hardware, consider RGB LED strips for color versatility or smart LED bulbs for simpler integration. Using an IoT relay can enable you to safely control multiple household lighting fixtures without complex wiring.
Don’t overlook power requirements—ensure your supply can handle your lighting load while maintaining system stability.
Finally, proper wiring with appropriate isolation between high and low voltage components is critical for both functionality and safety.
Understanding Voice Recognition Technology for Home Automation
Voice recognition technology transforms your smart home experience through specialized systems that detect speech, interpret commands, and control your devices.
You’ll need to decide between local processing (which offers better privacy but limited capabilities) and cloud-based solutions (providing advanced features but requiring internet connectivity).
Training your system with consistent commands and varied intonations will greatly improve recognition accuracy, especially in challenging acoustic environments. Modern voice control represents a significant development in the evolution of home automation technology, making everyday tasks more intuitive.
Subheading Discussion Points
When you begin exploring the world of voice-controlled lighting, understanding the underlying technology becomes essential for successful implementation.
Voice recognition systems in your DIY setup will require several components working in harmony to transform your spoken commands into illumination changes.
The core technologies you’ll encounter include:
- Wake word detection – Activates your system when you speak the trigger phrase
- Speech-to-text conversion – Transforms your voice commands into processable text
- Natural language understanding – Interprets your intent (dimming, color changes, on/off)
- Control systems – Executes the command by sending signals to your smart lights
You’ll need to take into account environmental factors like room acoustics and ambient noise that might affect recognition accuracy.
Local processing options can improve response times and protect your privacy. With voice control technology becoming increasingly mainstream, over a quarter of US adults now own smart speakers that can integrate with lighting systems.
Local vs. Cloud Processing
As you plan your voice-controlled lighting system, you’ll need to decide between local and cloud processing architectures—a choice that impacts everything from response time to privacy protection.
Local processing keeps your voice data at home, offering faster response times without internet dependency. Cloud solutions provide higher accuracy and broader capabilities but require stable connectivity. Recent tests with Home Assistant Voice Preview Edition revealed the cloud LLM achieved a significantly higher pass rate of 58% compared to local processing options.
| Feature | Local Processing | Cloud Processing |
|---|---|---|
| Latency | Low (immediate) | Variable (network-dependent) |
| Privacy | High (on-device) | Lower (data transmission) |
| Setup Cost | Higher (dedicated hardware) | Lower (subscription-based) |
Consider your priorities: If you value privacy and immediate responses, local processing is ideal. For advanced features and seamless updates, cloud solutions offer advantages despite their connectivity requirements.
Command Training Essentials
Understanding how voice recognition technology works is essential before you begin training your DIY voice lighting system. Your system converts speech into text through feature extraction, then processes this text to determine your intended action for your lights.
For effective command training:
- Start with a quiet environment to create a clean voice profile, minimizing background noise that could corrupt your initial training samples.
- Use consistent phrasing during setup, but vary your tone slightly to help the system recognize your natural speech patterns.
- Create custom commands that are phonetically distinct from one another to reduce confusion.
- Train multiple users individually with separate profiles if your household has several people who’ll control the lighting.
Remember that continuous learning algorithms will improve accuracy over time as you interact with your system. The Arduino microprocessor paired with an HC-05 module enables wireless Bluetooth communication between your voice commands and the lighting system.
Step-by-Step Hardware Assembly Guide
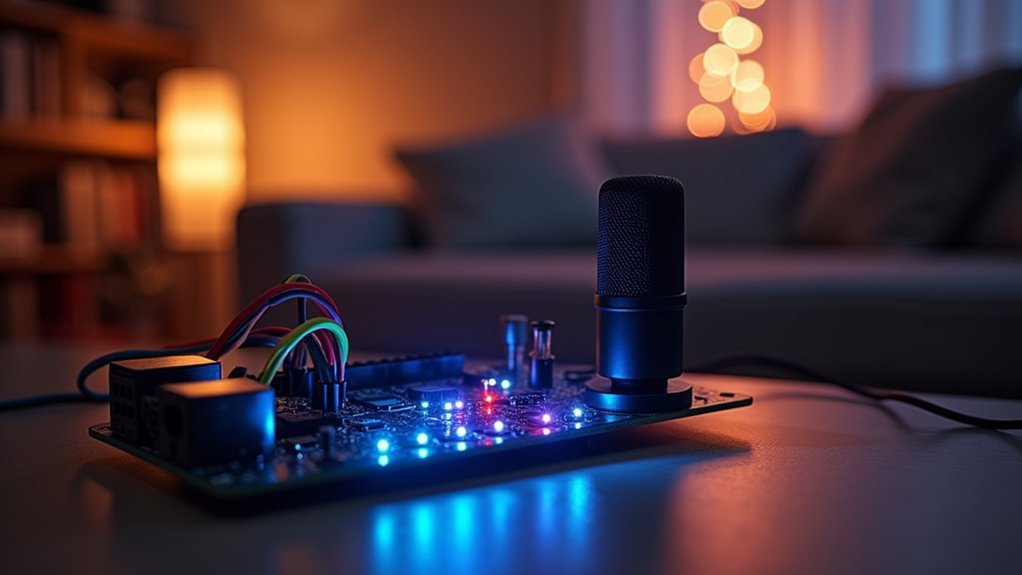
The hardware assembly of your voice-controlled lighting system requires careful preparation of the circuit board by securely mounting your microcontroller and guaranteeing clean solder joints.
You’ll need to position the microphone strategically—either in a discrete corner for aesthetics or prominently facing the room’s center for ideal voice detection. This project uses a specialized voice recognition module that detects simple commands like “on” and “off” to control your lighting.
Before closing your project enclosure, test all connections and verify your chosen components match the specifications outlined in the selection guide.
Subheading Discussion Points
Building voice-controlled lights requires five essential assembly stages that transform individual components into a functional system.
Each phase tackles specific technical challenges while maintaining safety and functionality throughout the build process.
Your DIY journey will progress through these critical stages:
- Component Selection – Gathering Arduino, relay, Bluetooth module, and appropriate bulb while ensuring voltage compatibility.
- Bulb Holder Preparation – Securing the holder and connecting power wires with proper insulation.
- Relay Integration – Wiring the relay to Arduino’s power and digital pins for switching control.
- Bluetooth Setup – Installing and pairing the HC05 module to receive voice commands from your mobile device.
- System Testing – Verifying connections, testing voice responsiveness, and optimizing for consistent operation. This final stage ensures your lighting system will deliver energy savings of up to 75% compared to traditional incandescent bulbs.
Circuit Board Preparation
Preparing your circuit board correctly forms the foundation of successful voice-controlled lighting systems. Start by selecting key components: a voice recognition module, microcontroller, load drivers, and a reliable power supply rated for your LED lights (typically 50-100W).
Design your circuit to efficiently integrate voice commands with lighting control. Make certain your board can handle the power requirements of your lighting setup while incorporating relays to switch lights on and off based on voice input. Consider using a logic level MOSFET as an alternative to relays for more compact designs.
For enhanced functionality, consider adding a WiFi interface for remote control capabilities. When laying out your design, prioritize proper wiring paths that will minimize interference and maximize signal integrity.
Don’t overlook safety considerations—include overheating prevention measures and appropriate fusing to protect your circuit from power surges and other electrical issues.
Microphone Mounting Solutions
With your circuit board prepared, proper microphone mounting becomes the next key challenge in creating responsive voice-controlled lighting.
Select a mounting option that guarantees ideal sound capture while minimizing interference from vibrations or background noise.
For best results with your voice light system, follow these mounting approaches:
- Install a small shock mount on your workstation using the included clamp system, positioning it 10-15cm from your typical speaking position.
- Secure all connections tightly, especially where the microphone meets the mount.
- Route cables away from power sources to prevent electrical interference.
- Test stability by gently tapping near the mount—any unwanted movement will affect voice recognition accuracy.
Choose a suspension-style shock mount which utilizes elastic bands to effectively isolate your microphone from unwanted vibrations that could trigger false commands.
Periodically check all mounting points for looseness as vibrations can gradually weaken connections over time.
Wiring Your Voice-Controlled Light System Safely
Safety must be your top priority when wiring a voice-controlled lighting system, as improper connections can lead to electrical hazards or component damage.
Always secure ground wires properly and use appropriately insulated cables to prevent short circuits. Incorporate fuses or circuit breakers for overcurrent protection, and verify your power supply matches the system’s voltage requirements.
Position your relay boards, Arduino, and other components logically for easy maintenance, keeping heat-generating parts separated. For optimal functionality, ensure you connect your system to a standard wall outlet voltage compatible with your region (120V in US or 230V in UK). Use terminal jumpers for secure multiple wire connections and implement proper cable management to prevent tangling and wear.
Remember to check local electrical regulations before finalizing your installation. Label all components clearly and test each connection before powering up the complete system.
This methodical approach will create a safe, reliable voice-controlled lighting system that functions seamlessly.
Programming Your Arduino for Voice Command Processing
The heart of any voice-controlled lighting system lies in programming your Arduino to process spoken commands effectively. Start by installing the appropriate voice recognition module library in your Arduino IDE, then load the example sketches to understand the basic workflow.
For successful voice command implementation:
- Initialize your voice module using serial communication with a baud rate of 115200.
- Train multiple commands by typing “train” followed by an index number (e.g., “train 0”) in Serial Monitor.
- Speak each command clearly at least twice for reliable recognition.
- Create conditional statements in your loop() function to trigger specific actions when commands are recognized.
Remember that most modules support only a limited number of simultaneous commands, so choose your voice triggers wisely for peak performance. The Arduino Speech Recognition Engine powered by Cyberon allows you to create custom voice triggers for more intuitive interaction with your lighting system.
Testing and Troubleshooting Your DIY Voice Lights
Four essential steps should be followed when testing your newly built voice-controlled lighting system.
First, verify power connections by ensuring bulbs are securely installed and receiving consistent power. Toggle physical switches to reset connections if needed.
Second, test your voice commands using clear, structured phrases in a quiet environment. Use manufacturer-recommended syntax and adjust your phrasing if recognition fails.
Clear voice commands in quiet spaces with recommended syntax ensure smart lighting responds accurately to your instructions.
Third, check device configurations within your app, confirming all lights appear in control groups and have updated firmware. When troubleshooting, remember that smart switches may need to be specifically configured as lights in Alexa for proper functionality. Test functionality through the app to isolate voice recognition issues from connection problems.
Finally, validate system performance by testing commands from various distances and angles. Monitor response latency and try basic on/off commands before attempting complex color or dimming instructions.
If problems persist, reset devices to factory settings.
Enhancing Your System With Advanced Features

After confirming your basic voice lighting system works properly, you’re ready to explore advanced features that transform a simple setup into a sophisticated smart home asset.
AI integration can dramatically improve command recognition while adding contextual responses that feel more natural during interactions.
- Integrate environmental data – Connect weather APIs to display information through light patterns or add ambient light sensors for automatic brightness adjustment.
- Implement wireless charging – Embed charging pads into your fixtures for added functionality beyond just illumination.
- Add conditional programming – Create complex scenarios like music-synchronized lighting or automated routines based on time of day. The WS2812B LED strip allows for music-reactive lighting that pulses and changes with your audio environment.
- Expand connectivity options – Incorporate Bluetooth or Wi-Fi to control your lights remotely and integrate with existing smart home platforms.
You’ll reduce energy consumption while creating a truly personalized lighting experience that responds intuitively to your needs.
Real-World Applications and Practical Uses
Voice-activated lighting systems shine brightest when implemented in real-world scenarios that solve everyday problems.
For people with mobility challenges, your DIY system offers independence—controlling lights without physical interaction. Install it in your kitchen to turn lights on when your hands are messy with cooking ingredients.
Energy conservation becomes practical with your voice lights. Set automatic shut-offs after preset durations or create bedtime routines that power down your entire home.
Unlike cloud-based alternatives, your offline system works reliably during internet outages while eliminating latency issues.
You’ll appreciate the flexibility to scale from a single bedroom to your entire house. The project utilizes relay switches to safely control AC-powered lighting fixtures without direct electrical contact. The standalone nature of your project means you’re not locked into proprietary ecosystems, giving you complete control over your home’s illumination while potentially reducing electricity bills.
Safety Considerations and Best Practices
While building your DIY voice lighting system offers tremendous convenience, guaranteeing proper safety measures remains essential throughout the process.
Protect your smart home from potential vulnerabilities and guarantee reliable operation by implementing these vital safeguards:
- Secure your Wi-Fi network with strong, unique passwords and limit voice assistant permissions to only essential lighting functions.
- Prioritize electrical safety by using UL-listed components, guaranteeing fixture compatibility, and disconnecting power during installation.
- Implement backup control methods like physical switches or mobile apps for when voice systems or networks fail.
- Review privacy settings regularly, enable voice recognition authentication, and monitor activity logs to detect unauthorized access. Always keep your smart bulbs’ firmware updated regularly to patch security vulnerabilities and ensure optimal performance.
Don’t compromise on these precautions—they’re essential for maintaining both the security and functionality of your voice-controlled lighting system.
Frequently Asked Questions
Can Voice Lights Work With Existing Smart Home Systems Like Alexa?
Yes, voice lights work seamlessly with Alexa. You’ll connect them through Wi-Fi or Zigbee protocols using the Alexa app, enabling you to control brightness, color, and create routines with simple voice commands.
How Much Does a Complete DIY Voice Light System Typically Cost?
You’ll spend $200-500 for a basic single-room voice light system, $500-2000 for advanced setups with color-changing features, or $3000-10,000+ for whole-house installations. Costs vary based on components and complexity you choose.
Will Background Noise in Busy Households Affect Command Recognition?
Yes, background noise will greatly affect your command recognition. You’ll experience reduced accuracy when kids, music, or appliances create noise. Consider installing directional microphones to improve your system’s signal-to-noise ratio.
What’s the Maximum Distance for Reliable Voice Command Detection?
You can expect reliable voice command detection up to 24.5 meters in open spaces. You’ll get faster responses at shorter distances, and you should remember that walls or furniture will reduce this range considerably.
Can the System Recognize Different Users’ Voices and Personalize Responses?
Yes, your system can recognize different users’ voices through speaker identification technology. You’ll enjoy personalized responses and settings for each family member, though accuracy may vary depending on the voice recognition software you’re using.
In Summary
You’ve now created your own voice-controlled lighting system! With these DIY voice lights, you’ll enjoy the convenience of commanding your home’s illumination hands-free. Don’t stop here—keep exploring new commands, integrating additional smart devices, or expanding to other rooms. As you refine your setup, you’re not just saving energy and adding convenience—you’re building valuable skills in electronics, programming, and home automation.


Leave a Reply