
Building a voice-activated pet feeder requires careful component selection. Choose microcontrollers like ESP32 or STM32F746G-DISCO for reliable voice recognition. Design a simple rotating wheel dispensing mechanism that prevents clogging. Make sure your system integrates with existing smart home assistants on the same Wi-Fi network. Create an intuitive interface that works across all devices. Implement ultrasonic sensors for food level monitoring. Use reliable power management solutions. Develop a thorough troubleshooting routine to maintain peak performance. These key tips will transform your DIY project into a dependable pet care solution.
Selecting the Right Microcontroller for Voice Recognition

When building a voice-activated pet feeder, choosing the right microcontroller forms the foundation of your entire system.
Consider your priorities: ESP32 offers good value with 89% recognition accuracy and low power usage (1.2W), while Arduino Nano 33 BLE Sense excels in power efficiency at just 0.8W.
Balancing accuracy with energy efficiency determines your microcontroller choice—ESP32 and Arduino Nano 33 BLE Sense offer compelling tradeoffs.
For maximum accuracy, the STM32F746G-DISCO delivers impressive 94% recognition rates and fastest response times (80ms), though at higher power consumption (2.5W).
You’ll want compatibility with voice recognition technologies like TensorFlow Lite or Picovoice Porcupine, which work well on resource-constrained devices. Performance testing should maintain environmental consistency across quiet, noisy indoor, and outdoor settings to ensure reliable operation regardless of where you place your pet feeder.
Don’t overlook community support and documentation—they’ll save you countless hours during development.
Finally, consider connectivity options for future updates and whether you’ll need to integrate additional sensors for monitoring dispense functions.
Designing a Reliable Food Dispensing Mechanism
Although voice recognition technology forms the brain of your automated pet feeder, the food dispensing mechanism represents its beating heart.
For DIY projects, consider a rotating slotted wheel system—it’s simple to build yet effective, delivering around 50 grams in 2 seconds.
Choose your dispensing method based on precision needs: time-based dispensing offers simplicity, while load cell sensors provide weight-based accuracy.
For consistent portions, implement anti-clog features and select smooth, food-safe materials for all surfaces contacting pet food.
Test your mechanism thoroughly before final assembly. Aim for 3-6 gram resolution with dry kibble, and guarantee your design includes accessible, removable parts for easy cleaning.
Remember that reliability trumps complexity—your feeder should operate dependably during your absence, not require constant maintenance. Similar to our prototype’s gravity active dispensing mechanism, focus on solutions that work effectively without unnecessary complications.
Integrating With Smart Home Assistants Like Alexa and Google Home
Transforming your voice-activated pet feeder into a fully integrated smart home device offers convenience beyond basic automation.
To connect with Alexa or Google Home, you’ll need to bind accounts through your feeder’s proprietary app first, then create scenes that trigger feeding actions.
Ensure your feeder is connected to the same Wi-Fi network as your smart assistant. When configuring voice commands, test simple phrases like “Alexa, feed the cat” to verify functionality.
For ideal security, use strong passwords and keep firmware updated to protect your device from vulnerabilities.
Most integrations require creating automation rules in your feeder’s native app before linking to your smart home ecosystem. The feature allows you to receive real-time eating notifications when your pet enjoys their scheduled meal.
Remember to check device-specific compatibility guides, as setup processes vary greatly between manufacturers.
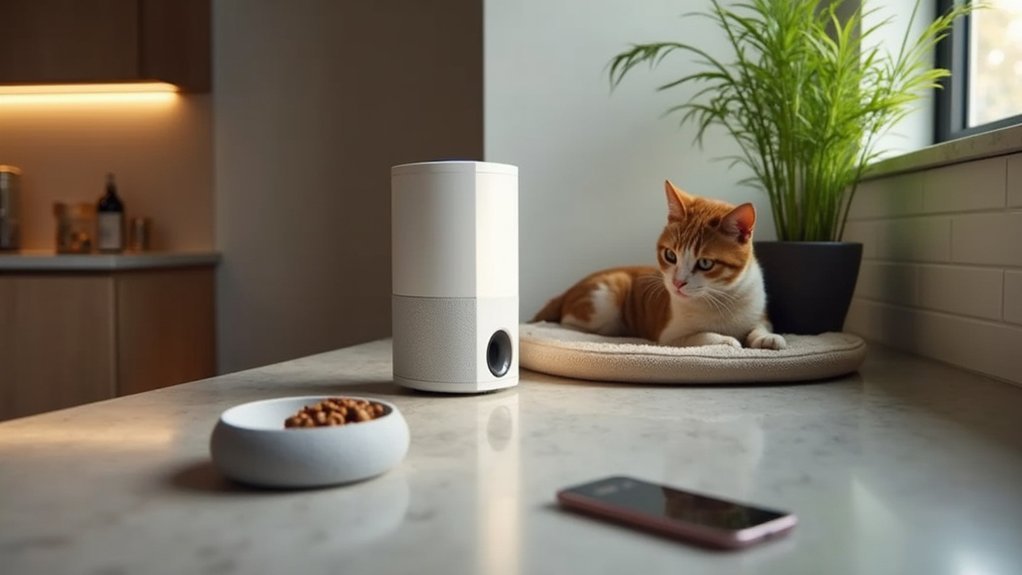
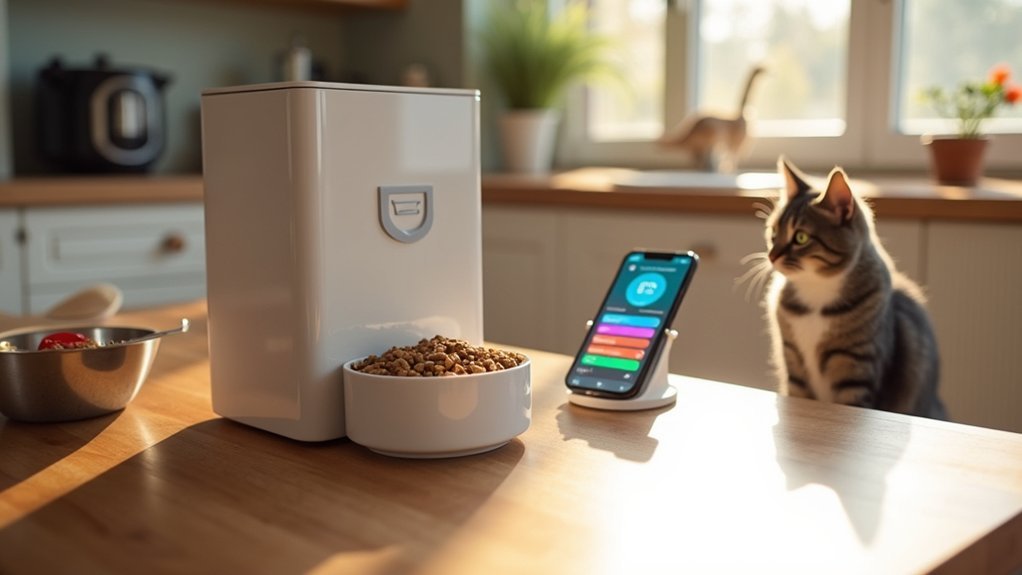
Creating a User-Friendly Web Interface for Remote Control
A well-designed web interface serves as the command center for your voice-activated pet feeder, enabling you to monitor and control feeding activities from anywhere.
Focus on simplicity with intuitive navigation that works across all devices—smartphones, tablets, and desktops.
Design that simplifies—creating effortless navigation regardless of whether users connect via phone, tablet, or computer.
Incorporate essential features like remote scheduling, manual override controls, and real-time status indicators.
Add a live camera feed so you can actually watch your pet eat, providing peace of mind when you’re away.
Use HTML5, CSS3, and JavaScript frameworks for the frontend, with Node.js or Python handling backend operations.
Verify you’ve implemented secure authentication to prevent unauthorized access.
Don’t forget to display sensor data like food levels and feeding history directly on the dashboard for quick reference.
Consider adding email notifications to alert you when food levels are low using the photocell sensor functionality similar to the original project design.
Implementing Food Level Monitoring and Notifications
Implementing effective food level monitoring is crucial for any voice-activated pet feeder to function reliably.
You’ll want to utilize ultrasonic sensors to accurately measure food levels by emitting sound waves that calculate the distance to the food surface. Consider adding flat reflective surfaces like cardboard inserts to improve reading consistency.
- Set up real-time smartphone notifications to alert you when food levels are low, dispensing errors occur, or when it’s time to refill the feeder.
- Implement a moving average filter on sensor data to reduce noise and increase measurement dependability.
- Combine ultrasonic sensors with PIR motion detectors to create an all-encompassing system that monitors both food quantity and your pet’s presence.
However, many pet owners have found that cats may dislike ultrasonic sensors as cats dislike the high-frequency sounds they emit.
Connect these monitoring systems with your feeder’s dispensing mechanism to prevent over-dispensing and guarantee your pet never misses a meal.
Power Management for Continuous Operation
While voice recognition and food dispensing get most of the attention, reliable power management forms the backbone of any dependable pet feeding system.
You’ll need a primary AC adapter (typically 5V/1A) for continuous operation, especially for Wi-Fi and motor functions.
Always implement a battery backup system using rechargeable or D-cell batteries that can power your feeder for up to 6 days during outages. The WOPET F07 Pro specifically operates via the included power adapter or with 3 D batteries when needed.
Design your system with automatic failover that instantly switches to backup power when needed.
Remember that battery backup may not support all features—prioritize core dispensing functions while limiting power-hungry Wi-Fi operations during outages.
Regularly test your backup system, replace desiccant packs monthly, and verify your user interface displays current power status clearly.
This dual-power approach guarantees your pets won’t miss meals, even during unexpected power interruptions.
Testing and Troubleshooting Your Voice Commands System
To guarantee your voice-activated pet feeder works reliably, you’ll need a systematic approach to testing and troubleshooting the voice command system.
Reliable voice-activated feeding demands methodical testing to ensure your pet never misses a meal.
Start by testing in a quiet environment to establish baseline recognition accuracy, then gradually introduce real-world conditions like background noise and varying distances.
When commands fail, check these common issues:
- Connection problems – Verify Wi-Fi signal strength and update network settings if you experience delays or disconnections.
- Recognition errors – Recalibrate microphone sensitivity and ascertain clear pronunciation during setup.
- Power-related failures – Confirm stable power supply and inspect wiring for damage that might affect signal flow. Consider installing backup power solutions to prevent disruptions during outages.
Don’t forget to test mechanical responses after voice commands to ascertain proper food dispensing matches your vocal instructions.
Frequently Asked Questions
Can My Pet Accidentally Trigger Voice Commands?
Yes, your pet can accidentally trigger voice commands. Their barks, meows, or other sounds sometimes contain phonetic patterns similar to wake words, causing voice systems to misinterpret them as actual commands.
How Do I Prevent Multiple Pets From Accessing the Same Feeder?
You can prevent multiple pets from accessing the same feeder by using microchip or RFID recognition technology, placing feeders in separate locations, implementing physical barriers, and training your pets to use their designated feeders only.
Will the Feeder Work in Homes With Ambient Noise?
Yes, your feeder will work with ambient noise, but you’ll need to position it away from major noise sources and adjust sensitivity settings. Consider adding noise-canceling features or using smart home integration for better results.
How Often Should I Clean the Dispensing Mechanism?
You should clean the dispensing mechanism monthly for dry food and weekly for wet food. If you use your feeder heavily or dispense mixed foods, clean it every two weeks to prevent jams and bacterial buildup.
Can the Feeder Distinguish Between Different Pets’ Voices?
No, current voice-activated pet feeders can’t distinguish between different pets’ voices. They respond to your commands instead. For multi-pet households, you’ll need alternatives like facial recognition, RFID tags, or weight sensors.
In Summary
You’ve now got the knowledge to build a voice-activated pet feeder that’ll revolutionize your pet care routine. By selecting the right components, integuring smart assistants, and implementing monitoring features, you’ll create a reliable system that responds to your commands. Don’t forget to thoroughly test your voice recognition and dispensing mechanism before leaving your fur friend’s meals in its hands. Happy building!


Leave a Reply