You can build your own Alexa-like system in five ways: use a Raspberry Pi with Amazon’s AVS SDK for a full-featured assistant, create a custom voice system with ESP32 and Wit.AI, develop specific Alexa Skills through Amazon’s Developer Console, implement NodeMCU-based home automation with voice control, or design professional-grade devices using reference designs. Each approach offers different complexity levels and customization options. The following guide will help you choose the perfect DIY voice assistant for your technical skills and needs.
Raspberry Pi-Powered Alexa: Full-Featured DIY Voice Assistant
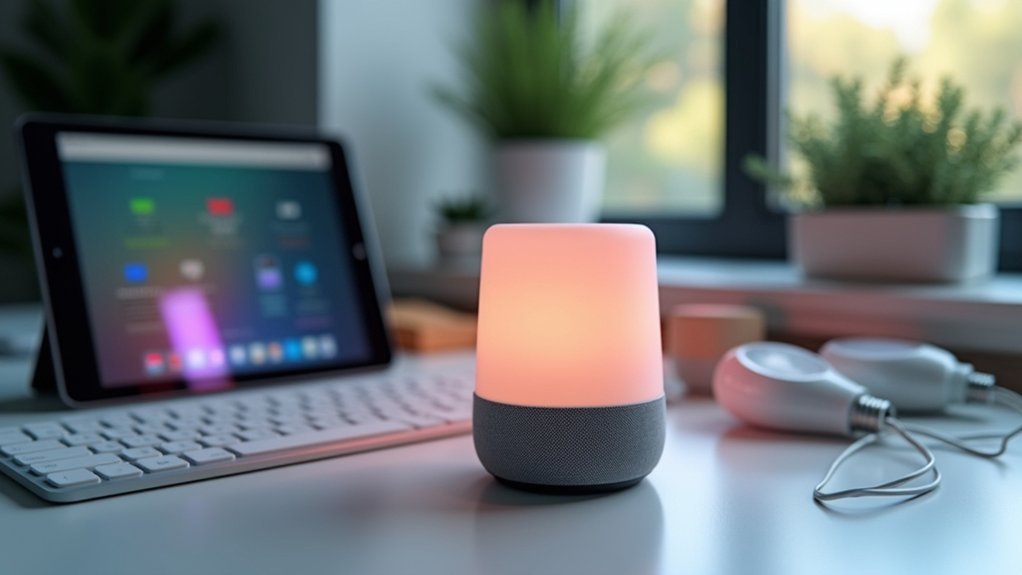
Building your own Alexa system with a Raspberry Pi offers three significant advantages: complete customization, privacy control, and substantial cost savings compared to commercial alternatives.
You’ll need a Raspberry Pi 3, 4, or Zero W, along with a USB microphone and speakers. Begin by creating an Amazon Developer account to access the Alexa Voice Service.
Install the AVS SDK, configure Node.js, and set up your security profile in the Amazon Developer Portal. After downloading your authentication credentials, you’ll configure autostart scripts to launch Alexa services whenever your Pi boots up.
The companion service acts as the essential bridge between your Pi and Amazon’s cloud. For enhanced functionality, consider adding LED indicators for visual feedback or integrating third-party APIs to extend capabilities beyond standard Alexa skills. For optimal audio performance, make sure to configure your Pi’s audio settings using sudo raspi-config to select the correct output device.
ESP32 & Wit.AI: Building a Custom Voice Recognition System
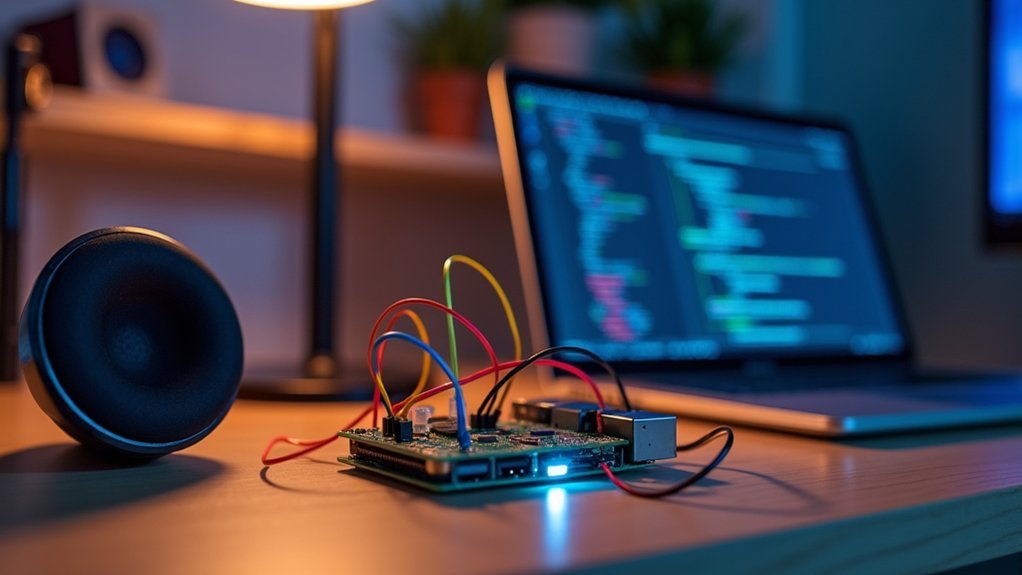
While commercial voice assistants offer convenience, creating your own system with an ESP32 microcontroller and Wit.AI provides remarkable flexibility at a fraction of the cost.
This approach leverages TensorFlow Lite for local wake word detection, minimizing latency and preserving privacy.
Your setup requires configuring the ESP32 with either I2S or analog microphones, implementing audio buffers, and setting up I2S amplifiers for playback.
The system operates through a simple state machine—first detecting wake words locally, then streaming audio to Wit.AI for intent recognition via SSL connection. Utilizing the Wit.ai Speech API enables seamless voice integration with minimal development effort.
This hybrid approach balances edge and cloud processing effectively.
You can extend functionality by optimizing SSL connection times, adding edge-based NLP, or integrating IoT controls.
The result is a customizable voice assistant tailored precisely to your needs.
Creating Your Own Smart Home Skills for Alexa
If creating a DIY voice assistant from scratch seems too technical, you can still customize your voice experience by developing skills for Amazon’s Alexa platform. The Alexa Developer Console makes it surprisingly accessible, even for beginners. Users can interact with skills using voice commands to access information or control smart home devices.
| Development Phase | Key Action |
|---|---|
| Planning | Define your skill’s purpose and create an interaction model |
| Building | Set up intents, utterances, and slots in the console |
| Programming | Write backend logic using AWS Lambda |
| Testing | Use simulators and real devices to refine your skill |
| Publishing | Submit your skill for certification and release |
Start by signing into the Developer Console and creating a new skill. Define how users will activate and interact with your skill, then program the responses using Node.js or another supported language. After thorough testing, you can publish your creation for personal use or share it with the world.
Nodemcu Home Automation: Controlling Devices With Voice Commands
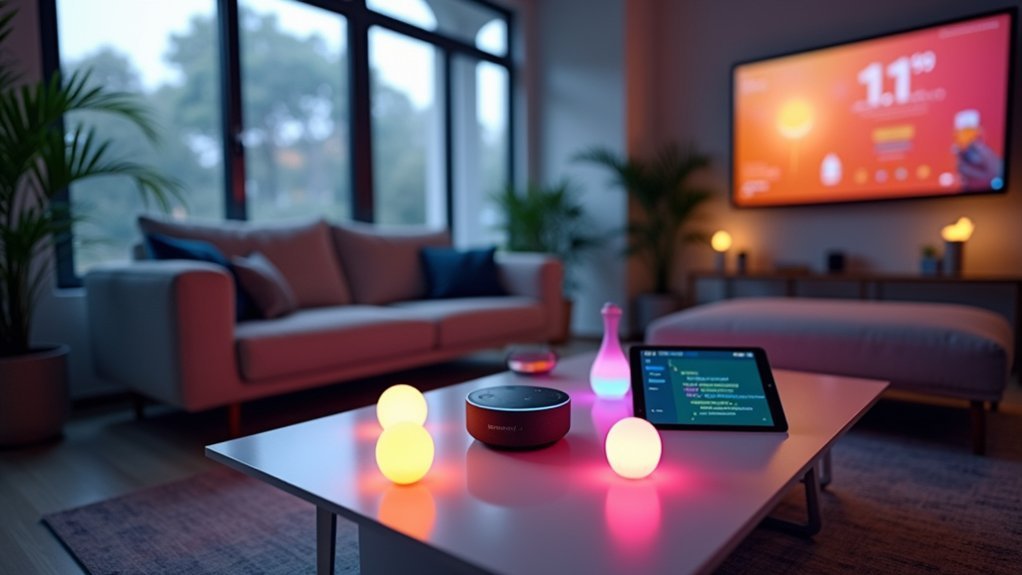
Creating a budget-friendly Alexa-compatible smart home system is possible with NodeMCU ESP8266 microcontrollers. This small but powerful board connects to your WiFi network and interfaces with relay modules to control lights, fans, and other appliances through voice commands.
To build your own voice-controlled system:
- Hardware setup – Connect NodeMCU to relay modules, add status LEDs and manual control buttons, and guarantee stable power supply for reliable operation.
- Programming – Use Arduino IDE to write code that defines device names, manages WiFi connectivity, and handles relay control logic in response to Alexa commands. The project requires downloading FauxMos source code from GitHub along with five additional files for full functionality.
- Alexa integration – Enable the appropriate skill (like Sinric) in your Alexa app, link your account credentials, and confirm device names match those in your code for seamless voice control.
Professional-Grade Alexa Systems With Reference Designs
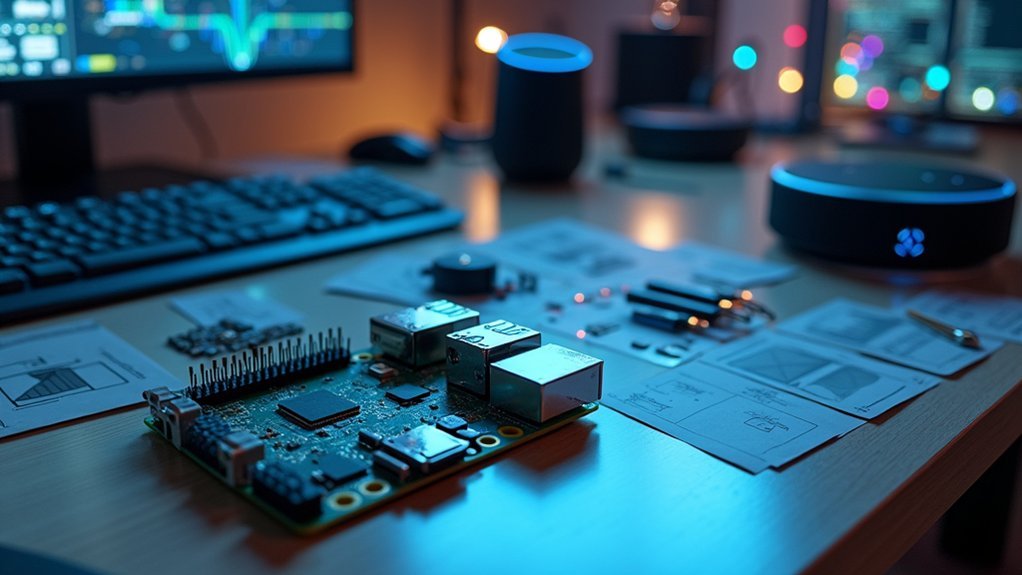
Building professional-grade Alexa systems demands considerably more engineering rigor than basic DIY projects, though Amazon makes this process accessible through extensive reference designs.
Constructing commercial-quality Alexa devices requires advanced engineering expertise, despite Amazon’s accessible development resources.
These reference designs include software libraries that manage persistent AVS connections and audio processing workflows.
For peak performance, you’ll need to focus on both connectivity and acoustic design from the start. Simple microphone placement won’t suffice—mechanical and acoustic considerations critically impact voice capture quality. The use of microphone arrays and digital signal processing techniques significantly enhances audio quality by filtering unwanted background noise.
Amazon’s development kits help integrate proper audio handling and command recognition capabilities.
If you’re building a device with a screen, leverage Alexa Presentation Language (APL) for multi-modal experiences.
The Alexa Design System provides responsive components and templates to maintain consistent visual interfaces, enhancing user satisfaction through seamless voice and visual interactions.
Frequently Asked Questions
Can My DIY Alexa System Work Without Internet Connection?
Your DIY Alexa system will have limited functionality without internet. You’ll only get basic features like Bluetooth speaker mode and local voice control for compatible smart home devices on your network.
How Much Power Does a Custom Alexa System Typically Consume?
Your custom Alexa system typically consumes 3-5 watts when idle and up to 7 watts during active use. You’ll see power usage vary based on your components, usage patterns, and power-saving settings you implement.
What Security Measures Protect My DIY Alexa From Unauthorized Access?
You’ll need strong Wi-Fi passwords, regular firmware updates, multi-factor authentication on your Amazon account, and limited third-party skill permissions. Don’t forget to mute microphones when not in use and enable voice recognition features.
Can DIY Alexa Systems Integrate With Non-Amazon Smart Home Ecosystems?
Yes, your DIY Alexa system can integrate with non-Amazon ecosystems. You’ll need custom skills, compatible protocols like Zigbee or Wi-Fi, and possibly smart home hubs like SmartThings to bridge different device ecosystems effectively.
Is Voice Recognition Accuracy Comparable to Commercial Amazon Echo Devices?
Your DIY system’s voice recognition won’t match Amazon Echo’s accuracy. Commercial devices benefit from massive training datasets, advanced algorithms, and continuous improvements. You’ll experience higher error rates, especially in noisy environments.
In Summary
You’ve now got everything you need to build your own Alexa system. Whether you’re using a Raspberry Pi for a full-featured assistant or creating custom skills, the possibilities are endless. Don’t hesitate to experiment with different hardware combinations and voice recognition tools. With practice, you’ll soon have a personalized voice assistant that’s tailored exactly to your needs and preferences.


Leave a Reply