You’ve probably looked at commercial multi-room audio systems and winced at the price tags—we’re talking thousands of dollars for what amounts to basic functionality. Here’s the thing: you can build a superior system using Raspberry Pi boards for a fraction of that cost, and you’ll actually get more flexibility and control than those expensive alternatives offer. The question isn’t whether you should consider this approach, but rather which specific setup will transform your home into the audio paradise you’ve been envisioning.
Understanding Multi-Room Audio Systems
When you’re looking to elevate your home audio experience, multi-room audio systems offer an elegant solution that transforms how you enjoy music throughout your living space.
These systems synchronize audio across multiple rooms, creating seamless soundscapes perfect for entertaining or daily listening. Your multi-room audio system combines wired and wireless technologies to connect speakers and sources, enabling centralized control from a single device.
You’ll access popular streaming services directly through the system, giving you unlimited music libraries at your fingertips.
The beauty lies in scalability—you can start small and expand by adding more audio players as needed. Playing music becomes effortless with high-quality sound reproduction enhanced by dedicated DACs, delivering superior audio fidelity compared to standard outputs.
Cost Comparison: Traditional vs. Raspberry Pi Solutions
One of the most compelling reasons to choose a Raspberry Pi multi-room audio system lies in its dramatic cost advantage over traditional solutions.
When conducting a cost comparison, you’ll find traditional systems typically cost around £300 per room, while Raspberry Pi solutions deliver the same functionality for £100 or less. Your music system benefits from repurposing existing audio equipment rather than buying expensive proprietary hardware.
| Component | Traditional Cost | Raspberry Pi Cost |
|---|---|---|
| Per Room Setup | £300 | £100 |
| Audio Quality | Variable | High |
| Upgrade Flexibility | Limited | Unlimited |
The affordability of Raspberry Pi components like DACs and power supplies enables budget-friendly setups without sacrificing sound quality. You’ll achieve similar or better audio performance while maintaining versatility for incremental upgrades, making it a cost-effective long-term investment.
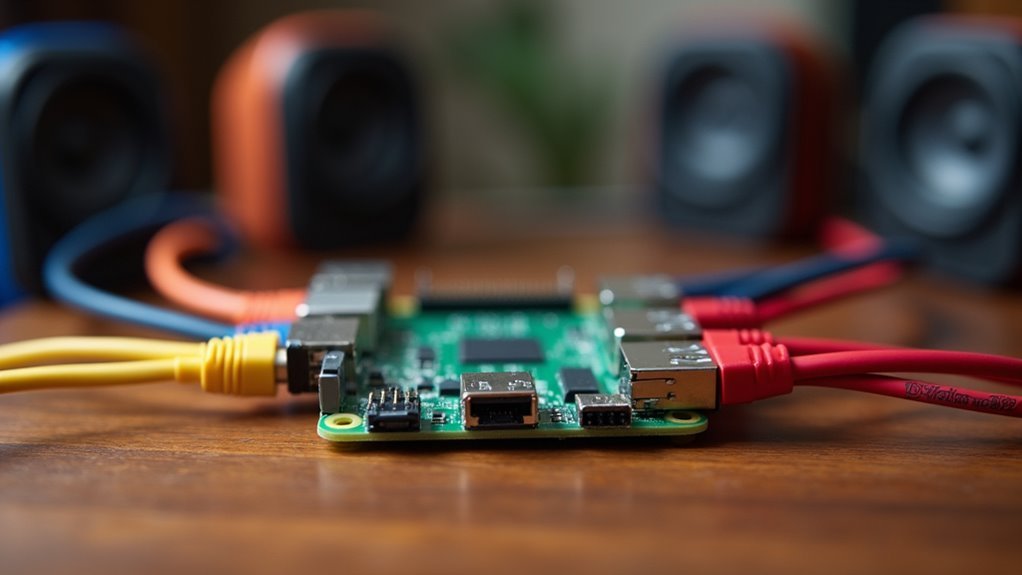
Essential Hardware Components for Your Setup
Building your Raspberry Pi multi-room audio system requires careful selection of core hardware components that’ll determine both performance and audio quality.
Core hardware selection directly impacts your multi-room audio system’s performance and overall sound quality.
You’ll need a Raspberry Pi 4 or Pi 400 as your primary unit for each room, providing essential processing power and connectivity. An 8 GB microSD card offers ideal storage for your operating system and audio applications.
For audio connections, 3.5 mm cables link your Pi to speakers or receivers.
Don’t forget dedicated power supplies to maintain uninterrupted operation across all units.
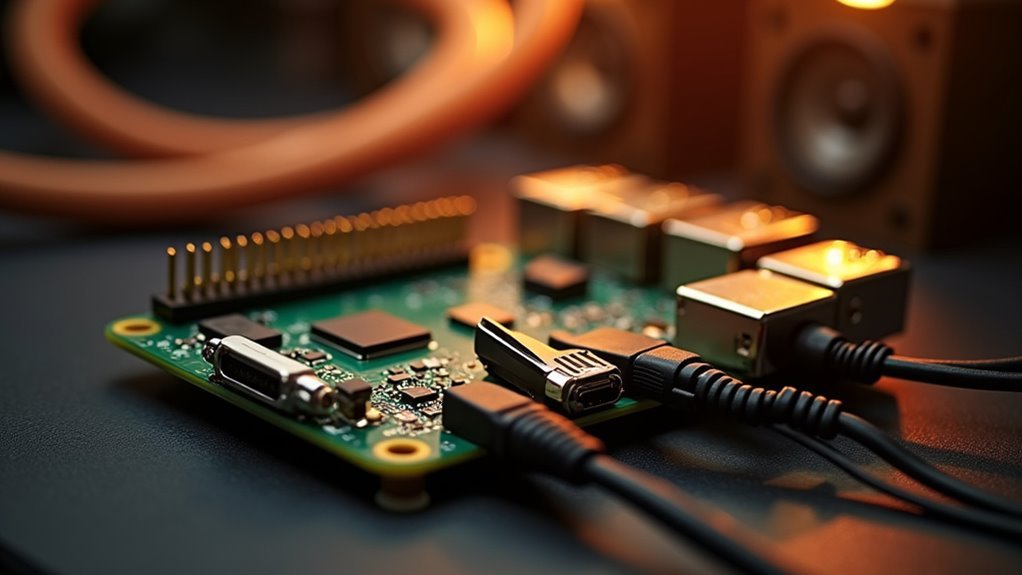
Consider upgrading beyond basic audio output with add-on DAC boards from HiFiBerry or IQaudIO for superior sound quality.
Alternatively, USB audio interfaces provide another enhancement option, delivering cleaner audio signals than the Pi’s built-in output while maintaining system flexibility.
Choosing the Right Raspberry Pi Model
Although multiple Raspberry Pi models can handle audio streaming, the Pi 4 stands out as your best choice for multi-room audio systems. Its enhanced processing power and multiple audio output support make it ideal for demanding audio products.
| Model | Audio Performance | Best Use Case |
|---|---|---|
| Pi 4 | Excellent with multiple outputs | Multi-room systems |
| Pi 3B+ | Good, may struggle with high frequencies | Single room setups |
| Pi 400 | Limited to USB speakers | Desktop audio projects |
The Pi 3B+ offers decent performance and Bluetooth compatibility but can’t match the Pi 4’s capabilities with high-frequency signals. While the Pi 400 includes a built-in keyboard, you’ll need USB speakers, limiting your flexibility. For best results, pair any model with a dedicated DAC board to reduce distortion and improve audio quality considerably.
DAC Selection and Audio Quality Considerations
You’ll face an essential decision between using your Raspberry Pi’s built-in audio output or investing in an external DAC for your multi-room setup.
The Pi’s onboard audio delivers approximately 10% THD at 10kHz, which means you’re getting mediocre sound quality that’ll be noticeably inferior compared to dedicated audio hardware.
However, you don’t need to break the bank to achieve significant improvements, as even budget-friendly external DACs can dramatically enhance your system’s audio performance.
Built-In Vs External DACS
Audio quality forms the cornerstone of any successful multi-room system, and your choice between the Raspberry Pi’s built-in DAC and external alternatives will dramatically impact your listening experience.
The built-in audio output delivers approximately 10% THD at 10kHz, which pales compared to external DACs achieving 0.03% THD levels.
External DACs offer superior performance through:
- I2S audio bus integration – HiFiBerry and IQaudIO models bypass analog interference
- Enhanced sampling capabilities – Support for CD-quality audio and beyond
- Advanced filtering technology – Eliminates electromagnetic interference affecting onboard components
- Greater dynamic range – Delivers clearer sound reproduction across frequency spectrum
You’ll notice dramatically improved audio fidelity, reduced distortion, and enhanced high-frequency reproduction when upgrading from built-in audio to dedicated external DACs in your multi-room setup.
Budget-Friendly Audio Solutions
Building an impressive multi-room audio system doesn’t require breaking the bank, especially when you strategically select DACs that balance performance with affordability.
You’ll discover that budget-friendly audio solutions using Raspberry Pi 4 models cost around £100 per room, dramatically undercutting traditional systems exceeding £300 per room.
The HiFiBerry DAC+ Zero exemplifies smart spending—it transforms your Pi’s mediocre 10% THD built-in audio into professional-quality output with just 0.08% THD at 10kHz.
You’re bypassing the Pi’s problematic PWM-based audio output while leveraging the superior I2S audio bus for crystal-clear data transfer.
Other manufacturers like IQaudIO offer comparable performance at competitive prices.
You’ll achieve high-fidelity sound reproduction without premium pricing, making multi-room audio accessible for any budget-conscious audiophile.
Installing Snapcast for Synchronized Streaming
When setting up a multi-room audio system, Snapcast emerges as the essential component that synchronizes audio streaming across all your Raspberry Pi devices.
This powerful tool creates a cohesive listening experience throughout your home by ensuring perfect audio synchronization across multiple raspberry pi units.
Here’s your installation process:
- Download Snapcast – Run `wget https://github.com/badaix/snapcast/releases/download/v0.20.0/snapclient_0.20.0-1_armhf.deb` on your Mopidy machine
- Configure audio output – Modify `/etc/mopidy/mopidy.conf` to route audio through Snapcast
- Setup clients – Edit `/etc/default/snapclient` on each device to point to your Mopidy server
- Verify functionality – Check the Iris interface for your new synchronized audio group
Restart Mopidy after configuration changes to activate streaming.
Configuring Mopidy Music Server
Transform your Raspberry Pi into a powerful music server by installing and configuring Mopidy, the backbone that’ll handle all your audio sources and streaming needs.
First, update your system with `sudo apt -y update && sudo apt -y full-upgrade`, then install Mopidy using `sudo apt install mopidy`. Next, configure your audio output by editing `/etc/mopidy/mopidy.conf` to direct sound to your Snapcast server for multi-room synchronization.
| Configuration Step | Command/Action |
|---|---|
| Install Mopidy | `sudo apt install mopidy` |
| Edit Configuration | `/etc/mopidy/mopidy.conf` |
| Restart Service | `sudo systemctl restart mopidy` |
Enable various music backends like Spotify, local files, and web radio by adding respective sections to your configuration file. After making changes, restart the service to apply your new settings.
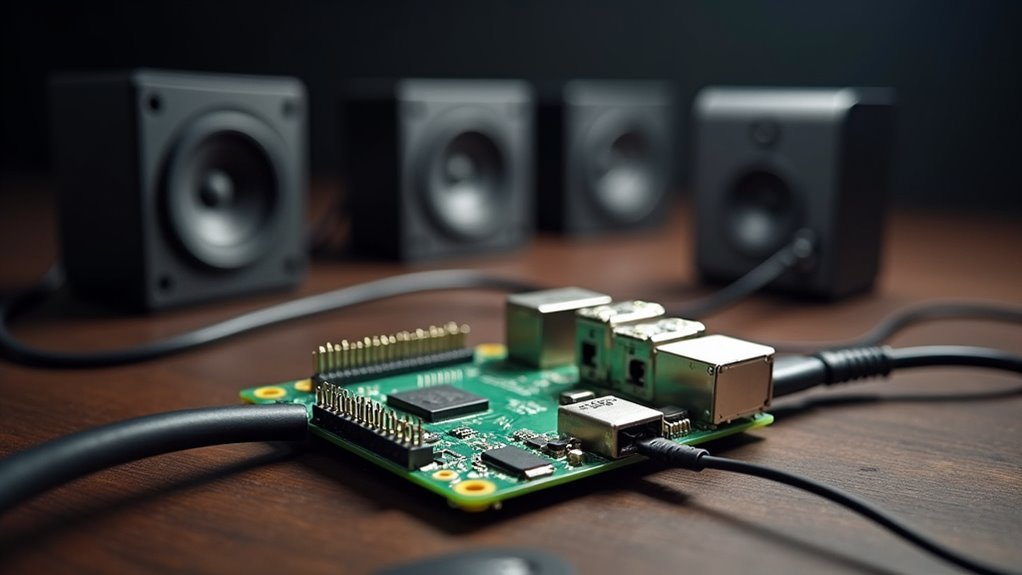
Adding Wireless Audio Clients
You’ll expand your multi-room audio system by installing Snapcast clients on additional Raspberry Pi devices throughout your home.
The Raspberry Pi Zero makes an excellent wireless client due to its compact size and built-in Wi-Fi capabilities.
You’ll need to configure each client’s network settings and test the connections to guarantee synchronized playback across all rooms.
Snapcast Client Installation
Download the Snapcast client package to your Raspberry Pi by running `wget https://github.com/badaix/snapcast/releases/download/v0.20.0/snapclient_0.20.0-1_armhf.deb` in the terminal.
This creates your wireless audio input receiver that’ll sync with your Mopidy server.
Follow these steps to complete your snapcast client setup:
- Configure the client by editing `/etc/default/snapclient` to point toward your Mopidy server’s IP address and port
- Restart the service using `sudo systemctl restart snapclient` to apply your configuration changes
- Verify connection through the Iris web interface where you’ll see new client groups appear
- Connect audio output via 3.5mm cable or DAC to speakers for ideal sound quality
Your Raspberry Pi now streams synchronized audio wirelessly.
Raspberry Pi Zero Setup
The compact Raspberry Pi Zero W makes an excellent wireless audio client that’ll expand your multi-room setup without breaking the bank. You’ll start by installing Raspberry Pi OS Lite and updating your system with `sudo apt -y update && sudo apt -y full-upgrade`.
| Component | Purpose |
|---|---|
| Raspberry Pi Zero W | Wireless audio client |
| HiFiBerry DAC+ Zero | Enhanced audio quality |
| I2S connections | Superior sound output |
| Snapcast client | Multi-room audio streaming |
Adding a HiFiBerry DAC+ Zero greatly enhances audio quality through I2S connections. Once you’ve configured the Snapcast client, you’ll adjust Mopidy’s audio output settings to stream music effectively. The entire setup process takes under an hour, making it a quick, cost-effective solution for expanding your multi-room audio system.
Network Configuration Testing
With your Raspberry Pi Zero clients configured and ready, confirming proper network configuration becomes your next priority.
Testing verifies seamless audio streaming across all rooms without synchronization issues.
Follow these essential steps to verify your multi-room setup:
- Connect all devices – Verify every Raspberry Pi joins the same Wi-Fi network for proper communication.
- Configure client connections – Edit `/etc/default/snapclient` using `sudo nano` to specify your Mopidy server’s IP address.
- Test audio playback – Stream music from your main server and verify all clients receive synchronized audio without lag or distortion.
- Maintain system updates – Regularly update your Raspberry Pi OS and audio software to prevent connectivity issues.
Proper network configuration testing guarantees reliable audio streaming performance throughout your home.
Network Setup and Optimization
Since your multi-room audio system’s performance heavily depends on network stability, you’ll need to establish a robust foundation that can handle simultaneous streaming across multiple Raspberry Pi devices.
Your network setup should prioritize dual-band routers to minimize interference while streaming audio throughout your home.
Connect stationary Raspberry Pi units via Ethernet whenever possible—you’ll get more reliable, higher-bandwidth connections that greatly improve audio quality.
Position wireless devices within 10-15 meters of your router, avoiding obstructions that degrade signal strength.
Enable QoS settings on your router to prioritize audio traffic, reducing lag and ensuring smooth playback.
Regular software updates for both your Raspberry Pi devices and router firmware maintain compatibility and optimize performance across your multi-room system.
Testing Audio Synchronization Across Rooms
You’ll need to test Snapcast’s synchronization performance by playing identical audio files across all your Pi devices and listening for any noticeable differences in timing.
Detection of audio delays becomes critical when you’re moving between rooms, as even small timing discrepancies of 20-40 milliseconds can create an echo effect that disrupts the listening experience.
Multi-device timing issues often arise from network latency variations, so you’ll want to monitor each Pi’s buffer status and adjust Snapcast’s latency compensation settings accordingly.
Snapcast Sync Performance
Testing Snapcast’s synchronization performance reveals impressive results that make multi-room audio setups truly practical.
You’ll discover that Snapcast delivers synchronized playback with millisecond-level accuracy across your Raspberry Pi network, eliminating noticeable audio delays between rooms.
The server-client architecture guarantees peak performance through these key factors:
- Adaptive buffering – You can adjust buffer settings based on your network conditions for maximum synchronization.
- Low-latency streaming – Minimal delay maintains tight timing across all connected devices.
- Network optimization – The system automatically compensates for varying network conditions between clients.
- Real-time monitoring – Built-in tools let you track and fine-tune synchronization performance.
You’ll find that proper configuration delivers seamless audio experiences, with Snapcast maintaining perfect timing even when streaming to multiple rooms simultaneously through your Raspberry Pi infrastructure.
Audio Delay Detection
While Snapcast’s performance metrics look impressive on paper, detecting actual audio delays in your physical setup requires hands-on testing to verify synchronization across rooms. You’ll need to measure whether your raspberry pis in sync are truly delivering synchronized playback within the acceptable 20-40 millisecond threshold.
| Testing Method | Tools Required | Detection Accuracy |
|---|---|---|
| Click Test | Audio editor, microphones | High |
| Waveform Analysis | Audacity, recording device | Very High |
| Built-in Tools | Snapcast diagnostics | Medium |
| Manual Listening | Your ears, test tones | Low |
Use audio alignment tests where you’ll play identical clicks across devices and record the output. Any audio delay beyond 40 milliseconds creates noticeable echo effects. Regular testing becomes essential when adding devices or experiencing network changes that affect transmission timing.
Multi-Device Timing Issues
When audio streams travel across your network to multiple Raspberry Pi devices, timing discrepancies become your primary challenge in achieving seamless multi-room audio synchronization.
Network latency creates millisecond delays that’ll make your audio playback sound like an echo chamber across rooms.
Here’s how to tackle multi-device timing issues:
- Implement Snapcast or Balena Sound protocols – These guarantee all devices receive audio streams simultaneously, eliminating sync problems.
- Adjust buffer sizes in audio settings – Optimizing buffers reduces lag and improves synchronization performance.
- Strategically place your Raspberry Pi 4 units – Avoid EMI interference that disrupts audio quality and timing.
- Test synchronization manually – Play audio across rooms and listen for delays measured in milliseconds.
You’ll achieve tight synchronization by addressing these technical factors systematically.
Integrating Apple AirPlay Support
Since many users rely on Apple devices for their daily audio consumption, adding AirPlay support to your Raspberry Pi multi-room system creates a seamless bridge between Apple’s ecosystem and your custom setup.
You’ll accomplish this by installing Shairport Sync, which transforms your Pi into an AirPlay receiver capable of accepting streams from iPhones, iPads, and other Apple devices.
Compiling Shairport Sync from source guarantees peak performance with minimal latency.
Once installed, you’ll configure Snapcast to recognize the Shairport Sync audio stream, enabling synchronized playback across all your connected rooms.
This integration dramatically expands your system’s versatility, allowing you to stream directly from any Apple device without requiring additional hardware or complex workarounds, making your multi-room setup truly universal.
Mobile Control and User Interface Options
You’ll need effective control interfaces to manage your Raspberry Pi multi-room audio system from anywhere in your home.
Browser-based solutions offer universal access through any device with a web connection, while dedicated mobile apps provide streamlined touch controls for smartphones and tablets.
Setting up remote access guarantees you can adjust playback, manage playlists, and control volume levels whether you’re connected to your local network or away from home.
Browser-Based Control Options
How can you control your Raspberry Pi multi-room audio system without being tethered to a specific device? Browser-based control options provide the ultimate flexibility, letting you manage your music player from any connected device on your network.
Simply open a web browser on your smartphone, tablet, or laptop to access full system control.
These browser interfaces offer extensive functionality:
- Real-time volume control and track selection across all rooms
- Playlist management with drag-and-drop functionality for easy organization
- Streaming service integration for Spotify and TuneIn Radio access
- Multi-room synchronization to create seamless audio groups
Solutions like Pi MusicBox and Balena Sound deliver customizable dashboards with intuitive navigation, making control accessible for users of all ages without requiring dedicated apps.
Mobile App Integration
While browser control works perfectly for quick adjustments, dedicated mobile apps take your Raspberry Pi multi-room audio experience to the next level with specialized features and enhanced convenience. You’ll find apps like Squeezer offering seamless remote control across multiple devices, while Balena Sound and Snapcast provide intuitive interfaces for stream management.
| Feature | Squeezer | Balena Sound/Snapcast |
|---|---|---|
| Multi-device sync | Yes | Yes |
| Volume control | Individual/Group | Individual/Group |
| Streaming integration | Spotify compatible | Multiple services |
These mobile apps let you create audio groups, manage playlists, and adjust settings from anywhere in your home. You’ll appreciate their user-friendly designs that make multi-room audio accessible regardless of your technical background, transforming your smartphone into a powerful audio control center.
Remote Access Setup
Where can you truly access the potential of your Raspberry Pi multi-room audio system? Through seamless remote access that transforms any device into your control center.
You’ll discover that managing your multi-room setup becomes effortless when you can control everything from smartphones, tablets, or computers without additional hardware requirements.
Setting up remote access involves these essential steps:
- Connect devices to Wi-Fi – Link all Raspberry Pi units to your network without monitors or keyboards.
- Install control applications – Use Squeezer or web browsers for intuitive navigation.
- Configure streaming services – Integrate Spotify and TuneIn Radio for direct mobile management.
- Enable synchronization – Create audio groups across multiple rooms for coordinated playing.
The piCorePlayer system enhances this experience by supporting various remote control options, making playlist creation and playback management completely wireless.
Troubleshooting Common Setup Issues
Despite following setup guides carefully, you’ll likely encounter issues when configuring your Raspberry Pi multi-room audio system. Effective troubleshooting requires checking several key components systematically.
| Issue | Cause | Solution |
|---|---|---|
| No audio playback | Misconfigured output settings | Verify audio player software configuration |
| Sync problems | Network connectivity issues | Verify all devices connect to same Wi-Fi |
| Performance lag | Insufficient power supply | Use 5V 2.5A adapters minimum |
| Bluetooth dropouts | Pairing problems | Confirm proper device pairing |
| System crashes | Outdated software | Update Raspberry Pi OS and audio software |
Start troubleshooting by verifying your network connection, then check power supplies and audio configurations. If you’re using Bluetooth streaming, confirm devices are properly paired with Bluetooth enabled. Regular updates to your OS and audio software like Mopidy or Snapcast prevent many common issues.
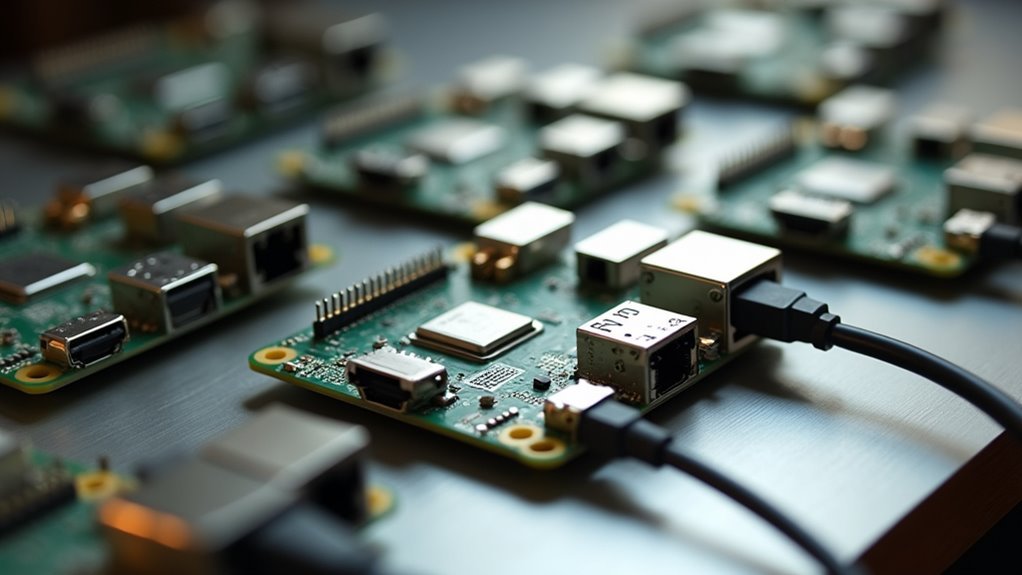
Expanding Your System for Additional Rooms
Once you’ve successfully set up your initial Raspberry Pi multi-room audio system, scaling it to cover additional rooms becomes straightforward and cost-effective.
You’ll simply add more Raspberry Pi units using identical software configurations for seamless integration.
Here’s how to expand your system efficiently:
- Deploy identical Raspberry Pi units – Configure each new device with the same software image you’ve already tested.
- Connect to existing audio equipment – Use 3.5mm cables to link each Pi to speakers or receivers in new locations.
- Synchronize playback across all rooms – Leverage Snapcast or Balena Sound platforms for consistent audio timing.
- Stream wirelessly to all devices – Take advantage of Bluetooth and Wi-Fi capabilities on Pi 4 and 400 models.
At roughly £100 per room, you’ll create professional-grade multi-room audio without breaking your budget.
Frequently Asked Questions
What Is the Raspberry Pi High Quality Audio Output?
You’ll get considerably better audio quality using external DACs instead of Raspberry Pi’s built-in PWM output. High-quality add-ons like HiFiBerry or Cirrus Logic cards reduce distortion from 10% to just 0.08%.
How Does Multi Room Audio Work?
You’ll set up a central server that streams audio over your network to multiple client devices in different rooms. Each client receives the synchronized audio signal and plays it through connected speakers, creating seamless whole-home audio.
Can You Use a Raspberry Pi for Multiple Things?
You can absolutely use a Raspberry Pi for multiple things simultaneously. It’ll run media centers, web servers, home automation hubs, retro gaming consoles, and network storage while handling your multi-room audio needs.
Why Is the Raspberry Pi so Expensive Now?
You’re seeing higher Raspberry Pi prices because of global semiconductor shortages, supply chain disruptions, and surging demand for DIY projects. Limited production runs and currency fluctuations have also pushed prices up considerably.


Leave a Reply