To craft your whole-home assistant network, start with a central Home Assistant hub running on a Raspberry Pi 4 (4GB+ RAM) or NUC. Place Thread border routers and voice assistants strategically in each main room, ensuring mains-powered devices create a robust mesh network. Separate your IoT devices using VLANs for security, and implement a reliable remote access solution through VPN. Creating custom voice commands will transform everyday routines into seamless experiences. The following guide unpacks everything you’ll need for complete coverage.
Planning Your Home Assistant Network Architecture

When building a robust Home Assistant network, proper planning becomes the foundation for long-term success and security. Start by placing Home Assistant Core within your secure LAN segment to protect automation controls from potential threats.
Design your network with clear boundaries using VLANs to separate IoT devices, guest networks, and your secure LAN. This segmentation prevents lateral attacks while allowing controlled communication between segments. Implementing a dedicated firewall device like pfSense or OPNSense will significantly enhance your network’s security posture.
Network segmentation via VLANs creates security boundaries that contain threats while enabling controlled cross-segment communication when needed.
Consider implementing managed switches to tag ports with appropriate VLAN IDs for physical and logical isolation.
Document your network topology including all VLANs, device locations, and communication flows. This documentation proves invaluable for troubleshooting and future expansions.
Plan for remote access through VPN or secure proxy solutions rather than opening direct ports to your Home Assistant instance.
Essential Hardware Components for Multi-Room Coverage
To achieve thorough coverage throughout your home, position Thread-enabled border routers in each major room to eliminate dead zones and improve responsiveness.
You’ll boost reliability by implementing a multi-controller mesh strategy that combines both Zigbee and Z-Wave coordinators, allowing seamless operation even if one system experiences issues.
Consider your device placement carefully, ensuring that Thread-enabled products are strategically distributed to strengthen the network backbone and maximize inter-device communication. For optimal performance, include mains-powered nodes throughout your setup, as they are essential for building robust mesh networks in both Z-Wave and Zigbee environments.
Border Routers by Room
As your smart home expands beyond a single room, strategically placed border routers become essential for maintaining seamless connectivity throughout your living space.
You’ll want a border router in each key area—living room, kitchen, bedroom, and office—to eliminate dead zones and guarantee all Thread devices remain reachable. Several consumer products can serve this purpose: Apple’s HomePod mini or Apple TV 4K, Google’s Nest Hub (2nd gen) or Nest WiFi Pro, or even dedicated Home Assistant hardware like Yellow or SkyConnect.
Each additional border router provides redundancy and improves response times by managing local traffic independently. Multiple border routers working together create a more reliable network that automatically adjusts when devices are moved around your home.
This distributed approach not only strengthens your network’s reliability but also allows for future expansion without overloading a single device, creating a truly robust smart home foundation.
Thread-enabled Device Placement
Creating a resilient Thread network across your home requires careful placement of various device types to achieve seamless coverage.
Position mains-powered Thread routers in central, open areas away from walls and metal objects that can block 2.4 GHz signals. Distribute these routers evenly throughout your home, including one on each floor, to establish a robust mesh backbone.
For battery-powered end devices like sensors and actuators, you’ll have more flexibility with placement since they rely on nearby routers to relay messages. Confirm that rooms in corners or isolated areas have dedicated Thread routers to eliminate dead zones.
Thread networks become stronger with each device you add, as they contribute to creating a self-healing mesh that automatically reroutes communications if one device fails.
When selecting hardware, look for certified Thread products with optimized antennas for indoor environments and support for AES encryption to maintain network security across your multi-room setup.
Multi-controller Mesh Strategy
While a basic Thread network works for smaller homes, expanding to multi-room coverage requires a thoughtful multi-controller mesh strategy with specialized hardware components.
You’ll need multiple controllers strategically placed to manage different network segments across your home.
Start with controllers embedded in compatible routers as your foundation. Add Mesh Access Points (MAPs) to extend wireless coverage in rooms where wired connections aren’t possible.
For peak performance, install Root Access Points (RAPs) with wired connections to your main network in key locations. Consider using the Mighty Gecko family with its 40 MHz processor for optimal mesh networking performance.
Ensure your devices support the EasyMesh standard for seamless interoperability. This allows you to mix hardware brands while maintaining unified network management.
When deploying your mesh network, analyze your home’s layout carefully to enhance device placement and minimize wireless interference.
Setting Up Your Core Home Assistant Hub
When setting up your Home Assistant hub, you’ll need to choose between installing on a Raspberry Pi, virtual machine, or using Docker.
Your hardware selection will impact performance, with Raspberry Pi offering affordability while VMs provide flexibility for existing systems.
Consider your technical comfort level with BIOS configuration and command-line tools before committing to a specific installation method. For the most complete experience with all features and add-ons, the Home Assistant OS is the recommended installation method.
Choose Your Installation Method
Before diving into your smart home journey, you’ll need to select the right Home Assistant installation approach for your needs. Home Assistant offers four official methods, each balancing convenience, flexibility, and control.
| Installation Method | Ideal For | Key Benefit |
|---|---|---|
| Home Assistant OS | Beginners | Complete, ready-to-use system |
| Home Assistant Container | Docker users | Lightweight, integrates with other containers |
| Home Assistant Supervised | Linux enthusiasts | Full experience on your existing system |
| Home Assistant Core | Advanced users | Maximum control, minimal overhead |
You can install on Raspberry Pi by burning an image to an SD card, run it in a virtual machine on Proxmox or VMware, or deploy on a generic x86-64 PC for more power. Docker installation offers flexibility with proper volume mounting and network configuration. While unofficial installation methods exist, only officially supported methods are tested and documented to ensure optimal user experience both now and in the future.
Hardware Considerations Matter
The heart of your smart home ecosystem begins with choosing the right hardware for your Home Assistant hub. For beginners, a Raspberry Pi 4 with at least 4GB RAM handles most setups well, while an Intel NUC offers more power for expansion.
Prioritize reliable connectivity with Ethernet and multiple USB ports for Zigbee/Z-Wave integrations. Use USB extension cables to minimize radio interference.
Skip the microSD card headaches by opting for an SSD (128GB+) with a USB3-SATA adapter for better speed and reliability. This prevents data corruption and provides ample space for logs, databases, and backups. Investing in reputable brands for your storage components will significantly improve long-term reliability.
For processing power, quad-core CPUs efficiently manage multiple integrations. Consider devices with proper cooling systems to maintain performance during 24/7 operation.
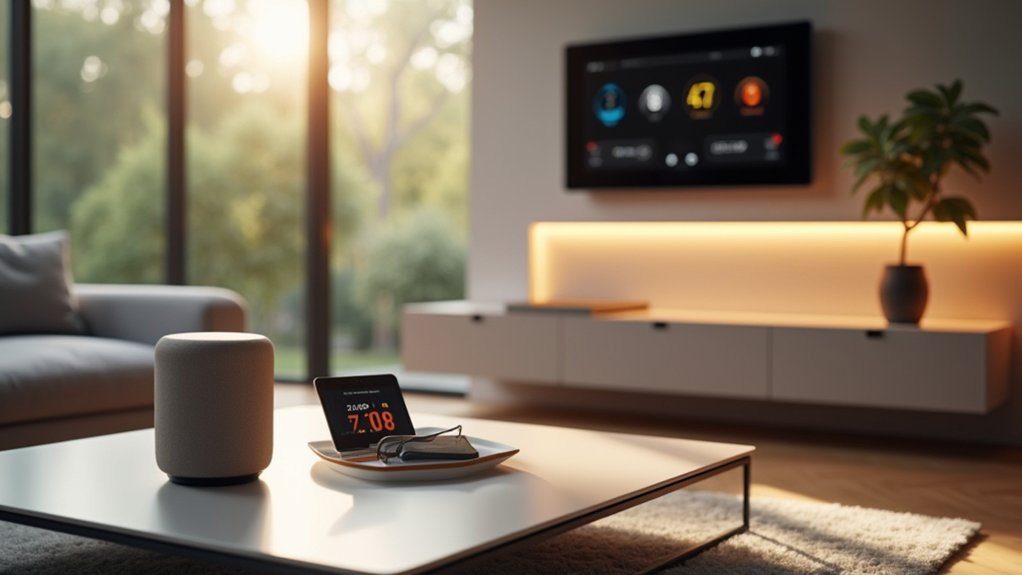
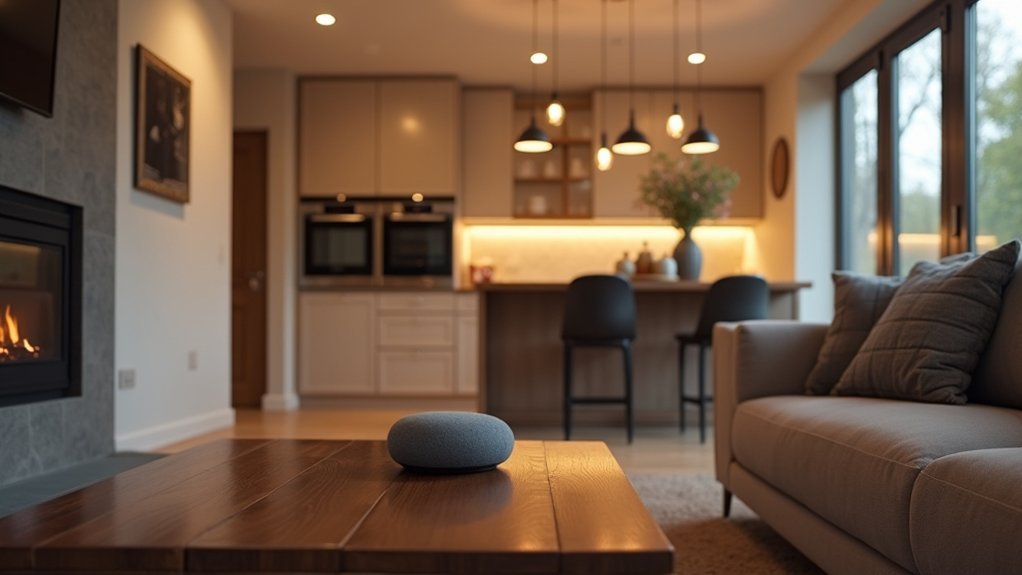
Extending Voice Control to Every Room
Creating a truly responsive smart home requires voice assistants that can hear you anywhere you roam. Strategic placement of devices throughout your home guarantees seamless coverage without command overlap. You’ll need a robust mesh Wi-Fi network to maintain consistent connectivity and synchronize settings across all assistants. The system provides significant advantages for elderly and disabled individuals who may struggle with traditional controls.
| Room Type | Ideal Placement | Key Benefit |
|---|---|---|
| Kitchen | Counter, away from appliances | Hands-free cooking assistance |
| Bedroom | Nightstand, 3ft from bed | Morning routines, evening control |
| Living Room | Central location, eye-level | Entertainment system control |
| Bathroom | Wall mount, away from water | Shower music, morning news |
For successful integration, connect your assistants to a central hub that unifies control. This approach particularly benefits those with mobility challenges, while reducing the need for physical switches in every room.
Creating Custom Voice Commands and Automation Workflows
Designing personalized voice commands transforms your standard smart home into a responsive environment that anticipates your needs. Instead of using default phrases, create commands that feel natural to you—whether controlling lights, adjusting thermostats, or activating security systems.
Build automation workflows that link voice triggers to multi-step actions. A single “good morning” command can raise blinds, brew coffee, and play news briefings. Users can contribute to the growing library of built-in sentences for more effective entity control when standard phrases aren’t understood.
Leverage templates in platforms like Home Assistant to incorporate variables that adapt to context, eliminating the need to specify every device name.
For advanced functionality, integrate AI models that understand natural language and complex instructions. These systems can process conversational requests and apply conditional logic based on time of day or environmental factors, making your voice interactions more intuitive and your home truly intelligent.
Troubleshooting and Optimizing Your Whole-Home System

Even the most carefully designed home assistant networks inevitably face technical challenges.
When your system goes offline, first check for network connectivity issues. If your device isn’t obtaining an IP address or shows “no carrier,” verify all physical connections and try power cycling both your Home Assistant device and router. Generic x86/64 hardware may experience limited compatibility issues with Home Assistant OS.
Can’t access homeassistant.local? This typically indicates DNS resolution problems. Confirm mDNS is supported on your network, or bypass this issue by using a static IP address instead.
If specific devices can’t connect, check that port 8123 isn’t blocked by firewalls. On Linux systems, use “sudo ufw allow 8123/tcp” to open the necessary port.
Regular maintenance helps prevent problems—keep firmware updated, monitor network performance, and consider implementing static IPs for critical devices.
Frequently Asked Questions
Can Home Assistant Work Without Internet Access?
Yes, Home Assistant works without internet. You’ll maintain local control over most devices via LAN. Smart home functions using MQTT, Zigbee, Z-Wave, and GPIO continue working, though cloud-dependent features like TTS become unavailable.
How Does Home Assistant Handle Power Outages?
Home Assistant can’t detect outages itself, but you’ll need to set up automations using internet checks, sensor monitoring, or UPS integration to handle outages and automatically restore your devices when power returns.
Will My Devices Work if Home Assistant Fails?
Most devices will retain basic functionality if Home Assistant fails. You’ll lose automations and remote control, but devices with local controls or multiple protocol support will still work independently. Cloud-dependent devices may not function.
Can Multiple Users Have Different Access Permissions?
Yes, you can set up different access permissions for multiple users in Home Assistant. Through RBAC, you’ll assign specific read, control, or edit rights to groups, allowing tailored access by entity, device, area, or domain.
How Much Bandwidth Does a Typical Installation Consume?
A typical Home Assistant installation uses minimal bandwidth – around 50MB/day for basic functionality. You’ll see higher usage with video streaming, frequent speed tests, or cloud integrations. Monitor your consumption with System Monitor integration.
In Summary
Building your own whole-home assistant network isn’t just about convenience—it’s about creating a personalized ecosystem that adapts to your lifestyle. You’ll face challenges along the way, but the rewards of a seamlessly responsive home are worth it. With proper planning, quality hardware, and thoughtful automation, you’ve now got the knowledge to bring your entire living space to life with just your voice.


Leave a Reply