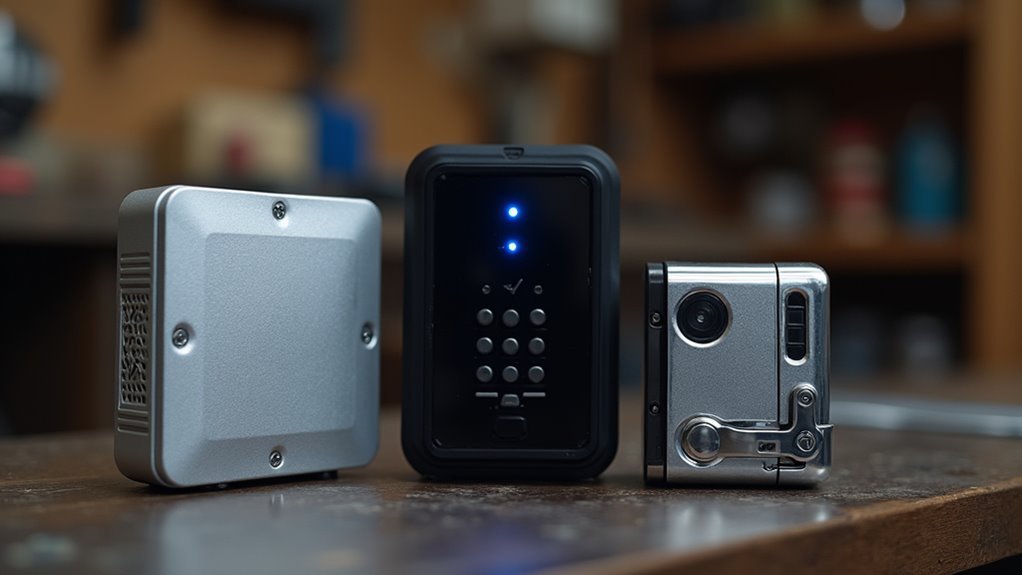
You’re probably tired of expensive commercial intercom systems that don’t quite fit your needs or budget. Building your own door intercom isn’t as complex as you might think, and it’ll give you complete control over features and functionality. With the right approach to circuit design, proper wiring techniques, and strategic component integration, you can create a system that outperforms many store-bought alternatives. The key lies in understanding three critical areas that determine whether your project succeeds or becomes a frustrating pile of components.
Plan Your Circuit Design and Component Selection
Before diving into construction, you’ll need to map out your intercom’s core functions and select components that work seamlessly together. Most modern intercom systems use two-way audio communication as their foundation, so start by defining whether you want basic voice transmission or advanced features like video integration.
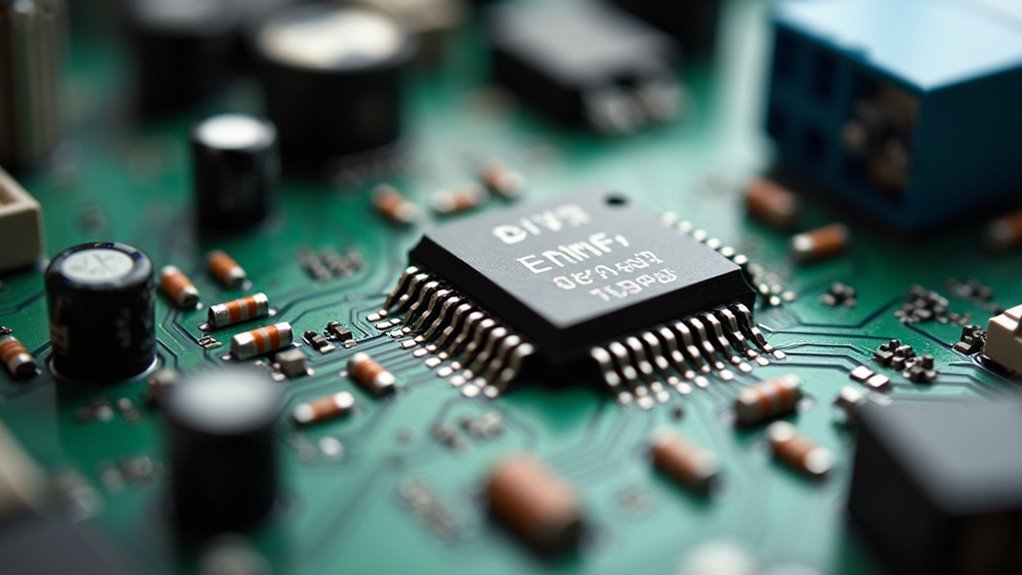
Your door intercom’s circuit design begins with choosing a capable microcontroller like the ESP32, which handles audio processing while providing sufficient GPIO pins for expansion.
Component selection requires pairing a quality microphone and speaker with matching impedance ratings to prevent feedback loops. Include a DTMF generator IC such as the MT8870 for dialing capabilities.
Plan your circuit layout strategically, keeping wire lengths minimal and accounting for potential electromagnetic interference that could compromise audio clarity during operation.
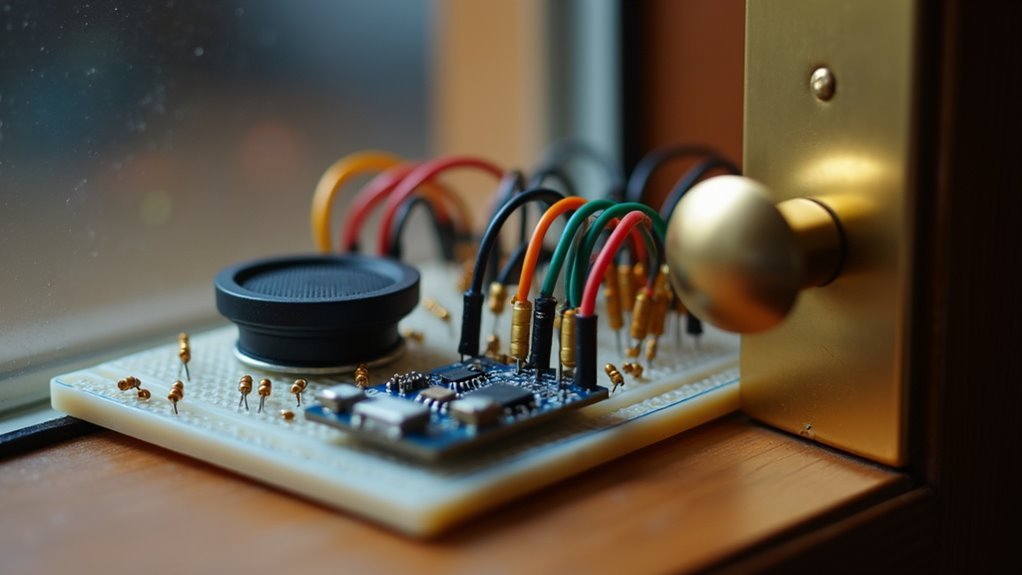
Wire the Audio and Video Communication System
With your circuit design and components selected, you can now connect the audio and video systems that’ll form your intercom’s communication backbone.
Start by wiring your door intercom’s audio systems using a CAT cable to connect the microphone and speaker, minimizing signal loss over long distances. Implement a simple two-wire system for easier installation and troubleshooting of your two-way intercom setup.
For video communication, integrate an ESP32 cam module at your front door for compact, affordable video transmission.
Connect audio components to your Raspberry Pi using a USB sound card or I2S DAC for peak sound quality. Ascertain your Power Supply adequately supports all intercom devices.
Properly insulate and secure all connections to prevent short circuits and signal degradation, especially when routing wires through walls.
Integrate DTMF Dialing and Door Release Controls
Since your audio and video systems are connected, you’ll now add DTMF dialing capabilities that facilitate remote door release through tone sequences. Use a DTMF dialer IC from security systems or repurpose one from an old phone to generate specific tones like ‘0’ for switchboard recognition.
Your circuit design should include auto-hook-up features that automatically connect the intercom panel when visitors press the doorbell button.
Install a relay or electronic door strike with low voltage activation to simplify door release controls integration. This allows remote access functionality through DTMF signaling.
Focus on proper microphone placement and amplification techniques to prevent audio feedback and echo during conversations. Test the tone sequences thoroughly to guarantee reliable communication between your intercom panel and door release mechanism for peak security and convenience.
Frequently Asked Questions
How to Make a Simple Intercom?
You’ll need a microphone, speaker, amplifier circuit, and push-button switch. Connect components using CAT5 cable for long distances. Add a reliable power supply to guarantee continuous operation and clear two-way communication.
Why Don’t Houses Have Intercoms Anymore?
You’ve switched to smart doorbells and smartphones for visitor communication. Modern homes prefer multifunctional devices over dedicated intercoms. Installation costs, aesthetic preferences, and integrated home automation systems have made traditional intercoms largely obsolete.
How Many Wires Are Needed for an Intercom System?
You’ll need at least two wires for basic audio intercom systems. For video capabilities, you’ll require four or more wires. Three-wire configurations enable full-duplex communication, while CAT cables support complex setups.
What Is the Disadvantage of Intercom?
You’ll face security vulnerabilities from unauthorized access, power dependency issues during outages, complex installation requiring professional help, limited audio quality with interference, and potential compatibility problems with existing home automation systems.


Leave a Reply