You’re probably watering your garden at the wrong times, using too much or too little water, and wondering why your plants aren’t thriving despite your best efforts. Setting up an effective garden watering timer isn’t just about buying the first device you see at the store—it requires understanding your soil, choosing the right technology, and programming schedules that work with nature rather than against it.
Assess Your Soil Type and Plant Water Requirements

Before you set up any garden watering timer, you’ll need to understand your soil type and each plant’s specific water requirements.
Clay soil retains moisture longer, while sandy soil drains quickly and needs more frequent watering. Loamy soil offers the best balance for consistent watering practices.
You’ll also need to assess your plants’ individual watering needs. Succulents and drought-tolerant plants require considerably less water than vegetables and annual flowers.
Monitor your plants regularly for signs of stress – wilting or browning indicates under-watering, while yellowing suggests overwatering.
Consider individual variations within species based on age, size, and environmental factors. This assessment guarantees your irrigation systems deliver appropriate water amounts for ideal plant health.
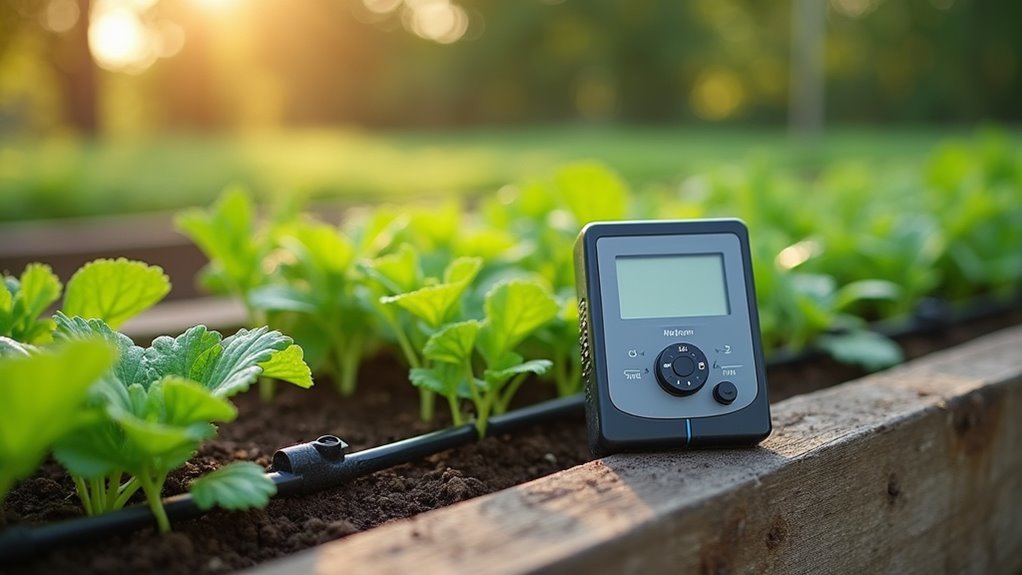
Choose the Right Timer Technology for Your Garden
Which timer technology will best serve your garden’s unique needs? You’ll find three main options, each with distinct advantages.
Battery-operated automatic timer systems work perfectly for gardens without electrical access, offering easy installation and customizable schedules without tools or plumbing expertise. High-end models can manage multiple zones independently, tailoring watering programs to specific plant requirements.
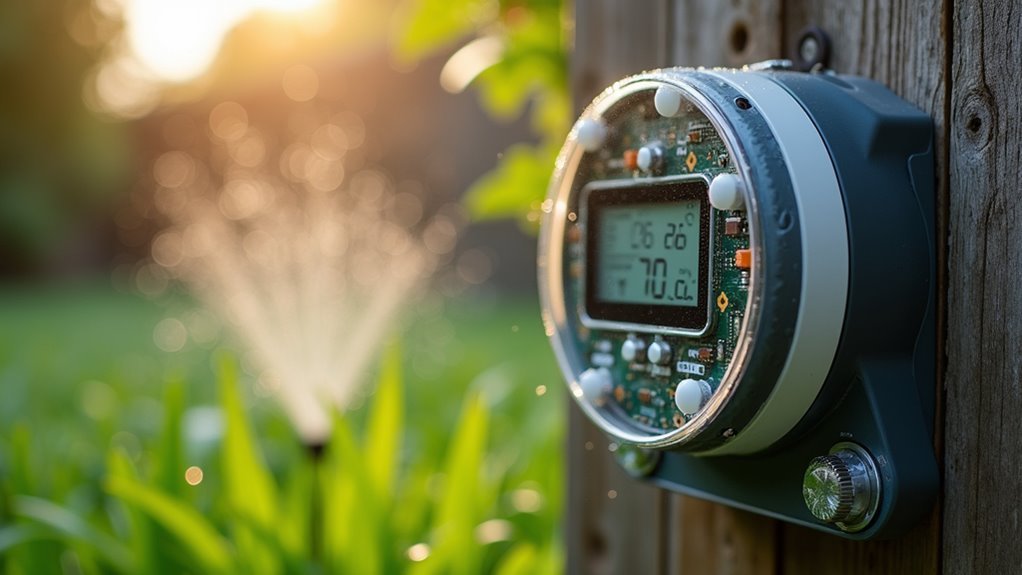
Electronic timers need AC power but excel at controlling complex irrigation systems with multiple valves.
Solar timers provide an eco-friendly alternative, using ambient light for power while maintaining consistent schedules.
When choosing your timer, guarantee compatibility with existing irrigation components and consider advanced features like moisture sensors, which optimize watering by automatically adjusting schedules based on real-time soil conditions for maximum efficiency.
Calculate Optimal Watering Frequency and Duration
Once you’ve selected your timer technology, determining the right watering schedule is essential for plant health and water conservation.
Monitor local weather patterns and use a rain gauge to measure rainfall, as gardens need about one inch of water weekly. Set your timer to water early morning (5-6 am) to minimize evaporation and maximize absorption.
Water gardens early morning between 5-6 am when evaporation is minimal and plants absorb moisture most effectively.
Adjust frequency based on soil type: sandy soils require shorter, more frequent sessions, while clay soils need longer intervals for proper drying.
Water deeply but infrequently to encourage strong root development.
The amount of water depends on precipitation levels, so regularly assess soil moisture by digging down a few inches. If it’s dry at that depth, adjust your schedule accordingly.
Don’t forget to check for leaks that could affect timing accuracy.
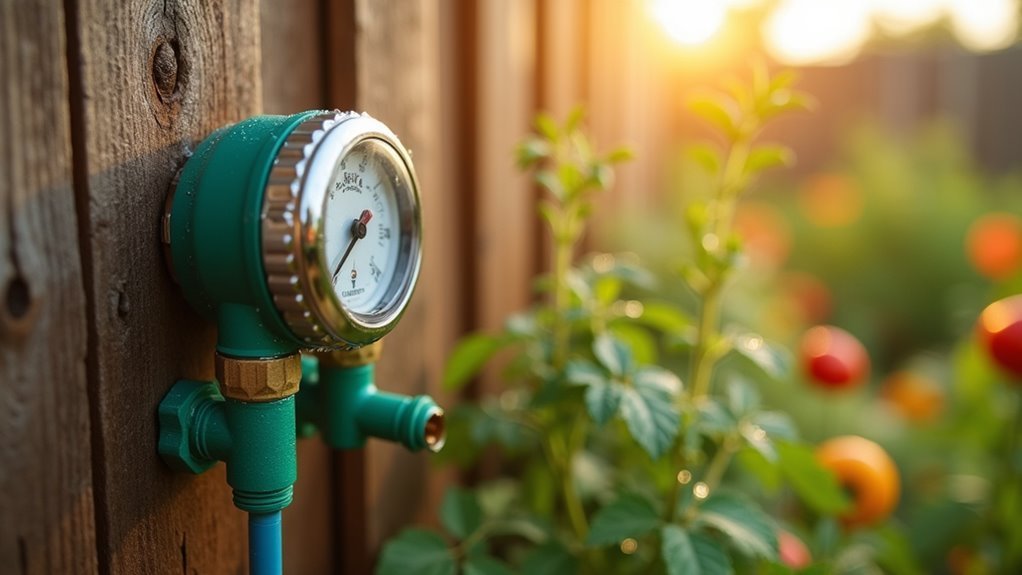
Install Your Timer With Proper Tap Connections
After determining your watering schedule, proper timer installation becomes the foundation for reliable automated irrigation. When you install your timer, use hand installation methods to create a watertight seal rather than tools that might damage components. The collar should spin independently, allowing easy attachment without risking unit damage.
| Installation Component | Key Requirement |
|---|---|
| Tap Connection | Hand-tighten only |
| Reducing Nut | Fits various tap sizes |
| Working Pressure | 0.5 – 8 bar range |
| Quick Connectors | Removable design |
| Collar Movement | Independent spinning |
Utilize reducing nut connectors to guarantee compatibility with different tap sizes for secure proper tap connections. Your irrigation system requires ideal working pressure between 0.5-8 bar to prevent timer malfunctioning. Incorporate removable quick click connectors during installation, providing flexibility for adding or adjusting accessories later.
Program Seasonal Schedules Based on Weather Patterns
Programming your timer’s seasonal schedules requires constant attention to changing weather patterns throughout the year.
You’ll need to monitor local forecasts regularly and adjust your irrigation timers accordingly. During cooler, humid periods, reduce water frequency since plants require less moisture.
Increase watering duration and frequency during peak summer heat when evaporation rates spike.
Install a rain gauge to track precipitation levels, helping you avoid overwatering your soil after rainfall.
Consider daylight length when programming schedules—longer summer days increase plant hydration needs.
Your watering system should be reprogrammed every couple of weeks to match current weather conditions and plant growth stages.
This consistent monitoring maintains ideal soil moisture levels while preventing water waste and plant stress throughout changing seasons.
Set Up Rain Sensors for Automatic Weather Adjustments
While manual schedule adjustments work effectively, rain sensors offer an automated solution that eliminates guesswork from weather-based irrigation management. These devices detect soil moisture levels and automatically pause your irrigation timers when rain occurs, preventing overwatering and ensuring ideal plant health.
Rain sensors integrate seamlessly with existing watering systems, allowing you to conserve water while reducing utility costs. The automatic adjustments happen in real-time, adapting to current weather conditions without requiring your intervention.
| Benefit | Impact |
|---|---|
| Water Conservation | Reduces usage by 20-50% |
| Cost Savings | Lower utility bills |
| Plant Health | Prevents overwatering stress |
| Convenience | No manual monitoring needed |
| Sustainability | Environmentally responsible watering |
Most sensors reset automatically once soil dries, resuming your pre-programmed schedules for consistent garden care.
Configure Multiple Zones for Different Plant Types
Three distinct watering zones can transform your garden’s health by delivering precisely what each plant type needs.
You’ll maximize efficiency by grouping plants with similar watering requirements together, preventing both drought stress and root rot.
Configure your drip irrigation system with these zone-specific strategies:
- Set cacti and succulents for weekly watering cycles
- Program daily schedules for water-hungry vegetables and annuals
- Install moisture sensors to monitor real-time soil conditions automatically
- Use separate timers for each zone’s unique frequency requirements
- Adjust watering duration based on your soil types—sandy soils need frequent, shorter sessions while clay soils require longer, less frequent watering
Understanding your plants’ individual needs and matching them with appropriate soil types guarantees ideal moisture levels.
This targeted approach promotes healthier growth while conserving water resources effectively.
Monitor and Adjust Timer Settings Weekly
You’ll need to evaluate your timer’s performance each week to guarantee it’s meeting your garden’s changing needs.
Start by checking soil moisture levels and comparing them to your current watering schedule to identify any gaps or excess.
Then adjust your timer settings based on recent weather patterns, increasing frequency during dry spells and reducing it when you’ve had adequate rainfall.
Weekly Schedule Assessment
Successful garden watering requires consistent monitoring and weekly adjustments to your timer settings.
Weekly assessment is an essential part of maintaining healthy plants, as weather conditions constantly change throughout growing seasons. You’ll need to evaluate how well your timers work against current environmental factors to water your plants effectively.
Create a systematic approach by checking these key areas:
- Weather patterns – Review temperature changes and recent rainfall amounts
- Moisture levels – Test soil dampness using a moisture meter or manual inspection
- Plant health – Look for wilting, yellowing leaves, or other stress indicators
- System performance – Verify all components function properly without clogs or leaks
- Seasonal adjustments – Modify frequency and duration based on current growing conditions
Regular assessments prevent overwatering during cool periods and underwatering during heat waves.
Weather-Based Timer Adjustments
Since weather conditions shift constantly throughout the growing season, you must adapt your timer settings accordingly to maintain ideal plant health. Monitor weather patterns weekly and check local forecasts for temperature changes that’ll affect watering frequency. During heatwaves, you’ll need increased watering, while cooler periods require less.
| Weather Condition | Rainfall Amount | Timer Adjustment | Frequency Change |
|---|---|---|---|
| Heavy Rain Week | >0.5 inches | Skip 1-2 sessions | Reduce by 50% |
| Hot/Dry Spell | <0.1 inches | Increase duration | Add extra day |
| Moderate Weather | 0.1-0.5 inches | Maintain schedule | No change |
| Cool Period | Any amount | Reduce duration | Decrease frequency |
Summer’s longer daylight increases evaporation rates, demanding more frequent watering than cooler months. Always verify moisture levels using a soil meter to guarantee adjustments match your plants’ actual needs.
Maintain Your System Through Seasonal Changes
Your irrigation timer needs different care as seasons change to guarantee it operates reliably year after year.
You’ll want to properly winterize your system when cold weather arrives and then prepare it for peak performance when spring returns.
These seasonal maintenance steps will protect your investment and keep your garden watering on schedule regardless of weather conditions.
Winter Storage Best Practices
When freezing temperatures approach, you’ll need to winterize your garden watering timer to prevent damage and guarantee reliable operation next season. Proper winter storage protects your irrigation timer’s internal components and extends its lifespan considerably.
Follow these essential steps for effective winterization:
- Remove the timer before first frost and store it indoors in a dry, sheltered location.
- Drain all residual water from the unit to prevent internal freezing damage.
- Remove batteries and dispose of them according to local recycling guidelines to prevent corrosion.
- Clean the built-in mesh filter regularly during storage to avoid performance-hindering blockages.
- Store the timer upright and inspect for wear or damage before spring reinstallation.
These simple practices guarantee your system operates flawlessly when gardening season returns.
Spring System Preparation
As winter’s grip loosens and your garden awakens, it’s time to prepare your watering timer for another productive growing season. Start by inspecting and replacing batteries in your timers to guarantee peak functionality throughout spring.
Clean the built-in mesh filter regularly to prevent blockages that disrupt water flow and scheduling. Adjust your watering schedule to accommodate changing temperatures and your plants’ evolving moisture needs as they emerge from dormancy.
Consider the prime time of day for watering based on spring conditions. Monitor the timer’s LED indicator to check battery condition and replace them when needed for uninterrupted cycles.
Finally, examine your entire system for leaks and confirm all connections remain secure. This thorough preparation conserves water and promotes efficient operation throughout the growing season.
Troubleshoot Common Timer Performance Issues
Even the most reliable garden watering timers can develop performance issues that disrupt your carefully planned irrigation schedule.
When your timer will automatically stop working correctly, you’ll need to troubleshoot common timer performance issues quickly to prevent plant damage.
To identify and resolve problems:
- Check batteries every six months since low power causes malfunctions
- Secure all hose and irrigation connections to prevent performance-disrupting leaks
- Monitor the LED indicator for low battery or malfunction warnings
- Observe complete watering cycles to spot operational irregularities
- Re-evaluate the timer settings if plants show dehydration or overwatering signs
Regular maintenance prevents most issues, but when problems arise, systematic troubleshooting helps restore proper function.
Address warning signs immediately to maintain consistent watering schedules and healthy plants.
Frequently Asked Questions
What Is the Best Way to Automate Garden Watering?
You’ll want to install a programmable irrigation timer with drip systems and rain sensors. Set watering for early morning hours, and use smart controllers that adjust automatically based on weather forecasts and soil conditions.
How Do You Make a Plant Watering Schedule?
You’ll start by evaluating each plant’s specific water requirements and your soil type. Use an irrigation calculator to determine frequency, then adjust seasonally based on weather patterns while incorporating timers for consistency.
What Is the Best Watering Schedule for a Garden?
You’ll want to water early morning between 5-6 am, providing one inch weekly. Adjust frequency based on your soil type and monitor weather patterns regularly to modify your schedule every week or two.
How to Set a Garden Water Timer?
Connect your timer to the spigot with plumber’s tape for a tight seal. Set the current time, choose early morning watering between 5-6 am, and program duration for 10-15 minutes per zone.


Leave a Reply