You’re probably tired of staring at mysteriously high electricity bills, wondering which appliances are secretly draining your wallet. Building your own energy monitor isn’t just a weekend project—it’s your ticket to understanding exactly where every kilowatt goes in your home. With basic components like an ESP32 microcontroller and current transformer clamps, you’ll create a system that reveals consumption patterns most homeowners never discover about their daily habits.
Understanding Energy Monitoring Fundamentals
Energy monitoring transforms how you understand and control your electricity consumption by providing real-time insights into your home’s power usage patterns.
Real-time energy monitoring empowers homeowners to take control of their electricity usage through instant visibility into consumption patterns.
You’ll gain detailed visibility into which appliances consume the most power and when peak usage occurs throughout your day.
This technology uses devices like smart meters and DIY microcontroller solutions to measure electrical flow across multiple circuits simultaneously.
You can track specific appliance usage, helping decode confusing energy bills and pinpoint cost-saving opportunities.
However, accurate readings require careful consideration of power factor and proper calibration.
Traditional current clamps often struggle with low-power devices, potentially causing measurement errors.
Advanced systems leverage current sensors with communication protocols like Modbus or MQTT, transmitting data to cloud platforms for thorough analysis and visualization of your energy consumption habits.
Essential Components for DIY Energy Monitors
Building your own energy monitor requires selecting the right components that work together to capture, process, and display power consumption data.
You’ll need a microcontroller like the ESP32 or ESP8266 to process sensor information and handle data transmission. Current transformer clamps are essential since they measure electrical current non-invasively without cutting wires.
For enhanced accuracy, consider the PZEM-004T sensor, which provides more precise readings than basic current transformer setups, especially with smaller loads.
Adding a 5-inch capacitive touch screen lets you visualize real-time usage directly on your energy monitor.
Open-source projects like the Lantern Power Monitor offer complete schematics and code, making assembly straightforward while allowing customization for your specific monitoring needs.
Raspberry Pi-Based Power Monitoring Systems

While microcontrollers offer simplicity, Raspberry Pi systems provide more processing power and flexibility for extensive energy monitoring solutions.
You’ll find open-source software and hardware designs on GitHub that enable real-time energy consumption tracking. Current sensors like the SCT013 measure power accurately while built-in burden resistors guarantee safety by preventing high voltage risks.
Adding a touchscreen display lets you visualize usage data directly, providing immediate insights into consumption trends and peaks.
You can pair your Raspberry Pi with cloud services like AWS for data storage and analysis, archiving readings and creating web applications for historical data visualization.
Integrating with Home Assistant enhances your system further, enabling thorough home automation and detailed energy management capabilities for complete household monitoring.
ESP32 Smart Energy Meter Implementation
When you’re ready to build a more connected monitoring solution, ESP32 microcontrollers offer the perfect balance of power efficiency and wireless capabilities for smart energy meters. You’ll capture real-time data every second using CT sensors and Modbus protocol communication, ensuring accurate readings of power, voltage, current, and power factor.
| Feature | Capability |
|---|---|
| Data Capture | Second-by-second real-time monitoring |
| Communication | Modbus protocol integration |
| Cloud Storage | AWS IoT serverless architecture |
Your energy meter can stream data directly to smartphone apps while storing information in the cloud for analytics. You can integrate a touchscreen display for immediate visual feedback, creating an interactive monitoring experience. The AWS IoT configuration provides cost-effective scalability, allowing you to expand your system with multiple sensors across different circuits or appliances.
Current Transformer Sensor Installation
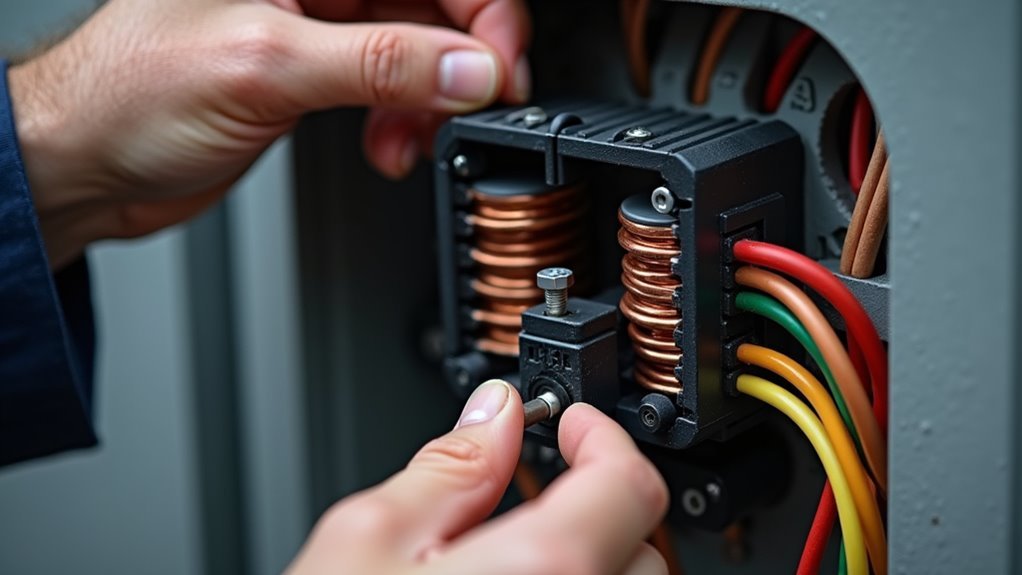
Precision becomes critical once you’re ready to install current transformer (CT) sensors for your homemade energy monitor.
First, select a CT clamp with the correct rating for your expected current range to prevent saturation at higher loads. When installing, clamp the sensor around the live conductor without any gaps – this guarantees accurate readings and prevents safety hazards.
The CT sensor’s milliamp output needs conversion to usable voltage readings through proper calibration factors.
Wire the sensor to your ESP32 or Raspberry Pi microcontroller carefully, guaranteeing secure connections for reliable data processing.
Circuit Board Assembly and Wiring
After completing your CT sensor installation, you’ll need to assemble the circuit board that connects all components of your energy monitoring system.
Use a perfboard as your foundation and install female connectors for your ESP32 instead of direct soldering—this allows easy swapping if needed. Connect your energy meter module’s power supply, TX/RX communication lines, and ground connections to the circuit board.
Wire your display using I2C communication, connecting SCL and SDA to designated ESP32 pins for data visualization. Install M3 brass threaded inserts in your enclosure using a 230°C soldering iron for secure circuit board mounting.
Exercise extreme caution when making mains voltage connections to safely monitor using your homemade system while preventing electrical hazards.
Enclosure Design and 3D Printing
Once your circuit board assembly is complete, you’ll need to design a protective enclosure that houses all components while providing easy access for maintenance.
CAD software like Fusion 360 makes enclosure design straightforward, allowing you to create professional housings with precise measurements. When designing, include cutouts for USB connectors and ventilation holes to prevent overheating.
Modern CAD tools streamline enclosure development with precise measurements and essential features like connector cutouts and proper ventilation planning.
3D printing with PLA material offers an excellent balance of cost-effectiveness and protection. Incorporate brass threaded inserts during your design phase to secure circuit boards and enable easy lid attachment.
Don’t forget cable management – route current clamp cables through dedicated holes for a clean setup. This approach creates lightweight, customizable enclosures that protect your electronics while maintaining accessibility for future modifications.
Home Assistant Integration Setup
While your energy monitor now sits safely in its 3D-printed enclosure, the real magic happens when you connect it to Home Assistant for thorough data visualization and automation. You’ll need to install the ESPHome add-on first, then configure your ESP32’s network settings for seamless communication.
| Setting | Configuration |
|---|---|
| Network Connection | Connect ESP32 to local WiFi |
| IP Configuration | Set static IP, gateway, subnet |
| Firmware Setup | Adjust code for data transmission |
| Installation | Attach current clamp to main line |
After configuring these elements, your home assistant will receive real-time energy consumption data. Access the interface through your web browser or smartphone app to monitor usage patterns. This integration transforms your homemade energy monitor into a powerful tool for tracking and optimizing household energy consumption efficiently.
Calibration and Accuracy Optimization
You’ll need to focus on three critical areas to maximize your homemade energy monitor’s accuracy: proper sensor placement, power factor corrections, and real-time data validation.
Strategic positioning of current clamps and careful consideration of electrical interference can dramatically impact your readings’ precision.
These optimization techniques work together to guarantee you’re capturing true energy consumption rather than distorted measurements that could mislead your monitoring efforts.
Sensor Placement Techniques
Anyone building a homemade energy monitor must master proper sensor placement to achieve reliable measurements.
You’ll need to position your sensor on the main line cable to capture total consumption without any interruption. This strategic sensor placement guarantees you’re monitoring all electrical flow entering your system.
When implementing calibration techniques, start by establishing a 0.00 – 0 calibration point. This baseline proves essential for detecting low-power devices that standard current clamps often miss.
You should use a fixed 230V mains voltage value in your calculations to maintain consistency across different devices.
Don’t forget to take into account power factor requirements when selecting sensors. Devices with varying power factors need specific monitoring solutions for ideal accuracy.
Regular testing and calibration adjustments based on actual load readings will enhance your sensor’s performance.
Power Factor Corrections
Since power factor represents the relationship between real power and apparent power in your electrical system, correcting for it becomes crucial when you want precise energy measurements.
You’ll find that devices like the PZEM-004T directly measure voltage, current, and power factor, giving you more reliable data than basic current clamps alone.
Current clamps often struggle with small loads, showing 0.000 readings for low-power devices. You can overcome this by implementing calibration filters with multiple linear points, including a specific 0.00-0 calibration point.
This improves your monitor’s responsiveness to minimal energy consumption levels. Regular calibration adjustments guarantee your homemade system accurately tracks both high and low power usage, accounting for the power factor differences across various household appliances and electronics.
Real-Time Data Validation
While your homemade energy monitor can measure electrical parameters, establishing real-time data validation guarantees you’re getting accurate readings that reflect actual energy consumption.
Real-time validation involves continuously comparing your raw data against known reference values to identify measurement errors. Since DIY monitors often struggle with low-power devices, showing consistent 0.000 readings, you’ll need robust validation protocols.
Critical validation steps include:
- Calibration Point Verification – Test multiple linear calibration points, including a 0.00-0 baseline for enhanced low-power accuracy.
- Fixed Voltage Standards – Maintain 230V mains voltage calculations for consistent power measurements.
- Update Interval Optimization – Set 5-second intervals to capture real power fluctuations effectively.
- Load Testing – Validate small load measurements where current clamps typically fail, ensuring your monitor accurately tracks actual usage patterns.
Safety Considerations for Electrical Work
When you’re working with homemade energy monitors, you’ll face serious high voltage risks that can cause electrocution or fire if you don’t take proper precautions.
You must always disconnect power before handling any electrical components and use only CE certified current transformers with built-in safety features.
Proper CT installation requires secure connections, adequate insulation, and compliance with local electrical codes to protect both you and your home’s electrical system.
High Voltage Risks
Building a homemade energy monitor involves working with electrical systems that pose serious safety risks if handled improperly. High voltage exposure can cause severe injury or death, making proper precautions vital when constructing your monitoring device.
You must follow these critical safety measures:
- Use CE certified current transformers with built-in burden resistors to prevent dangerous voltage spikes if connections fail.
- Turn off power at the circuit breaker before starting any electrical work on your system.
- Wear proper PPE including insulated gloves and safety glasses when handling live components.
- Follow local electrical codes and use correct wiring techniques to guarantee safe, reliable connections.
Regular inspection of your installation helps identify potential hazards like frayed wires or loose connections before they become dangerous.
Proper CT Installation
Current transformer installation requires precise technique to maintain the safety standards you’ve established.
You’ll need to clamp the CT sensor around a single conductor—either live or neutral—to avoid measurement inaccuracies. Double-check that your CT sensor’s rated for the circuit’s maximum current to prevent damage or overheating.
Use insulated tools and wear rubber-soled shoes during installation to minimize electric shock risks.
Pay careful attention to the CT sensor’s polarity; reversing it causes negative readings and incorrect power calculations.
After completing the installation, test your CT sensor systematically.
Start with known loads to verify accuracy and functionality before regular use. This controlled testing approach guarantees your homemade energy monitor provides reliable current measurements and operates safely within your electrical system.
Certified Component Selection
The foundation of any safe homemade energy monitor starts with certified components that meet established electrical safety standards.
You’ll want to prioritize CE-certified parts to minimize electrical hazards throughout your project. When selecting current transformers, choose models with built-in burden resistors to prevent dangerous high voltages if disconnection occurs during operation.
Consider these essential selection criteria:
- Verify all certified components display proper safety markings and documentation
- Match voltage and current ratings to exceed your maximum expected loads
- Select components with appropriate insulation ratings for your application environment
- Choose parts from reputable manufacturers with proven safety records
Proper component selection forms your first line of defense against electrical hazards, ensuring your energy monitoring system operates safely within your home’s electrical infrastructure.
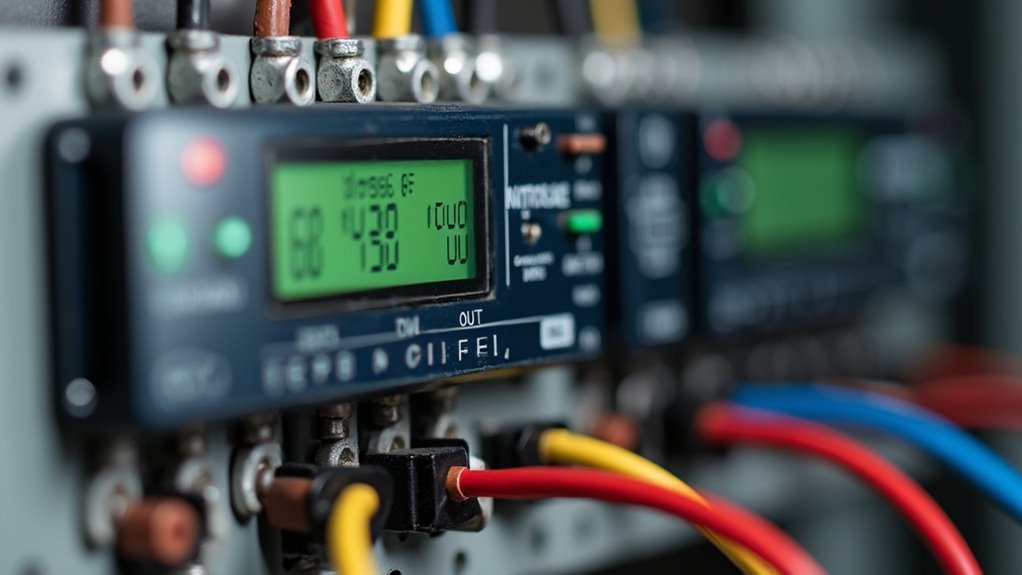
Real-Time Data Display Configuration
Once you’ve assembled your homemade energy monitor with an ESP32 microcontroller and CT sensor, you’ll need to configure a real-time data display that transforms raw electrical measurements into meaningful information. Integration with a touchscreen display lets you visualize energy usage directly on your device, while libraries like EmonLib convert sinusoidal CT sensor readings into usable amperage values.
| Display Component | Function |
|---|---|
| Current Consumption | Shows watts and amps |
| Connectivity Status | Network connection indicator |
| Device IP Address | Local network identification |
| Historical Data | Previous usage patterns |
| Cloud Sync Status | AWS IoT transmission confirmation |
Your display functions should show current consumption in watts and amps, plus connectivity status and device IP address. Data transmission to cloud services like AWS IoT enables seamless access from anywhere.
Mobile App Development and Features
Building a mobile app for your homemade energy monitor extends functionality beyond the physical device, giving you remote access to real-time consumption data from anywhere.
Transform your energy monitoring experience with mobile connectivity, accessing consumption insights instantly from any location worldwide.
You’ll gain extensive control over your energy monitoring system through an intuitive interface that transforms raw data into actionable insights.
Essential features you should incorporate include:
- Real-time visualization – Display energy consumption through interactive graphs and charts for immediate understanding
- Smart notifications – Configure alerts for unusual usage patterns and peak consumption times
- Bill of materials generator – Provide DIY enthusiasts with component lists for building their own monitors
- Supplier integration – Connect electricity provider details for extensive energy management
Future updates can enhance your mobile app with historical analysis, voltage monitoring, and quality assessments for deeper energy consumption insights.
Cost Analysis and Budget Breakdown
You’ll find that building your own energy monitor costs considerably less than buying commercial alternatives, with basic components like ESP32 microcontrollers and current transformers totaling just $50-100 compared to $200+ for retail options.
The upfront savings become even more impressive when you factor in the long-term energy cost reductions possible through effective monitoring and optimization strategies.
Your initial investment can pay for itself within a few years, especially when you use the data to implement energy-saving improvements like better insulation or solar installations.
Component Costs Breakdown
Five essential components form the core budget for your DIY energy monitor, with costs varying considerably based on your chosen approach and quality preferences.
The ESP32 and CT sensor combination represents your primary expense, with component costs ranging from $30 to $60 depending on specifications and sourcing strategies.
Your complete DIY smart energy monitoring system requires these key investments:
- Core hardware (ESP32 + CT sensor): $30-$60
- Display unit (5-inch capacitive touch): $50
- Supporting accessories (resistors, connectors): $10-$20
- Cloud services (AWS storage/analytics): $1-$10 monthly
Don’t overlook shipping expenses, which can add $5-$15 to your total project cost.
When budgeting, expect to invest approximately $95-$145 initially, plus ongoing cloud service fees for extensive energy tracking capabilities.
DIY Vs Commercial
Why spend $200-$500 on commercial energy monitors when you can build a comparable DIY system for $50-$150? You’ll save significant money while gaining customization capabilities that store-bought options can’t match.
Commercial monitors come with polished interfaces and cloud services, but they’re expensive and limit your expansion options.
With DIY energy monitors, you control everything. Using ESP32 or Raspberry Pi microcontrollers with current clamps, you can create powerful monitoring systems at a fraction of commercial costs. The open-source nature means you can scale without hefty additional expenses.
Yes, DIY requires more technical skills and setup time, but the returns are substantial. One user reduced monthly utility bills from $600 to $320 through energy optimization, proving DIY monitors pay for themselves quickly.
Long-term Savings Potential
The real financial impact becomes clear when you examine actual energy bills over time. Your homemade energy monitor provides the data you need to save money through strategic improvements.
One homeowner reduced their electricity bills from over $600 to just $56 by making informed decisions based on continuous monitoring data.
Here’s how you can maximize your long-term savings potential:
- Identify high-consumption appliances for targeted replacements or upgrades
- Fix simple issues like broken control modules to save 150 kWh monthly ($18 savings)
- Install solar arrays with net-metering to feed excess energy back to the grid
- Invest in energy-efficient upgrades like new windows and heat pumps for carbon-neutral living
These data-driven improvements compound over time, delivering substantial financial returns.
Troubleshooting Common Installation Issues
When installing homemade energy monitors, you’ll likely encounter several common issues that can compromise your system’s accuracy and reliability.
Calibration issues frequently occur when current sensors fail to register small loads like LED lights or PCs. You’ll need to correctly calibrate these sensors to improve measurement precision and accurately track energy consumption.
Proper sensor calibration is essential for detecting low-power devices and ensuring accurate energy consumption measurements.
Additionally, check your YAML configuration settings regularly. Optimizing sensor update intervals and power calculation methods greatly affects measurement reliability.
Consider upgrading to alternative sensors like the PZEM-004T, which provides better accuracy for low-power appliances than standard current clamps.
Power factor variations can also cause inaccurate readings with basic current measurement devices. To guarantee reliable tracking, use supplementary applications like Bright for real-time readings that cross-verify your homemade monitor’s data.
Frequently Asked Questions
How Can I Monitor My Own Electricity Usage?
You can monitor electricity usage by installing a smart meter, using plug-in power monitors for individual appliances, or building a DIY energy monitor with ESP32 microcontrollers and current transformers for real-time tracking.
How Can I Track My Daily Energy Usage?
You can track daily energy usage by installing an ESP32-based monitor with current sensors on your electrical panel. Use open-source software like ESPHome to visualize real-time consumption data on your smartphone.
Is There a Device to Monitor Electricity Usage?
You can use commercial smart meters, plug-in power monitors, or whole-house energy monitoring systems. These devices track real-time electricity consumption, display usage data, and help you identify energy-hungry appliances in your home.
How to Make a Smart Energy Meter?
You’ll need an ESP32 microcontroller, current clamp sensor, and display screen. Install EmonLib for power calculations, add cloud connectivity through AWS IoT, and integrate with Home Assistant for smartphone monitoring and alerts.


Leave a Reply