You’re probably thinking smart outlet installation requires an electrician, but you’d be surprised how straightforward it can be with the right approach. Most homeowners can tackle this project in under an hour once they understand the three critical steps that separate a successful installation from a potentially dangerous mistake. The difference lies in following proper safety protocols and knowing which connections matter most.
Turn Off Power and Test for Safety Before Beginning Work
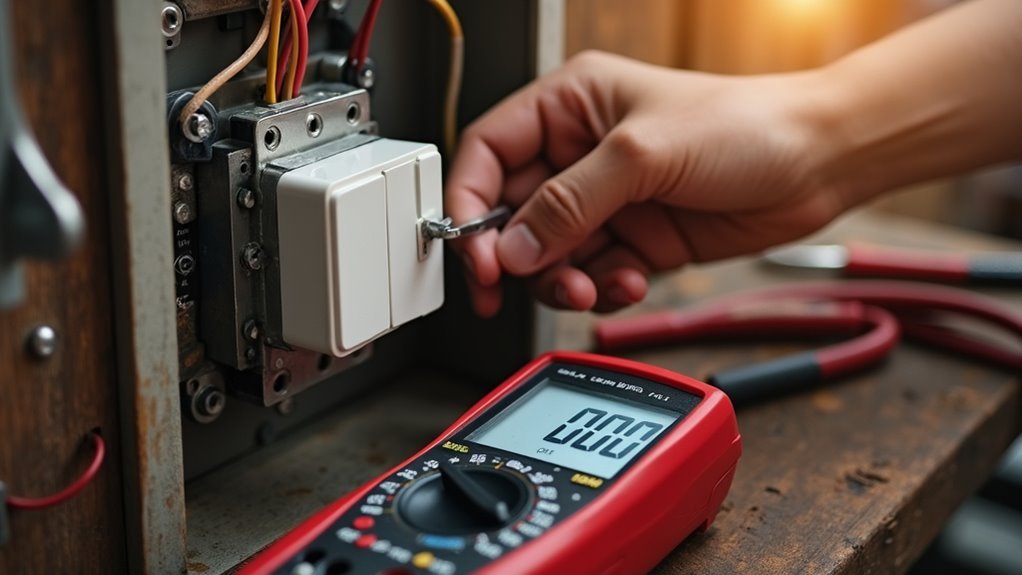
Before you touch a single wire, turn off power at your circuit breaker to eliminate any risk of electrical shock.
Double-check you’ve switched off the correct breaker by testing the smart outlet with a voltage tester – this confirms the circuit is truly dead before starting electrical work.
Inspect both the outlet and wiring for signs of damage like frayed insulation, burn marks, or loose connections.
These conditions create a safety risk during the installation process and require immediate attention.
Verify your circuit breaker is properly labeled to prevent accidentally restoring power while working.
If you discover any concerning damage or feel uncertain about outlet safety, consult a professional electrician.
They’ll assess potential hazards and guarantee your smart outlet installation proceeds safely and meets electrical codes.
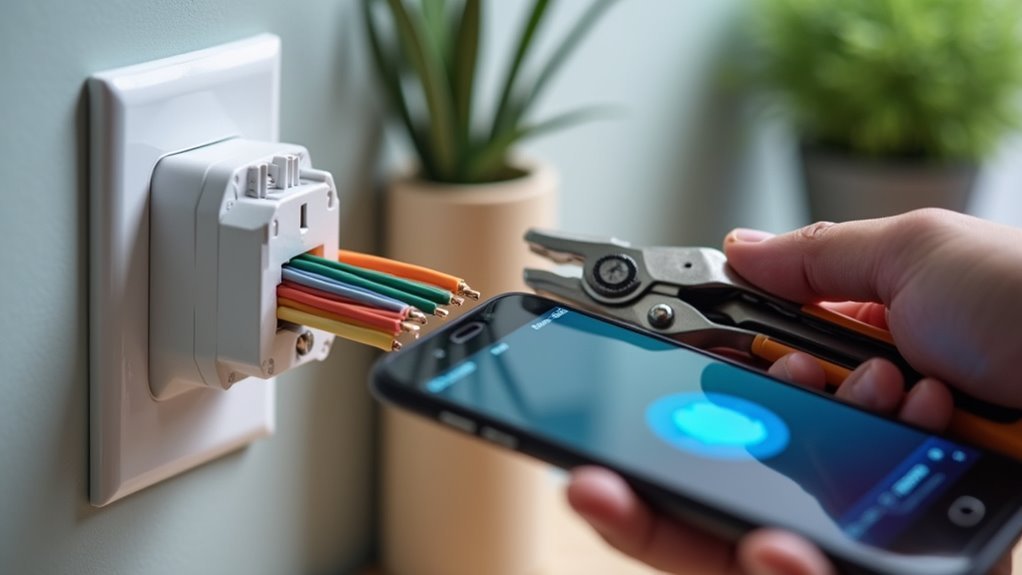
Connect Hot and Neutral Wires to the Correct Smart Outlet Terminals
Two essential wire connections require precise attention during smart outlet installation: the hot and neutral wires must connect to their designated terminals.
Connect both black hot wires to the terminal marked for hot connections, while attaching both white neutral wires to the designated neutral terminal. This prevents dangerous short circuits that’ll trip your breaker immediately.
Always attach the ground wire to the green screw, guaranteeing compliance with electrical codes and safety standards.
Proper ground wire connection to the green screw ensures electrical code compliance and maintains essential safety standards during installation.
Before restoring power, use a voltage tester to verify proper terminal connections and confirm no live wires remain exposed.
Smart outlets require correct hot and neutral connections for functionality since they don’t carry electrical loads until smart home devices are plugged in. Proper wiring guarantees your smart outlet operates safely and reliably.
Secure the Outlet in the Wall Box and Verify Proper Operation

After completing your wire connections, carefully position the smart outlet into the wall box without pinching or crimping any wires behind it.
Use the provided screws to secure the outlet firmly to the wall box, preventing movement and guaranteeing proper alignment with the faceplate.
Once your installation is complete, restore power at the circuit breaker and verify the outlet’s operation using a voltage tester.
Test functionality by plugging in a device to confirm the outlet delivers power as expected. Check that all smart features respond correctly through the accompanying app.
To maintain peak performance, regularly verify your smart outlet’s connectivity and functionality.
Periodically check the app to guarantee ongoing operation and that all smart features remain responsive throughout daily use.
Frequently Asked Questions
What Is the Easiest Smart Plug to Install?
The Linkind Matter Version Smart Plug’s your easiest option since it’s truly plug-and-play. You’ll also find Wi-Fi models like TP-Link Kasa simple because they don’t need hubs—just connect directly to your network.
What Should You Not Plug Into a Smart Plug?
You shouldn’t plug high-wattage appliances like space heaters, power strips, continuous-power devices like refrigerators, motor-driven tools, or always-on devices into smart plugs as they’ll cause overheating, malfunctions, or safety hazards.
What Are the Disadvantages of Smart Plugs?
You’ll face Wi-Fi dependency issues, potential security vulnerabilities, compatibility problems with devices, limited energy monitoring, and higher costs when managing multiple outlets that can clutter your electrical spaces.
How to Set up a Smart Outlet?
Turn off power at the breaker, disconnect old outlet wires, connect them to your smart outlet’s screws, secure it back, restore power, then download the app and connect to Wi-Fi.


Leave a Reply