You’ve probably stared out your window during a sudden downpour, wishing it would close itself before rain soaked your furniture. Window automation isn’t just for expensive smart homes anymore—you can build your own system for under $100 using basic Arduino components and motors. The key lies in choosing the right combination of sensors and controllers that’ll respond to weather changes without breaking your budget or requiring advanced programming skills.
What You Need to Get Started With Window Automation
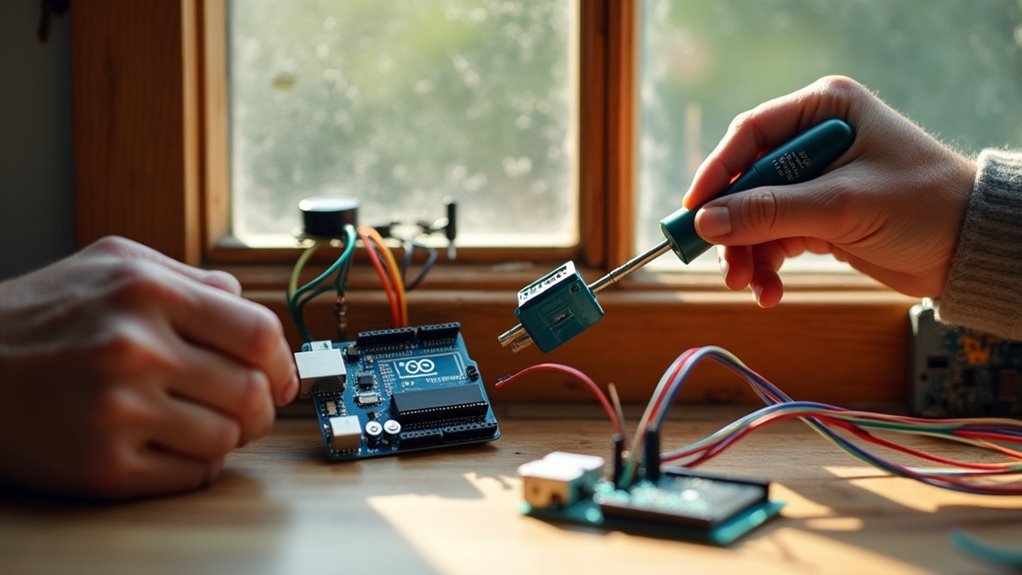
The heart of any window automation system starts with an Arduino Uno, which serves as your control hub for managing sensors, motors, and connectivity modules.
You’ll need essential sensors including temperature, humidity, rain, and wind detectors to enable intelligent environmental responses. A DS3231 Real-Time Clock module provides accurate timekeeping for scheduled window automation operations.
For connectivity, choose between an HC-05 Bluetooth module or ESP8266 Wi-Fi module to control your system remotely through smartphone apps.
Geared DC motors paired with limit switches deliver the mechanical power needed to move windows efficiently. The limit switches prevent over-travel, ensuring safe operation while the motors provide quiet, quick movement that won’t disturb your daily activities.
Choosing the Right Motor for Your Budget
While motors represent the most critical component in your window automation setup, selecting the right one doesn’t have to strain your wallet if you understand the key specifications that matter most.
Geared DC motors deliver high torque at lower speeds, making them perfect for moving window sashes without excessive force. You’ll want to prioritize these features when shopping:
- Integrated limit switches that automatically stop at open and closed positions for safety
- 12V or 24V power requirements to avoid complex converters in home projects
- Brushless design for better efficiency and longer lifespan with frequent use
Consider linear actuators as your budget-friendly alternative. They combine the motor and mechanical movement into one unit, simplifying installation while reducing your overall project costs considerably.
Essential Sensors for Smart Window Control
You’ll need three critical sensor types to make your automated windows truly smart and responsive to environmental changes.
Temperature and humidity sensors work together to maintain ideal indoor comfort by triggering window operations when conditions drift outside your preferred ranges.
Rain detection and obstruction safety sensors protect both your home and the automation system itself from weather damage and mechanical failures.
Temperature and Humidity Monitoring
Two fundamental sensors form the backbone of any effective automated window system: temperature and humidity monitors that continuously track your indoor climate conditions.
These sensors enable your system to respond automatically when comfort levels drift outside your preferred range.
The DHT22 temperature sensor stands out as the superior choice over the DHT11, offering wider measurement ranges and better accuracy for reliable data collection.
You’ll connect these sensors to microcontrollers like Arduino or ESP8266 for real-time monitoring.
Your automated system will optimize performance through:
- Mold prevention – Opening windows when humidity exceeds safe levels
- Energy efficiency – Reducing air conditioning and heating costs
- Smart thresholds – Triggering window actions based on combined temperature and humidity data
Rain Detection Systems
Rain sensors protect your automated window investment by preventing water damage when weather conditions change unexpectedly. These rain detection systems use conductive pads that detect moisture, automatically triggering your windows to close when rainfall begins.
You can integrate these sensors with microcontrollers like Arduino or ESP8266 for real-time weather monitoring and instant response. They’re designed for low power operation and connect seamlessly to your home automation system for centralized control and weather alerts.
Most rain detection systems feature adjustable sensitivity settings, preventing false alarms while ensuring windows close during significant rainfall. You’ll find cost-effective sensors available for under $20, making them perfect for DIY automation projects.
This affordable solution enhances your indoor climate control while protecting your home from unexpected weather changes.
Obstruction Safety Sensors
While rain sensors protect against weather damage, obstruction safety sensors serve as your automated window system’s most critical safety feature by detecting objects in the window’s path before accidents occur.
These sensors prevent injuries and costly damage by immediately stopping window movement when they detect nearby obstacles.
You’ll find two primary obstruction sensor options for budget builds:
- Ultrasonic sensors – Use sound waves to detect objects and work reliably in various lighting conditions
- Infrared sensors – Employ light beams for obstacle detection and offer precise positioning capabilities
- Integrated limit switches – Combine with sensors to create automatic stop functionality
Strategic placement covers your window’s entire movement range.
Position obstruction sensors to monitor both opening and closing paths, ensuring thorough protection that builds user confidence in your automated system.
Arduino Vs ESP8266: Picking Your Controller
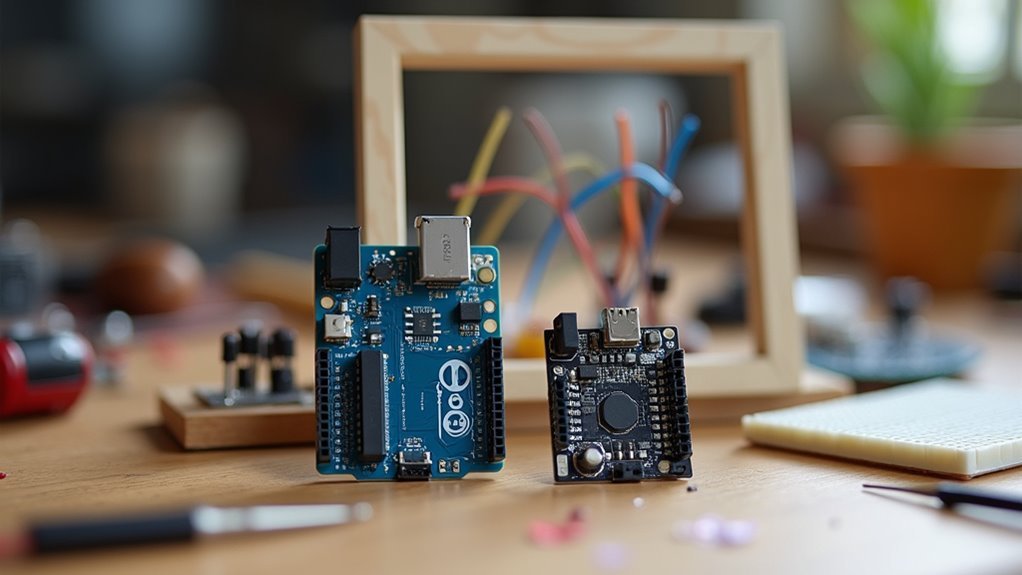
Which controller should power your automated window system? When comparing arduino vs esp8266, you’ll find key differences that’ll impact your project.
The Arduino Uno excels for beginners with extensive community support and compatible sensors, making prototyping straightforward. However, if you want remote control through your smartphone or smart home integration, the ESP8266’s built-in Wi-Fi capabilities make it superior.
The ESP8266 operates at 3.3V versus Arduino’s 5V, so you’ll need to check component compatibility.
Voltage differences between controllers can affect sensor compatibility, so always verify your components work with your chosen board’s power requirements.
You’ll also appreciate the ESP8266’s higher processing power for handling multiple tasks simultaneously. Cost-wise, the ESP8266 offers better value since you’re getting wireless functionality without additional components.
For budget window automation requiring remote access, the ESP8266 typically wins.
Setting Up Basic Window Movement Controls
Now that you’ve chosen your controller, you’ll need to select the right motor and wire up the control circuit to get your window moving.
A geared DC motor with limit switches gives you the torque needed for window operation while preventing dangerous over-travel that could damage your setup.
Let’s break down the motor selection criteria and essential wiring connections you’ll need to create a reliable movement control system.
Motor Selection Basics
When you’re setting up basic window movement controls, selecting the right motor becomes the foundation of your entire automation system.
Motor selection basics start with understanding that geared DC motors are your best choice for window automation projects. They’ll deliver the torque you need while keeping noise levels low.
You’ll want to focus on three critical factors:
- Power requirements – Choose motors with 12V to 24V ratings that match your power supply capabilities
- Torque capacity – Consider your window’s weight and size to determine the necessary power output
- Control compatibility – Select motors that interface easily with Arduino or ESP8266 microcontrollers
Don’t forget to incorporate limit switches into your setup.
They’ll automatically stop the motor when your window reaches its fully open or closed position, preventing costly damage from over-travel.
Control Circuit Wiring
After you’ve chosen your motor, the control circuit wiring becomes your next priority.
You’ll need a four-channel relay board to manage your linear actuator’s direction by controlling DC voltage polarity. Install limit switches on the actuator to automatically stop movement at travel limits, preventing mechanism damage.
Use a 24 VDC power supply for both the actuator and control circuit. This guarantees compatibility with smart home devices like Shelly products for seamless smart home system integration.
When wiring relays, never activate conflicting relays simultaneously – this prevents dangerous short circuits that’ll damage your system.
Incorporate feedback sensors to monitor window position and detect obstructions during operation. This control circuit wiring approach enhances both safety and functionality while keeping your automation project budget-friendly and reliable.
Adding Weather-Based Automation Features
While basic timer controls provide convenience, integrating weather-based automation features transforms your budget window system into a responsive solution that adapts to real-time environmental conditions.
You’ll enhance indoor comfort and energy efficiency by utilizing sensors that react to temperature, humidity, and precipitation changes.
Essential sensors for weather-based automation include:
- Rain detectors – Automatically close windows when precipitation is detected, preventing water damage and protecting your interior.
- Wind sensors – Trigger window closure during high wind conditions, safeguarding your home from potential damage and ensuring safety.
- Temperature sensors – Enable time-based automation that opens windows during cooler parts of the day when outdoor temperatures favor natural ventilation.
This smart approach prevents issues like excessive heat buildup while maximizing your system’s effectiveness.
Installing Safety Switches and Obstruction Detection
Weather sensors provide intelligent responses to environmental conditions, but your automated window system requires robust safety mechanisms to protect both people and property.
Installing safety switches enables manual override during emergencies or power failures, ensuring you can always control your windows when needed.
Integrate ultrasonic or infrared sensors for obstruction detection. These sensors immediately halt window movement when they detect objects in the path, preventing injuries and equipment damage.
Position limit switches at fully open and closed positions to prevent over-travel that could damage your motor or window frame.
Implement safety protocols that pause or reverse window motion upon detecting obstructions. This enhances system reliability and user protection.
Schedule regular testing and maintenance of your safety switches and detection systems to verify they’re functioning correctly and providing essential safety measures.
Wireless Connectivity Options Under $20
You’ll need reliable wireless connectivity to control your automated windows remotely, and several affordable options exist under $20.
ESP8266 modules offer robust Wi-Fi capabilities for internet connectivity, while Zigbee devices create mesh networks perfect for multi-window setups.
If your home’s Wi-Fi doesn’t reach certain windows, budget-friendly range extenders can solve coverage gaps without breaking your project budget.
ESP8266 Module Options
Several ESP8266 module variants offer excellent wireless connectivity options for your budget window automation project, each priced well under $20.
You’ll find these compact 24mm x 16mm modules perfect for embedding into your smart home setup without consuming valuable space.
The ESP8266’s built-in TCP/IP protocol stack lets you connect directly to the internet, enabling seamless communication with other devices and platforms.
You can program these modules using familiar environments like Arduino IDE, making them accessible even if you’re a beginner.
- NodeMCU ESP8266 – Features USB connectivity and breadboard-friendly design
- Wemos D1 Mini – Ultra-compact form factor with Wi-Fi antenna integrated
- ESP-01 Module – Smallest option requiring minimal external components
You’ll easily integrate various sensors and actuators for thorough window automation control.
Zigbee Device Connectivity
Beyond ESP8266 modules, Zigbee devices offer another compelling wireless solution for your budget window automation system.
You’ll find excellent Zigbee device connectivity options under $20, including Aqara sensors and smart plugs that seamlessly integrate with your window controls. These devices operate on 2.4 GHz frequency, creating a robust mesh network where each device extends your system’s range by relaying signals.
You’ll appreciate how Zigbee reduces Wi-Fi congestion since it requires less bandwidth than traditional wireless devices, improving your network’s overall performance.
The compatibility with popular smart home ecosystems like Amazon Alexa, Google Home, and Samsung SmartThings makes integration straightforward. This low-power protocol guarantees your window automation runs efficiently while maintaining reliable communication throughout your home automation setup.
WiFi Range Extenders
WiFi range extenders transform dead zones into reliable connectivity areas for your window automation system.
These budget-friendly devices amplify your existing wireless signals, ensuring your smart window components maintain consistent communication with your central hub.
For under $20, you’ll find excellent options that deliver impressive performance:
- TP-Link TL-WA855RE and Netgear EX3700 – Popular choices offering easy setup and broad router compatibility
- Dual-band technology – Works on both 2.4GHz and 5GHz bands for peak performance and flexibility
- Built-in features – Ethernet ports for wired connections and signal strength indicators for ideal placement
WiFi range extenders eliminate connectivity issues that could disrupt your automated window operations.
They’re particularly valuable when your window sensors or motors are located far from your main router, ensuring seamless automation throughout your home.
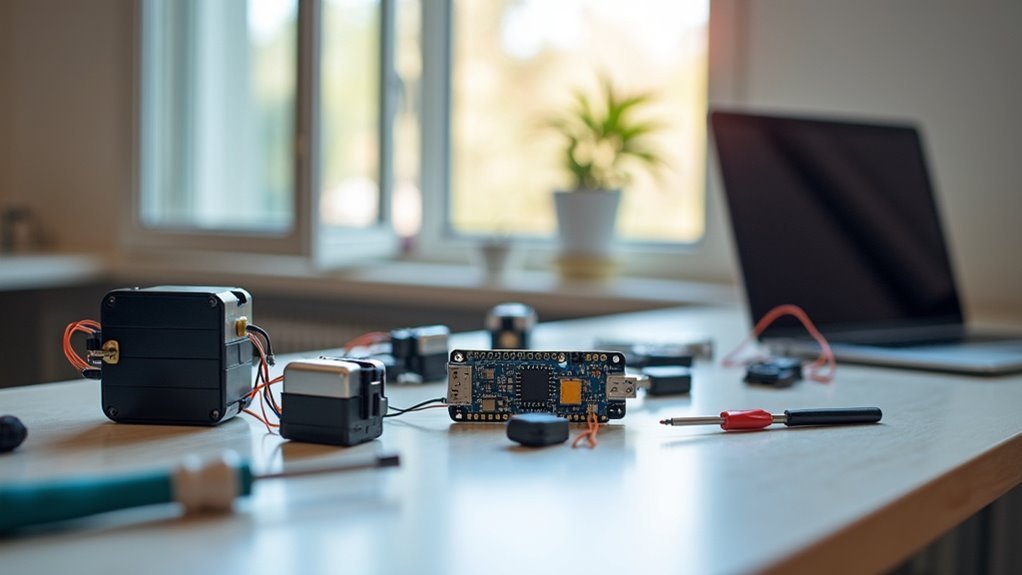
Building Your Control Circuit on a Breadboard
Once you’ve gathered all your components, building your control circuit on a breadboard becomes the essential next step that’ll bring your automated window system to life. The breadboard allows easy prototyping without soldering, letting you adjust and experiment with connections effortlessly.
Start by connecting the breadboard’s power rails to your supply voltage and ground for reliable component operation. Use jumper wires to connect your microcontroller, sensors, and actuators, routing them carefully to prevent short circuits.
Establish reliable power connections first, then systematically wire your microcontroller and components using careful routing to avoid damaging short circuits.
Incorporate limit switches into your control circuit design to provide position feedback, preventing over-travel that could damage your mechanism.
Install a four-channel relay board on the breadboard to control motor direction for opening and closing operations, enabling precise automation of your window system.
Programming Basic Open and Close Functions
After completing your breadboard circuit, you’ll need to program the basic open and close functions that form the core of your window automation system.
Your Arduino Uno will control a geared DC motor through digital pins, reversing direction for opening and closing operations.
Programming basic open and close functions requires these essential components:
- Motor Control Code – Write functions that control digital pins to reverse motor direction, incorporating limit switches to prevent overextension.
- Safety Protocols – Implement obstruction detection using sensors to stop motor operation when objects block the window path.
- Scheduled Operations – Integrate DS3231 RTC module for time-based automation, allowing your smart home system to operate windows automatically.
Consider adding ESP8266 Wi-Fi connectivity for smartphone control, transforming your basic automation into a fully connected smart home solution.
Creating Weather-Responsive Window Scripts
While your basic open and close functions provide essential automation, integrating weather sensors transforms your window system into an intelligent environmental controller that responds to real-time conditions. Weather-responsive window scripts utilize temperature, rain, and wind sensors to make smart decisions about when to open or close your windows.
Your Arduino reads sensor data continuously and executes commands based on predetermined thresholds. When rain sensors detect moisture, the script automatically closes windows to protect your interior. Temperature sensors trigger opening during ideal cooling periods, while wind sensors prevent operation during storms.
| Sensor Type | Trigger Condition | Window Action | Safety Feature | Response Time |
|---|---|---|---|---|
| Rain | Moisture detected | Close immediately | Water protection | 2-3 seconds |
| Temperature | Above 75°F | Open gradually | Limit switches | 10-15 seconds |
| Wind | Above 25 mph | Close and lock | Motor stop | 5 seconds |
| Humidity | Above 70% | Partial open | Position control | 8-10 seconds |
| Light | Daylight detected | Schedule enable | Time limits | Variable |
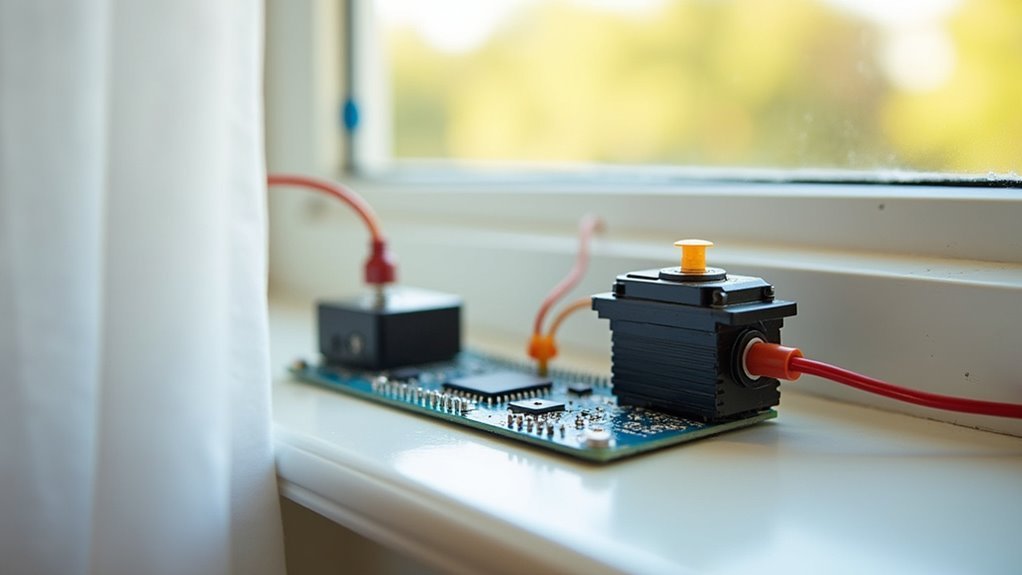
Mounting Hardware for Different Window Types
Your weather-responsive automation system requires the right mounting hardware to function properly across different window configurations.
Different window styles demand specific actuator types and installation approaches to guarantee reliable operation.
Matching the right actuator to your specific window style ensures optimal performance and prevents costly mechanical failures down the road.
Consider these mounting hardware options for common window types:
- Crank-operated windows: Install motor systems like the Truth Hardware Sentry II WLS, designed specifically for casement and awning windows with smooth integration capabilities.
- Overhead skylights: Use heavy-duty linear chain actuators such as the Sentry II HS system, engineered to lift up to 160 pounds for large skylight applications.
- Custom configurations: Choose RollerTrol’s customizable linear actuators for casement, awning, and slider windows with tailored dimensions.
Proper mounting hardware selection prevents mechanical failures and guarantees your automated windows respond effectively to weather conditions while maintaining long-term reliability.
Testing Your System Before Final Installation
How can you guarantee your weather-responsive window automation system operates flawlessly once installed? By conducting thorough testing before final installation. Start by testing each component individually—sensors, motors, and control system—to verify they’re functioning correctly. Next, simulate environmental conditions like rain or high temperatures to confirm your smart home automation responds appropriately to sensor inputs.
| Test Phase | Component | Expected Result |
|---|---|---|
| Individual | Sensors | Accurate readings |
| Individual | Motors | Smooth operation |
| Environmental | Rain sensor | Windows close automatically |
| Full system | All connected | Seamless communication |
Conduct a complete system test with all components connected, checking for communication issues between controller and devices. Verify manual window operation works during power outages. Document any issues and adjust code or hardware accordingly before finalizing your automation installation.
Troubleshooting Common DIY Window Automation Issues
When your DIY window automation doesn’t work as expected, you’ll likely encounter motor calibration problems or sensor connection failures.
Motor calibration issues often stem from misaligned window tracks or incorrectly positioned limit switches that prevent smooth operation.
Sensor connection failures typically result from loose wiring, faulty relays, or unstable power supplies that disrupt communication between components.
Motor Calibration Problems
Although automated window systems offer convenience and energy savings, motor calibration problems can quickly turn your DIY project into a frustrating experience.
When your motor doesn’t respond accurately or moves inconsistently, you’ll need systematic troubleshooting.
Start with these essential motor calibration checks:
- Verify limit switches – Confirm they’re properly calibrated to prevent over-travel and mechanical damage
- Check power specifications – Match voltage and current ratings to avoid underpowering or overpowering your motor
- Test for obstructions – Look for binding issues that affect performance and positioning accuracy
Use potentiometers or encoders for precise control and fine-tuning.
Regularly inspect your system and implement troubleshooting protocols.
After mechanical changes, recalibrate limit switches and adjust software parameters to maintain ideal motor calibration performance.
Sensor Connection Failures
Faulty sensor connections can sabotage your entire window automation system, leaving you with unresponsive controls and unpredictable behavior.
Most sensor connection failures stem from loose wiring or poor soldering that disrupts signals between sensors and your controller. You’ll want to double-check that you’re using correct voltage and current ratings for each sensor—exceeding these limits damages components and causes malfunctions.
Interference from nearby electronics like Wi-Fi routers or microwaves can make sensors unreliable, so maintain adequate distance from these devices.
Adding pull-up or pull-down resistors to your sensor circuits stabilizes signals and reduces noise, improving reading reliability.
Don’t forget to regularly check and replace batteries in wireless sensors, as low power creates intermittent connectivity issues.
Frequently Asked Questions
What Is the Cheapest Way to Automate Your Home?
You’ll save money by starting with smart plugs under $25, adding affordable bulbs around $10-15, using a Raspberry Pi hub for $50, and implementing free Home Assistant software for extensive control.
How Much Does It Cost to Build a Home Automation System?
You can build a basic home automation system for $100-$300 using smart plugs, bulbs, and a Raspberry Pi controller. More complex systems with security cameras and multiple sensors cost $500-$2,000 depending on your needs.
What Is the #1 Product That Users Wish to Control With Home Automation?
Smart lighting consistently ranks as the #1 product you’ll want to control with home automation. Over 70% of users prioritize automated lighting systems because they’re convenient, energy-efficient, and greatly improve your daily routines.
Do You Need a License for Home Automation?
You typically don’t need a license for basic home automation installations involving low-voltage systems. However, you’ll need a licensed electrician if you’re modifying existing electrical wiring or systems.


Leave a Reply