You’ve probably spent hours tweaking lighting settings only to end up with scenes that don’t work as intended. The truth is, complexity in lighting automation often backfires, creating more problems than solutions. When you strip away unnecessary features and focus on fundamental programming principles, something interesting happens to both your setup time and end results. There’s a specific reason why industry professionals consistently choose simplicity over elaborate configurations.
Essential Tools for Smart Lighting Automation Setup
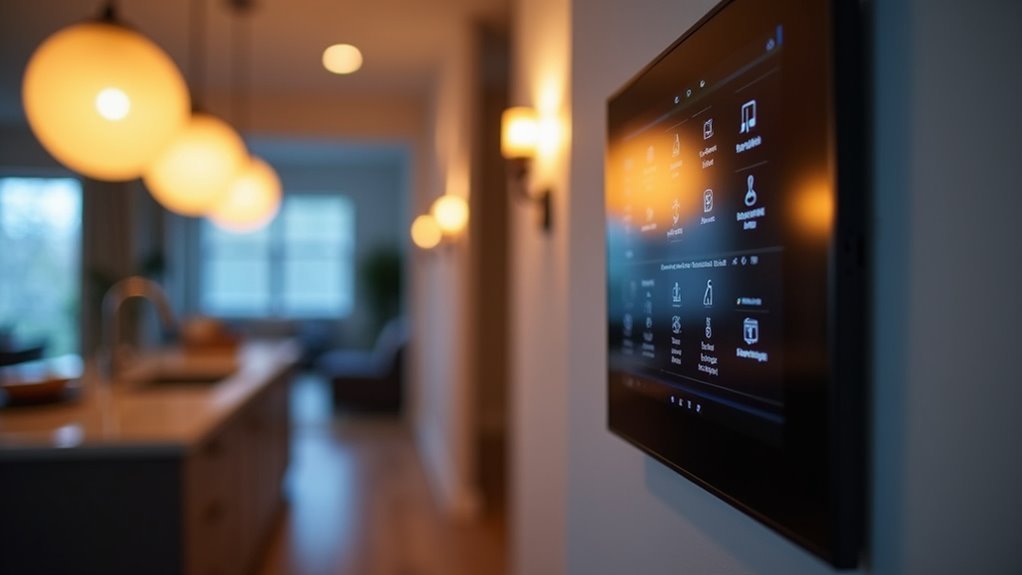
Smart bulbs and fixtures form the foundation of any automated lighting system, giving you remote control through smartphone apps or voice commands.
You’ll need a smart hub to centralize control of multiple devices, enabling synchronized lighting scenes across different rooms. This creates seamless automation that responds to your daily routines.
Compatibility matters greatly when selecting your smart lighting components. Choose systems that integrate with Google Home, Amazon Alexa, or Apple HomeKit for effortless control.
Seamless integration with major voice assistants ensures your smart lighting system works effortlessly with your existing smart home ecosystem.
Color-changing LED lights add versatility, letting you program dynamic scenes that enhance mood and ambiance.
Scheduling features automate lighting changes based on time, ensuring ideal illumination throughout your day.
These essential tools work together to create sophisticated lighting scenes without requiring complex programming knowledge.
Step-by-Step Programming Guide for Basic Scene Creation
You’ll start your basic scene creation by establishing the fundamental setup parameters in your lighting control system.
Next, you’ll implement a systematic light placement workflow that positions each fixture according to your predetermined layout and functional requirements.
Finally, you’ll test your scene’s functionality by running through activation sequences and verifying that all programmed elements respond correctly to your commands.
Basic Scene Setup
Before diving into complex lighting techniques, start with your key light—the foundation of any scene. Position it at a 45-degree angle to create natural depth and dimension. You’ll notice immediate improvement in your subject’s definition.
Next, add fill light to soften harsh shadows while maintaining contrast. Keep the intensity lower than your key light to preserve the natural look. Backlighting separates your subject from the background, creating that professional three-dimensional effect.
| Light Type | Position | Purpose | Intensity | Effect |
|---|---|---|---|---|
| Key Light | 45° angle | Primary illumination | Highest | Creates depth |
| Fill Light | Opposite key | Shadow softening | Medium-low | Soft light balance |
| Back Light | Behind subject | Subject separation | Medium | Adds dimension |
| Background | Behind subject | Scene depth | Variable | Sets mood |
| Accent | Strategic angles | Detail highlighting | Low | Visual interest |
Experiment with distances and angles until your lighting setups feel balanced and cohesive.
Light Placement Workflow
When establishing your lighting workflow, start by placing your key light first—this single decision shapes everything that follows. Position it to illuminate your main subject effectively, then add your fill light to balance harsh shadows.
Complete your three-point lighting setup with a back light for depth and separation.
Your light placement workflow should prioritize natural light integration whenever possible. Study existing sunlight angles and match your artificial lighting techniques accordingly. Use diffusers to soften intensity and reflectors to redirect illumination where needed.
Test each adjustment immediately rather than programming blindly. Move systematically through your scene, checking how each light interacts with surfaces and subjects.
This methodical approach prevents overcomplicated setups while ensuring your lighting achieves the intended mood and visual clarity efficiently.
Testing Scene Functionality
How can you verify your lighting setup actually works before committing to complex adjustments? Test your scene functionality by systematically evaluating each light source’s performance.
Adjust light intensity and color temperature to observe how these changes affect mood and clarity. Your lighting choices directly impact the scene’s visual quality, so experiment with different behaviors during programming.
Use the “build lighting” feature regularly to identify baking issues early. This process reveals whether your lighting equipment functions as intended and helps troubleshoot problems immediately.
Test artificial lighting from various angles to ascertain proper illumination coverage. Monitor how static versus stationary lights behave differently in your scene.
Common Mistakes That Overcomplicate Lighting Scenes
While achieving effective lighting doesn’t require elaborate setups, many creators fall into predictable traps that transform simple scenes into complex nightmares.
You’ll overcomplicate things by adding too many light sources, creating conflicting shadows and extending render times unnecessarily. Essential lighting tips include establishing a clear plan before placing any lights—inconsistent temperatures and intensities create visual chaos.
Don’t rely heavily on advanced techniques like volumetrics without mastering basics first. You’re better off using available light and practical lights strategically than overwhelming your scene.
Poor light direction creates harsh light that unflatters subjects and reduces visibility. Ignoring practical placement considerations leads to unwanted light bleed, excessive reflections, and flawed shadows that disrupt your scene’s visual flow completely.
Optimal Light Positioning for Maximum Impact

You’ll achieve maximum lighting impact by mastering two fundamental elements: where you place your lights and how you balance their power output.
Strategic angle placement at 45 degrees creates natural-looking depth while mimicking sunlight’s flattering qualities on your subject’s features.
The distance between your lights and subject directly controls shadow intensity, giving you precise mood control without adding unnecessary equipment or complexity.
Strategic Light Angle Placement
Since the angle at which you position your lights determines whether your scene appears flat or dynamic, mastering strategic light angle placement becomes your most powerful tool for creating visual impact.
You’ll achieve cinematic lighting by applying the 45-degree rule, positioning lights at ideal angles that reduce harsh shadows while maintaining visual interest. When you’re reflecting the light off surfaces, you’ll create softer illumination that enhances texture and depth naturally.
Backlighting separates your subject from the background, adding three-dimensional quality that transforms ordinary scenes into compelling compositions.
You can experiment with off-axis positioning to guide viewers’ attention through your frame effectively. This approach to visual storytelling guarantees each light serves a specific purpose, creating professional results without overwhelming complexity or excessive equipment requirements.
Distance and Intensity Balance
Understanding how distance affects light intensity transforms your control over shadows and highlights, giving you the precision needed to craft compelling scenes. The inverse square law governs this relationship—when you double your light’s distance, intensity drops to one-fourth.
You’ll achieve soft illumination by positioning lights farther away, while closer placement creates dramatic contrasts and harsher shadows.
Strategic light positioning involves testing multiple distances to find your sweet spot. Place your primary light closer for bold highlights, then add secondary sources at varying distances to create depth.
Don’t forget that your subject’s texture influences how distance and intensity interact. Reflective surfaces amplify nearby lights, while textured materials absorb more illumination, requiring adjusted positioning for ideal results.
Budget-Friendly Smart Switch Integration Methods
While professional smart lighting installations can cost thousands of dollars, you can transform your home’s lighting system for a fraction of that price using strategic switch integration methods.
Wi-Fi-enabled smart switches that don’t require neutral wires work perfectly in older homes, eliminating costly rewiring. DIY smart lighting kits offer customizable programmable features at considerably reduced costs compared to professional installations.
Most budget smart switches integrate seamlessly with existing home automation systems, avoiding expensive proprietary ecosystems. Open-source platforms like Home Assistant provide advanced automation capabilities without ongoing subscription fees.
- Experience the thrill of controlling your entire lighting system from your smartphone
- Feel accomplished creating custom lighting scenes that reflect your personality
- Enjoy peace of mind knowing you saved hundreds while getting professional-quality results
- Celebrate newfound convenience with voice-activated affordable options
Testing and Fine-Tuning Your Automated Lighting System

After installing your budget-friendly smart switches, you’ll need to put your automated lighting system through its paces to guarantee everything works as intended.
Testing involves running different scenarios to verify your lights respond correctly to programmed cues and environmental triggers. You’ll want to check that intensity levels adjust smoothly and color temperature changes appear natural throughout your automated sequences.
Fine-tuning becomes essential when you notice timing issues or inconsistent responses. Adjust parameters like brightness curves and change speeds until everything feels seamless.
Use simulation software to preview complex lighting scenes before deploying them live. Don’t forget to calibrate your sensors and fixtures regularly – this prevents performance drift over time.
Document each adjustment you make, as these notes will prove invaluable when troubleshooting future issues.
Frequently Asked Questions
What Is the Difference Between Hard and Soft Lighting in Film?
Hard lighting creates sharp shadows and dramatic contrast, while soft lighting produces gentle, even illumination with minimal shadows. You’ll use hard lighting for tension and soft lighting for romantic or comfortable scenes.
Why Is Lighting Important in Film Production?
You’ll find lighting controls mood, guides audience focus, and creates visual depth in films. It enhances storytelling by establishing atmosphere, defining character relationships, and evoking specific emotions through strategic illumination choices.
Why Is It Necessary to Have Appropriate Lighting System in the Computer Room?
You’ll reduce eye strain and prevent fatigue during long computer sessions. Proper lighting improves your visibility, boosts productivity, prevents accidents from tripping hazards, and creates a comfortable workspace that encourages focus and collaboration.
How Can Lighting Affect a Scene?
Lighting affects your scene by controlling mood and emotion. You’ll create tension with low light or warmth with soft tones. It guides viewers’ attention, adds depth to characters, and maintains narrative consistency throughout your story.


Leave a Reply