
You’re probably tired of motion sensors that can’t tell the difference between you and your cat, or proximity detectors that trigger every time someone walks past your house. ESP32-based presence detection changes everything by identifying specific devices like your smartphone or smartwatch through Bluetooth Low Energy signals. This means your smart home finally knows who’s actually in each room, not just that something’s moving around, opening up automation possibilities you never thought possible.
Understanding ESP32-Based Presence Detection Technology
Innovation in smart home technology has made room presence detection more accessible and precise than ever before. You can now leverage ESP32 devices to create sophisticated tracking systems that monitor who’s where in your home with remarkable accuracy.
Your ESP32 microcontroller uses Bluetooth Low Energy technology to detect nearby smartphones and BLE beacons, identifying specific users as they move between rooms. This differentiation capability enables personalized automation responses based on individual presence patterns.
You’ll integrate these ESP32 devices with Home Assistant through MQTT communication, ensuring real-time location updates and occupancy status.
Espresense Vs Openmqttgateway: Choosing the Right Solution
When selecting between ESPresense and OpenMQTTGateway for your smart home presence detection system, you’ll need to evaluate your specific tracking requirements and integration goals.
ESPresense excels at precise room-level occupancy tracking using ESP32 boards, minimizing false triggers from pets and environmental factors while seamlessly integrating with Home Assistant via MQTT. You’ll find it ideal for accurate room-specific monitoring.
OpenMQTTGateway offers broader sensor compatibility and centralized control across multiple gateways, supporting various Bluetooth devices beyond presence detection.
While it may lack ESPresense’s room-specific precision, it’s perfect for diverse IoT applications requiring extensive sensor integration.
Choose ESPresense if you prioritize accurate room occupancy detection. Select OpenMQTTGateway when you need thorough sensor networking and centralized data management for your smart home ecosystem.
Essential Hardware Components and ESP32 Board Selection
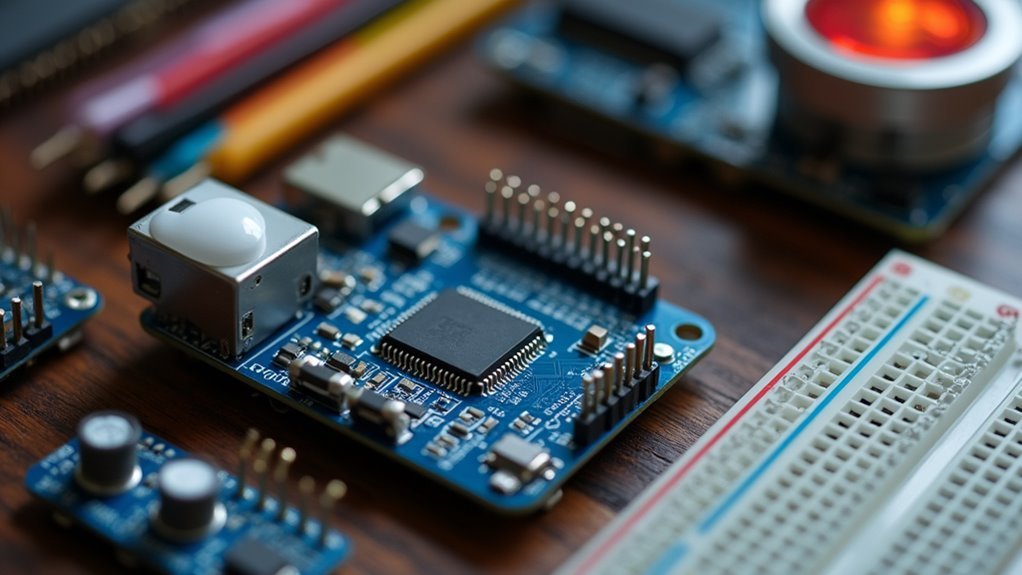
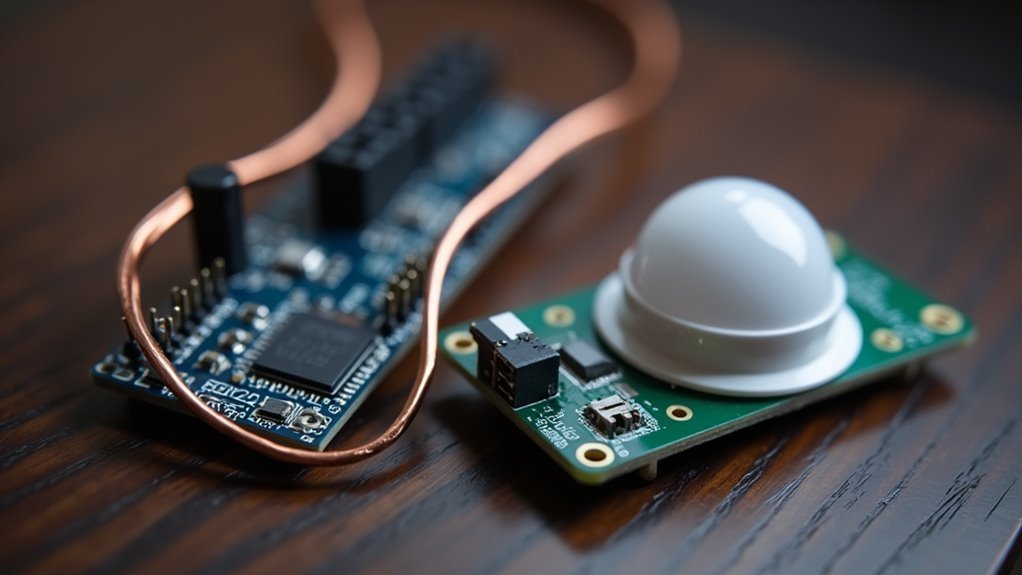
Once you’ve chosen your preferred presence detection solution, you’ll need the right hardware foundation to bring your system to life. For reliable performance, Wemos D1 ESP32 boards stand out as the top choice over other variants like the ESP32-C3.
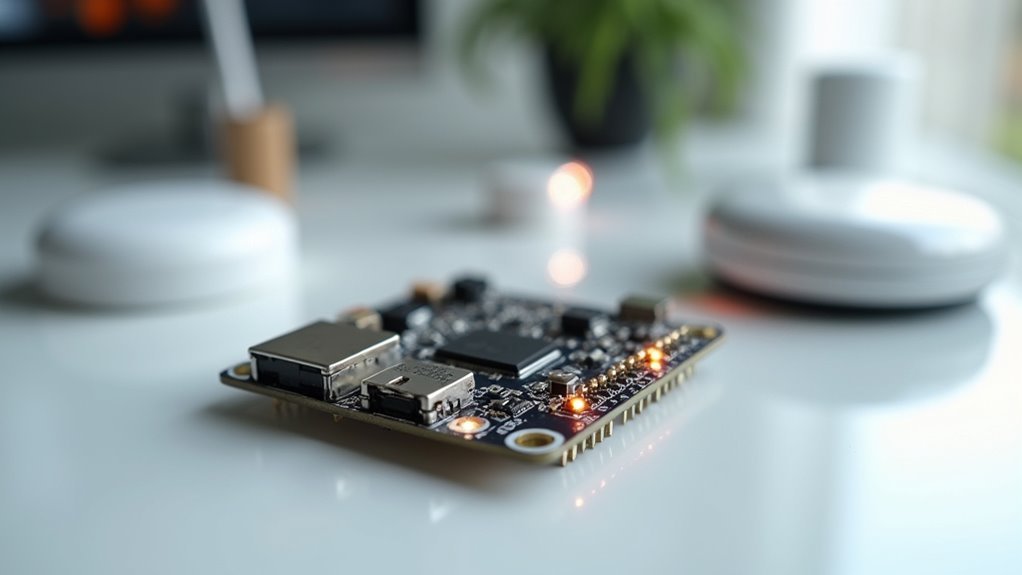
These microcontrollers combine Wi-Fi and Bluetooth Low Energy capabilities, making them perfect for smart home presence detection. You’ll find ESP32 boards available in 30PIN and 38PIN microUSB configurations, often sold in cost-effective multi-packs.
Each board requires a 5V Micro USB power supply—you can likely repurpose old smartphone chargers for this purpose.
Before deployment, verify you’ve installed the proper USB serial drivers on your computer. This step is vital for successful firmware flashing and communication with your ESP32 boards during setup.
Setting Up Your First ESPresense Node
You’ll need an ESP32 module, 5V Micro USB power supply, and a computer with internet access to get your first ESPresense node running.
Start by downloading the ESPresense firmware and using ESPHome-Flasher to install it on your ESP32 through a data-capable USB cable.
Once the firmware’s loaded, you’ll configure WiFi connectivity and set up MQTT communication to integrate with your Home Assistant system.
Hardware Requirements and Components
Before diving into the ESPresense setup process, gather the essential hardware components that’ll form the foundation of your room presence detection system.
You’ll need an ESP32 board as your primary device, available in 30PIN or 38PIN microUSB configurations from retailers like Amazon or AliExpress. Don’t forget a 5V Micro USB power supply—an old smartphone charger works perfectly for powering your ESP32 module.
Additionally, you’ll require a computer with internet access to download and flash the ESPresense firmware using the ESPHome-Flasher tool.
While not physical hardware, make sure you’ve installed the Mosquitto Broker add-on in Home Assistant for MQTT protocol support. This enables seamless communication between your ESPresense node and Home Assistant server, completing your hardware setup requirements.
Firmware Installation Process
The firmware installation begins with connecting your ESP32 module to your computer using a USB A to Micro USB cable that supports data transfer—not all cables carry data, so verify yours can handle more than just charging.
The firmware installation process requires these essential steps:
- Download and flash the ESPresense firmware using the ESPHome-Flasher tool, ensuring your computer properly recognizes the ESP32 device.
- Configure Wi-Fi connection by accessing the device’s settings through your web browser after successful flashing.
- Integrate with Home Assistant by setting up MQTT broker configurations and adding sensor details to your configuration file.
Don’t forget to adjust timeout settings for device detection—this improves accuracy and response time for presence tracking, making your ESP32 setup more reliable for smart home automation.
WiFi and MQTT Configuration
Once you’ve successfully flashed the ESPresense firmware, connecting your ESP32 to your Wi-Fi network becomes the critical next step that enables communication with your Home Assistant setup.
Navigate to the ESP32’s web interface and enter your WiFi SSID and password in the configuration fields. This connection allows your ESPresense node to communicate wirelessly with your network.
Before proceeding, you’ll need to install the Mosquitto broker add-on in Home Assistant. This MQTT broker is essential for handling communication between your ESPresense node and Home Assistant server.
Without it, your presence detection won’t function properly.
Finally, add the necessary sensor configurations to your Home Assistant’s configuration.yaml file, defining the platform and device ID for seamless integration.
Configuring Bluetooth Low Energy Device Tracking
Setting up Bluetooth Low Energy device tracking requires ESP32 modules with BLE support to detect smartphones, beacons, and other nearby devices with precision.
You’ll need to configure specific settings within your Theengs Gateway to maximize detection accuracy.
To optimize your BLE devices tracking performance:
- Enable Advertisement and Advanced Data settings in Theengs Gateway configuration to improve device recognition and tracking accuracy.
- Adjust minimum RSSI settings to reduce false detections and establish more precise detection ranges for stationary devices.
- Fine-tune sensitivity and detection range settings to mitigate challenges with non-sensor devices and prevent unexpected distance readings.
Remember that presence detection relies on defined sensors rather than general devices.
Enabling “Publish Only Sensors” may limit visibility of presence topics, potentially impacting your tracking functionality.
Home Assistant Integration and MQTT Configuration
You’ll need to establish MQTT communication between your ESP32 devices and Home Assistant to enable real-time presence data exchange.
Start by installing the Mosquitto Broker add-on, which serves as the essential messaging hub for your ESPresense setup.
Once that’s running, you can configure your MQTT device settings and integrate the ESPresense sensors to begin tracking room occupancy with precision.
Mosquitto Broker Setup
The Mosquitto broker serves as the backbone of MQTT communication in your Home Assistant setup, enabling seamless data exchange between ESPresense devices and your smart home server.
Installing and configuring this essential component requires careful attention to security and performance optimization.
You’ll need to complete these critical setup steps:
- Install the add-on – Navigate to Home Assistant’s add-on store and install the Mosquitto broker following the official documentation guidelines.
- Configure authentication – Set up user credentials and access control lists to protect your MQTT communications from unauthorized access.
- Monitor topics – Use MQTT Explorer or similar tools to verify proper device communication and troubleshoot any connectivity issues.
Proper mosquitto broker configuration guarantees your ESPresense integration delivers reliable, real-time presence detection throughout your smart home environment.
MQTT Device Configuration
Bridging your ESPresense sensors with Home Assistant demands precise MQTT device configuration that transforms raw presence data into actionable smart home intelligence.
You’ll configure your ESP32 devices by editing the `configuration.yaml` file, where you’ll specify the platform and establish a unique mqtt_roomdevice_id for each sensor location. This identifier guarantees Home Assistant accurately distinguishes between different rooms and their respective presence states.
Your device tracking setup requires entries in `known_devices.yaml`, including each device’s name, MAC address, and tracking status set to true.
Configure timeout settings carefully in `configuration.yaml` to minimize false triggers while maintaining responsive detection.
Link ESPresense sensor data to device tracking through `automations.yaml`, creating customized triggers that respond intelligently to user presence changes throughout your home.
ESPresense Sensor Integration
Seamless integration between ESPresense sensors and Home Assistant creates a powerful presence detection ecosystem that transforms your smart home’s responsiveness to occupancy changes.
Setting up your ESPresense sensor integration requires three essential configuration steps:
- MQTT Connection Setup – Install the Mosquitto Broker add-on to establish reliable communication between your ESP32 devices and Home Assistant server.
- Sensor Configuration – Define sensor parameters and device IDs in your `config/configuration.yaml` file for real-time BLE tracking updates.
- Device Registration – Add MAC addresses and enable tracking status in `known_devices.yaml` for active monitoring of each tracked device.
You’ll create custom automations in `config/automations.yaml` to link sensor data with device tracking, enabling personalized triggers and actions based on presence detection throughout your home.
Optimizing Detection Range and Sensitivity Settings
When configuring your ESPresense setup for ideal performance, you’ll need to balance detection range with accuracy to minimize false positives and guarantee reliable presence detection.
Start by adjusting your Minimum RSSI settings to establish signal strength thresholds that filter out distant or irrelevant devices. The sensitivity slider lets you customize how responsive your detection system is, particularly helpful when stationary devices experience fluctuating presence states.
Test various distances between your ESP32 nodes and tracked devices to identify best placement and minimize overlapping coverage zones.
Regularly update your configuration settings, especially “Advertisement” and “Advanced Data” parameters, to enhance device recognition capabilities.
Monitor device behavior through MQTT Explorer to gain insights into your adjusted settings’ effectiveness and make data-driven optimizations.
Troubleshooting Common ESP32 Presence Detection Issues
When your ESP32-based presence detection isn’t working reliably, you’ll often find that board compatibility and false triggers are the primary culprits.
ESP32-C3 units can deliver inconsistent performance, so you’re better off switching to Wemos D1 ESP32 boards for more stable detection results.
You’ll also need to address false detections caused by outdoor cameras picking up insects and other non-human movement through proper calibration and sensitivity adjustments.
ESP32 Board Compatibility
How can you guarantee your ESP32 board delivers reliable presence detection performance?
ESP32 board compatibility plays a significant role in successful presence detection implementations. You’ll want to avoid potential headaches by choosing proven hardware that works seamlessly with ESPresense.
Consider these compatibility factors when selecting your ESP32 board:
- Choose Wemos D1 ESP32 boards – They’re specifically recommended over ESP32-C3 units due to inconsistent performance issues in presence detection applications.
- Test flashing compatibility – Some ESP32 devices experience integration issues with ESPresense during the flashing process, so verify your board works with ESPHome-Flasher tool beforehand.
- Evaluate ongoing performance – Continuously test different ESP32 board models to identify which ones deliver best presence detection results for your specific environment.
False Detection Prevention
False presence triggers can undermine your entire ESP32 detection system, but you can eliminate most issues through targeted configuration adjustments. Start by setting minimum RSSI thresholds to filter weak signals that cause phantom detections. Regular firmware updates provide essential bug fixes and accuracy improvements for your devices.
| Configuration Setting | Purpose | Benefit |
|---|---|---|
| RSSI Threshold | Filters weak signals | Reduces phantom triggers |
| Timeout Settings | Limits detection duration | Prevents transient readings |
| Strategic Positioning | Avoids zone overlap | Eliminates interference |
Implement timeout settings to prevent extended false readings from transient signals. Position your ESP32 nodes strategically to avoid overlapping detection zones, especially in high-traffic areas. Test your setup under various environmental conditions to identify specific challenges. Effective false detection prevention requires ongoing monitoring and fine-tuning of these parameters.
Creating Room-Specific Automation Rules
Since ESPresense provides granular room-level presence data, you’ll want to create automation rules that respond intelligently to each space’s occupancy status.
You can define these rules by linking ESPresense sensor data to device trackers in Home Assistant, enabling precise room presence detection.
Configure your ESP32 nodes to detect specific BLE devices for accurate occupancy monitoring.
Here’s how to set up effective automation rules:
- Edit automations.yaml – Define triggers based on ESPresense sensor status changes for faster response times.
- Configure known_devices.yaml – Assign unique icons and visibility settings to accurately display family member presence.
- Implement timeout settings – Minimize false triggers by confirming device presence before executing actions.
These room-specific automations’ll automatically control lights, notifications, and other devices based on detected occupancy.
Advanced Multi-Node Network Deployment Strategies
While single-room automations provide a solid foundation, expanding your ESPresense deployment across multiple rooms requires strategic planning to maximize coverage and accuracy. You’ll need to strategically position each ESP32 node to eliminate dead zones while minimizing detection overlap between adjacent rooms.
| Room Type | Node Placement | Sensitivity Setting | Coverage Radius | Dead Zone Risk |
|---|---|---|---|---|
| Living Room | Corner mount | Medium-High | 15-20 feet | Low |
| Bedroom | Doorway ceiling | Medium | 12-15 feet | Medium |
| Kitchen | Above island | High | 10-12 feet | High |
| Bathroom | Opposite door | Low-Medium | 8-10 feet | Low |
| Hallway | Central ceiling | Low | 6-8 feet | High |
Configure MQTT communication between your devices for real-time presence updates. Home Assistant centralizes network management, allowing you to fine-tune sensitivity settings through iterative calibration based on your home’s unique construction materials and layout.
Frequently Asked Questions
How Does a Presence Sensor Work?
You’ll find presence sensors detect your nearby devices using Bluetooth Low Energy technology. They monitor signal strength and proximity, then send location data through Wi-Fi to trigger automated responses in your smart home system.
What Is Espresence?
ESPresense is a home automation solution that uses ESP32 boards to detect your presence in specific rooms through Bluetooth tracking, integrating with Home Assistant via MQTT for smarter lighting and notification automation.
How to Set up Espresense?
You’ll need ESP32 modules and flash ESPresense firmware using ESPHome-Flasher. Connect to Wi-Fi, install Mosquitto broker in Home Assistant, then update configuration.yaml and known_devices.yaml for device tracking.


Leave a Reply