You’ve probably experienced the frustration of a garage motion sensor that randomly turns on, stays lit all day, or worse—doesn’t activate when you need it most. These issues often stem from improper wiring that creates electrical instability, drains energy, and poses genuine safety risks. While installing a motion sensor might seem straightforward, the electrical connections determine whether you’ll enjoy years of reliable operation or face constant headaches that could’ve been easily prevented.
Understanding Electrical Requirements for Garage Motion Sensors

Before you can successfully install garage motion sensors, you’ll need to understand their specific electrical requirements to guarantee safe and reliable operation. Most motion sensors require a standard 120V power supply, but they also need a neutral wire to function efficiently. This neutral wire provides the essential return path for electrical current, making sure your sensor operates safely and reliably.
You’ll find that different sensor types have varying power requirements. Some models need continuous power to maintain their detection circuits, while others only draw power when activated. Understanding your specific sensor’s voltage and amperage requirements prevents overloading circuits and assures peak performance.
Always check your sensor’s specifications before wiring. This preparation helps you gather the correct materials and plan your installation according to local electrical codes.
Essential Tools and Materials for Motion Sensor Wiring
Success in your motion sensor installation depends heavily on having the right tools and materials ready before you start. You’ll need specific equipment to safely wire motion sensor lights and guarantee proper functionality.
| Essential Tools | Purpose |
|---|---|
| Motion sensor unit & screwdriver | Core installation components |
| Voltage tester (non-contact) | Safety verification and wire identification |
| Wire cutting machine & connectors | Secure electrical connections |
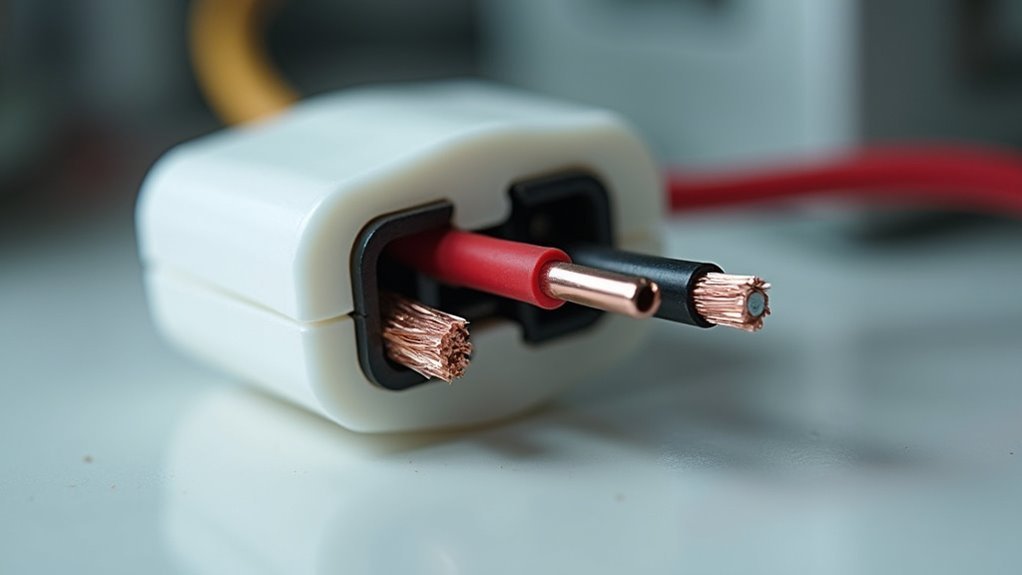
A voltage tester is absolutely essential—it’ll help you distinguish between hot lines carrying power and load lines that don’t. You must verify power’s off before beginning any work. Don’t forget wire caps for insulation; they’re critical for preventing short circuits. Having these materials ready guarantees you’ll follow standard wiring diagrams correctly while maintaining safety throughout your installation process.
Safety Precautions Before Starting Electrical Work

While proper tools set the foundation for your installation, electrical safety must be your absolute priority when wiring motion sensors. These safety precautions will protect you from serious injury and guarantee a successful project.
First, turn off the circuit breaker controlling your garage’s electrical supply. This prevents electrical shock while handling wires. Next, use a non-contact voltage tester to verify wires aren’t live before touching them.
Always turn off the circuit breaker and test wires with a non-contact voltage tester before beginning any electrical work.
Always wear insulated gloves and safety goggles to protect against electrical hazards and debris. When making connections, properly insulate them with wire caps or electrical tape to prevent short circuits and fire risks.
Finally, follow your local electrical codes and regulations throughout the installation process. These standards guarantee your work meets safety requirements and prevents future problems.
Identifying and Testing Existing Garage Wiring
You’ll need to locate your home’s circuit breaker box to identify which breaker controls your garage’s electrical circuit.
Once you’ve found the correct breaker, turn off the power to guarantee safe testing of the existing wiring.
Use a non-contact voltage tester to verify there’s no electrical current flowing through the wires before proceeding with any connections.
Locate Circuit Breaker Box
Before installing motion sensors in your garage, locating your home’s circuit breaker box is the critical first step that guarantees you can safely control power to the area.
You’ll typically find this electrical panel in your utility room, basement, or garage itself. Once located, familiarize yourself with its layout and identify which breakers control your garage circuits.
Before connecting any motion sensor light switch, you must turn off the appropriate breaker to prevent electrical shock during installation.
Take time to test and label each breaker if they aren’t already marked. This preparation allows you to quickly isolate garage circuits for future maintenance or upgrades.
Understanding your circuit breaker box’s organization enhances both safety and efficiency throughout your motion sensor wiring project.
Test Wire Voltage Safely
Safely testing wire voltage prevents dangerous electrical accidents and guarantees you’re working with the correct circuits in your garage.
Use a non-contact voltage tester to identify live wires before starting your motion sensors installation. Turn off the circuit breaker first, then verify with your voltage tester that no power flows through the wires you’ll handle.
Mark hot wires with electrical tape to distinguish them from neutral and load lines during installation. This identification system prevents confusion when connecting your motion sensors.
Ascertain all connections remain secure and properly insulated to eliminate electrical shorts or hazards.
Regularly inspect your wiring for wear or damage to maintain a safe, functional system.
Proper voltage testing creates the foundation for successful motion sensor installation while protecting you from electrical dangers.
Hot Wire Vs Load Wire: Critical Distinctions

You’ll need to understand how your garage’s hot wire functions as the power source that energizes your motion sensor, while the load wire creates the circuit path that controls your light fixture.
Testing these wire types safely requires turning off power at the breaker and using a non-contact voltage tester to identify which wire carries incoming electricity versus which one connects to your lights.
Getting this distinction right prevents your motion sensor from malfunctioning and guarantees your garage lighting responds properly to movement.
Power Source Wire Function
Two distinct wire types power your garage motion sensor system, and confusing them can create serious safety hazards. The power source wire, commonly called the hot wire, delivers electrical current directly from your electrical panel to energize the motion sensor. This wire enables your sensor to function and detect movement in your garage.
Understanding the power source wire function guarantees proper installation:
- Carries live electrical current from the main electrical panel to activate the motion sensor
- Maintains constant voltage supply to keep the sensor operational and ready to detect motion
- Requires careful handling since it’s always energized and poses electrocution risks during installation
- Must be properly identified using a non-contact voltage tester before making any electrical connections
Proper power source wire identification prevents electrical hazards and guarantees reliable sensor operation.
Load Wire Circuit Path
While the power source wire energizes your motion sensor, the load wire creates a completely different circuit path that controls your garage lighting.
The load wire carries current from your motion sensor to the lighting fixture only when motion’s detected. This wire completes the circuit between your sensor and lights, acting as the switched conductor that turns illumination on and off.
You’ll typically find the load wire connecting directly to your garage light fixture. When your motion sensor activates, it closes the circuit, allowing electricity to flow through the load wire to power your lights.
Without proper load wire connections, your motion sensor can’t control your lighting effectively. The load wire fundamentally serves as the final link in your motion-activated lighting system’s chain.
Safety Testing Wire Types
Before connecting any motion sensor wiring, you must identify which wire carries live voltage and which remains dormant until activated. The hot wire delivers electrical current from your power source and shows voltage when tested with a non-contact voltage tester. Your load wire connects to the lighting fixture but stays inactive until the circuit closes.
Here’s how to safely test and identify your wires:
- Use a non-contact voltage tester to detect which wire carries live current
- Mark the hot wire with electrical tape for clear identification during installation
- Verify the load wire remains inactive when the circuit is open
- Double-check connections before powering up to prevent electrical hazards
Proper wire identification prevents device failure and electrical shock risks.
The Role of Neutral Wires in Motion Sensor Operation
When you’re installing garage motion sensors, the neutral wire serves as a critical component that completes the electrical circuit and guarantees your device operates reliably.
Without neutral wires, your motion sensor can’t function properly, often failing to activate or provide the security features you need. Modern motion sensors specifically require neutral connections for peak performance, creating compatibility issues if your wiring lacks this essential component.
Older homes frequently present challenges since they may not have neutral wires installed. This limitation restricts your ability to upgrade to newer motion sensor technology.
Proper neutral wire installation doesn’t just enhance your sensor’s reliability—it also reduces electrical hazards and guarantees your system meets current safety standards, protecting both your property and family.
Connecting Multiple Motion Sensors With Relays and Contactors
Since garages often require thorough motion detection coverage, you’ll need to connect multiple sensors using relays or contactors to create an effective lighting system.
Relays act as switches that handle higher electrical loads, enabling multiple motion sensors to trigger the same lighting circuit without overloading it. When you wire the contactor’s coil to your occupancy sensors, any sensor detecting motion will activate the lights, providing extensive garage coverage.
Here’s how to set up your multi-sensor system:
- Install relays or contactors to manage electrical loads from multiple sensor inputs.
- Wire each motion sensor’s output to the relay coil for simultaneous activation capability.
- Connect a manual bypass switch for flexible control when automatic operation isn’t needed.
- Verify all connections meet local electrical codes to prevent short circuits and maintain safety.
Proper Junction Box Installation and Mounting
After wiring your multiple motion sensors through relays and contactors, you’ll need proper junction boxes to house these electrical connections safely. Your junction box must be securely mounted to prevent movement that could strain wire connections and cause failures.
| What Happens | Without Proper Junction Box | With Proper Junction Box |
|---|---|---|
| Wire exposure | Dangerous shock risk | Complete protection |
| Moisture damage | Corrosion and shorts | Weatherproof seal |
| Connection integrity | Loose, failing joints | Secure, lasting bonds |
| Code compliance | Violations and fines | Full NEC adherence |
| Family safety | Potential electrocution | Peace of mind |
Choose weatherproof junction boxes for garage installations and make certain they’re accessible for maintenance. Size your junction box appropriately to accommodate all connections without overcrowding, preventing overheating risks.
Step-by-Step Wiring Process for Single Motion Sensors
Before you begin wiring your single motion sensor, turn off the circuit breaker and use a non-contact voltage tester to verify there’s no electrical current flowing through the wires.
Follow these essential steps for proper installation:
- Connect the hot wires – Attach your home’s hot line directly to the motion sensor’s hot line using wire caps.
- Wire the load connection – Run the load cable from the motion sensor to your garage lamp for proper functionality.
- Connect neutral wires – Join the home’s neutral wire to the motion sensor’s neutral wire, as most sensors require this for operation.
- Mark and secure connections – Use electrical tape to mark hot lines for clarity, then secure all connections with wire caps.
After completing the wiring, test your motion sensor’s settings and adjust sensitivity and time delay for peak performance.
Configuring Multi-Sensor Systems for Large Garages
When you’re wiring multiple motion sensors in a large garage, you’ll need a relay or contractor system to manage the electrical load and coordinate all sensors effectively.
Connect each motion sensor to the contactor’s coil rather than directly to the lights. This setup allows any motion sensor to trigger the entire lighting system without overloading individual circuits.
Install your sensors 6 to 8 feet high for ideal detection while minimizing false triggers from pets or small movements.
Verify proper wire connections between all components to prevent system failures. You’ll want thorough coverage throughout your garage space, so position sensors strategically in corners and along walls.
Include a manual bypass switch for override control when you need continuous lighting regardless of motion sensor activation.
Switch Integration and Manual Override Options
When you’re wiring garage motion sensors, you’ll need to understand proper switch positioning to guarantee your sensors function correctly.
The manual switch must remain in the ON position for motion detection to work, since the sensor requires continuous power to operate effectively.
You can also use rapid toggle methods or dedicated override switches to gain temporary manual control when automatic motion detection isn’t suitable for your needs.
Switch Position Requirements
Since motion sensors require electrical power to detect movement and activate lighting, you’ll need to ascertain your wall switch stays in the ON position for proper operation.
Your motion sensor won’t function at all if the switch cuts power to the circuit.
Here are the key switch position requirements:
- Always ON Position – Keep your wall switch in the ON position to maintain continuous power flow to the motion sensor.
- Manual Override Access – Use rapid switch toggling (off-on-off-on) to activate manual override features when available.
- Bypass Consideration – Direct wire connections eliminate switch dependency but remove manual control entirely.
- Dual Control Setup – Install a regular switch alongside your motion sensor for maximum flexibility and control options.
This ascertains reliable detection and lighting activation.
Manual Override Methods
While motion sensors provide automatic lighting control, you’ll often need manual override capabilities for specific situations like extended work sessions or social gatherings.
Installing a manual override switch gives you direct control when constant illumination is necessary. You can integrate a regular bypass switch alongside your motion sensors, maintaining automated functionality while adding manual flexibility when desired.
Some motion sensor lights offer built-in override options activated by rapidly toggling the wall switch off-on-off-on, keeping lights continuously on until manually turned off.
Occupancy sensors work well with conventional switches in high-traffic garage areas where automatic activation isn’t always practical.
Proper wiring guarantees both motion sensors and manual switches operate cohesively without electrical conflicts, giving you reliable control over your garage lighting system.
Common Wiring Mistakes That Compromise Safety
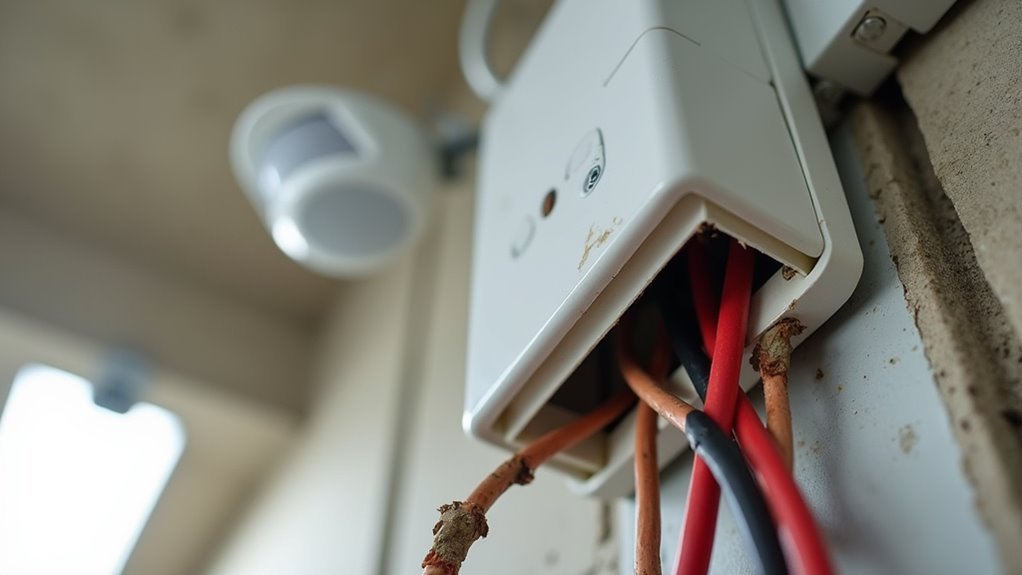
Although motion sensor installation might seem straightforward, you can easily compromise your garage’s safety through several critical wiring mistakes.
Critical wiring mistakes during motion sensor installation can easily turn your straightforward garage project into a dangerous safety hazard.
These common errors can lead to serious electrical hazards and equipment failures:
- Ignoring neutral wire connections – Many motion sensor models require proper neutral wire identification and connection for safe operation, and failing to do this correctly causes malfunctions.
- Overloading electrical circuits – Connecting too many sensors or lights without proper load management trips breakers and creates fire risks.
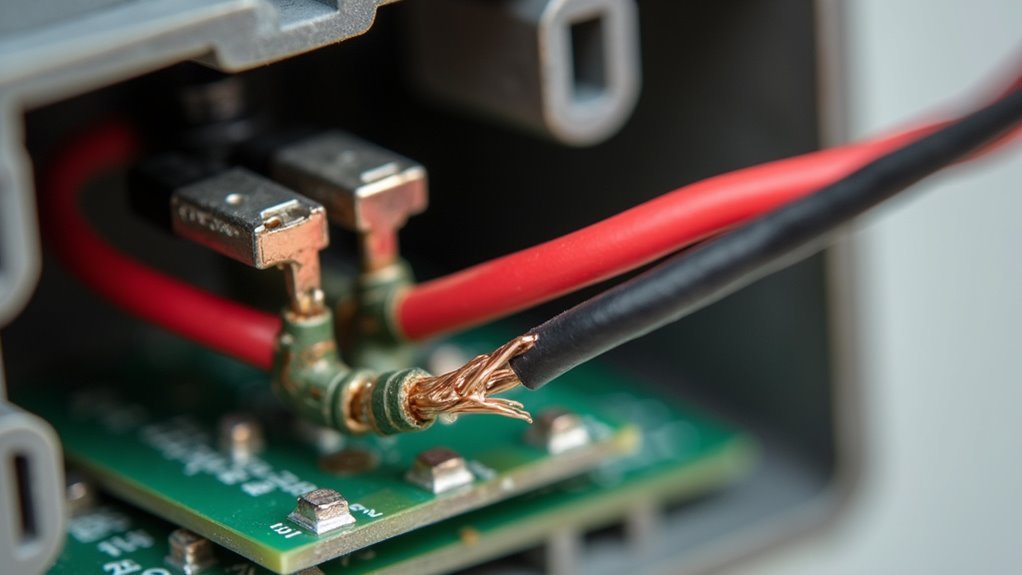
- Using loose wire connections – Neglecting to secure connections with proper wire caps increases short circuit risks and electrical hazards.
- Violating local electrical codes – Not following established codes creates unsafe wiring practices, increases accident risks, and voids equipment warranties.
Testing and Adjusting Motion Sensor Settings
Once you’ve completed your motion sensor wiring, you’ll need to power on the system and conduct thorough testing to confirm proper functionality. Start by walking through the detection area to guarantee your motion sensor responds appropriately to movement.
| Setting | Purpose | Typical Range |
|---|---|---|
| Time Delay | Controls light duration after motion detection | 5 seconds – 10 minutes |
| Sensitivity | Reduces false triggers from small movements | Low – High |
| LUX Level | Sets ambient light threshold for activation | Dusk – Dawn |
You’ll want to adjust the time delay setting to control how long lights remain on after detecting motion. Modify the sensitivity level to prevent false triggers while confirming detection of people and vehicles. Set the LUX level so your motion sensor only activates during low-light conditions, optimizing both functionality and energy efficiency.
Troubleshooting Electrical Issues and Malfunctions
Even with proper testing and adjustment, garage motion sensors can develop electrical problems that require systematic troubleshooting to identify and resolve.
When your garage lights aren’t responding properly, electrical malfunctions are often the culprit.
Here’s how to troubleshoot common issues:
- Check hot and load line connections – Incorrectly wired connections prevent sensors from receiving power or transmitting signals to garage lights.
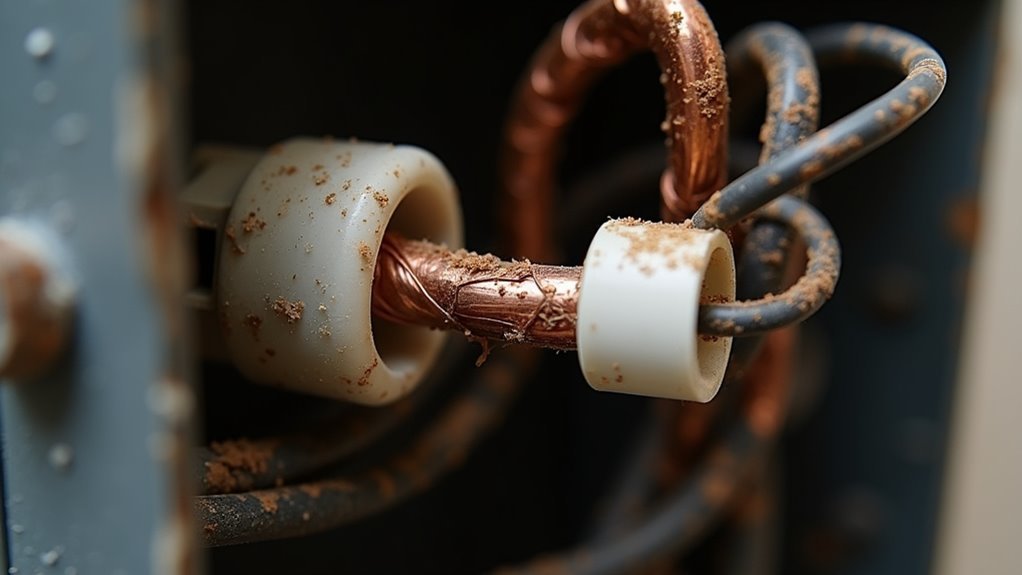
- Inspect for loose or damaged connections – Poor contact causes flickering lights or complete system failure.
- Use a non-contact voltage tester – Verify power reaches the sensor and wiring remains intact when lights fail to activate.
- Verify environmental calibration – Improper sensitivity settings cause false triggering or prevent activation entirely.
Regular connection inspections prevent most electrical issues before they affect performance.
Frequently Asked Questions
What Wire Do You Use for Garage Sensors?
You’ll need weather-resistant 14-gauge or 12-gauge wire rated for 600 volts. Use low-voltage wire for 12V/24V systems. For multiple sensors, you’ll require relay-compatible wire that handles increased loads without overheating.
Do Motion Sensor Lights Need to Be Hardwired?
You don’t need to hardwire motion sensor lights, but you’ll get better performance if you do. Hardwired options offer more reliable power, advanced features, and eliminate battery replacement needs.
How Do Garage Door Sensors Work Electrically?
Your garage door sensors work through low-voltage wiring that powers an infrared beam between sender and receiver units. When you break this beam, it signals the opener to stop or reverse the door’s movement.
Does a Motion Sensor Need a Neutral?
Most motion sensors don’t require a neutral wire, but you’ll get better functionality with one. Models needing neutrals offer advanced features like adjustable sensitivity and delays for improved performance.


Leave a Reply