You’ve probably experienced that awkward moment when guests fumble around in the dark, searching for light switches in unfamiliar rooms. Smart guest mode lighting eliminates this discomfort entirely, creating an intuitive environment that anticipates your visitors’ needs before they even realize them. The setup process isn’t as complex as you might think, but there’s a specific sequence of steps that’ll determine whether your system becomes genuinely helpful or just another gadget.
Understanding Smart Lighting Systems for Guest Spaces
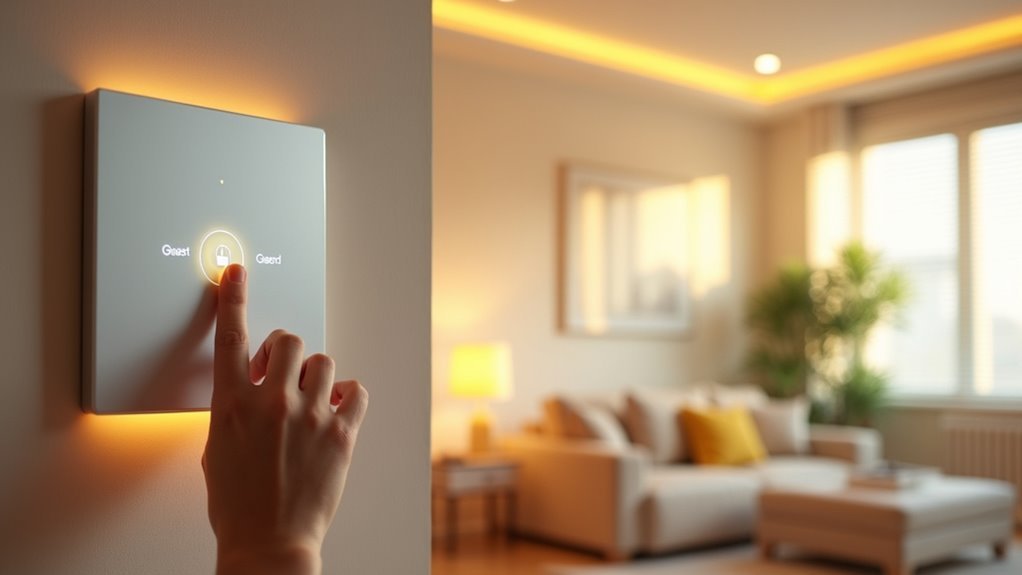
When you’re setting up smart lighting for guest spaces, you’ll want to prioritize simplicity and intuitive control over complex features.
Smart lighting systems offer remote control through apps and voice commands, making it easy for guests to adjust brightness and color without fumbling with unfamiliar switches.
Your smart bulbs should integrate with popular voice assistants like Alexa and Google Assistant, enabling hands-free voice control for guests who aren’t tech-savvy.
Setting up guest mode allows you to create predefined scenes and brightness levels that enhance comfort while maintaining energy efficiency.
Consider adding motion sensors to provide gentle nighttime illumination, ensuring guests can navigate safely without searching for switches.
Remember to clearly label or disable physical switches to prevent accidental disruption of your automated settings.
Choosing the Right Smart Bulbs and Fixtures
When selecting smart bulbs for your guest spaces, you’ll need to guarantee they’re compatible with your existing fixtures and home automation system.
Consider whether you want to replace individual bulbs or install entirely new smart fixtures that offer better integration and control options.
Your choice between these approaches will depend on your budget, technical comfort level, and how extensively you want to automate your guest lighting experience.
Bulb Compatibility Considerations
Although smart bulbs offer incredible convenience for guest mode lighting, compatibility issues can quickly turn your welcoming setup into a frustrating experience.
You’ll need to verify your smart bulbs work seamlessly with your existing fixtures and smart home ecosystem before installation. Not every bulb integrates with every hub or system, so check manufacturer specifications carefully.
Prioritize bulbs that support voice control features, allowing guests to adjust lighting effortlessly without maneuvering through complex apps.
Look for models with adjustable brightness and color temperature settings to create comfortable atmospheres. Energy efficiency should also factor into your decision—choose ENERGY STAR certified options to minimize costs while maintaining adequate illumination.
Finally, select bulbs that retain their settings after power outages, ensuring consistent guest mode configurations throughout visits.
Fixture Installation Options
Three primary installation approaches let you transform your guest spaces with smart lighting: retrofitting existing fixtures with smart bulbs, replacing traditional fixtures with smart-enabled alternatives, or adding standalone smart lamps and accent lighting.
Your installation strategy depends on your current setup and desired functionality:
- Retrofit existing fixtures – Simply replace traditional bulbs with compatible smart bulbs matching your socket type (E26, GU10).
- Install smart fixtures – Replace entire lighting systems with built-in smart technology like recessed lighting or smart ceiling fans.
- Add standalone smart lamps – Introduce table lamps, floor lamps, or accent lighting with integrated smart features.
- Combine approaches – Mix retrofitted bulbs with new smart fixtures for thorough coverage.
Choose options that guarantee seamless compatibility with your home automation system for ideal guest mode functionality.
Installing Motion Sensors in Key Guest Areas
When installing motion sensors for guest lighting, you’ll need to contemplate where to place them for maximum effectiveness without compromising your guests’ sense of privacy.
Strategic positioning in hallways, entryways, and shared bathrooms guarantees convenient lighting activation while avoiding overly sensitive placement that might feel intrusive in private spaces.
You’ll want to balance functionality with comfort, creating an automated lighting experience that feels helpful rather than invasive.
Optimal Sensor Placement
Strategic placement of motion sensors transforms your guest lighting from a basic convenience into an intuitive welcome system.
Proper prime sensor placement guarantees seamless light activation while maximizing your coverage area for effective guest mode operation.
Follow these placement guidelines for prime motion sensors performance:
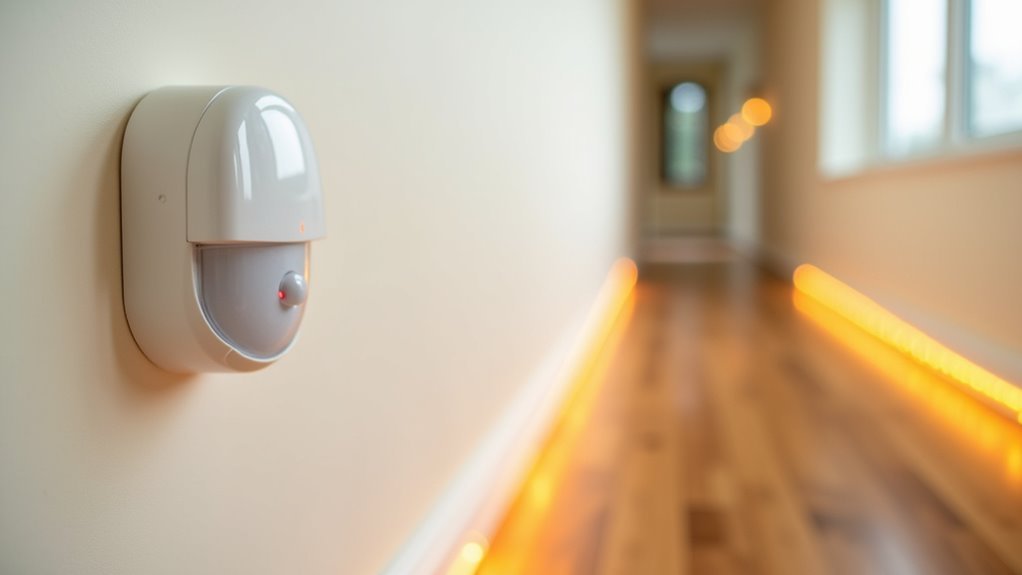
- Install at entry points – Position sensors at hallways and doorways to greet guests immediately upon arrival.
- Mount 6-8 feet high – This height provides ideal detection range while preventing accidental obstructions.
- Choose corner locations – Corner placement maximizes coverage area across rooms and common spaces.
- Avoid heat sources – Keep sensors away from direct sunlight and heating vents to prevent false triggers.
Test sensitivity settings to balance quick response with energy efficiency, guaranteeing your guest mode lighting activates promptly without unnecessary activation.
Guest Privacy Considerations
Motion sensor placement requires careful consideration of guest privacy to create a welcoming environment that doesn’t feel intrusive or monitored.
You’ll want to install motion sensors in essential areas like hallways and bathrooms, eliminating the need for guests to search for switches in unfamiliar darkness. Program these smart home devices to activate lighting at low brightness levels during nighttime hours, providing gentle illumination that respects guest privacy while ensuring safe navigation.
Strategic placement helps you avoid intrusive cameras in private spaces, prioritizing guest comfort above all else.
Integrate your lighting system with smart home routines that prevent unnecessary activation when spaces aren’t occupied. Always communicate transparently with guests about your motion sensors, explaining how the system works without making them feel uncomfortable or surveilled.
Programming Welcome Lighting Scenes
Three essential elements transform your smart lighting into a welcoming experience that greets guests the moment they arrive.
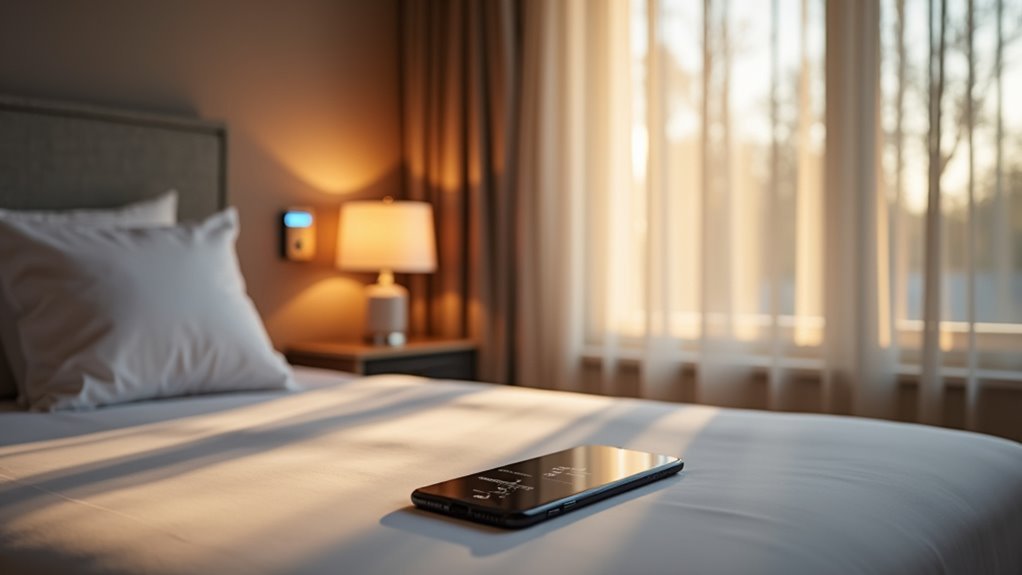
Smart lighting apps let you create specific welcome scenes that activate with a single command, instantly setting the perfect ambiance. You can program your lights to gradually brighten during evening hours, simulating natural sunset shifts that help guests settle comfortably.
Setting up effective welcome scenes requires these key components:
- Motion sensors in hallways and bathrooms for automatic nighttime navigation
- Color-changing smart bulbs programmed for soft white relaxation or vibrant festive moods
- Guest modes saved as preset scenes for easy access
- Voice commands integration allowing guests to control lighting without complex interfaces
These welcome scenes guarantee your guests feel immediately comfortable while maintaining straightforward operation through intuitive controls.
Setting Up Automatic Nighttime Navigation Lights
You’ll want to create nighttime navigation lights that automatically guide your guests safely through your home without disturbing anyone’s sleep.
Start by placing motion sensors in key areas like hallways and near bathrooms, then configure your smart lights to activate at low brightness levels when movement’s detected.
Set up timer-based routines that guarantee these navigation lights only operate during nighttime hours, providing gentle illumination exactly when your guests need it most.
Motion Sensor Placement
When setting up automatic nighttime navigation lights for guests, strategic placement of motion sensors guarantees seamless activation without unnecessary triggers.
Your guest mode lighting system works best when you position these sensors thoughtfully throughout key areas.
Here’s how to optimize motion sensor placement for effective guest mode lighting:
- Install sensors at 6-8 feet height – This positioning maximizes detection range while minimizing false triggers from pets or small movements.
- Target key entry points – Place sensors in hallways and doorways where guests naturally move during nighttime hours.
- Adjust sensitivity settings – Fine-tune sensors to activate only when needed, preventing unnecessary lighting activation.
- Connect to smart bulbs – Create an ambient glow that gradually increases brightness, enhancing comfort while maintaining energy efficiency through your smart home system.
Dimming Light Settings
Once your motion sensors are properly positioned, configuring the right dimming light settings guarantees your guests can navigate safely without harsh lighting disruptions.
Smart lighting systems excel at creating comfortable nighttime environments through programmable schedules that automatically reduce brightness at predetermined times. You’ll want to establish motion sensor routines that trigger low-brightness nightlights when guests move through hallways or common areas.
Install dimmer switches with smart bulbs to enable gradual brightness adjustments, allowing guests to customize their lighting preferences.
Create an Alexa Routine that automatically dims lights in key areas while maintaining sufficient illumination for safe navigation.
Consider adjusting color temperature settings to warmer tones during evening hours, promoting relaxation and minimizing sleep cycle disruption for your guests.
Timer-Based Activation
Timer-based activation transforms your guest lighting system into a fully automated solution that operates independently of human intervention.
Setting up automatic nighttime navigation through your smart lighting app guarantees guests can move safely through your home without fumbling for switches in the dark.
Configure your guest mode with these essential timer settings:
- Program specific activation times like 10 PM to 6 AM for consistent nighttime navigation coverage
- Combine motion sensors with timers to trigger lights when guests move through shared spaces
- Use smart bulbs with gradual brightness increases to simulate natural sunrise for comfortable wake-ups
- Create thorough routines that include both timer-based activation and motion detection
Place these automated lights strategically in hallways, near stairs, and bathrooms for ideal guest safety and comfort.
Creating Bedtime and Wake-Up Lighting Schedules
Transform your guest room into a sleep sanctuary by programming smart lights to gradually dim over 30 minutes before bedtime, naturally signaling to your visitors that it’s time to wind down. For wake-up lighting, set your smart lights to brighten gradually, mimicking a natural sunrise 15-30 minutes before the intended wake-up time to enhance your guests’ mood and energy levels.
| Time | Bedtime Schedule | Wake-Up Schedule |
|---|---|---|
| 30 min before | Begin dimming warm lights | Lights remain off |
| 15 min before | Continue gentle dimming | Start gradual brightening |
| 5 min before | Minimal warm glow | Increase cool brightness |
| Target time | Lights off completely | Full daylight simulation |
| After | Stay off | Maintain bright setting |
Most smart lighting systems like Philips Hue allow easy customization through their apps. Always make sure guests can adjust or disable these lighting schedules without technical expertise.
Configuring Guest-Friendly Light Switches and Controls
Smart lighting systems work best when your guests can intuitively control them without getting lost in complicated menus or accidentally breaking your carefully crafted automations.
To create truly guest-friendly smart light switches and controls, you’ll need to balance functionality with simplicity.
Here’s how to configure your guest mode lighting controls:
- Install smart light switches that maintain power to bulbs, allowing guests to control lights even after toggling physical switches.
- Use tape or switch guards on traditional switches to prevent accidental disconnection of your smart lighting features.
- Create a simplified dashboard that gives guests easy access to basic lighting controls without overwhelming options.
- Provide a clear cheat sheet with simple instructions for adjusting brightness and colors during their stay.
Establishing Safety Lighting for Hallways and Stairs
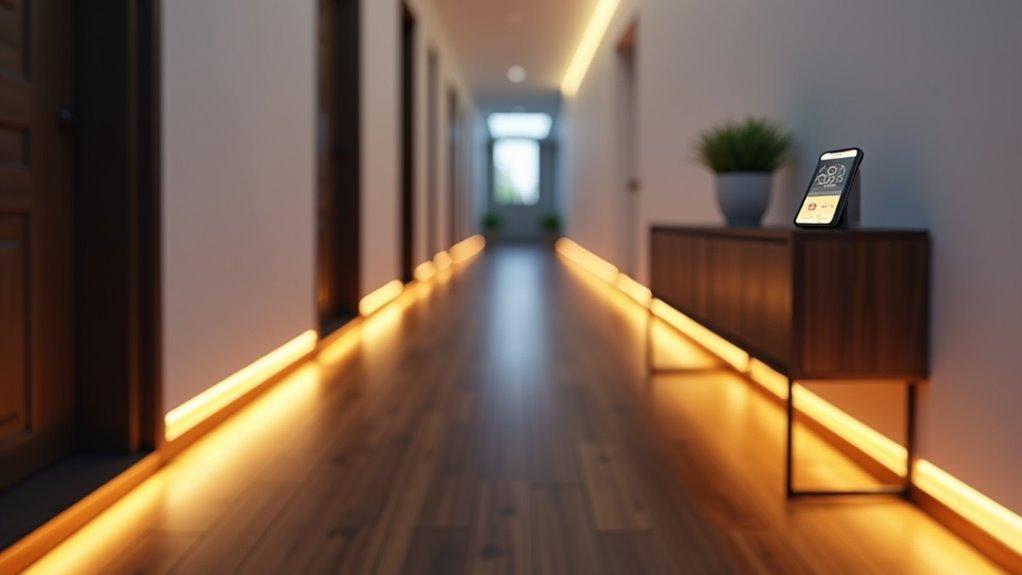
When guests navigate unfamiliar spaces during nighttime hours, poorly lit hallways and staircases become significant safety hazards that can lead to trips, falls, and injuries.
Installing smart motion sensor lights in these areas creates safety lighting that’ll automatically illuminate when movement is detected, ensuring guests feel secure during nighttime navigation.
Motion-activated smart lighting provides instant illumination for safe nighttime movement through dark hallways and stairwells.
Configure your smart lights with adjustable brightness settings to provide a soft glow that won’t blind guests or disturb sleeping household members.
Set timers to activate lighting during typical guest hours, and utilize gradual dimming features that simulate natural light changes rather than jarring sudden illumination.
Don’t forget to clearly label light switches so guests can easily access manual controls when needed, providing backup options for your automated safety lighting system.
Adjusting Brightness Levels for Different Times of Day
Beyond basic safety illumination, your guest lighting system needs thoughtful brightness adjustments that match natural daily rhythms and activities.
Smart lighting systems with customizable schedules let you automate these changes seamlessly throughout the day.
Here’s how to enhance brightness levels for different times:
- Morning (Sunrise Simulation) – Program gradual brightness increases to help guests wake naturally and comfortably.
- Daytime (100% Brightness) – Use full brightness to enhance visibility and create an energizing atmosphere for activities.
- Evening (50% Brightness) – Dim lights for relaxing ambiance during social gatherings or unwinding time.
- Nighttime (10-20% Brightness) – Maintain minimal lighting for safe navigation without disturbing sleep.
Adjusting brightness automatically based on guest preferences eliminates manual control while ensuring maximum comfort throughout their stay.
Connecting Lights to Guest Wi-Fi Network Access
Although automated brightness schedules provide excellent guest comfort, you’ll need to establish proper network connectivity so visitors can control their lighting environment directly.
Connect your smart lighting system to a dedicated guest network rather than your main Wi-Fi. This setup protects your primary network while giving guests seamless access to control lighting features.
Follow your manufacturer’s app instructions to configure smart lights with the guest Wi-Fi network. Create a unique password and share it with visitors for both internet and lighting access.
Generate a QR code for your guest network to simplify connections—guests can simply scan and connect instantly.
Ensure adequate bandwidth supports multiple devices simultaneously, preventing connectivity issues when several guests access the lighting system concurrently.
Testing Your Guest Mode Lighting Setup
After configuring your guest network connectivity, you’ll want to verify everything works smoothly before your visitors arrive.
Testing your guest mode lighting setup guarantees seamless lighting control for your guests.
Thorough testing of your guest lighting configuration ensures visitors enjoy effortless control without technical hiccups or operational delays.
Follow these steps to validate your system:
- Test smart lights functionality – Confirm all lights respond properly to voice commands and your guest dashboard interface.
- Adjust dimmer switches – Verify dimmers respond correctly, allowing guests to customize their preferred brightness levels effortlessly.
- Check motion sensors – Confirm motion-activated lighting features activate automatically when guests enter rooms.
- Secure physical switches – Tape wall switches to prevent accidental toggling that could disrupt smart light operations.
Run through the entire guest mode process with someone to identify potential confusion points.
Troubleshooting Common Guest Lighting Issues
Even with proper setup and testing, guest lighting systems can encounter unexpected hiccups that leave your visitors fumbling in the dark or struggling with unresponsive controls.
When smart lights become unreachable, check if wall switches accidentally cut power to the bulbs. You’ll need to restore power and clearly label switches to prevent future disconnections.
If smart dimmer switches aren’t responding properly, verify they’re connected to your network and reset them if necessary.
For voice commands that aren’t working, make sure your smart speakers recognize guest voices by temporarily adjusting sensitivity settings.
When lighting automations activate unexpectedly during guest mode, disable motion sensors and scheduled routines.
Always provide backup manual controls so guests aren’t completely dependent on smart features.
Frequently Asked Questions
How Do I Set up Guest Mode?
You’ll create a simplified control dashboard with essential lighting only, disable motion automations, use smart switches that retain power, label physical controls clearly, and set up an Alexa routine for easy toggling.
How to Control Multiple Smart Lights at Once?
You can control multiple smart lights simultaneously by grouping them in your smart home app, creating scenes or routines, using voice commands through Alexa or Google Home, or setting up automated schedules.
What Are the Disadvantages of Smart Lighting System?
You’ll face high installation costs, compatibility issues with existing systems, Wi-Fi dependency during outages, complex interfaces for guests, and privacy concerns from data collection that could compromise your personal information.
How to Connect Lights to Wi-Fi?
You’ll need compatible smart bulbs and their corresponding app. Download the app, create an account, follow setup instructions, connect to your Wi-Fi network, and guarantee your phone’s on the same network during configuration.


Leave a Reply