You’ve decided to upgrade to a hardwired doorbell, but the installation process might seem more complex than you anticipated. While it’s certainly more involved than simply mounting a wireless unit, breaking down the project into seven manageable steps makes it surprisingly straightforward. The key lies in understanding your home’s existing electrical setup and following proper safety protocols. Once you master these fundamentals, you’ll discover that most homeowners can complete this upgrade in just a few hours.
Turn Off Power and Remove Existing Doorbell

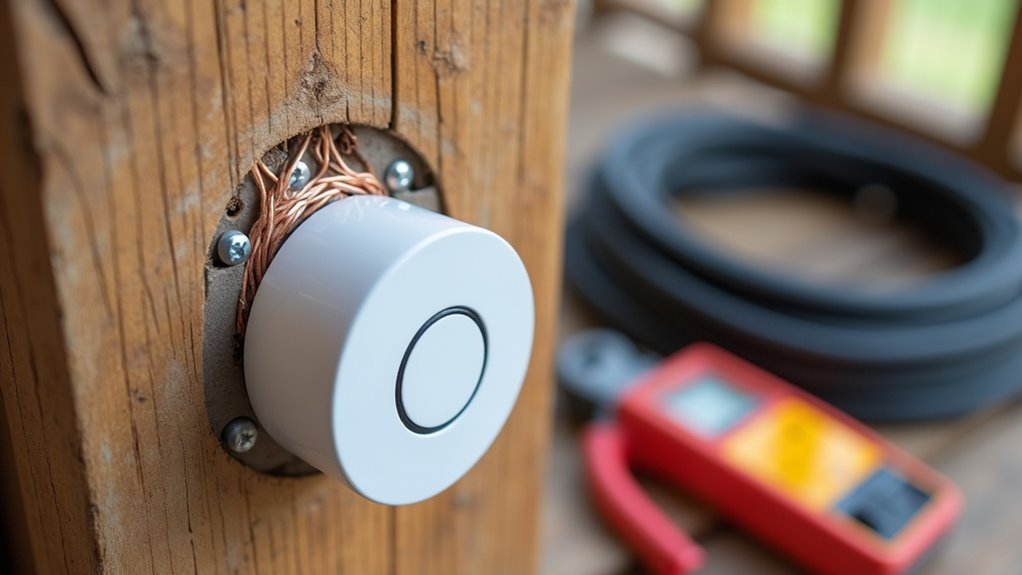
First, you’ll need to turn off the power to your existing doorbell at the circuit breaker to prevent electric shock during removal.
Once you’ve located and switched off the correct breaker, use a screwdriver to remove the screws securing the doorbell cover. Carefully pull the button housing away from the wall to expose the wiring.
After locating the correct breaker, carefully unscrew the doorbell cover and pull the housing away to reveal internal wiring.
Before proceeding, check the wires with a voltage tester to confirm the power is completely off. This safety step is essential before touching any electrical components.
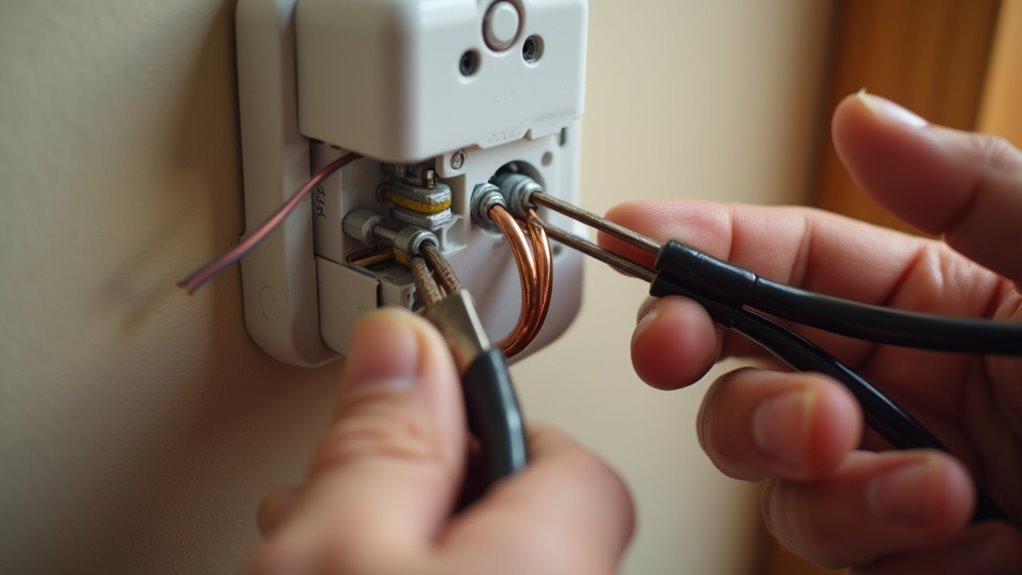
Remove the doorbell by taking a photo of the existing wiring configuration for reference during installation. Next, disconnect the wires from the old doorbell.
If you’re installing a wireless replacement, wrap the exposed wires with electrical tape to prevent contact.
Check Wire Compatibility and Transformer Requirements
You’ll need to verify your existing transformer outputs between 8-24 VAC with 8-40VA power rating before installing your new hardwired doorbell.
Use a multimeter to test the voltage at both the transformer and doorbell wire locations to guarantee they meet your device’s requirements.
Check that your current doorbell wire can handle the power load without overheating or creating compatibility issues with your new system.
Verify Existing Transformer Voltage
Before installing your new hardwired doorbell, compatibility verification guarantees your system won’t malfunction or suffer damage.
You’ll need to verify your existing transformer meets the voltage requirements for your new doorbell system. Your transformer must operate within 8 to 24 VAC at 50/60Hz frequency with a wattage rating between 8VA to 40VA.
Use a multimeter to measure the actual voltage output and confirm it matches your doorbell’s specifications.
Key verification steps include:
- Check transformer voltage range – Ascertain it outputs 8-24 VAC for proper doorbell operation
- Measure actual voltage – Use a multimeter to verify real-world transformer performance
- Confirm wattage rating – Match transformer VA rating with doorbell power requirements
- Review manufacturer guidelines – Consult documentation to prevent compatibility issues
Test Wire Gauge
Proper wire gauge selection guarantees your doorbell system operates safely and efficiently without voltage drops or overheating. You’ll need to match your wire gauge to your transformer’s specifications for ideal low voltage performance.
Check your existing wire gauge using a wire stripper or gauge tool. Most residential doorbells use 18- to 22-gauge bell wire, but verify compatibility with your specific transformer requirements.
| Wire Gauge | Transformer Output | Maximum Distance |
|---|---|---|
| 18 AWG | 16-24 VAC | 200 feet |
| 20 AWG | 12-20 VAC | 150 feet |
| 22 AWG | 8-16 VAC | 100 feet |
Ensure your wire insulation is rated for low-voltage applications. Document your findings with photos before proceeding with installation to maintain proper system compatibility.
Assess Power Requirements
After confirming your wire gauge meets specifications, assess whether your existing electrical components can handle your new doorbell’s power demands.
Start by checking your existing doorbell transformer’s output voltage and power rating. The transformer should deliver between 8 to 24 VAC with a power rating of 8VA to 40VA for compatibility.
- Verify your existing doorbell transformer outputs the correct voltage range (8-24 VAC) and has adequate power rating (8-40VA)
- Inspect transformer wire condition to confirm it’s rated for the current and voltage requirements
- Confirm your doorbell chime matches the transformer voltage rating for peak performance
- Use manufacturer compatibility checkers to verify your wiring setup supports the new installation
If your current setup doesn’t meet requirements, replace the transformer with a 16-volt AC, 30 volt-amp unit.
Install or Replace the Doorbell Transformer
You’ll need to verify your doorbell transformer meets the power requirements of 16-24 VAC with at least 10 VA before installation.
Turn off the power at the circuit breaker and use a voltage tester to confirm it’s safe to work on the electrical connections.
Document your existing wire connections carefully, as you’ll typically find three wires: two for the doorbell circuit and one connected to your home’s power supply.
Power Requirements Check
Before diving into transformer installation, examine your existing unit to determine if it delivers the necessary 16 to 24 VAC and 10 to 40 VA required for proper doorbell operation. This power verification prevents compatibility issues and guarantees your system functions correctly.
Check your doorbell chime’s voltage rating to confirm it matches your transformer’s output. Mismatched voltage can damage components or cause malfunctions.
You’ll also want to locate your transformer near the main electrical panel or chime box for convenient access during installation.
Key safety and preparation steps include:
- Turn off power at the circuit breaker before handling electrical components
- Use a voltage tester to verify no electricity flows through wires
- Document existing wiring connections before disconnecting
- Confirm transformer location allows easy access for installation
Transformer Wiring Connections
With your power requirements confirmed and safety preparations complete, you can now proceed with the actual transformer wiring connections. First, turn off power at the circuit breaker and verify it’s off using a voltage tester to prevent electrical hazards. Document your existing wire connections before disconnecting anything from the old transformer.
| Wire Type | Connection Point | Color Code |
|---|---|---|
| Hot wire | Transformer input | Black to black |
| Neutral wire | Transformer input | White to white |
| Ground wire | Transformer ground | Green to ground |
| Doorbell wire | Low voltage output | No color matching |
| Doorbell wire | Low voltage output | No color matching |
Mount your new 16-volt transformer and reconnect the household power wires using the color-coded system. Secure all transformer wiring connections with plastic wire connectors, then connect the two low-voltage wires to your doorbell system.
Connect the Chime Unit and Bypass Wiring
Two critical steps confirm your new hardwired doorbell integrates seamlessly with your home’s electrical system: connecting the chime unit and configuring bypass wiring.
Before disconnecting anything, label your existing wires connected to the terminals marked “Front,” “Rear,” and “Trans” for reference. Document the wiring configuration with a photo to confirm accurate restoration later.
- Label existing wires on terminals before disconnecting the old chime unit
- Take photos of current wiring configuration for accurate reference
- Use bypass cable to connect wires that previously connected to doorbell chime mechanism
- Attach labeled wires to corresponding screw terminals on new chime unit
When you bypass wiring, use a bypass cable to connect the chime mechanism’s previous wires, effectively disabling it for compatibility.
Connect the chime unit by securing labeled wires to corresponding terminals. Restore power and test functionality.
Mount the New Hardwired Doorbell Button
The hardwired doorbell button serves as your visitors’ primary interaction point, so proper mounting guarantees both functionality and curb appeal. Position your doorbell button between 42 to 56 inches high for ideal accessibility.
Mount your doorbell button between 42 to 56 inches high to ensure optimal accessibility for all visitors.
Use the provided template to mark locations, then create pilot holes with your cordless drill. Insert the mounting screws through the button and secure the doorbell to your doorframe.
For surfaces like stucco, brick, or concrete, use wall anchors from your installation kit for added stability. Loop one wire from the doorbell mechanism around each screw terminal on the button’s back, ensuring secure electrical connections.
After completing installation, test the button by pressing it to confirm your doorbell chime rings properly.
Secure All Wire Connections and Restore Power

Proper electrical connections form the backbone of your doorbell system’s reliability and safety.
You’ll need to ascertain every connection is rock-solid before energizing the system. Tighten all terminal screws firmly on both the doorbell button and chime unit to prevent loose connections that could cause malfunctions. Use wire connectors to cap any exposed wire ends, protecting against electrical shorts and maintaining secure connections.
Key steps for finalizing your installation:
- Verify transformer wire connects to TRANS terminal and button wire to FRONT terminal
- Apply wire connectors to all exposed wire ends for safety
- Tighten terminal screws securely on both button and chime units
- Test system functionality after powering up
Once you’ve double-checked all connections, restore power at the circuit breaker and test your doorbell’s operation.
Test Functionality and Configure Smart Features
With power restored and connections secured, it’s time to verify your doorbell operates correctly. Press the doorbell button to test basic functionality—you should hear clear sound from your chime unit.
If you’ve installed a smart doorbell, download the manufacturer’s app to your smartphone and follow setup instructions to connect it to your Wi-Fi network.
Check for firmware updates within the app to guarantee peak performance and security. Configure smart features like motion detection sensitivity, chime duration, and video recording preferences according to your needs.
Test the live view feature and notification system by having someone press the button while you monitor the app. This confirms you’ll receive proper alerts when visitors arrive at your door.
Frequently Asked Questions
Do You Need an Electrician to Install a Wired Doorbell?
You don’t need an electrician if you’re comfortable with basic wiring and safety procedures. However, you should hire one for complex wiring, transformer installation, or if you’re unsure about electrical work.
How Do You Connect a Hardwired Ring Doorbell?
First, you’ll turn off power at the circuit breaker and verify it’s off. Connect doorbell wires to the “TRANS” and “Front” terminals, mount the device securely, then restore power and test functionality.
How to Install a Doorbell for the First Time?
You’ll need to turn off power at the breaker, install a transformer, mount the doorbell button, run wires between components, connect terminals securely, then restore power and test functionality.
How to Install a Ring Doorbell Step by Step?
Turn off power at the breaker, remove your old doorbell, mount Ring’s baseplate, connect existing wires to terminal screws, restore power, and complete setup through the Ring app.


Leave a Reply