
You’re probably tired of juggling multiple smart home apps, paying monthly fees, and wondering where your personal data ends up. Home Assistant changes that equation entirely. This open-source platform connects over 2,500 devices without subscription costs while keeping everything local to your network. But here’s what most people don’t realize about starting their smart home journey with Home Assistant – the initial setup decision you make will determine whether you’ll expand your system or abandon it within six months.
What Makes Home Assistant the Ultimate Smart Home Platform
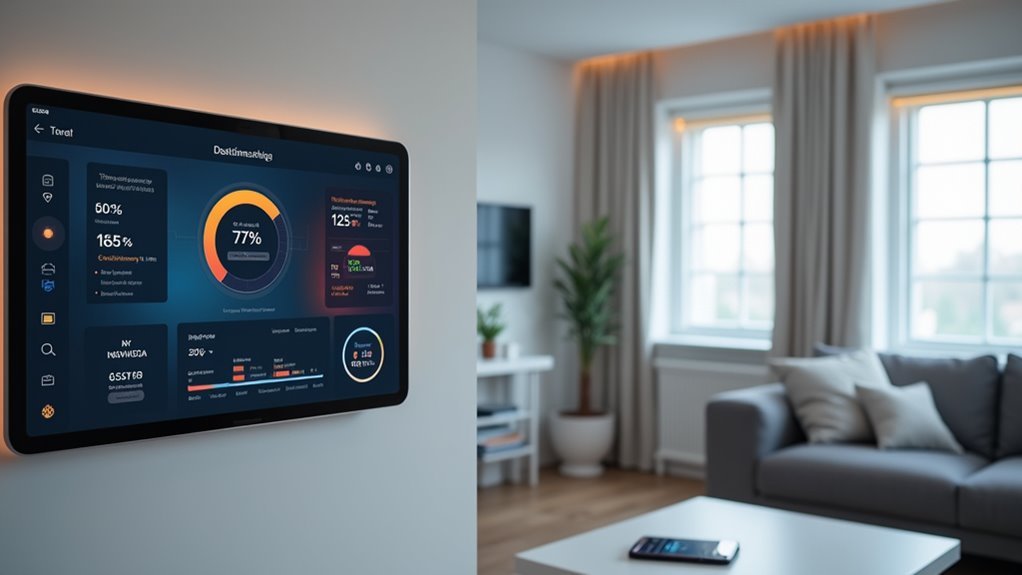
While countless smart home platforms compete for your attention, Home Assistant stands apart as the ultimate solution by offering unparalleled device compatibility with nearly 2,500 integrations. You’ll connect everything from lights and thermostats to security cameras and voice assistants without worrying about brand limitations.
What truly sets Home Assistant apart is its open-source nature. You won’t pay monthly subscription fees, and you’ll maintain complete control over your home data through local storage. This means your privacy stays protected while you enjoy full customization of your smart home setup.
The platform’s powerful automation engine lets you create sophisticated routines that respond to triggers and conditions, transforming your house into an intelligent home that anticipates your needs and simplifies daily tasks.
Open Source Freedom vs. Subscription-Based Alternatives
Why should you pay monthly fees when you can own your smart home platform outright? Home Assistant’s open source nature eliminates subscription costs while giving you complete control over your smart home ecosystem.
You’ll manage over 2,500 smart devices without additional fees, unlike commercial alternatives that charge for basic functionality.
Your data stays private within your home network—no cloud dependency or third-party access. You’re not locked into restrictive subscription models that limit customization options.
Your smart home data remains locked within your personal network, eliminating cloud vulnerabilities and subscription-based limitations on customization freedom.
The community-driven platform delivers continuous updates and improvements without financial barriers.
You can create unlimited automations and share custom dashboards freely. This flexibility surpasses subscription services that often restrict advanced features behind paywalls.
With Home Assistant, you own your platform, control your data, and customize without boundaries.
Setting Up Your First Home Assistant Installation
You’ll need to guarantee your hardware meets Home Assistant’s requirements before starting your installation journey.
First, create a bootable USB drive using Balena Etcher with the latest boot image for your platform from home-assistant.io/installation.
Once you’ve prepared your USB drive and booted from it, Home Assistant’s setup wizard will guide you through the initial configuration steps to get your smart home system running.
Hardware Requirements Setup
Before diving into your smart home journey, you’ll need to gather the essential hardware components for your Home Assistant installation. A Raspberry Pi 3B+ serves as an excellent, cost-effective choice for running your system.
The hardware requirements include a microSD card with at least 32GB capacity, a 5V/2.5A power supply, and reliable network connectivity through either Ethernet or Wi-Fi.
Your setup process begins with creating a bootable drive using Balena Etcher to flash the Home Assistant image onto your microSD card. Once you’ve inserted the card and powered up your Raspberry Pi, the system will boot and present a configuration wizard.
This guided setup helps you connect detected smart home devices immediately. Home Assistant’s extensive compatibility means you can continuously expand your smart home devices as your automation needs grow.
Initial Configuration Steps
With your hardware properly set up and running, the next step involves configuring Home Assistant through its initial configuration steps.
You’ll begin by creating a bootable USB drive using Balena Etcher with the appropriate boot image downloaded from home-assistant.io/installation for your specific hardware platform. After flashing the image onto your USB stick, boot your computer from the USB to start Home Assistant.
Complete the setup wizard that appears, configuring basic settings and connecting to your home network.
Once Home Assistant is running, navigate to ‘Settings’ > ‘Devices & Services’ to add integrations for your smart devices.
For enhanced compatibility with ZigBee or Z-wave protocols, consider connecting an additional USB stick to expand your smart home ecosystem seamlessly.
Essential Hardware Requirements for Optimal Performance
While Home Assistant’s software flexibility makes it adaptable to various platforms, selecting the right hardware foundation determines how smoothly your smart home hub will operate under real-world conditions.
A Raspberry Pi 3B+ or newer provides an excellent starting point, offering sufficient processing power at around £45 for initial setup. You’ll want to pair your Raspberry Pi with a portable SSD rather than relying on traditional SD cards, as this upgrade delivers faster read/write speeds and enhanced reliability for peak performance.
Consider implementing Docker for containerized management or Proxmox for virtual machine capabilities if you’re planning extensive integrations.
Your hardware choices directly impact how effectively you’ll handle multiple automations, device connections, and real-time processing demands across your growing smart home ecosystem.
Device Integration and Compatibility Across 2,500+ Brands
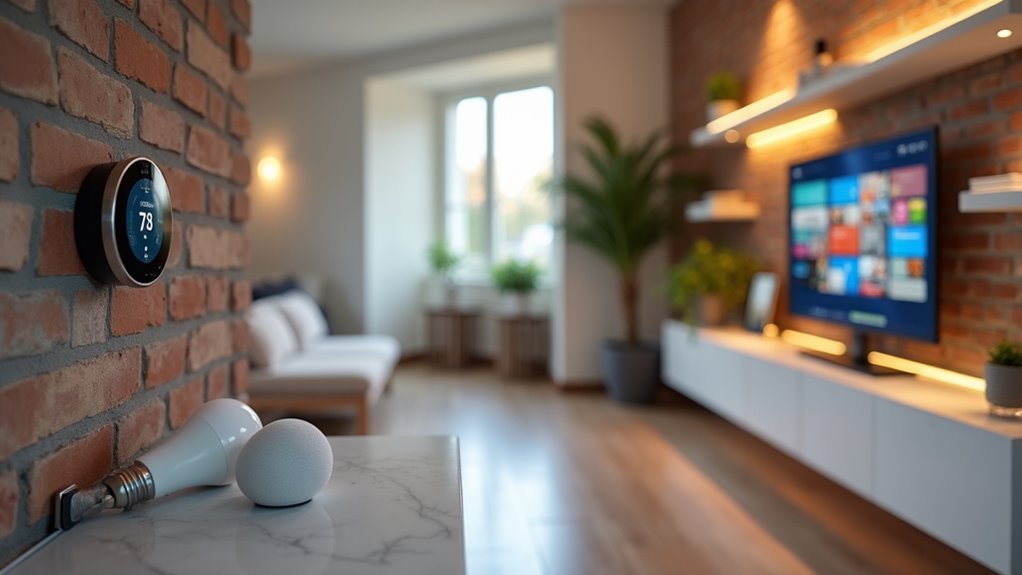
Home Assistant’s greatest strength lies in its ability to connect with over 2,500 different brands and devices, creating a unified smart home experience regardless of manufacturer preferences. This extensive compatibility makes Home Assistant an ideal smart home hub for mixing different ecosystems without vendor lock-in.
| Protocol | Connection Method | Device Types |
|---|---|---|
| ZigBee | USB Stick | Sensors, Lights, Switches |
| Z-Wave | USB Stick | Door Locks, Thermostats, Dimmers |
| Thread | Compatible Stick | Matter Devices, Sensors |
| WiFi | Direct Integration | Cameras, Smart Speakers |
| Local/Cloud | Network/Internet | All Supported Brands |
Device integration happens through Settings > Devices & Services, where you’ll find local and cloud-based options. ZigBee, Z-Wave, and Thread protocols expand compatibility with simple USB additions, ensuring your smart home grows seamlessly.
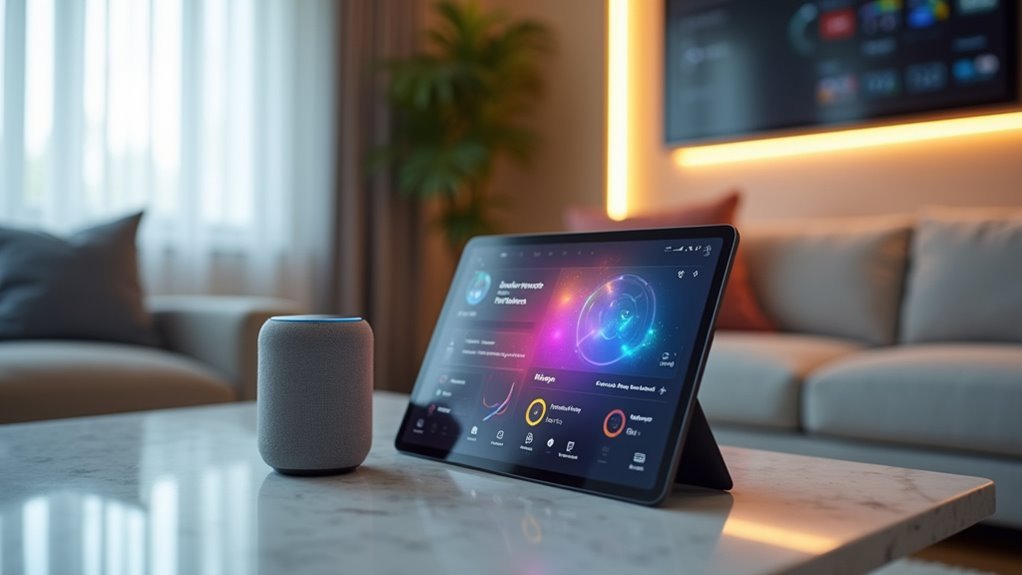
Creating Your First Automations and Smart Routines
You’ll find that creating your first automations becomes intuitive once you start with basic motion sensor setups that automatically turn lights on when you enter a room.
Voice commands through Alexa, Google Assistant, or Siri can trigger these same automations, giving you multiple ways to control your smart home beyond just physical sensors.
Setting up these foundational routines establishes the building blocks you’ll use for more complex automations as your smart home grows.
Simple Motion Sensor Automations
Motion detection serves as the perfect starting point for building your first Home Assistant automations.
You’ll quickly discover how simple motion sensor automations can transform your daily routines by automatically turning on lights when you enter a room. Home Assistant offers an intuitive web interface where you can configure specific conditions, like activating lights only during evening hours.
You can automate tasks even further by adding delays that turn lights off after no motion is detected for a set period, boosting energy efficiency.
Community-designed blueprints provide ready-made solutions, eliminating the need to start from scratch. Before finalizing your setup, use the ‘Run’ option to test your automations and verify they work perfectly.
Voice Command Setup Tips
Voice commands represent the next logical step in expanding your Home Assistant automation capabilities beyond simple motion triggers.
You’ll want to integrate compatible voice assistants like Google Assistant or Amazon Alexa through Home Assistant’s extensive configuration options. These automation engines work seamlessly with your existing setup.
Use Home Assistant’s automation feature to create specific routines triggered by voice commands – turning on lights or adjusting thermostats becomes effortless.
The built-in “Assist” voice assistant enables natural language control, so you can say “Turn off all lights” or “Set living room temperature to 22 degrees.”
Test your automations using the “Run” option before daily use.
Consider leveraging community-designed automation blueprints for common tasks, which simplify creating effective voice-controlled routines without starting from scratch.
Privacy and Local Control Benefits
While most commercial smart home platforms send your data to distant cloud servers, Home Assistant keeps everything running locally on your own hardware. This local control approach means you’re not dependent on third-party servers or internet connections to manage your devices.
Your privacy remains intact since sensitive information never leaves your home network, eliminating risks of data breaches and unauthorized access.
The open-source nature of Home Assistant allows you to audit the code yourself, ensuring transparency in how your data’s handled. You’ll avoid subscription fees that plague commercial solutions while maintaining complete control over your automation setup.
With customizable privacy settings and transparent governance policies, you decide exactly how your personal information is managed and utilized.
Community Support and Documentation Resources
You’ll find Home Assistant’s community support exceptionally robust, with active forums where users share solutions and troubleshoot issues together.
The platform’s extensive documentation library covers everything from basic installation to advanced integrations, giving you clear guidance at every step.
Through developer contribution portals, you can access community-created add-ons and blueprints that’ll expand your system’s capabilities beyond the standard features.
Active Community Forums
Where can you turn when you’re stuck configuring a complex automation or troubleshooting a stubborn device integration? Home Assistant’s community forum provides exactly what you need.
This active platform connects you with fellow enthusiasts and developers who share experiences, answer questions, and offer practical support.
You’ll find extensive documentation resources including guides, tutorials, and troubleshooting tips that help newcomers navigate their smart home setup efficiently.
When problems arise, you can report issues and collaborate with members to find solutions quickly.
Regular forum participation delivers valuable benefits: innovative automation ideas, proven best practices, and insights from experienced users.
The community also discusses potential enhancements and features, letting you contribute to Home Assistant’s ongoing development while building your smart home expertise.
Comprehensive Documentation Library
Beyond the collaborative support from forum discussions, Home Assistant’s extensive documentation library serves as your primary knowledge base for mastering the platform. This thorough documentation covers everything from initial installation to advanced configuration, making the system accessible regardless of your technical background.
You’ll find detailed guides for setting up integrations, troubleshooting common issues, and creating complex automations that transform your house into a truly smart home. The community-driven nature guarantees these resources stay current and practical.
Regular updates include release notes, integration specifications, and automation best practices. When you’re ready to setup automations, step-by-step tutorials walk you through the process.
User-contributed blueprints and add-ons provide ready-made templates, accelerating your smart home deployment while teaching you advanced techniques through real-world examples.
Developer Contribution Portals
While Home Assistant’s documentation gets you started, the platform’s developer contribution portals reveal deeper customization possibilities by connecting you with an active community of contributors.
These portals streamline collaboration, letting you share projects and discover enhancements from fellow developers. You’ll find specialized spaces for design contributions and data science improvements that directly enhance Home Assistant’s visual and functional capabilities.
The community forum becomes your troubleshooting hub where you can discuss challenges, share knowledge, and get support from experienced developers.
When you’re ready to contribute custom components, the Contributor License Agreement provides clear guidelines on rights and responsibilities.
Whether you’re building integrations or automations, these portals guarantee you’re never developing in isolation, accelerating your smart home customization journey.
Advanced Features: Voice Control, Energy Management, and NFC Tags
As you explore deeper into Home Assistant’s capabilities, you’ll discover advanced features that transform your smart home into a truly intelligent ecosystem.
The built-in voice assistant called “Assist” enables natural language control of your devices, creating seamless interactions without external dependencies.
Energy management tools monitor consumption patterns and optimize solar panel production, helping you save costs while promoting sustainability.
NFC tags offer another layer of convenience, triggering specific automations with simple taps.
These advanced capabilities work together to enhance your smart home:
- Voice Control: Use natural language commands to control any connected device instantly
- Energy Monitoring: Track consumption patterns and optimize renewable energy usage
- NFC Automation: Program tags for instant scene activation when leaving or arriving home
- Custom Routines: Combine voice commands, energy data, and NFC interactions for personalized automation
Cost-Effective Smart Home Implementation Strategy
Building a sophisticated smart home doesn’t require breaking the bank, and Home Assistant proves this by offering enterprise-level automation capabilities at a fraction of traditional costs. This open-source home automation platform transforms any compatible device into a central hub for just £45 when using a Raspberry Pi 3+B with portable SSD.
| Cost Component | Traditional Hub | Home Assistant |
|---|---|---|
| Initial Hardware | £200-500 | £45+ |
| Monthly Fees | £10-30 | £0 |
| Device Support | Limited | 2,500+ integrations |
| Data Storage | Cloud-dependent | Local control |
You’ll maximize existing technology investments through extensive device compatibility while eliminating subscription fees entirely. The active community provides free troubleshooting support and automation blueprints, making this cost-effective solution ideal for budget-conscious users seeking thorough smart home functionality.
Frequently Asked Questions
What Are the Benefits of Using a Home Assistant?
You’ll gain extensive device compatibility across 1000+ brands, enjoy subscription-free customization with full data control, create advanced automations, access strong community support, and monitor energy usage for cost savings and sustainability.
What Are the Benefits of a Smart Home?
You’ll enjoy centralized control of all devices through one app, improved energy efficiency that cuts utility bills, enhanced security with real-time monitoring, and customizable automation that makes daily life more convenient.
Is the Raspberry Pi 5 Overkill for Home Assistant?
You’ll find the Raspberry Pi 5 overkill if you’re running basic automations with few devices. However, if you’re planning complex integrations, multiple users, or advanced automations, you’ll appreciate its enhanced performance.
Why Run Home Assistant?
You’ll gain local control over 2,500+ device integrations without subscription fees. You’ll protect your privacy, create powerful automations, customize dashboards, and access extensive community support for troubleshooting and sharing experiences.


Leave a Reply