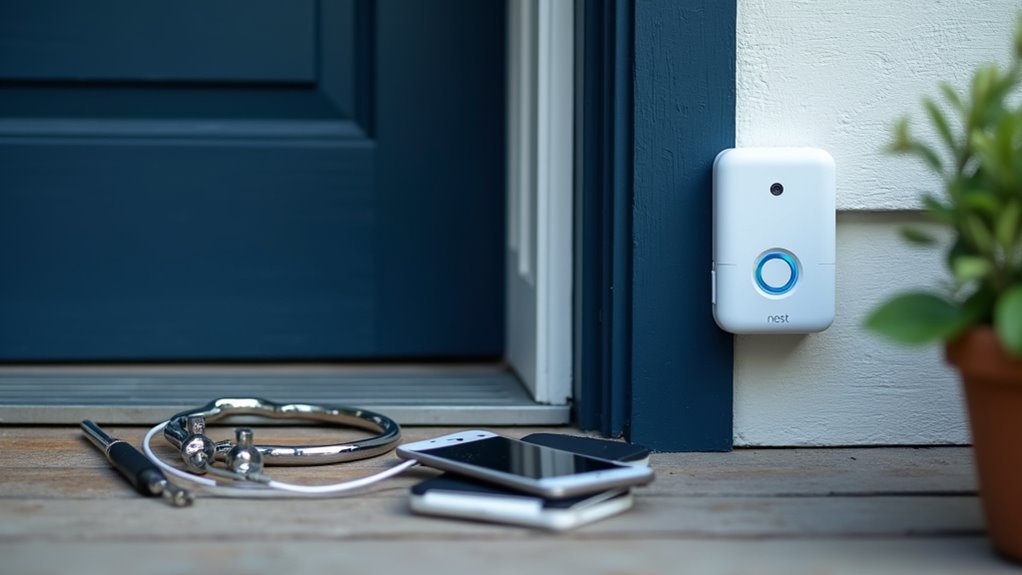
You’re ready to install your new Nest Doorbell, but there’s more to contemplate than simply mounting it on your wall. The difference between a functional security system and an optimized one comes down to seven critical decisions you’ll make during setup. From power source selection to storage configurations, each choice directly impacts your doorbell’s performance and your home’s security effectiveness. Make the wrong call on any of these factors, and you’ll find yourself troubleshooting issues that could’ve been avoided.
Choose Between Wired and Battery Power Options
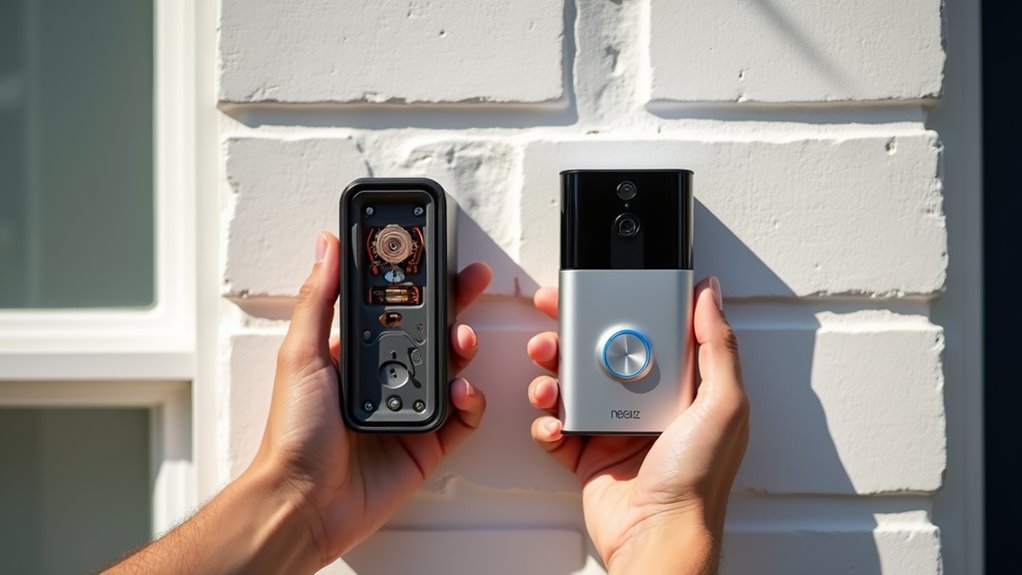
When planning your Nest Doorbell installation, you’ll first need to decide between wired and battery power options based on your home’s existing setup.
Wired models connect to your existing doorbell wiring (16 to 24 volts) and provide continuous power, eliminating battery recharging needs for consistent operation. However, they require proper electrical installation and may need subscription services for cloud storage features.
Battery-powered options offer easier DIY installation, especially if you lack existing doorbell wiring. They’re perfect for renters or those wanting flexibility in placement.
You’ll need to recharge batteries regularly, but you gain convenience and installation freedom.
Consider your doorbell’s location and accessibility when choosing. Evaluate whether you prefer continuous power reliability or installation flexibility to determine the best option for your situation.
Mount Your Nest Doorbell at the Optimal Height
You’ll want to mount your Nest Doorbell approximately four feet from the base of your door to capture both approaching visitors and delivered packages effectively.
Don’t make the mistake of installing it at traditional security camera height, as this positioning actually reduces the doorbell’s functionality and obstructs important views.
Focus on package capture positioning by experimenting with different heights during installation to find the sweet spot that maximizes your video quality and visitor detection.
Four Feet Height Rule
One essential factor determines whether your Nest doorbell captures clear footage of visitors and packages: mounting height. You’ll want to position your Nest doorbell approximately four feet from the base of your door. This placement provides the perfect line of sight for detecting motion and recording accurate video footage.
Unlike traditional security cameras that mount high, your Nest doorbell works best at this lower height. It enhances functionality and improves visibility for face recognition and package detection.
| Height Range | Best For | Avoid |
|---|---|---|
| 3.5-4 feet | Face capture | Too low for adults |
| 4-4.5 feet | Package detection | Missing ground level |
| Above 5 feet | Wide coverage | Poor face angles |
Use the included wedge to angle your doorbell around obstructions like porch walls for thorough coverage.
Avoid Camera-High Mounting
Although mounting security cameras high seems logical, positioning your Nest doorbell at traditional camera heights creates significant problems that’ll compromise its performance.
When you install your doorbell kit too high, you’ll face visibility obstructions from overhangs, eaves, or architectural features that block the camera’s view. This elevated positioning prevents effective package monitoring since deliveries occur at ground level, creating blind spots where important activity happens outside the frame.
High mounting also reduces your doorbell’s ability to capture clear facial recognition of visitors approaching your door. The steep downward angle distorts facial features and makes identification difficult.
Additionally, motion detection becomes less reliable when mounted above ideal height, potentially missing vital security events and reducing alert accuracy for your home protection system.
Package Capture Positioning
To maximize your Nest doorbell’s package monitoring capabilities, position it approximately four feet from your door’s base rather than at traditional security camera heights. This strategic package capture positioning guarantees you’ll capture clear images of deliveries and approaching visitors without losing vital details.
Unlike standard security cameras mounted high on walls, your doorbell needs lower placement to effectively monitor packages left at your doorstep. Take advantage of the included wedge accessory to angle your device around potential obstructions like porch walls or decorative elements.
Don’t hesitate to experiment with placement during installation. Test different positions to optimize your field of view and eliminate blind spots.
Proper positioning enhances video quality, reduces missed notifications, and guarantees you’re always aware when deliveries arrive at your door.
Angle Your Device Using the Included Wedge
Most Nest Doorbell installations benefit greatly from the included wedge, which allows you to angle your device for perfect viewing and motion detection.
Position your doorbell approximately four feet from your door’s base to maximize monitoring effectiveness at entry points.
During installation, adjust the wedge to eliminate obstructions like porch walls, allowing your camera to maintain an unobstructed view of areas you want to monitor.
Don’t hesitate to experiment with different placement angles until you find the best position for video capture quality.
The wedge also helps prevent false alerts by letting you customize your field of view.
This guarantees only relevant motion triggers notifications, reducing unnecessary interruptions while maintaining security coverage of approaching individuals and package deliveries.
Configure Motion Detection and Alert Settings
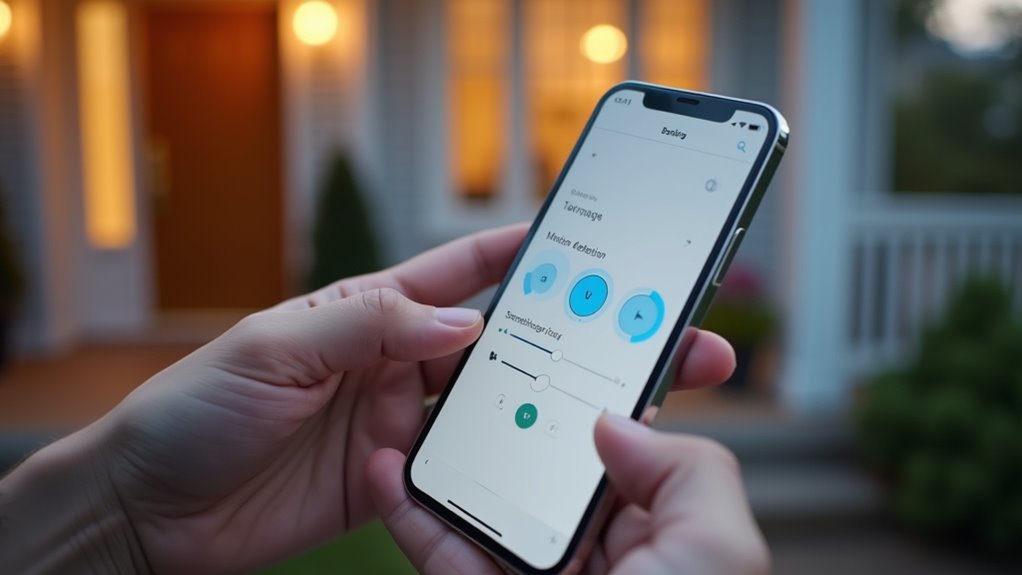
Why settle for generic motion detection when you can customize your Nest Doorbell’s alert system to match your specific monitoring needs? Access your app settings to adjust sensitivity levels, ensuring you receive alerts only for significant movements while reducing false notifications.
Create specific motion zones to focus detection on key areas like your driveway or porch, ignoring less relevant activity.
Set up notifications for human detection and package recognition to enhance your awareness of important door activity. You can also utilize pre-recorded Quick Responses to communicate with visitors when you’re unavailable.
- Never miss a delivery – Get instant alerts when packages arrive at your door
- Feel secure knowing – Human detection alerts keep you informed of all visitors
- Stay connected always – Quick responses let you interact even when away
Integrate With Your Smart Home Hub
You’ll want to connect your Nest Doorbell to compatible smart displays like Google Nest Hubs or Amazon Echo devices to view live footage directly on your screens.
This integration lets you remotely answer your doorbell and communicate with visitors from anywhere in your home.
Setting up voice control features through your smart home hub enables hands-free operation, making it even more convenient to monitor your front door.
Connect to Smart Displays
How can you maximize your Nest Doorbell’s potential beyond basic notifications? Connecting your doorbell to smart displays transforms your smart home experience.
First, verify your Nest Doorbell’s properly set up in the Google Home app. This enables seamless integration with compatible devices like Nest Hub or Google Nest Hub Max.
Once connected, you’ll access powerful features:
- Never miss a visitor again – Use Google Assistant voice commands to instantly view your front door camera on any smart display
- Feel secure from anywhere – Access your doorbell’s live feed remotely through integrated smart displays
- Stay connected with loved ones – Enable two-way communication to speak directly with visitors through your display
Remember to regularly update both devices’ software for peak performance and access to new integration features.
Enable Voice Control Features
Voice control transforms your Nest Doorbell from a simple notification device into a hands-free security command center. Connect your doorbell to compatible smart home hubs like Google Nest Hub or Amazon Echo for seamless integration.
Once installed, link the device to your smart home app to enable voice command capabilities.
Use Google Assistant commands like “Hey Google, show me the front door” to instantly view live footage on your smart display without opening apps. Create automated routines in your hub to receive alerts or trigger recording when motion’s detected, boosting security efficiency.
Keep your smart home hub and doorbell firmware updated regularly to maintain peak performance and access the latest voice control features for enhanced functionality.
Secure Your Doorbell Installation Properly
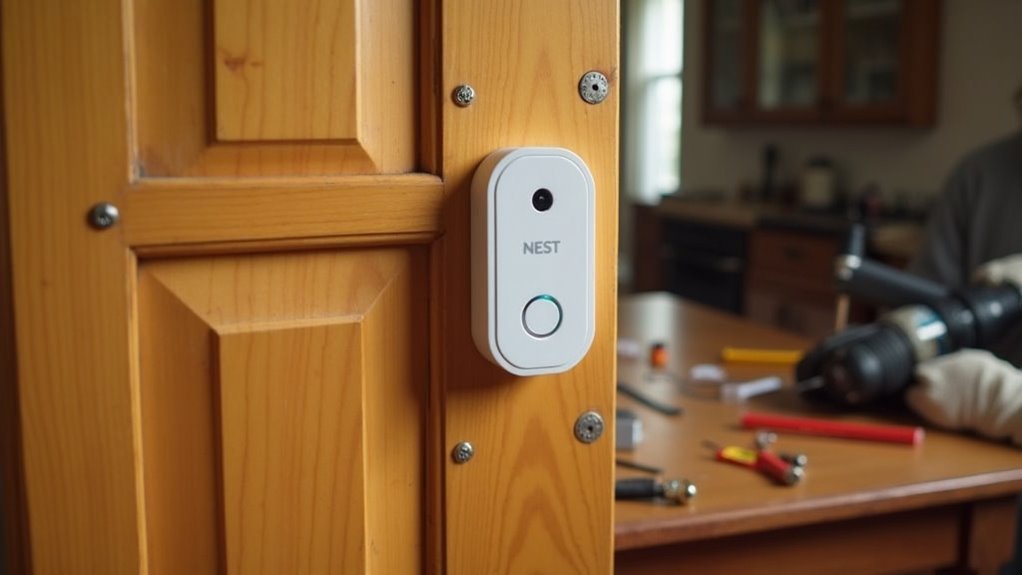
Once you’ve determined the perfect location for your Nest doorbell, securing it properly becomes your next critical step.
Whether you’re replacing an old doorbell or installing fresh, you’ll want to use appropriate anchors and screws that match your doorbell’s weight and size.
Follow the manufacturer’s installation guidelines precisely to prevent damage and guarantee peak functionality.
Position your doorbell approximately four feet high, using a level tool to keep it straight for better aesthetics and video capture.
After installation, gently tug on the device to confirm it’s securely fastened.
Why proper installation matters:
- Prevents theft – A loose doorbell becomes an easy target for opportunistic thieves
- Protects your investment – Poor mounting can damage your expensive smart doorbell
- Ensures reliability – Secure installation guarantees consistent performance when you need it most
Select Your Video Storage Solution
Two primary video storage options await your Nest Doorbell setup decision: cloud-based storage and local microSD card storage.
Cloud storage provides convenient access to footage for 2 weeks to 6 months, depending on your subscription plan. You’ll enjoy enhanced features like improved video resolution and advanced motion detection, but you’ll pay monthly fees and potentially face data security concerns.
Local microSD card storage offers privacy and no ongoing costs, but you’ll manage limited storage space and manually delete old files.
Before selecting your video storage solution, verify your Nest Doorbell model’s compatibility with your preferred method.
Consider your privacy priorities, budget constraints, and convenience preferences when making this decision, as each option presents distinct advantages and limitations for your home security needs.
Frequently Asked Questions
Do I Need to Turn off the Breaker to Install a Nest Doorbell?
Yes, you’ll need to turn off the breaker before installing your Nest Doorbell. This guarantees you’re safe from electrical shock while handling wiring. Always verify power’s off using a voltage tester before proceeding.
What Are the Disadvantages of the Nest Doorbell?
You’ll face subscription costs for cloud storage, frequent battery recharging, Wi-Fi dependency issues, complex setup processes, and potential privacy conflicts with neighbors who object to video recording of public spaces.
Why Is My Nest Doorbell Not Ringing Inside the House?
Your Nest doorbell isn’t ringing inside because it’s likely not properly wired, has low battery, incompatible chime, incorrect app settings, or your internal chime’s malfunctioning and needs replacement.
What Is the Best Height for a Nest Doorbell?
You’ll want to mount your doorbell approximately four feet above the ground. This height provides ideal visibility for packages and visitors while ensuring effective motion detection. Don’t position it too high like traditional cameras.


Leave a Reply