You’ve probably wondered how to keep your plants properly watered without constantly checking soil moisture levels or worrying about over-watering. Microcontroller plant irrigation systems solve this challenge by using programmable devices like Arduino boards to automatically monitor soil conditions and trigger watering when needed. These smart systems can transform your gardening approach, but understanding which components work best together and how to configure them properly makes all the difference in your success.
Understanding Microcontroller Technology in Agricultural Automation
When you’re looking to revolutionize your farming practices, microcontroller technology offers a powerful foundation for automated plant irrigation systems. The ATmega328, commonly found in Arduino platforms, serves as the brain of these systems by processing real-time data from soil moisture sensors.
You can program these microcontrollers to automatically trigger water pumps when soil conditions require irrigation, eliminating guesswork and reducing water waste.
This microcontroller technology enables you to customize moisture thresholds for different plant varieties and environmental conditions. Advanced systems integrate GSM or Wi-Fi modules, allowing remote monitoring and control of your irrigation setup.
Essential Components for Automated Plant Watering Systems
You’ll need specific hardware components to build an effective automated plant watering system that responds accurately to your plants’ moisture needs.
Your core requirements include a microcontroller like the Arduino’s ATmega328, soil moisture sensors, relay modules, and a reliable power source to keep everything running.
When selecting sensors, you must consider factors like accuracy, durability in soil conditions, and compatibility with your microcontroller’s input specifications.
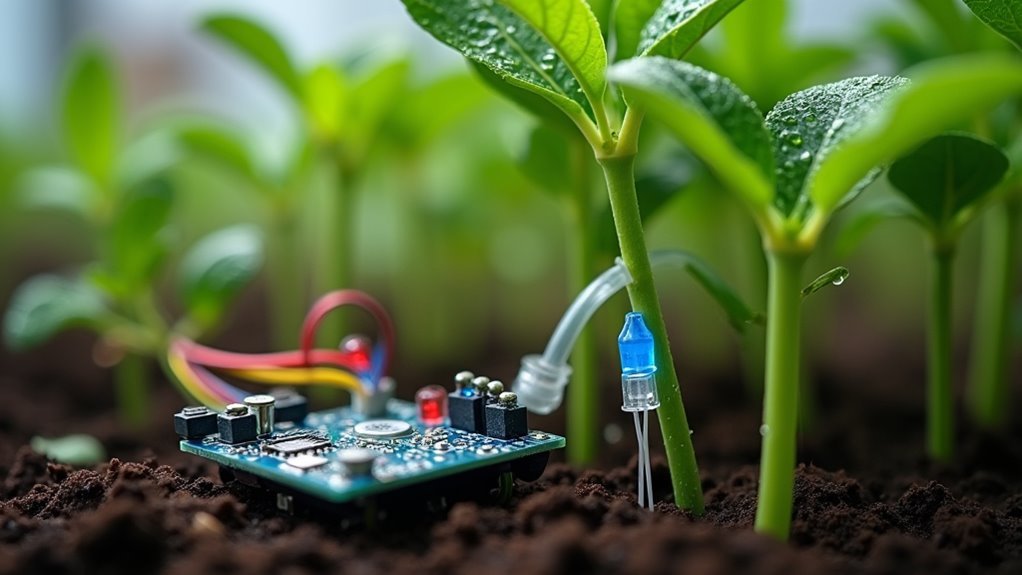
Core Hardware Requirements
Although automated plant watering systems may seem complex, they rely on just five essential hardware components working together.
You’ll need these core elements to build an effective irrigation setup:
- Microcontroller (ATmega328) – Acts as your system’s brain, processing sensor data and making watering decisions.
- Soil moisture sensor module – Detects moisture levels in soil and sends analog voltage signals to the microcontroller.
- Relay module – Functions as an electronic switch, enabling the microcontroller to control pump power.
- DC water pump – Delivers water to plants when activated by moisture threshold triggers.
Your power supply options include 5V batteries or solar panels to maintain continuous operation.
Each component plays a critical role in creating a seamless automated watering experience that responds intelligently to your plants’ needs.
Sensor Selection Criteria
The sensor you choose determines your irrigation system’s accuracy and longevity. When selecting a soil moisture sensor, prioritize capacitive models over resistive alternatives. Capacitive sensors provide superior accuracy and eliminate electro-migration risks that can contaminate your soil over time.
You’ll want sensors with waterproof probes that resist corrosion in wet conditions. Consider the detection depth range to match your plants’ root systems. Look for sensors with analog output compatibility with your microcontroller’s ADC pins for precise moisture readings.
Temperature compensation features help maintain accuracy across seasonal variations. Choose sensors with wide voltage operating ranges to guarantee compatibility with your power supply setup.
Finally, select models with proven durability ratings, as they’ll be continuously exposed to moisture and soil conditions throughout your garden’s growing seasons.
Soil Moisture Sensors and Their Role in Plant Care
When designing an automated irrigation system, soil moisture sensors serve as the foundation that determines when your plants receive water. These sensors use metallic rods or capacitive technology to measure moisture levels, sending analog or digital signals to your microcontroller for processing.
Your soil moisture sensor functions through this process:
- Detection – Measures current soil moisture levels continuously
- Comparison – Compares readings against predetermined thresholds
- Activation – Triggers irrigation when moisture falls below set levels
- Enhancement – Guarantees proper watering duration based on plant requirements
Accurate calibration remains essential since different plant species need varying moisture levels.
Modern sensor technology delivers more reliable readings, enhancing irrigation efficiency while reducing water waste. This precision helps maintain ideal plant health through consistent, automated watering schedules.
Programming Microcontrollers for Irrigation Control
Once you’ve established your soil moisture sensing foundation, programming your microcontroller becomes the essential bridge between sensor data and irrigation action.
You’ll configure analog inputs to read data from your moisture sensor module while setting up digital outputs to control relay modules that operate water pumps. Your code needs functions that read sensor values, convert analog readings into moisture percentages, and implement control logic triggering pumps when soil moisture drops below defined thresholds.
Calibration is vital—you’ll determine appropriate dry and wet soil values for your specific moisture sensor module to guarantee accurate readings.
You can enhance your system by incorporating GSM modules, enabling remote monitoring and control via SMS notifications for extensive irrigation management.
Solar-Powered Solutions for Remote Agricultural Applications
When you’re implementing irrigation systems in remote locations without grid access, you’ll need robust photovoltaic power management systems that can reliably harvest and store solar energy for your microcontroller operations.
Your solar setup must include charge controllers and battery banks to maintain consistent power delivery to pumps and sensors, even during cloudy periods or nighttime operations.
You can create effective off-grid sensor networks by strategically positioning solar panels and using low-power microcontrollers that maximize energy efficiency while maintaining real-time monitoring capabilities across your agricultural site.
Photovoltaic Power Management Systems
As traditional power grids fail to reach remote agricultural locations, photovoltaic power management systems emerge as the cornerstone of sustainable irrigation solutions.
You’ll find these systems integrate seamlessly with microcontroller-based automatic irrigation systems using solar energy to eliminate dependency on unreliable power sources.
Your solar-powered setup includes four essential components:
- Solar panels that capture sunlight and convert it to electrical energy
- Charge controllers that regulate power flow and prevent battery damage
- Battery banks that store energy for nighttime or cloudy day operation
- Moisture sensors that trigger pumps only when soil conditions require watering
You’ll reduce operational costs considerably while achieving up to 30% higher crop yields.
This environmentally friendly approach guarantees continuous irrigation in arid regions where traditional power sources aren’t viable.
Off-Grid Sensor Networks
Building on these photovoltaic foundations, off-grid sensor networks transform isolated agricultural sites into intelligent, self-monitoring ecosystems.
You’ll deploy soil moisture sensors throughout your fields, creating a web of real-time data collection points that communicate with a central microcontroller. Solar panels charge onboard batteries, ensuring continuous operation even during cloudy periods or nighttime hours.
Your system automatically triggers irrigation when soil moisture sensor readings drop below predetermined thresholds, eliminating guesswork and preventing water waste.
GSM or Wi-Fi modules enable remote monitoring, so you’ll receive instant alerts and adjust settings from anywhere. This technology dramatically reduces water consumption by delivering precise irrigation only when crops need it, making sustainable farming practices achievable in the most remote locations without grid electricity.
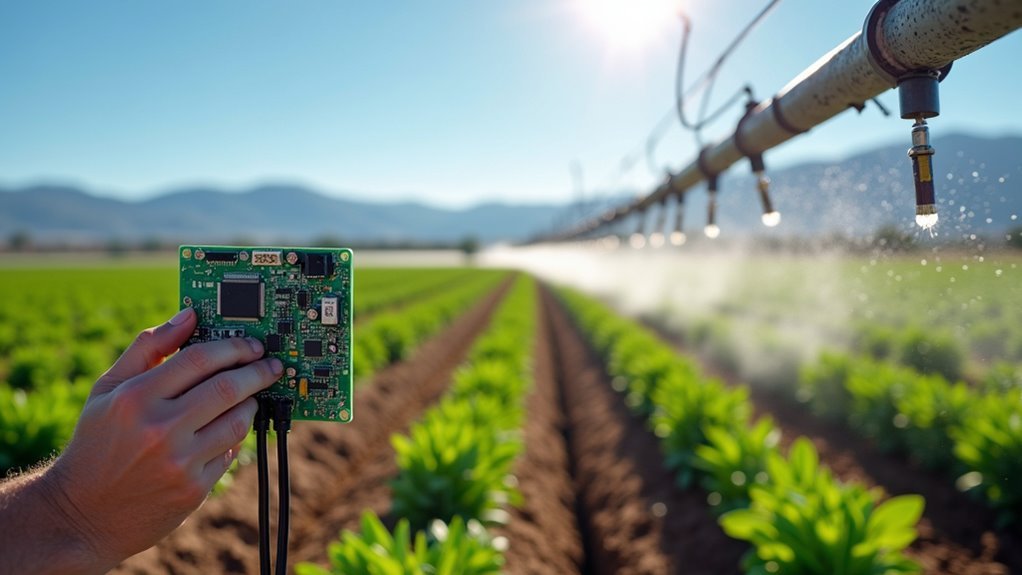
GSM Communication for Remote Monitoring and Control
Since modern agriculture demands efficient resource management and flexible monitoring solutions, GSM communication has emerged as a game-changing technology for microcontroller-based plant irrigation systems.
You’ll gain unprecedented control over your irrigation setup through SMS-based monitoring and remote pump activation capabilities.
GSM communication transforms your irrigation management through these key features:
- Real-time status updates – Receive instant SMS notifications about soil moisture levels and system performance
- Remote pump control – Activate or deactivate irrigation pumps from anywhere using your mobile device
- Automated threshold alerts – Get notified when soil moisture drops below your predetermined levels
- Periodic monitoring reports – Stay informed about water usage patterns and soil conditions
This technology eliminates the need for constant physical presence, enabling flexible crop management while optimizing water resource utilization in remote locations.
Arduino-Based Irrigation Systems for Beginners
You’ll start your Arduino irrigation project by connecting the microcontroller to essential components like moisture sensors and relay modules in a straightforward hardware setup.
Programming the moisture sensor requires understanding how to read analog values and set threshold levels that trigger watering cycles based on your plants’ specific needs.
The pump control circuit design involves wiring a relay module that safely switches the water pump on and off while protecting your Arduino from electrical damage.
Basic Arduino Hardware Setup
When setting up a basic Arduino irrigation system, the Arduino Uno serves as your control center, processing data from moisture sensors and making decisions about when your plants need water.
This automatic plant watering system requires specific hardware components working together seamlessly.
Here’s what you’ll need for your irrigation systems:
- Arduino Uno microcontroller – Acts as the brain processing sensor inputs
- Soil moisture sensor – Connects to analog input pins to read moisture levels
- 5V relay module – Switches your water pump on and off automatically
- Power supply – 5V battery or external source powering the entire system
Remember to calibrate your soil moisture sensor by testing it in both dry and wet conditions.
This guarantees your Arduino triggers the water pump at appropriate moisture thresholds for ideal plant care.
Moisture Sensor Programming Fundamentals
Programming the moisture sensor forms the foundation of your Arduino irrigation system’s intelligence. You’ll use the `analogRead()` function to capture voltage values from your soil moisture sensor, which correspond directly to moisture levels in the soil.
Your code needs conditional statements that compare these readings against predetermined thresholds to control the water pump or relay.
Calibration is essential before deployment. You must test your soil moisture sensor in both completely dry and saturated soil conditions to establish accurate threshold values. Record these analog readings to set appropriate trigger points for your irrigation system.
Start with simple example code that initializes sensor readings and implements a continuous monitoring loop. This basic structure checks moisture levels regularly and activates irrigation when values drop below your calibrated dry threshold.
Pump Control Circuit Design
The relay module serves as the critical bridge between your Arduino’s low-voltage digital signals and the high-current water pump that’ll deliver irrigation to your plants.
Your pump control circuit design requires careful consideration of electrical safety and component compatibility with your Arduino Uno.
Essential components for effective pump control circuit design include:
- Relay module – Acts as an electrically isolated switch between Arduino and pump
- Digital output pin – Sends control signals from Arduino Uno to activate the relay
- Power supply – Provides adequate voltage and current for pump operation
- Protection diodes – Prevent voltage spikes from damaging your microcontroller
You’ll connect the relay’s control pins to your Arduino Uno’s digital output, while the relay’s switching contacts handle the pump’s power circuit, ensuring safe and reliable automated irrigation control.
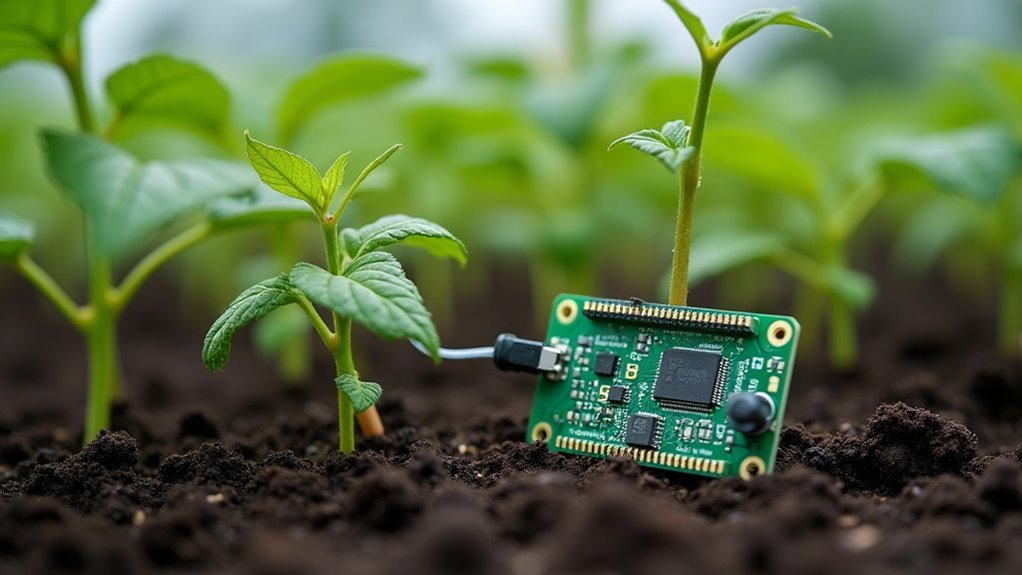
AVR Microcontroller Implementation in Plant Watering
As modern agriculture embraces automation, AVR microcontrollers like the ATmega328 have become essential components in intelligent plant irrigation systems.
You’ll find these microcontrollers excel at processing signals from your soil moisture sensor to automatically trigger watering mechanisms when plants need hydration.
Your implementation involves programming the AVR to monitor real-time soil conditions and activate relay modules that control water pumps based on predetermined moisture thresholds.
You can enhance your system’s capabilities by integrating GSM modules, allowing remote monitoring and control of your irrigation setup from anywhere.
Success depends on proper calibration of your moisture sensors and precise programming of threshold levels.
You’ll need to verify accurate readings to prevent overwatering or underwatering, making your automated irrigation system both efficient and reliable for peak plant health.
Circuit Design and Assembly for Automated Systems
You’ll need to carefully select components that match your irrigation system’s requirements, focusing on the microcontroller’s input/output capabilities and the relay module’s current handling capacity.
Your circuit connections must guarantee the moisture sensor feeds accurate analog data to the microcontroller while the digital output properly triggers the relay for pump control.
You’ll also need to configure a stable power supply that can handle both the microcontroller’s low-voltage needs and the pump’s higher current demands through proper voltage regulation and protection circuits.
Component Selection Criteria
When building a microcontroller-based plant irrigation system, selecting the right components determines whether your project succeeds or fails spectacularly.
You’ll need to carefully evaluate each element to guarantee compatibility and reliability throughout your irrigation setup.
Here’s your essential component selection criteria:
- Microcontroller: Choose one with sufficient I/O pins like the ATmega328 on Arduino to accommodate all your sensors and actuators without running short on connections.
- Soil moisture sensor: Select capacitive sensors over resistive ones for better durability and accuracy, avoiding electro-migration issues that plague cheaper alternatives.
- Relay module: You’ll need this for safely controlling high-power water pumps without damaging your microcontroller’s delicate circuitry.
- Power supply: Use a reliable 5V supply that won’t create voltage drops under load.
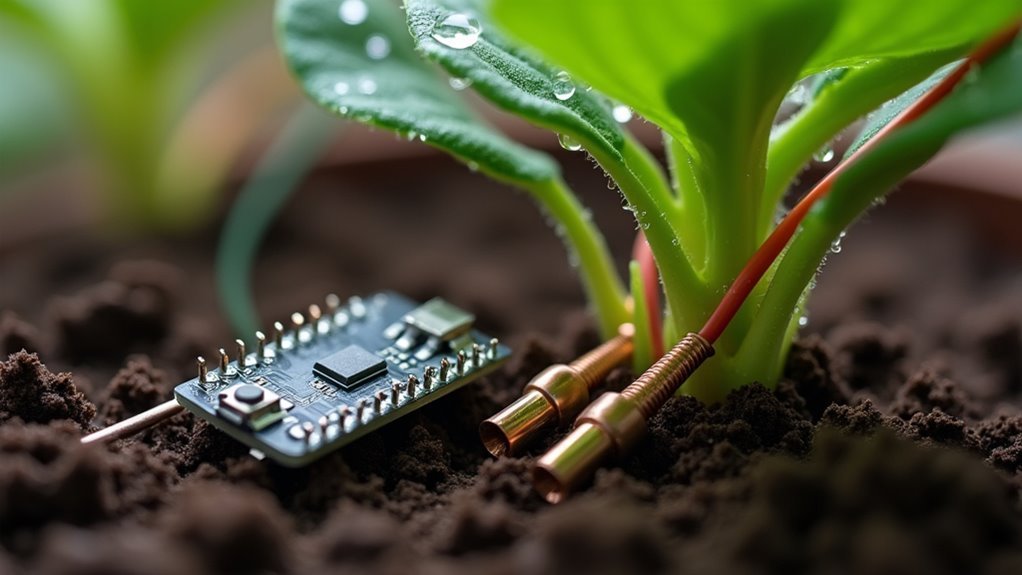
Circuit Connection Methods
Once you’ve identified your components, connecting them properly becomes your next challenge.
You’ll need to wire your soil moisture sensor to the microcontroller’s analog pin, typically A0, while connecting its power leads to 5V and ground. The sensor reads moisture levels and sends analog signals to your Arduino or ATmega328 for processing.
Next, connect your relay module to a digital pin on the microcontroller. This relay acts as a switch, controlling your water pump’s power supply without overloading your microcontroller’s circuits.
Wire the pump through the relay’s normally open contacts.
Ensure all connections are secure and properly insulated. Double-check your wiring before powering up the system.
Power Supply Configuration
A stable power supply forms the backbone of any reliable automated irrigation system.
You’ll need to configure your power components carefully to guarantee your system can water plants automatically without interruption. A 5V battery typically powers your Arduino Uno and moisture sensors, providing independence from external power sources.
Your power supply configuration should include:
- Primary power source – 5V battery or solar panel with photovoltaic cells
- Charge controller circuit – Manages energy flow and prevents overcharging in solar systems
- Voltage regulation – Guarantees consistent power delivery to microcontroller and sensors
- Backup power system – Secondary battery for continuous operation during low solar conditions
Proper power management prevents component damage while maintaining accurate sensor readings and reliable pump operation throughout your irrigation cycles.
Calibration Techniques for Accurate Moisture Detection
Precision in moisture detection determines whether your plants thrive or struggle with inadequate watering.
You’ll need to calibrate your soil moisture sensors by measuring output in completely dry and fully saturated soil conditions. This establishes baseline readings for accurate moisture content assessment.
Use your microcontroller’s map function to convert analog sensor output into meaningful percentages.
You’ll want to adjust moisture thresholds based on each plant’s specific water requirements—succulents need different levels than leafy vegetables.
Consider upgrading to capacitive moisture sensors, which resist electro-migration and soil salinity issues that plague traditional analog sensors.
Remember to recalibrate periodically since soil composition and environmental conditions change over time, affecting sensor accuracy.
Regular calibration guarantees your irrigation system responds appropriately to actual soil conditions.
Troubleshooting Common Issues in Microcontroller Irrigation
Even when you’ve carefully calibrated your moisture sensors, irrigation systems can develop frustrating problems that seem to appear from nowhere.
Here’s how to diagnose and fix the most common issues:
- Test your soil moisture sensor in both dry and saturated conditions to verify it’s reading accurate moisture levels and triggering irrigation at proper thresholds.
- Inspect all electrical connections and power supplies, as loose wiring or insufficient voltage can cause erratic system behavior or complete failure.
- Check the relay module operation by manually testing activation, since faulty relays prevent proper pump control regardless of moisture readings.
- Review your microcontroller code for logical errors, incorrect pin assignments, or programming bugs that disrupt the irrigation sequence.
Cost-Effective Solutions for Home Garden Automation
Once you’ve mastered troubleshooting techniques, you’ll discover that building an effective irrigation system doesn’t require breaking the bank.
You can establish a complete microcontroller-based setup for just $30 to $50, making home garden automation accessible to any budget. The core component, an Arduino Uno microcontroller, costs around $20 and provides programmable control tailored to your plants’ specific needs.
Adding a soil moisture sensor for $5 to $10 enables precise monitoring of soil conditions, optimizing water usage efficiently. A 5V relay module, priced at approximately $10, controls your pump automatically based on sensor input.
For even greater cost savings, consider solar-powered options using panels costing $30 to $50, which harness renewable energy and eliminate ongoing operational expenses.
Advanced Features and System Enhancements
While basic irrigation systems serve their purpose well, you can transform your setup into a sophisticated monitoring hub by incorporating advanced features that elevate both functionality and precision.
Modern enhancements greatly expand your system’s capabilities:
- Solar Power Integration – Reduce electricity costs and promote sustainable agriculture by powering your entire system with renewable energy sources.
- GSM Module Connectivity – Monitor and control irrigation remotely through SMS updates, allowing real-time management of watering schedules from anywhere.
- Capacitive Soil Moisture Sensor – Upgrade from analog sensors to achieve superior accuracy while preventing electro-migration and heavy metal deposition in your soil.
- IoT Analytics Platform – Enable predictive watering through data analysis of environmental conditions and historical moisture patterns for ideal plant health.
These enhancements create user-adjustable systems that accommodate different plant requirements while preventing over or under-watering.
Benefits and Impact on Modern Agricultural Practices
These technological advancements create measurable improvements that extend far beyond individual gardens and farms. When you implement microcontroller irrigation systems, you’re contributing to a broader agricultural revolution that addresses critical global challenges.
Your soil moisture sensor-driven system reduces water consumption by up to 40%, directly supporting water conservation efforts in drought-prone regions. You’ll see increased crop yields while simultaneously cutting labor costs, as automated systems eliminate the need for constant manual monitoring.
Automated irrigation cuts water use by 40% while boosting yields and eliminating manual monitoring costs.
The integration with solar power makes your operation sustainable and accessible in remote areas without reliable electricity. Through GSM connectivity, you can monitor and adjust irrigation remotely, responding instantly to changing conditions.
This technology transforms traditional farming into precision agriculture, where data-driven decisions optimize resource usage and maximize productivity across entire agricultural communities.
Frequently Asked Questions
What Are the Advantages of Automatic Irrigation System Using Microcontroller?
You’ll optimize water usage, reduce labor costs, and eliminate human error. You can monitor soil moisture in real-time, improve crop yields, use renewable energy, and control irrigation remotely through GSM technology.
What Is the Purpose of the Irrigation Controller?
You’ll use the irrigation controller to automatically monitor soil moisture levels and activate watering systems when needed, ensuring your plants receive ideal hydration without requiring constant manual supervision or intervention.
What Is the Use of a Microcontroller in Agriculture?
You’ll use microcontrollers to automate irrigation systems by processing soil moisture data, controlling water pumps, reducing waste, and improving crop yields. They’ll enable remote monitoring through mobile devices, promoting sustainable farming practices efficiently.
What Is a Micro Drip Irrigation System?
You’ll use a micro drip irrigation system to deliver water directly to plant roots through tubing and emitters, reducing water waste by up to 50% while providing precise, low-pressure control.


Leave a Reply