You’ve probably struggled with a motion sensor that either won’t detect you when it should or constantly triggers from every passing shadow. The frustration builds when you can’t figure out why your security light keeps flashing at tree branches while ignoring actual movement. Getting the sensitivity just right isn’t guesswork—it’s a systematic process that transforms an unreliable annoyance into precise protection when you follow these five essential adjustments.
Understanding Motion Sensor Sensitivity Settings and Controls
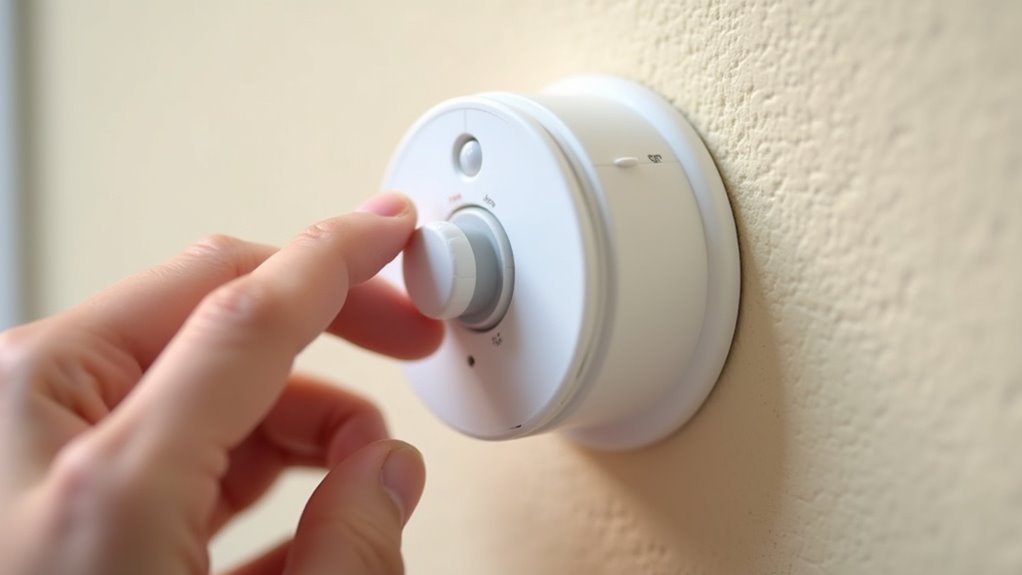
When you’re setting up a motion sensor, the sensitivity control acts as the device’s “volume knob” for detecting infrared radiation changes. This adjustment determines how your PIR sensor responds to movement within its detection zone.
You’ll typically find a dial or digital control that ranges from low to high settings, letting you fine-tune detection capabilities based on your specific needs.
When you adjust motion sensor sensitivity higher, it’ll detect smaller movements and subtle temperature changes. However, this increases the likelihood of false alarms from pets, insects, or environmental factors.
Higher sensitivity settings catch subtle movements but trigger more false alarms from pets and environmental changes.
Lower sensitivity reduces unwanted triggers but might miss legitimate detection events. Motion sensors with automatic gain control can self-adjust based on ambient conditions, while manual controls give you direct oversight over detection thresholds for ideal performance.
Positioning Your Motion Sensor for Optimal Detection
After configuring your sensitivity settings, the physical placement of your motion sensor becomes equally important for achieving reliable performance.
Position your motion sensor at least 2 inches away from light bulbs to prevent interference that could affect sensitivity adjustments. Mount the sensor securely at 6 to 8 feet high using a ladder for ideal detection range coverage.
Aim your sensor strategically to maximize the field of view while avoiding obstructions like trees, plants, or walls that block detection capabilities.
Test positioning effectiveness by walking in progressively wider circles beneath the sensor, ensuring proper activation across the intended area.
Finally, fine-tune the sensor angle and sensitivity based on your test results to minimize false activations while maintaining adequate motion detection coverage.
Testing and Calibrating Detection Range
How do you determine if your motion sensor’s detection range matches your security needs?
Start testing by walking in progressively wider circles beneath the floodlights while observing if the sensor triggers illumination. Use the “Range” control to adjust sensitivity range—maximum settings cover 75 to 100 feet, while minimum typically covers about 15 feet.
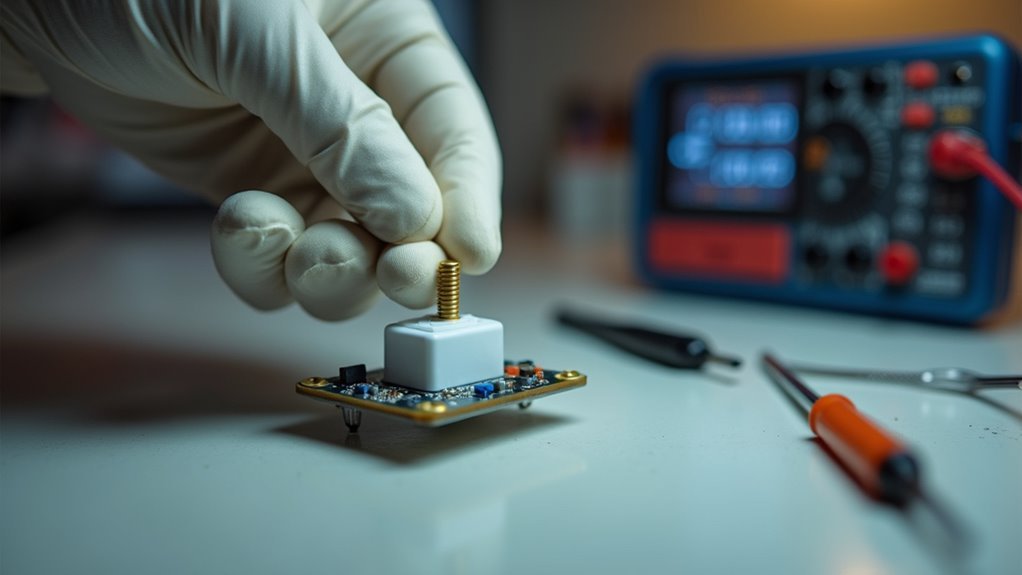
Watch for the red light in the sensor box during testing, which indicates activation when PIR sensors detect movement within your set range.
Calibration involves making adjustments based on initial tests, ensuring the sensor activates appropriately without false alarms.
Regular testing and fine-tuning help your motion sensor operate effectively, enhancing home security by accurately responding to movement in your desired detection area.
Fine-Tuning Sensitivity Levels to Reduce False Alarms
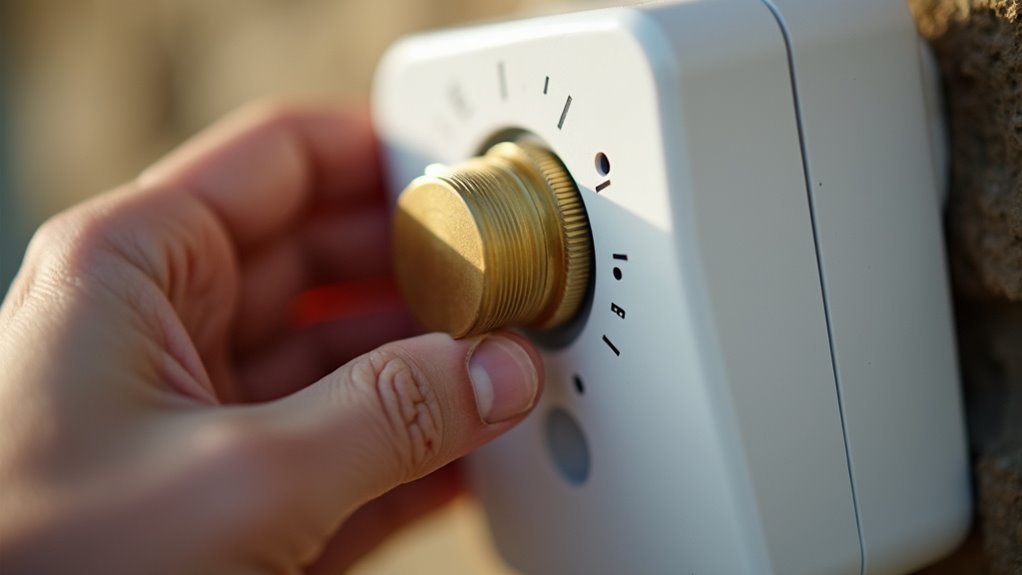
Once you’ve established the proper detection range, adjusting your motion sensor’s sensitivity dial becomes the key to eliminating unwanted triggers.
Your PIR motion sensor’s sensitivity setting determines how minor temperature changes will activate detection. Higher sensitivity catches smaller movements but increases false alarms from pets, passing cars, or wind-blown objects. Lower sensitivity requires larger heat signatures to trigger, reducing unwanted activations in busy areas.
Higher sensitivity detects smaller movements but triggers more false alarms from pets and environmental factors.
Start with medium sensitivity and adjust based on performance. If you’re experiencing frequent false alarms, gradually decrease sensitivity until triggers become more accurate.
For security-critical applications, you might accept occasional false triggers to guarantee no legitimate motion goes undetected. Test your adjustments over several days, monitoring when false alarms occur to identify patterns and fine-tune accordingly.
Programming Timer and Environmental Settings

Beyond sensitivity adjustments, your motion sensor’s timer and environmental controls require precise programming to maximize efficiency while preventing unnecessary activations. Timer settings determine how long lights stay on after detection, while LUX control manages when your sensor activates based on ambient light conditions.
| Setting Type | Options Available | Ideal Use Case |
|---|---|---|
| Timer Duration | 1, 5, 10 minutes | High traffic: 1-5 min, Low traffic: 10 min |
| LUX Sensitivity | Day/Night/Auto | Night-only activation recommended |
| Detection Range | Low/Medium/High | Adjust based on coverage area needed |
| Smart Programming | Mobile app control | Real-time adjustments and monitoring |
| Environmental Timing | Dusk calibration | Set during twilight hours for accuracy |
Program your LUX control at dusk for ideal performance. Motion sensors with smart technology offer mobile device programming, enabling real-time timer and environmental adjustments that enhance effectiveness.
Frequently Asked Questions
How to Adjust PIR Sensor Sensitivity?
Locate the sensitivity adjustment dial on your PIR sensor. Turn it clockwise to increase sensitivity for better detection or counterclockwise to decrease it, reducing false alarms from pets or vehicles.
What Are the Three Settings on a Motion Sensor Light?
You’ll find three main settings on your motion sensor light: LUX controls when it activates based on ambient light, TIME determines how long it stays on, and SENSITIVITY adjusts detection range.
How to Trick a Motion Sensor to Stay On?
You can position a small fan near the sensor to create continuous air movement, or place a heat source like a small lamp within its detection range to maintain constant infrared signals.
How to Make a Sensor Less Sensitive?
You’ll locate the sensitivity adjustment dial on your motion sensor and turn it clockwise to decrease detection range. This reduces false alarms from pets or vehicles in busy areas.


Leave a Reply