
You’re tired of carrying your phone from room to room just to keep your music playing, aren’t you? A whole-home synchronized sound network eliminates this frustration by creating seamless audio throughout your entire living space. But before you start purchasing speakers and cables, you’ll need to understand the fundamental differences between system architectures and how they’ll impact your daily listening experience.
Understanding Multiroom Wireless Speaker Systems and Their Benefits
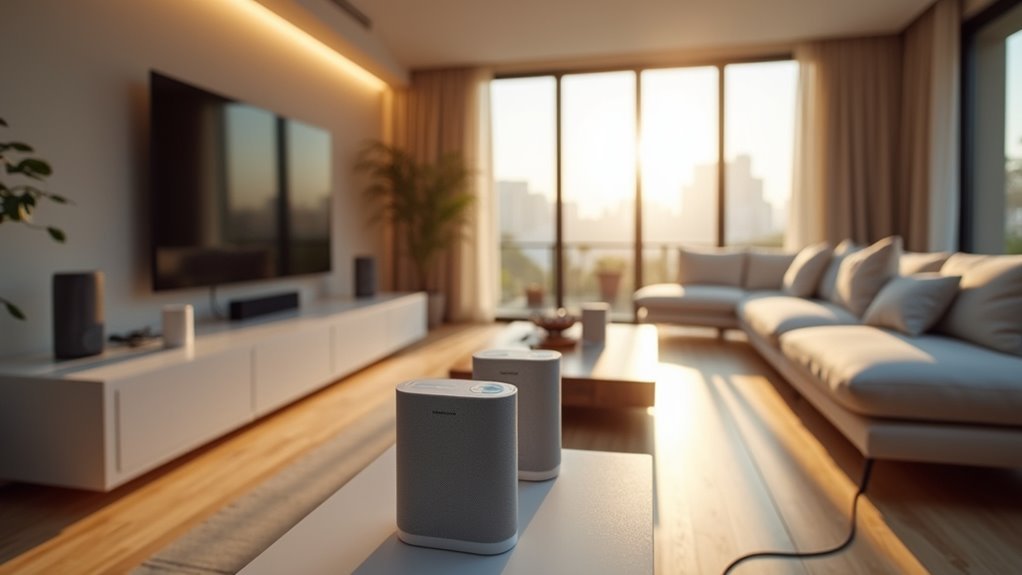
While traditional home audio systems confined you to listening in a single room, multiroom wireless speaker systems transform your entire home into a connected sound environment.
Your multiroom audio setup creates seamless music playback as you move throughout different spaces, eliminating interruptions and dead zones.
You’ll control your whole home audio through dedicated smartphone apps, making operation simple and intuitive. The system connects powered speakers wirelessly, reducing installation complexity while maintaining high-quality sound.
You can synchronize identical music across all rooms or customize each space with different audio content.
Your music system supports various streaming services and often includes voice control features for enhanced convenience.
You’ll choose between closed systems offering streamlined setup or open systems providing greater brand flexibility and compatibility options.
Determining If You Need a Multiroom Audio Setup
How do you know if investing in a multiroom audio system makes sense for your lifestyle? Consider these key factors.
If you constantly move between rooms while listening to music, you’ll appreciate seamless playback without interruptions.
Party hosts benefit from synchronized whole house audio that fills every space simultaneously, creating an immersive atmosphere for gatherings.
Households with varied musical tastes need individual speaker control, allowing personalized listening experiences in different areas.
Large homes or spaces with poor sound coverage require strategic speaker placement to guarantee consistent audio quality throughout.
A multiroom setup also streamlines music access. You can stream directly from streaming services like Spotify without connecting your phone to each speaker, simplifying daily use considerably.
Choosing Between Open and Closed System Architectures
When selecting a multiroom audio system, you’ll face a fundamental decision between closed and open architectures that’ll shape your entire listening experience.
Closed systems like Sonos offer seamless integration through proprietary apps and hardware from one manufacturer. You’ll enjoy simplified setup and fewer compatibility issues, but you’re locked into that company’s ecosystem and vulnerable if they change their platform or discontinue support.
Open systems provide greater flexibility for audio distribution by supporting protocols like AirPlay and Google Cast. You can mix speakers from different brands, customize your setup, and avoid vendor lock-in.
However, you’ll need to research device compatibility carefully to guarantee peak performance across your network. Your choice ultimately depends on whether you prioritize simplicity or customization freedom.
Essential Hardware Components for Your Audio Network
Once you’ve settled on your system architecture, building your audio network requires specific hardware components that work together to deliver high-quality sound throughout your home. You’ll need speakers strategically placed in each room, connected through reliable Wi-Fi or wired connections for seamless audio distribution across your whole-home audio setup.
| Component | Purpose | Emotional Impact |
|---|---|---|
| Central Controller (HTD MCA66) | Manages audio streams to different rooms | Creates effortless control over your sanctuary |
| In-wall Speaker Wire (14/4 gauge) | Connects speakers to amplifiers safely | Delivers crystal-clear sound that moves your soul |
| Amplifiers & Bluetooth Receivers | Powers speakers and enables mobile streaming | Transforms ordinary moments into extraordinary experiences |
Your audio devices work harmoniously, requiring amplifiers for larger setups and Bluetooth receivers for convenient mobile connectivity throughout your synchronized network.
Software Installation and Music Server Configuration
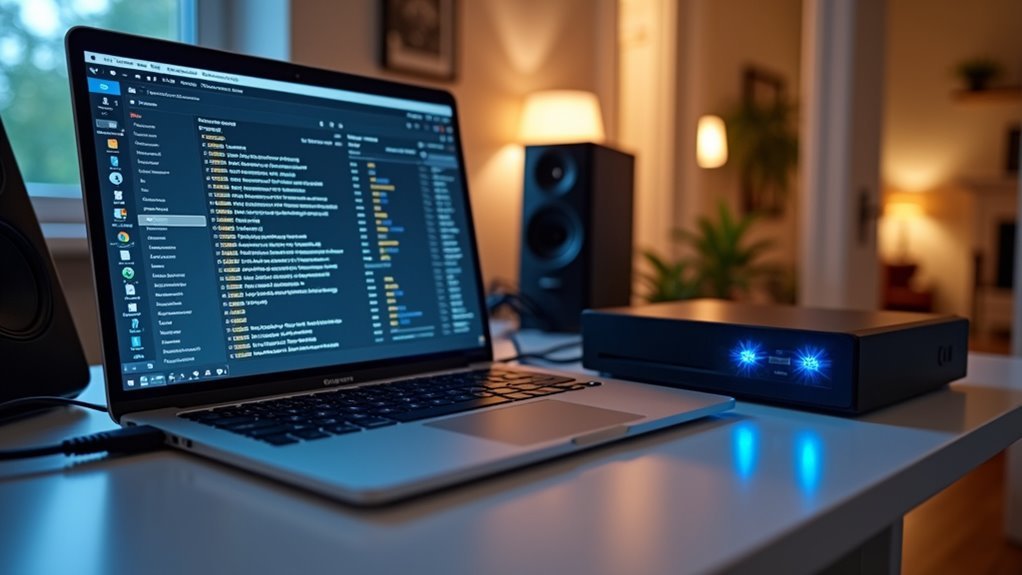
After installing your hardware components, you’ll need to configure the software foundation that transforms your Raspberry Pi devices into powerful music servers.
Begin your software installation by installing Raspberry Pi OS desktop version on each device for user-friendly access. Install the Mopidy framework along with MPD and Mopidy-Iris to create your music server with a web interface.
Start with Raspberry Pi OS desktop for easy management, then add Mopidy framework and Mopidy-Iris for web-based music server control.
Configure static IP addresses by modifying the `/etc/dhcpcd.conf` file, guaranteeing reliable network connections for multiple servers. Integrate Spotify by installing Mopidy-Spotify and updating configuration files with your credentials.
Enable the Mopidy service to run on boot for automatic operation. This configuration guarantees seamless audio output across your synchronized network.
Network Setup and IP Address Management
You’ll need to configure static IP addresses for your Mopidy server and Snapclients to prevent connectivity issues and guarantee consistent communication across your network.
Next, optimize your router’s DHCP settings to avoid IP conflicts with your assigned static addresses.
Finally, implement basic network security measures to protect your audio system from unauthorized access while maintaining seamless performance.
Static IP Configuration
When configuring a whole-home sound network, establishing static IP addresses for your devices creates a foundation of reliability that prevents the frustrating interruptions caused by shifting network addresses.
Static IP configuration guarantees your Raspberry Pi audio streaming devices maintain consistent network identities across your Wi-Fi network, eliminating synchronization dropouts.
To configure a static IP on your Raspberry Pi, you’ll modify the `/etc/dhcpcd.conf` file. Add your desired IP address, subnet mask, and gateway settings using CIDR notation. Choose an IP address outside your router’s DHCP range to prevent conflicts with automatically assigned addresses.
After saving your changes, restart the Raspberry Pi to apply the new configuration.
Verify the setup by running `hostname -I` to confirm your device maintains its assigned static address consistently.
Router Settings Optimization
While configuring static IPs on individual devices establishes network stability, refining your router’s settings amplifies the performance of your entire whole-home sound network.
Router settings refinement guarantees seamless audio streaming by prioritizing your sound system’s traffic above other network activities.
Focus on these essential router configurations:
- Enable Quality of Service (QoS) to prioritize audio streaming traffic and minimize latency for uninterrupted playback across all connected speakers.
- Update firmware regularly to maintain peak performance and security, as manufacturers release patches enhancing network stability and device compatibility.
- Monitor network bandwidth usage to identify congestion issues affecting streaming quality and determine if you need an internet plan upgrade.
These refinements create a robust foundation that prevents dropouts and maintains synchronized audio throughout your home.
Network Security Hardening
Once you’ve optimized your router settings, securing your whole-home audio network becomes paramount to protecting your streaming infrastructure from unauthorized access and potential vulnerabilities. Start by implementing static IP addresses for each device through the `/etc/dhcpcd.conf` file on your Raspberry Pi using CIDR notation for better organization.
| Security Measure | Implementation | Frequency |
|---|---|---|
| Static IP Assignment | Modify `/etc/dhcpcd.conf` | One-time setup |
| Network Auditing | Scan for unauthorized devices | Weekly |
| Firewall Configuration | Restrict external access | Initial + updates |
| Firmware Updates | Update all device software | Monthly |
Deploy a firewall to limit exposure while maintaining functionality. Regularly audit your network for unauthorized devices and verify all components have updated firmware to protect against security vulnerabilities.
Security Configuration and User Account Management
You’ll need to create a new user account and remove the default “pi” user to secure your whole-home sound network against common attacks.
The default “pi” account presents a significant security risk since it’s widely known and often targeted by malicious actors scanning for vulnerable Raspberry Pi devices.
Setting up proper user account management forms the foundation of your system’s security posture before configuring audio services.
Creating Secure User Accounts
Before implementing your whole-home sound network, you’ll need to secure the system by replacing the default Raspberry Pi user account with a custom one. The default “pi” user presents security risks since it’s widely known and often targeted by attackers.
Follow these steps to create secure user accounts:
- Create a new administrative user with identical group permissions as the default “pi” user to maintain system functionality.
- Configure passwordless sudo access for your new account to enable seamless system management without authentication delays.
- Remove unnecessary services like Avahi and CUPS that create potential security vulnerabilities.
After establishing your custom user, delete the default “pi” account entirely.
Regularly audit user permissions and account settings to guarantee ongoing security. This approach provides robust protection while preserving the operational capabilities needed for your sound network.
Removing Default System Access
After establishing your new administrative account, eliminating the default “pi” user becomes critical for hardening your system against unauthorized access. The default account represents a well-known security vulnerability that attackers routinely exploit.
Execute `sudo deluser –remove-home pi` to permanently remove this account and its associated files. This action eliminates a primary attack vector while maintaining your newly configured administrative capabilities.
| Security Risk | Impact Level |
|---|---|
| Default credentials | Critical |
| Known username exploitation | High |
| Brute force attacks | Severe |
Next, disable unnecessary services to reduce your attack surface. Remove Avahi with `sudo systemctl disable avahi-daemon` and CUPS printing services using `sudo systemctl disable cups`. Finally, disable the GUI by running `sudo systemctl set-default multi-user.target`, optimizing both security and system performance for your audio network deployment.
Installing Mopidy Music Server and Spotify Integration
Setting up a Mopidy music server transforms your Raspberry Pi 3 into the central hub of your whole-home audio system.
After installing Raspberry Pi OS, you’ll leverage the Mopidy framework to create a robust multiroom streaming solution.
To integrate Spotify seamlessly:
- Install the Mopidy-Spotify library and configure your personal Spotify credentials in `/etc/mopidy/mopidy.conf`
- Run `sudo mopidyctl config` to verify installation and confirm your Spotify connection works properly
- Edit `/etc/dhcpcd.conf` to assign static IP addresses for your Mopidy server and Snapclients, ensuring stable network connectivity
For enhanced multiroom capabilities, create separate configuration files for multiple Mopidy instances, assigning unique ports to each.
This approach maximizes your system’s streaming potential across different zones.
Configuring Snapserver for Audio Distribution
Now you’ll set up Snapserver to handle audio distribution across your network by installing the package and configuring the main server settings.
You’ll need to establish multiple audio streams if you want different content in various zones, which requires creating separate service instances with unique configurations.
Finally, you’ll use essential service management commands to start, stop, and monitor your Snapserver instances to guarantee they’re properly distributing audio to all connected clients.
Snapserver Installation and Setup
Once you’ve selected your Raspberry Pi as the central hub, you’ll install Snapserver to handle audio distribution across your network.
Getting Snapserver running for multiple speakers requires systematic setup to guarantee reliable operation.
The installation process streamlines your audio distribution capabilities:
- Install the software – Run `sudo apt install snapserver` to get the core distribution server onto your Raspberry Pi.
- Configure streams and interface – Edit `/etc/snapserver.conf` to specify your audio sources and enable the web management interface.
- Enable automatic startup – Execute `sudo systemctl enable snapserver` so the service launches after every reboot.
You can create multiple Snapserver instances by copying service files and customizing configurations.
Verify everything’s working properly by checking listening ports with `netstat -lntp` to confirm all instances distribute audio correctly.
Multiple Stream Configuration
When you’re ready to distribute different audio streams to various zones throughout your home, you’ll need to configure multiple Snapserver instances that can handle distinct audio sources simultaneously.
Start by copying the existing service control file for each Snapserver instance you want to create. Edit these files to include `%i` for unique identification between your sound system components.
Configure each instance in `/etc/snapserver.conf` by enabling the web interface and setting correct audio streams for your zones of audio.
Enable and start each instance using `sudo systemctl enable snapserver@instance_name` and `sudo systemctl start snapserver@instance_name`.
Verify your multiple music distributions are working by running `netstat -lntp` to check listening ports. This confirms each instance is properly configured for whole-home audio distribution.
Service Management Commands
After setting up multiple Snapserver instances, you’ll need to master the service management commands that control your audio distribution system.
These commands guarantee your Snapserver operates reliably and maintains consistent audio streams across your network.
Essential service management commands include:
- Enable automatic startup – Use `sudo systemctl enable snapserver` to guarantee your Snapserver starts automatically on boot, providing uninterrupted audio service throughout your home.
- Monitor active connections – Run `netstat -lntp` to verify all Snapserver instances are running correctly and listening on their assigned ports.
- Control service status – Utilize standard systemctl commands like `start`, `stop`, `restart`, and `status` to manage your audio streams effectively.
Mastering these service management commands gives you complete control over your synchronized sound network’s operation and reliability.
Setting Up Multiple Music Stream Instances
While a single music stream works well for one room, you’ll need multiple stream instances to create a true whole-home audio experience. You’ll accomplish this by creating separate configuration files for each Mopidy instance, guaranteeing each one has a unique port assignment. This approach allows you to manage multiple music stream sources independently.
Next, you’ll utilize systemd to manage these instances by creating dedicated service files. Each instance will run independently on boot, providing reliable operation.
Install Snapserver and Snapclient alongside Mopidy to synchronize audio streaming across different rooms seamlessly.
After modifying service files, run `sudo systemctl daemon-reload` to guarantee systemd recognizes your changes.
Finally, verify all instances are running correctly using `netstat -lntp` to confirm proper audio distribution throughout your home.
Home Assistant Integration for Smart Control
You’ll need to configure YAML files in Home Assistant to define input booleans and selects that control your speaker zones and music streams.
Setting up automated speaker zone management requires creating scripts that respond to triggers like time of day or user presence, enabling conditional audio control throughout your home.
This configuration forms the foundation for seamless multiroom audio control from a single interface.
YAML Configuration Setup
Although Home Assistant offers powerful automation capabilities out of the box, integrating it with your whole-home audio system requires specific YAML configuration modifications to enable dynamic speaker control.
Your yaml configuration setup must accommodate audio needs across multiple rooms through strategic file modifications.
- Input Components: Add input boolean and input select entries in your configuration.yaml file for each speaker, enabling individual room control and music stream selection throughout your home.
- Shell Commands: Define shell commands within your configuration to update music zones dynamically, allowing real-time speaker management based on your selections.
- Directory Structure: Create proper directory paths for shell commands and include an allowlist for external directories, ensuring secure execution without conflicts while maintaining system integrity.
Automated Speaker Zone Management
With your YAML configuration foundation in place, Home Assistant’s automated control of speaker zones transforms your static audio setup into an intelligent system that responds to your daily routines.
You’ll create automations that manage speaker zones based on predefined conditions like time of day or specific activities. These automations enable seamless shifts in audio playback without manual intervention.
Shell commands update your music zones dynamically based on user selections, giving you enhanced flexibility.
You can centralize management of various music sources, controlling playbook across multiple speakers without requiring constant phone connectivity.
Home Assistant’s interface makes managing audio zones intuitive, letting you customize your listening experience throughout the entire home while maintaining synchronized, intelligent control over your whole-house sound network.
Creating Automation Scripts for Zone Management
When managing multiple audio zones throughout your home, automation scripts become essential tools that eliminate the need for manual control of each speaker area. Your multiroom audio system benefits from YAML-based configurations in Home Assistant that define input booleans for individual speaker zones, enabling precise on/off control.
To optimize your zone management automation scripts, implement these key strategies:
Successful multiroom audio automation requires strategic implementation of conditional logic, shell commands, and timing delays for seamless zone control.
- Conditional Logic Implementation – Configure different audio levels for various scenarios, such as background music versus party settings based on user preferences.
- Shell Command Integration – Use Home Assistant shell commands to facilitate seamless music zone updates when users select different audio streams.
- Delay Function Inclusion – Incorporate timing delays to guarantee orderly execution across multiple zones, preventing audio interruptions during changes.
Testing and Optimizing Your Sound Network
After implementing your automation scripts and establishing zone controls, you’ll need to verify that your whole-home sound network performs as intended.
Start by conducting regular checks on speaker connections, confirming all components are properly wired to prevent audio playback disruptions.
Use audio analysis software to measure sound levels across different rooms and adjust speaker placement for balanced listening experiences.
Test audio synchronization by playing specific tracks across all speakers, listening for delays and making adjustments to minimize lag.
To optimize network performance, ascertain strong Wi-Fi signals throughout your home using extenders if necessary for uninterrupted streaming.
Regularly update firmware on audio components and control apps to maintain compatibility and improve performance, addressing bugs that affect sound quality.
Maintenance and Future System Expansions
Once you’ve established a properly functioning whole-home sound network, maintaining its performance requires consistent attention to both hardware upkeep and strategic planning for future enhancements.
Regular maintenance prevents deterioration and guarantees peak sound quality throughout your home.
Essential maintenance tasks include:
- Equipment Care – Regularly inspect and clean speakers, cables, and connections while maintaining proper ventilation for equipment cabinets to prevent heat accumulation.
- Audio Monitoring – Monitor for audio sync issues between stereo and surround setups, making necessary adjustments for seamless listening experiences.
- Strategic Planning – Plan for future expansion by guaranteeing compatibility with new audio sources and staying informed about technology trends.
Leave adequate space and resources for additional speakers or amplifiers, allowing your system to evolve with emerging audio technologies and features.
Frequently Asked Questions
How Much Does a Whole House Sound System Cost?
You’ll spend $1,000-$10,000 for a whole-house sound system. Entry-level setups start around $400, mid-range systems cost $2,500-$5,000, while high-end installations with premium equipment and smart integration exceed $10,000.
How to Connect Speakers Throughout a House?
You’ll need to run speaker wire from a central amplifier to each room, install speakers, and use a control system. Alternatively, choose wireless options like Sonos for easier setup without extensive wiring.
Can I Make My Own Surround Sound System?
You can absolutely create your own surround sound system by combining speakers, amplifiers, and an AV receiver. You’ll need five speakers plus a subwoofer, proper wiring, and careful positioning for peak audio performance.
How to Get Sonos to Play in All Rooms?
You’ll need to connect all Sonos speakers to the same Wi-Fi network, then open the Sonos app, select multiple rooms, and tap “Group” to create synchronized playback throughout your home.

Leave a Reply