
You’ve probably considered buying a commercial pet camera, but you’re missing out on something far better. Building your own Raspberry Pi pet monitoring system gives you complete control over features, security, and costs while delivering professional-grade surveillance capabilities. From motion detection alerts to secure remote access through Cloudflare tunnels, these DIY solutions outperform expensive alternatives in ways that’ll surprise you.
Basic Raspberry Pi Camera Module Setup for Pet Monitoring
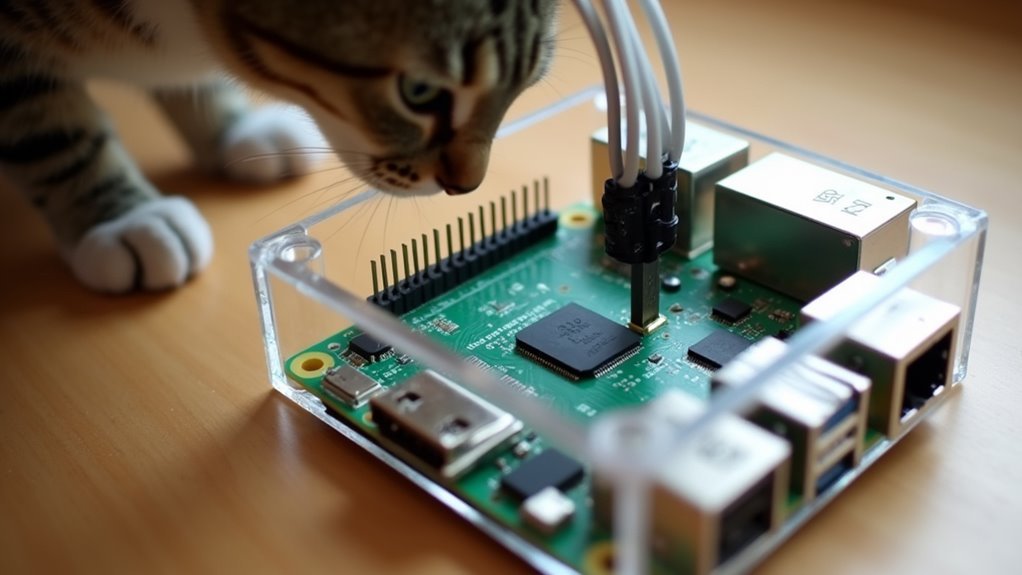
When you’re setting up a Raspberry Pi camera system to monitor your pet, the Camera Module V2 provides an excellent foundation with its 8-megapixel Sony Exmor IMX219 sensor that captures crisp 1080p video at 30 frames per second.
Connect the Raspberry Pi Camera to the dedicated CSI port on your board, then initialize it using `sudo modprobe bcm2835-v4l2` for video capture functionality.
Next, install Motion software by running `sudo apt update` followed by `sudo apt install motion`. This enables your camera to serve feeds through a web interface.
You’ll access the live stream by traversing to your Pi’s local IP address with the designated port, like `http://192.168.0.16:8765`.
Configure motion detection to automatically capture footage when your pet moves around.
Motion Detection Software Configuration for Real-Time Alerts
You’ll need to configure motion detection software like MotionEye to get real-time alerts when your pet moves around.
Start by adjusting the motion sensitivity settings to find the sweet spot that captures your pet’s movements without triggering false alarms from shadows or minor changes.
Next, set up alert notifications through email or webhooks so you’re instantly notified whenever motion is detected in your pet’s area.
Motion Sensitivity Settings
Although motion detection software captures pet activities automatically, you’ll need to fine-tune the sensitivity settings to avoid constant false alerts from shadows, lighting changes, or minor movements.
Adjustable motion sensitivity controls let you set specific thresholds that determine what level of movement triggers recording or notifications.
Start with medium sensitivity and test different levels while observing your pet’s typical behavior.
Too high sensitivity creates false alerts from air conditioning, sunlight shifts, or small insects.
Too low sensitivity might miss important pet activities like feeding or playing.
Most motion detection systems use percentage-based sensitivity scales.
Dogs typically require 15-25% sensitivity, while smaller pets like cats need 10-20%.
Monitor alert frequency for several days and adjust accordingly until you achieve ideal detection without excessive notifications.
Alert Notification Setup
Once you’ve configured ideal sensitivity levels, setting up alert notification setup guarantees you receive instant updates when your pet camera detects movement.
MotionEye offers multiple notification methods to keep you informed about your pet’s activities. You can configure email alerts that automatically send messages when motion triggers, or set up webhook notifications for integration with smart home systems.
The software lets you customize notification schedules based on your pet’s behavior patterns and your monitoring preferences.
When motion occurs, MotionEye can capture still images or record videos, with notifications including specific file names and quality settings. This makes reviewing your pet’s behavior later much easier.
You’ll receive instant updates whether you’re at work or away, ensuring you never miss important moments with your furry companions.
Cloudflare Tunnel Integration for Secure Remote Access
When you’re ready to access your pet camera from anywhere in the world, Cloudflare Tunnel provides the most secure method without exposing your home network to potential threats. Unlike traditional port forwarding, this solution creates an encrypted connection between your Raspberry Pi and Cloudflare’s network.
| Setup Component | Function | Security Benefit |
|---|---|---|
| Cloudflare CLI | Creates tunnel connection | Eliminates port forwarding |
| DNS CNAME Record | Routes custom domain traffic | Masks actual IP address |
| Cloudflare Teams | Manages access control | Requires authentication |
You’ll configure the tunnel to forward traffic to your Motion webcam server, then set up a DNS CNAME record for easy access. Cloudflare Teams integration adds authentication policies, ensuring only authorized users can view your security cameras through Google authentication before accessing your pet cam feed.
Single Sign-On Authentication Using Google and Cloudflare Teams
Since your pet camera now runs through Cloudflare Tunnel, you’ll want to add Google Single Sign-On authentication to control who can access your video feed.
Start by creating a ClientID and Client Secret in Google Cloud Console, then configure these credentials in your Cloudflare Teams dashboard. This integration allows seamless authentication using Google accounts for your open source pet monitoring solution.
Configure access policies to restrict streaming video access to specific email addresses, ensuring only authorized users can view your camera feed.
Enable Instant Auth in your application settings to streamline the login process, eliminating repeated credential entries.
These customizable authentication and access control policies provide robust security layers, protecting your pet camera from unauthorized access while maintaining user-friendly authentication for legitimate viewers.
Multi-Camera Network Setup With Motioneye OS
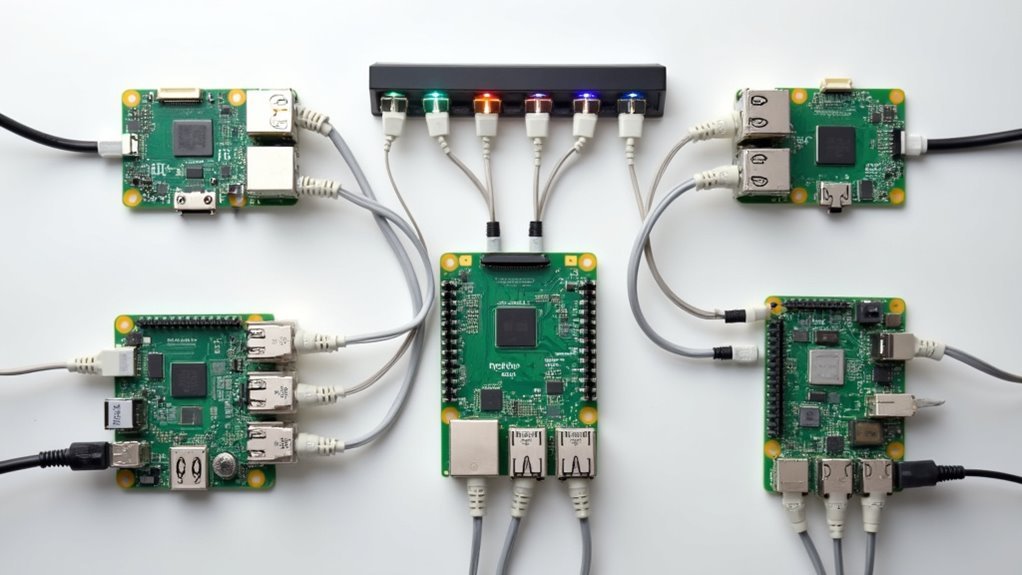
While single camera setups work well for monitoring one area, you’ll often want extensive coverage of your pet’s entire environment. MotionEye OS excels at managing multiple cameras through a single web interface accessible at your Raspberry Pi’s IP address on port 8765.
You can integrate various camera types—Pi Camera Modules and USB webcams—into one all-encompassing system. Each camera receives unique names and customized settings for peak performance.
| Camera Feature | Configuration Options |
|---|---|
| Video Resolution | 720p, 1080p, Custom |
| Frame Rate | 5fps, 15fps, 30fps |
| Motion Actions | Still capture, Video recording |
| Access Method | Local web, Port forwarding |
| Camera Types | Pi Module, USB webcam |
Configure port forwarding and dynamic DNS to access your cameras remotely, enabling complete pet monitoring from anywhere with internet connectivity.
Catbot-Style Automated Pet Feeder With Image Capture
Beyond simple monitoring, you can transform your Raspberry Pi into an intelligent automated pet feeder that combines feeding functionality with advanced image capture capabilities.
The CatBot-style feeder uses a dual-processor setup: a Raspberry Pi Zero handles monitoring duties while a secondary Raspberry Pi 5 manages image processing and messaging. This configuration guarantees efficient operation when capturing and sharing images of visiting animals.
The system automatically detects approaching stray cats and captures photos through its camera module, enhancing your monitoring capabilities.
It’s designed with multifunctionality in mind—an integrated actuator taps your window when birds approach, deterring them from eating cat food.
You’ll find complete open-source hardware designs and software on GitHub, including detailed build guides for customization and community engagement.
Night Vision and Low-Light Performance Optimization
When your pets are most active during dawn, dusk, or nighttime hours, you’ll need to optimize your Raspberry Pi camera system for low-light conditions to capture clear footage.
The Pi Camera Module V2’s Sony Exmor IMX219 sensor delivers decent low-light performance with 1080p video quality, but you can enhance results considerably.
Here are three key optimization strategies:
- Install IR LED illuminators – These provide invisible illumination that won’t disturb your pets while dramatically improving visibility in dark conditions.
- Adjust camera settings manually – Increase exposure time and gain to capture more light, though longer exposures may cause motion blur with active pets.
- Use MotionEye software – Access advanced controls for brightness, contrast, and saturation adjustments, plus configure motion detection sensitivity for low-light scenarios.
Bird Deterrent Integration for Outdoor Pet Feeding Stations
Outdoor pet feeding stations frequently attract unwanted birds that steal your pet’s food, but you can solve this problem by integrating a smart bird deterrent system with your Raspberry Pi camera setup.
You’ll need a Raspberry Pi Zero with the Camera Module V2 to accurately identify and differentiate between your pets and unwanted birds. When birds are detected, the system automatically activates deterrent measures like actuators or sound devices.
Consider implementing a dual Raspberry Pi configuration where one unit monitors while the other manages deterrent actions. You can open a port for communication between units, ensuring streamlined operations.
MotionEye provides an excellent open-source software solution for real-time monitoring and control, offering a customizable interface that makes managing your outdoor feeding station simple and effective.
Text Message Notifications With Twilio API Integration
You’ll need to set up a Twilio account and obtain your API credentials before implementing text notifications for your pet camera system.
Once configured, you can program your Raspberry Pi to trigger SMS alerts based on specific events like motion detection or scheduled feeding times.
The implementation involves writing Python code that connects your camera’s sensor data to Twilio’s messaging service, allowing real-time notifications whenever your pet’s activity warrants your attention.
Twilio Account Setup
Text message alerts transform your Raspberry Pi pet camera into a responsive monitoring system that keeps you informed wherever you are.
Setting up Twilio for SMS notifications requires just a few straightforward steps that’ll have your system communicating with your phone in minutes.
Here’s how to configure your Twilio account:
- Create your free Twilio account and navigate to the Console dashboard to locate your Account SID and Auth Token – you’ll need these credentials for API authentication.
- Register a Twilio phone number through the Console interface, which will serve as the sender for all SMS notifications from your Raspberry Pi pet camera.
- Install the Twilio Python library on your Raspberry Pi using `pip install twilio` to enable seamless API integration with your monitoring scripts.
Message Triggering Events
With your Twilio configuration complete, the next step involves programming specific events that will automatically trigger SMS notifications from your pet camera system.
You’ll need to define message triggering events within your Raspberry Pi script to determine when notifications are sent. Motion detection serves as the primary trigger, alerting you when your pet enters the camera’s field of view.
You can customize these events by setting specific time parameters, such as only sending alerts during work hours or when you’re away from home.
The Twilio API supports multiple notification types, including proximity alerts when your pet approaches the camera or unusual activity patterns.
Configure threshold sensitivity levels to prevent spam notifications while ensuring you receive important updates about your pet’s behavior and safety.
Code Implementation Examples
Once you’ve established your triggering events, implementing the actual code for text message notifications requires installing the Twilio Python library and creating a script that connects your motion detection system to the API.
Your Pi needs the `pip install twilio` command first, followed by obtaining your Account SID and Auth Token from Twilio’s console.
Here’s your implementation process:
- Initialize the Twilio client with your credentials and import the necessary libraries into your Pet Cam script.
- Create the messaging function using `client.messages.create()` method with recipient number, Twilio number, and message body parameters.
- Integrate the notification call directly into your motion detection loop so alerts trigger automatically when your pet moves.
Ensure your Pi maintains network connectivity through Wi-Fi or Ethernet for reliable API communication.
Advanced Security Policies and Access Control Configuration
After establishing Google authentication for your Raspberry Pi pet camera, you’ll need to implement granular access control policies that determine exactly who can view your camera feed and under what conditions.
These advanced security policies let you restrict access to specific users or email addresses, ensuring only trusted individuals can monitor your pets.
Configure access control rules that include email verification and IP address restrictions for additional protection.
You’ll want to enable Instant Auth in Cloudflare Access to streamline the login process while maintaining security standards.
Set up Single Sign-On with Google as your identity provider to simplify authentication using existing credentials.
Regularly test and update your security measures by re-evaluating policies and monitoring login attempts to maintain system integrity.
Frequently Asked Questions
Is the Raspberry Pi AI Camera Worth It?
You’ll find the Raspberry Pi AI camera worth it if you value customization and cost-effectiveness. Its 1080p resolution, AI integration capabilities, and open-source compatibility make it excellent for tech-savvy users seeking flexible solutions.
What Is the Best Security Camera Software for Raspberry Pi?
You’ll find MotionEye is the best security camera software for Raspberry Pi. It’s user-friendly, supports multiple cameras, offers motion detection, remote access, and customizable settings for resolution and frame rates through its web interface.
What Is the Difference Between Raspberry Pi High Quality Camera and Camera Module 3?
You’ll find the High Quality Camera offers interchangeable lenses and superior 12.3MP image quality, while Camera Module 3 provides built-in autofocus and easier operation with its fixed lens design.
How Many Cameras Can You Attach to a Raspberry Pi?
You can attach up to 8 USB cameras or 2 Camera Modules to a Raspberry Pi simultaneously. However, your Pi’s model, processing power, and available bandwidth will determine the actual practical limit for smooth operation.


Leave a Reply